
The forearm is one of the most sought-after and, at the same time, complex areas for a beginner tattoo artist to work on. It’s not just a flat canvas; it’s a dynamic, conical surface with varying skin thickness, active muscle movement, and high visibility. The success of your work here depends not only on artistic skills but also on a deep understanding of anatomy and the specifics of how the needle interacts with this area. This guide has been developed by tatufoto.com to provide you, as a beginner specialist, with comprehensive knowledge about working with the forearm, minimize risks, and ensure an excellent result that will become your signature.


Forearm Tattoos: A Complete Guide for Beginner Tattoo Artists – Where to Start
The first step in working with the forearm is not turning on the machine, but a competent consultation and strategic planning. Since the forearm is a “public” area (constantly visible), the client has high expectations for this work, and you must consider all nuances related to visibility and movement.
Project and Client Assessment
A beginner artist must learn to ask the right questions to ensure harmonious sketch placement:
- Lifestyle Assessment: Does the client work in a strict corporate environment? The forearm requires maximum execution cleanliness, as it is harder to hide than, for example, the thigh.
- Future Plans Assessment: Does the client plan to get a full sleeve in the future? If so, you must leave the correct space and ensure a logical transition to the bicep and elbow.
- Understanding Anatomical Flow: The sketch should follow the natural lines of muscles and bones. Ask the client to bend and rotate their arm to see how the image will deform with movement.
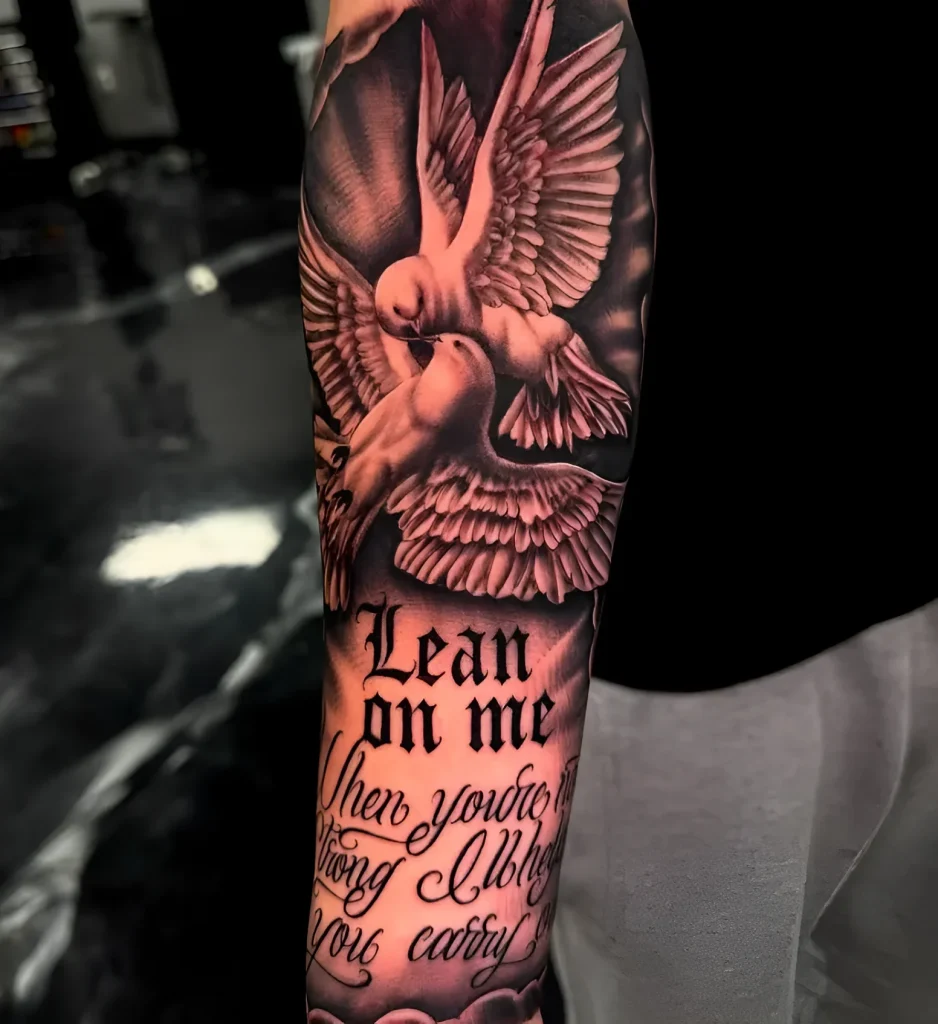
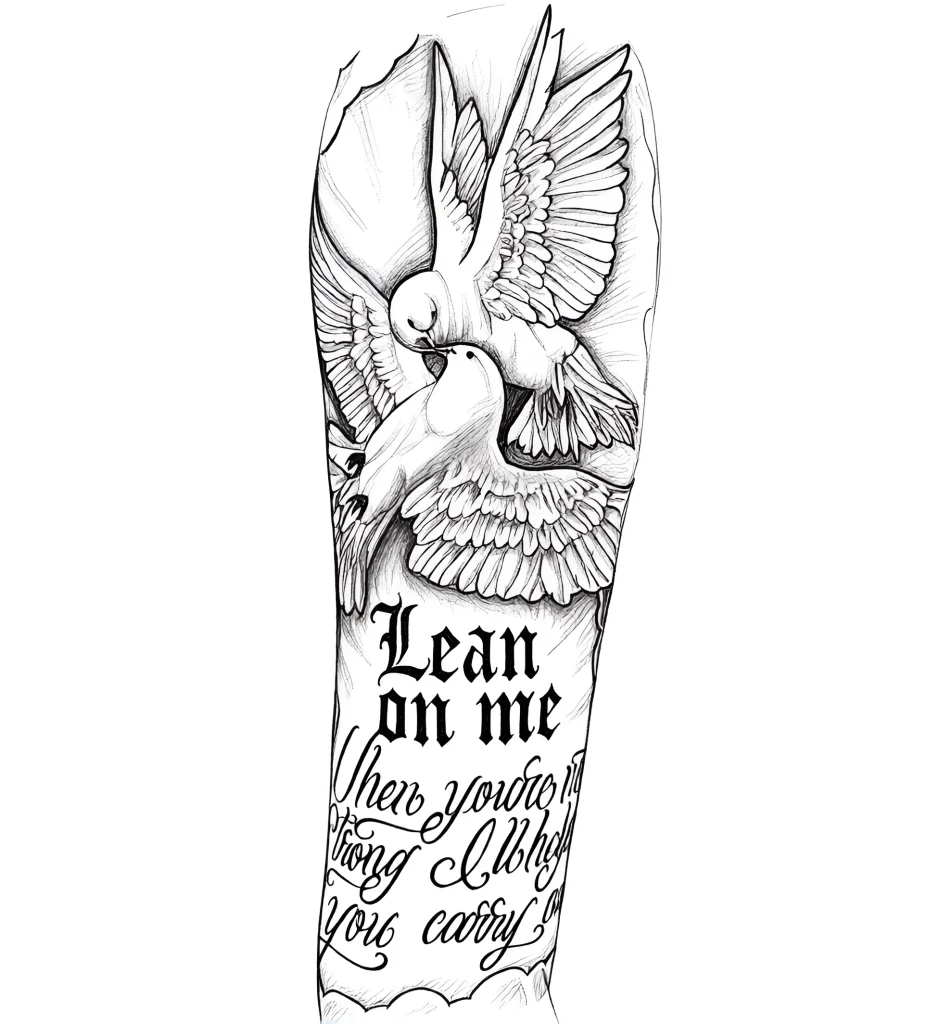
Choosing Equipment for Forearm Work
The forearm requires versatility. The skin on the inner side is very thin, while on the outer side, it is denser and rougher. This dictates special requirements for equipment setup:
- Machine: Rotary machines are preferred for beginners as they provide a softer and more controlled hit, which is critical for the thin skin of the inner forearm (where “blowouts” are easily caused).
- Settings: Start with a slightly lower needle depth and lower speed (voltage) when working on the flexor surface (inner side). On the extensor surface (outer side), you can increase the speed for better pigment saturation.
- Needles: For outlines on the outer part, 7RL/9RL are often used. For thin lines and detailing on the inner part, it’s better to use 3RL/5RL to minimize trauma.
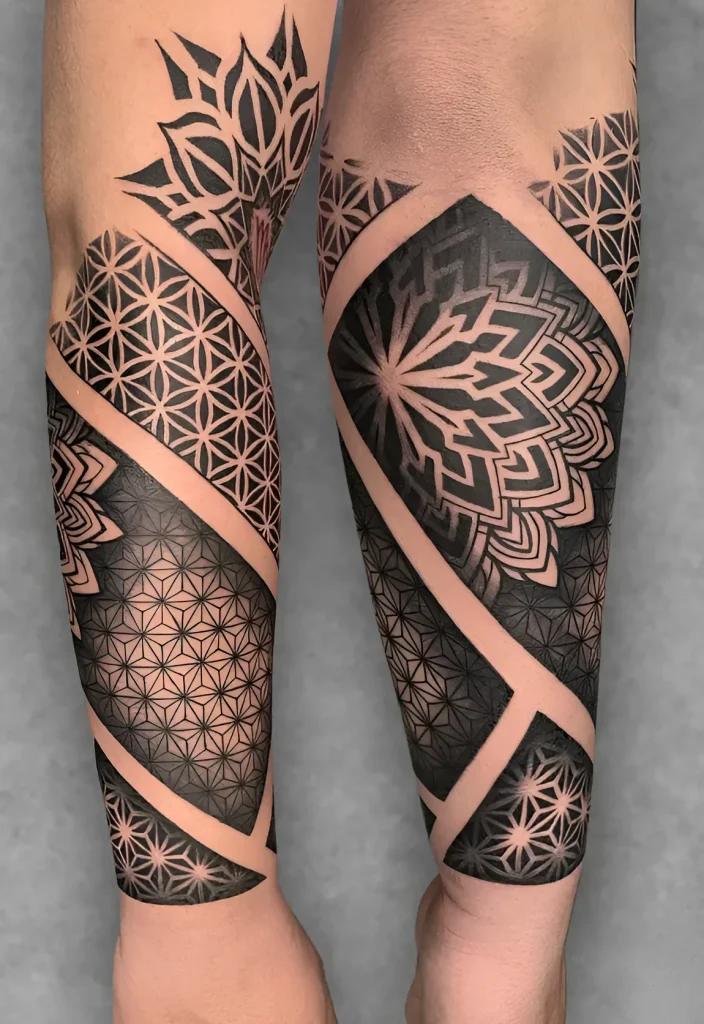
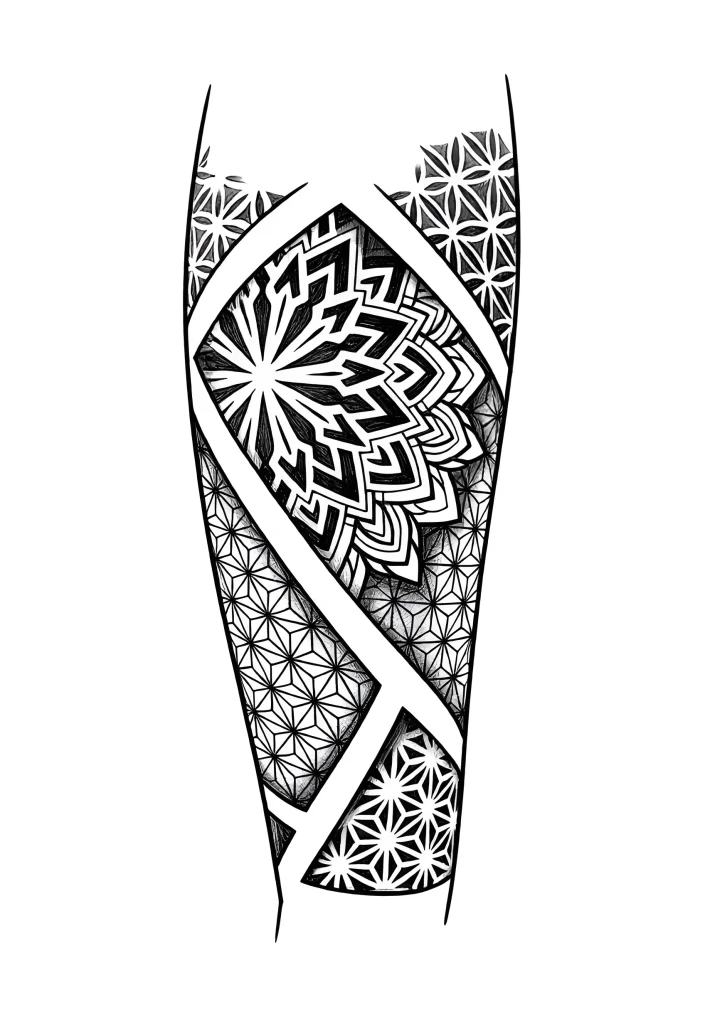
Forearm Anatomy for Tattoos: Structural Features and Impact on Sketch
The forearm is one of the most complex areas anatomically, as it consists of two long bones (radius and ulna) and numerous muscles responsible for supination, pronation, flexion, and extension of the wrist. Ignorance of these features will lead to sketch distortion and poor healing.
Two Critical Surfaces
The forearm is conventionally divided into two zones requiring different approaches:
- Extensor Surface (Dorsal, Outer): This area is denser, covered with thick skin and fascia. It is better suited for detailed, dense work (e.g., realism or traditional style) requiring deep pigmentation. The skin here is less sensitive.
- Flexor Surface (Ventral, Inner): The skin here is thin, delicate, richly supplied with nerve endings, and has closely located veins. This is a high-risk zone. It’s easy to get blown-out lines or cause significant pain to the client here. Thin, minimalist works are often done on the inner side.
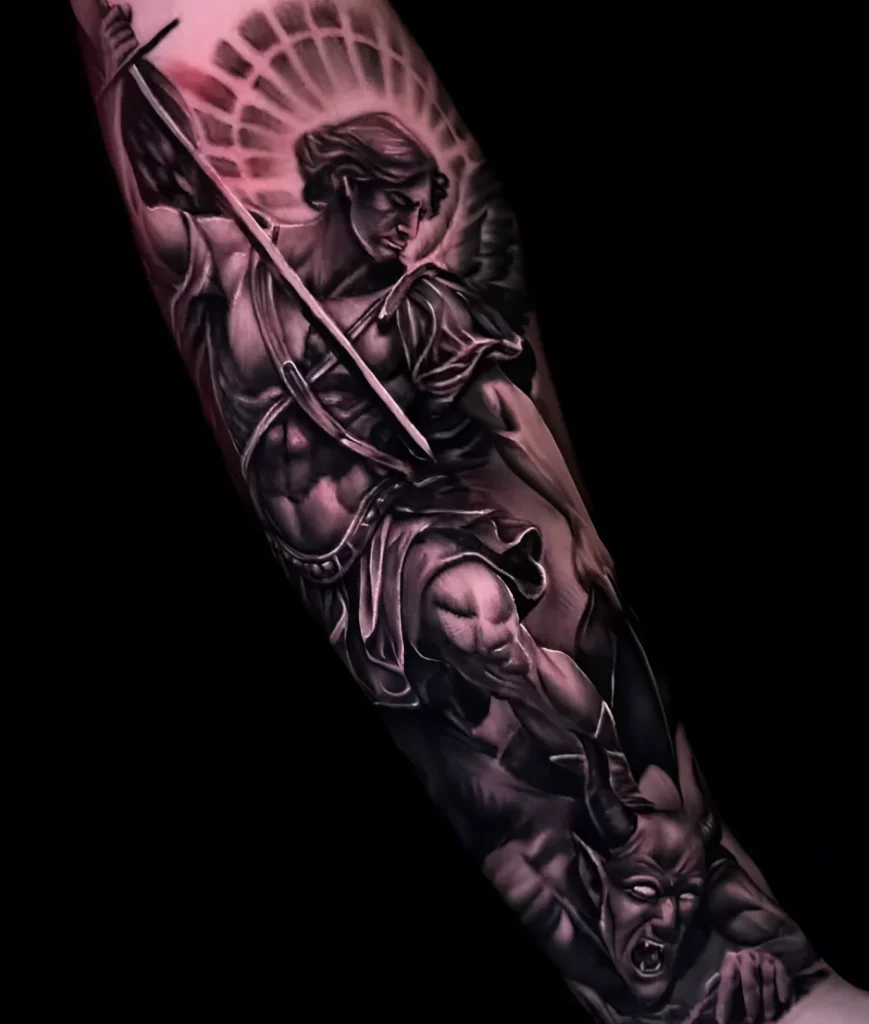
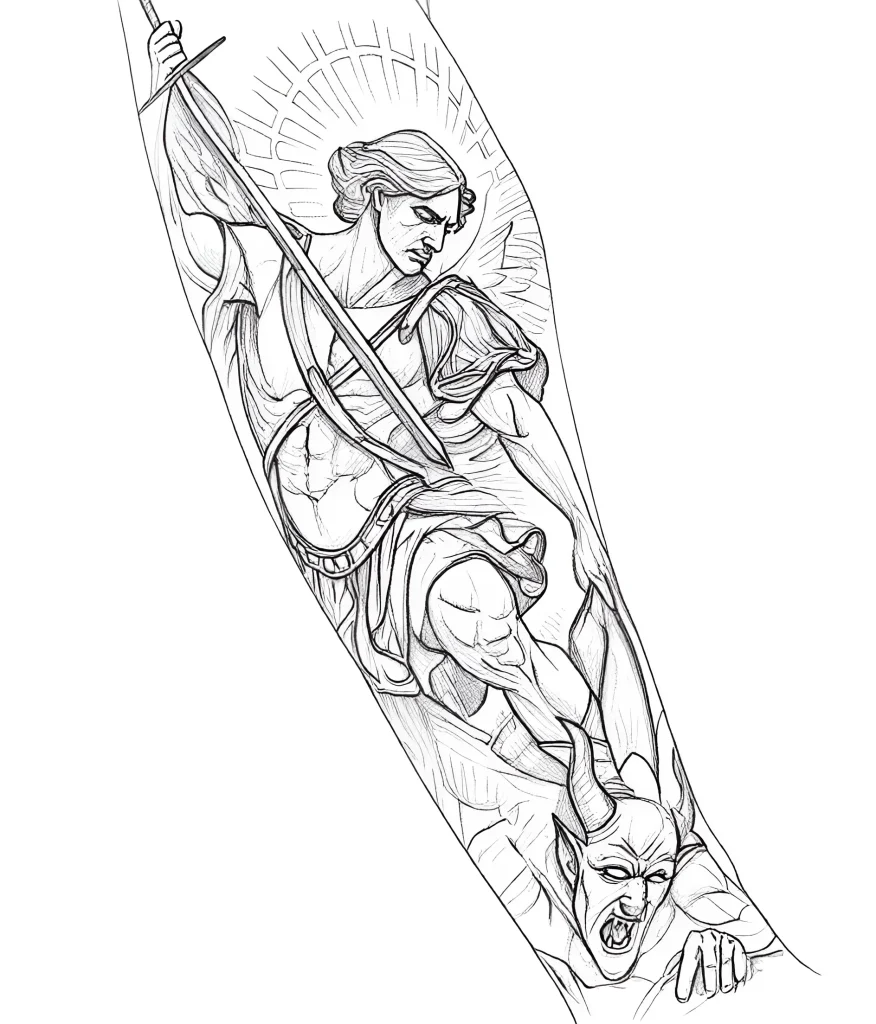
Impact of Muscles and Movement on the Sketch
The biggest challenge of the forearm is its conical shape and constant movement. A sketch that looks perfect when the arm is extended can become heavily distorted when the arm is bent or rotated.
- Pronation and Supination: Rotating the palm up (supination) or down (pronation) causes muscle displacement. Artist’s tip: Always apply the stencil when the arm is in its most natural, relaxed position (usually slightly rotated inwards). Be sure to check the sketch in various positions before starting work.
- Transition Zones: Avoid placing key, symmetrical elements directly on the elbow crease or wrist. These areas constantly stretch and compress, leading to rapid fading and distortion. If you are creating a bracelet tattoo, ensure its width allows it to remain legible when the wrist is bent.
High-Risk Zones
Beginner artists should be especially cautious:
- Wrist (inner side): Maximum thin skin, very close proximity of tendons and veins. This requires minimal needle depth and a very light hand.
- Elbow bone: Working directly over the bone causes significant discomfort to the client and can lead to uneven healing.
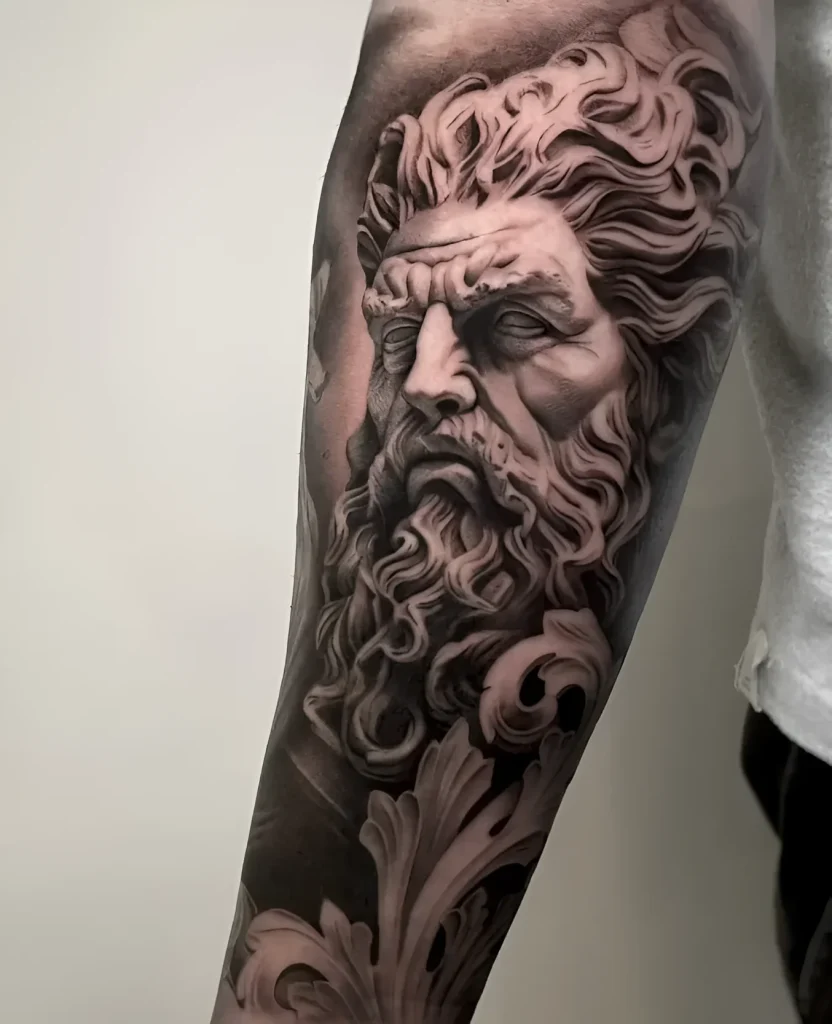
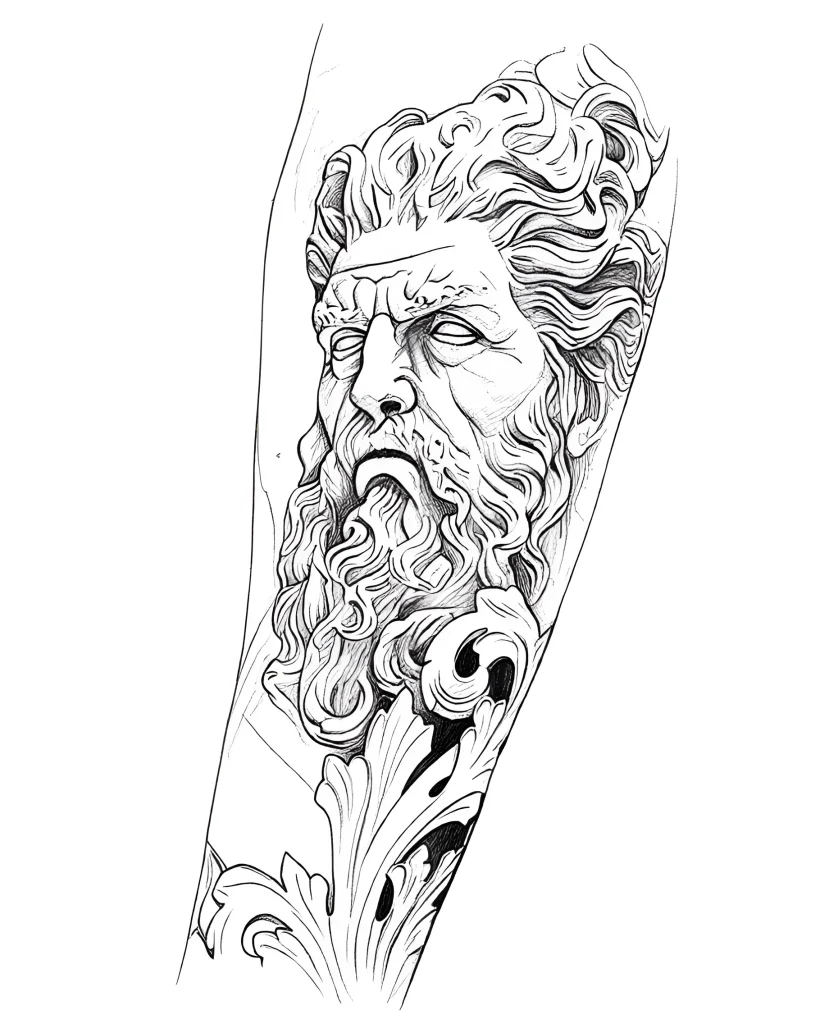
Popular Forearm Tattoo Designs: Ideas and Inspiration for Beginners
Forearm tattoo designs should be adapted to its shape. A successful design either wraps around the limb or uses its length for vertical storytelling.
Vertical Compositions
Utilize the forearm’s length to create dynamics:
- Swords, Daggers, Arrows: Perfectly emphasize the vertical axis. They should be positioned so their point faces either up (towards the shoulder) or down (towards the wrist), following the natural flow.
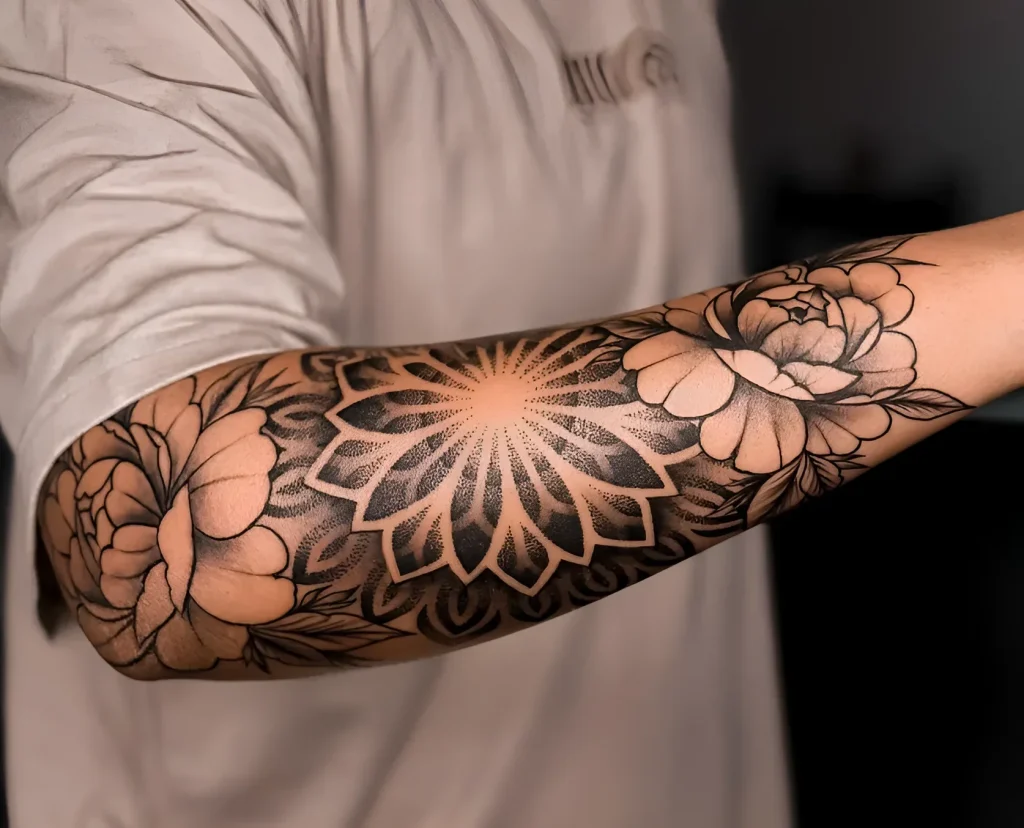
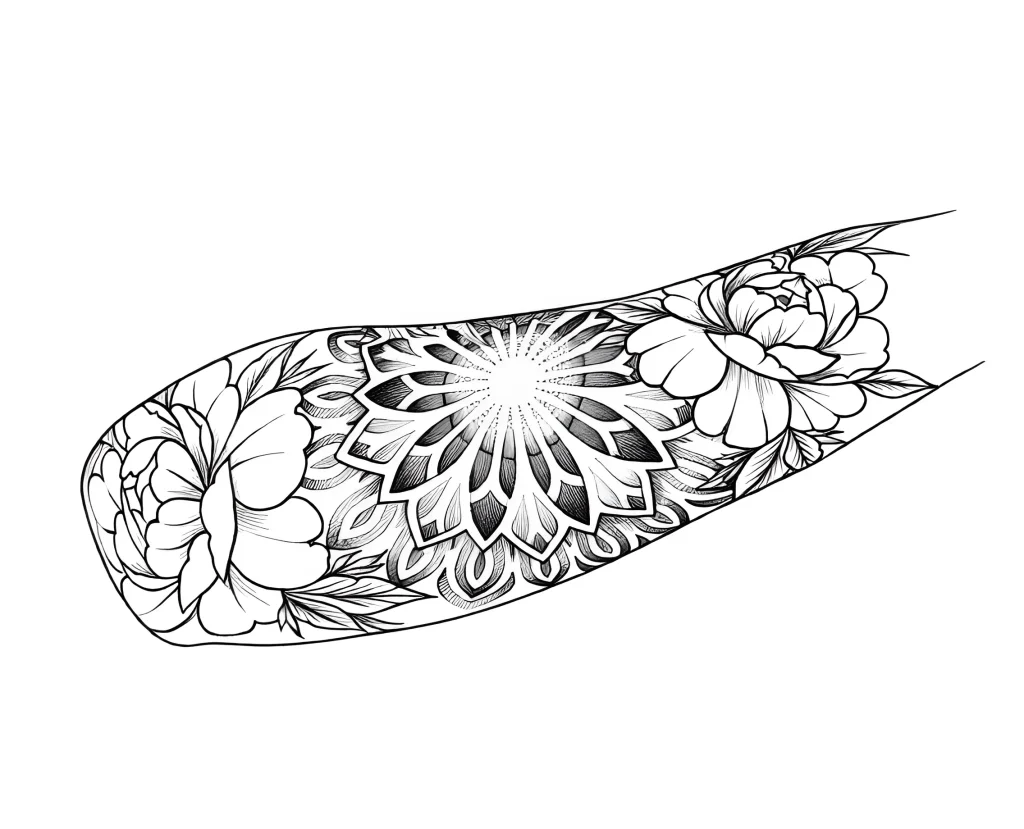
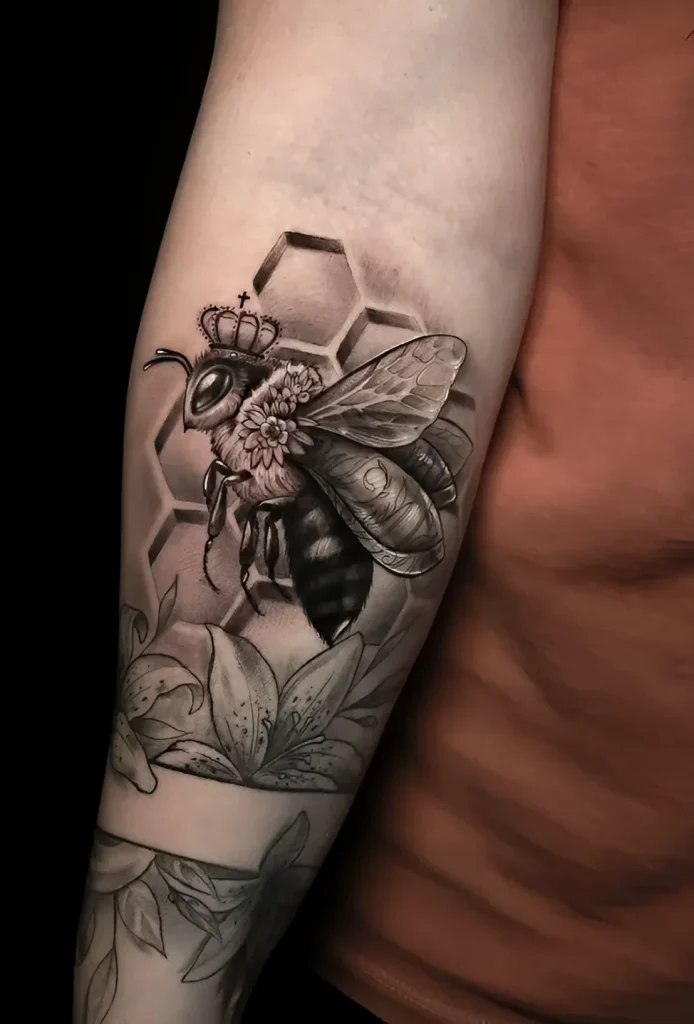
- Floral Motifs (Branches, Vines): Excellent for wrapping around the forearm, creating a sense of movement. It’s important to ensure that the thickness of the elements doesn’t change abruptly at the curves.
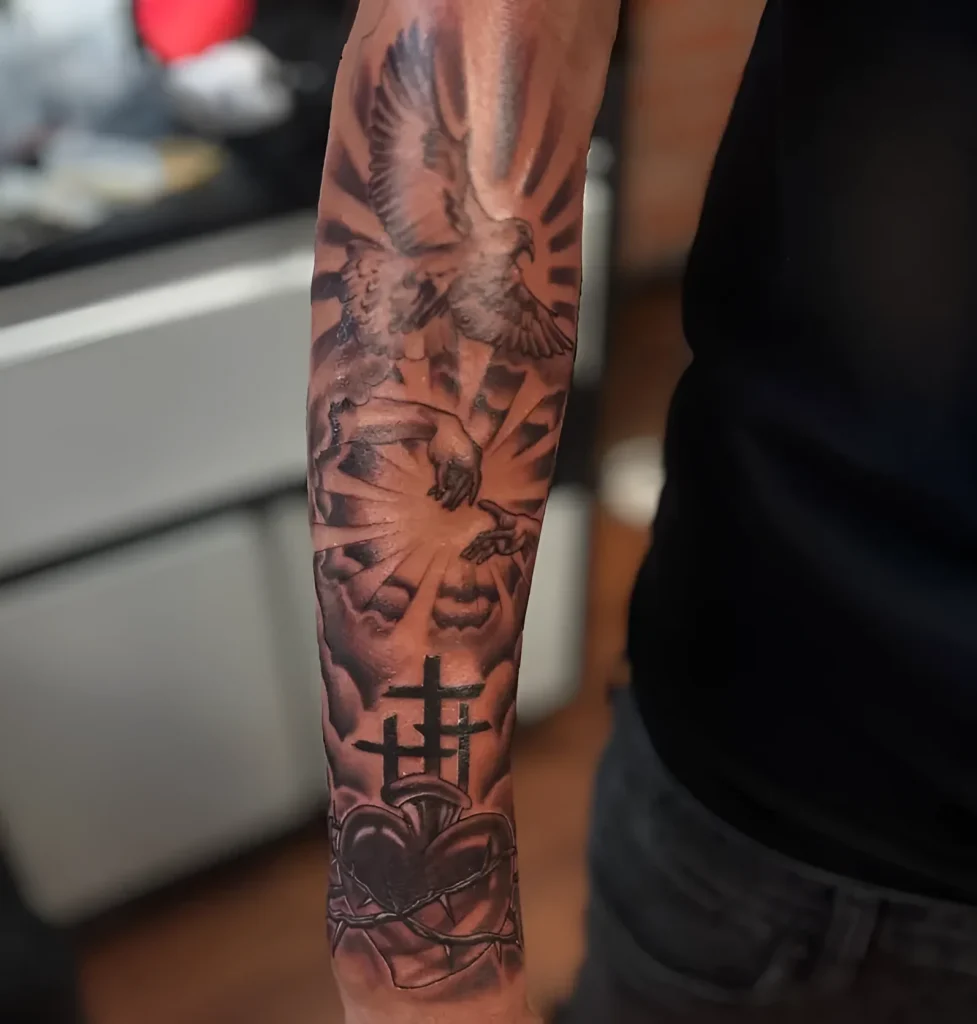
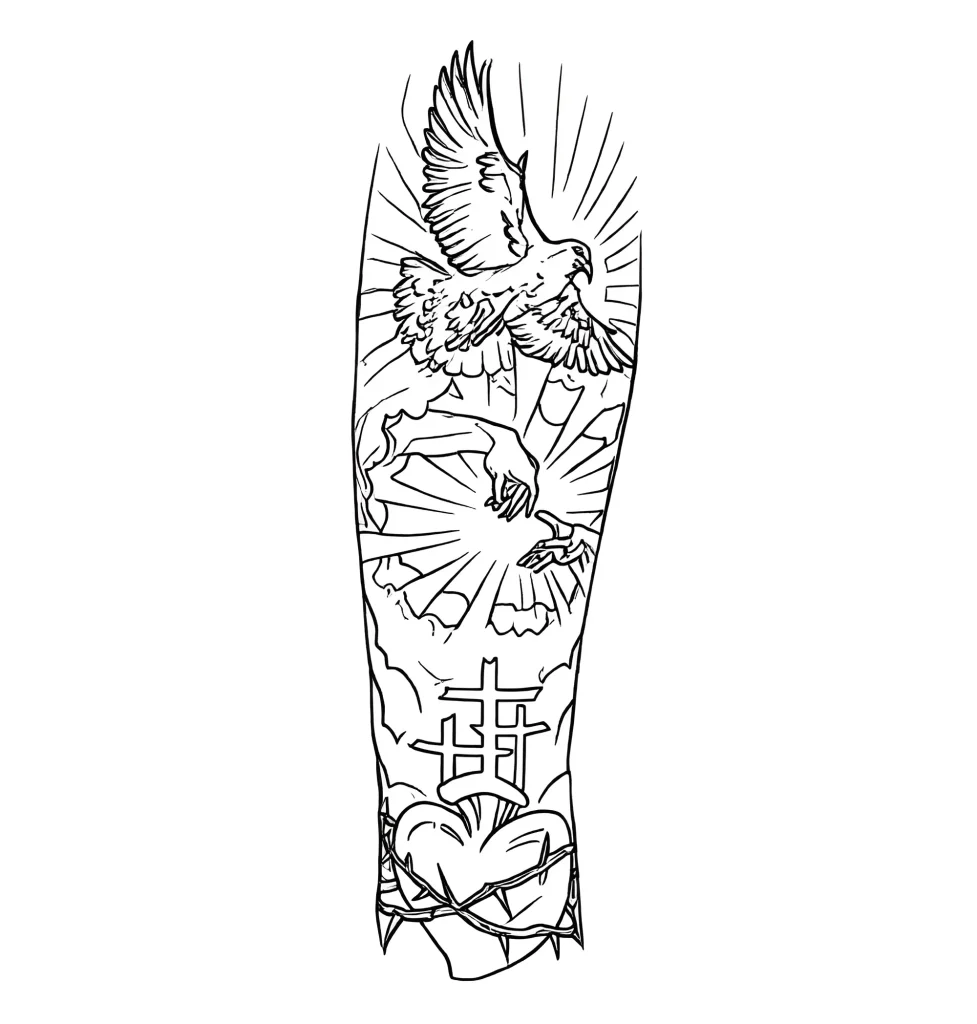
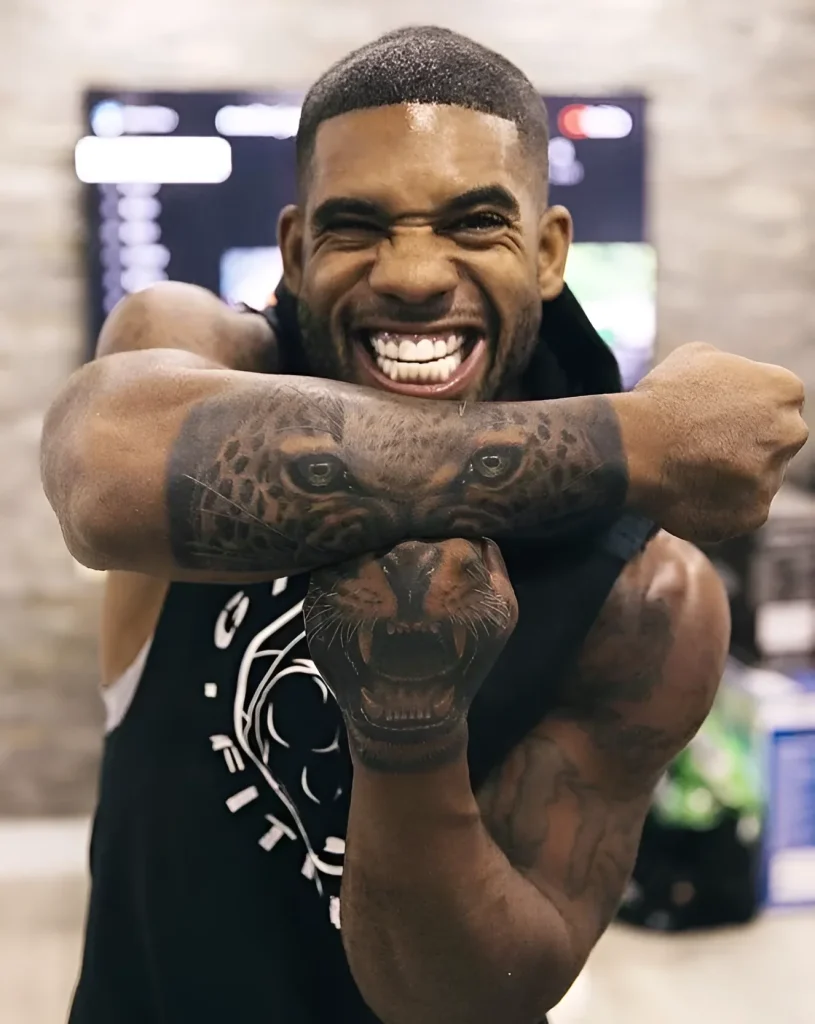
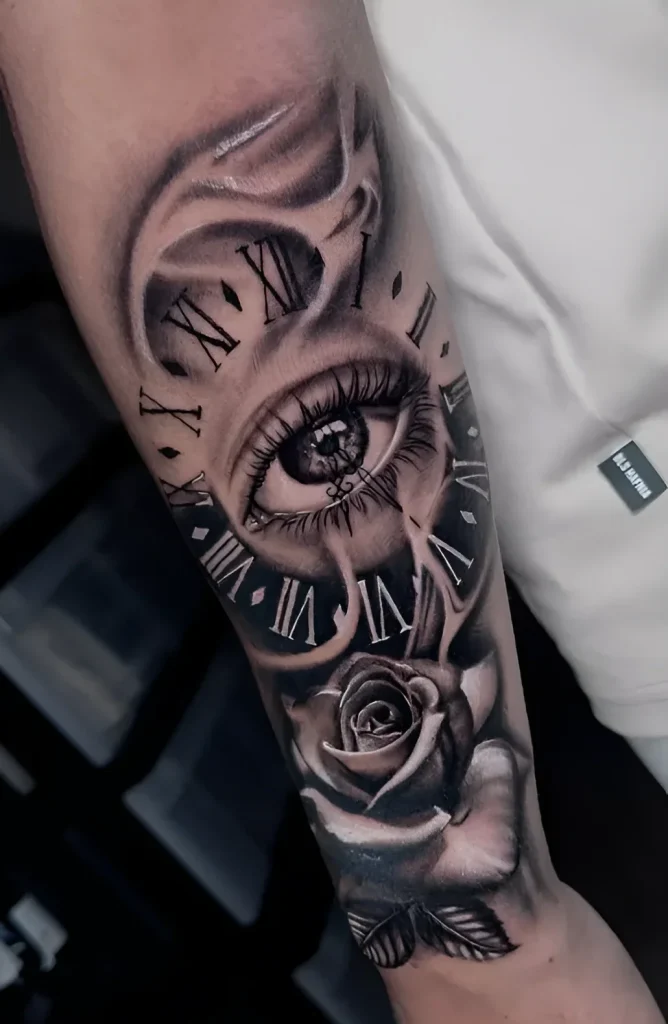
- Portraits and Figures: If the client chooses realism, it’s best to place the portrait on the outer, flatter part of the forearm to avoid distortion of facial features when the arm is rotated.
Bracelets and Wraps
Bracelet tattoos (especially in Blackwork, Geometric, or Ornamental styles) are very popular but require meticulous precision:
- Symmetry: The most common mistake for beginners is not maintaining symmetry when “closing” a bracelet. Use a flexible ruler and be sure to check the start and end points so the lines meet perfectly.
- Geometry: When working with patterns (e.g., mandalas or ornaments), remember that due to the forearm’s conical shape, elements closer to the elbow should be visually slightly larger than elements closer to the wrist to create an illusion of uniformity.
Minimalism and Fine Line
These styles are ideal for the inner, more sensitive side of the forearm. They require minimal trauma and heal quickly. For a beginner artist, this allows them to build confidence in fine line work.
Forearm Tattoo Techniques and Styles: Choosing the Optimal Approach
The choice of style dictates the technique, but forearm anatomy introduces its own adjustments to standard methods.
Lining Specifics
Outlines on the forearm often pass over curves and areas with varying skin density. Your task is to ensure uniform line thickness and saturation:
- Even Stretching: When working on curved surfaces (e.g., transitioning from the outer to the side), use the “three-point” stretching technique. One of the artist’s hands stretches the skin, while the other supports the limb, preventing it from moving.
- Needle Entry Angle: On flat areas (outer side), use an angle of 75-90 degrees. On curves and especially on thin inner skin, the angle should be closer to 45-60 degrees. This reduces the risk of puncturing too deeply and causing blowouts.
Working with Shading Gradients
The forearm is an area where light and shadow constantly change due to its shape, so proper shading is critical for volume.
- Soft Transitions: For beginner artists, it is recommended to use the whip shading or dot work technique. These techniques are more controllable and minimize the risk of excessive trauma to thin skin.
- Solid Color Packing: If you are working with solid color (e.g., in New School or Traditional style), use magnum needles (M1) and ensure you are working with proper stretching so the pigment lays evenly. On the outer forearm, the skin usually “takes” pigment well but requires patience.
Blackwork and Dotwork Specifics
These styles are often used for full bracelets or geometric sleeves. They require perfect, mathematical precision. If you are using black ink, work carefully to avoid “bleeding” of the ink under the thin skin of the inner part.
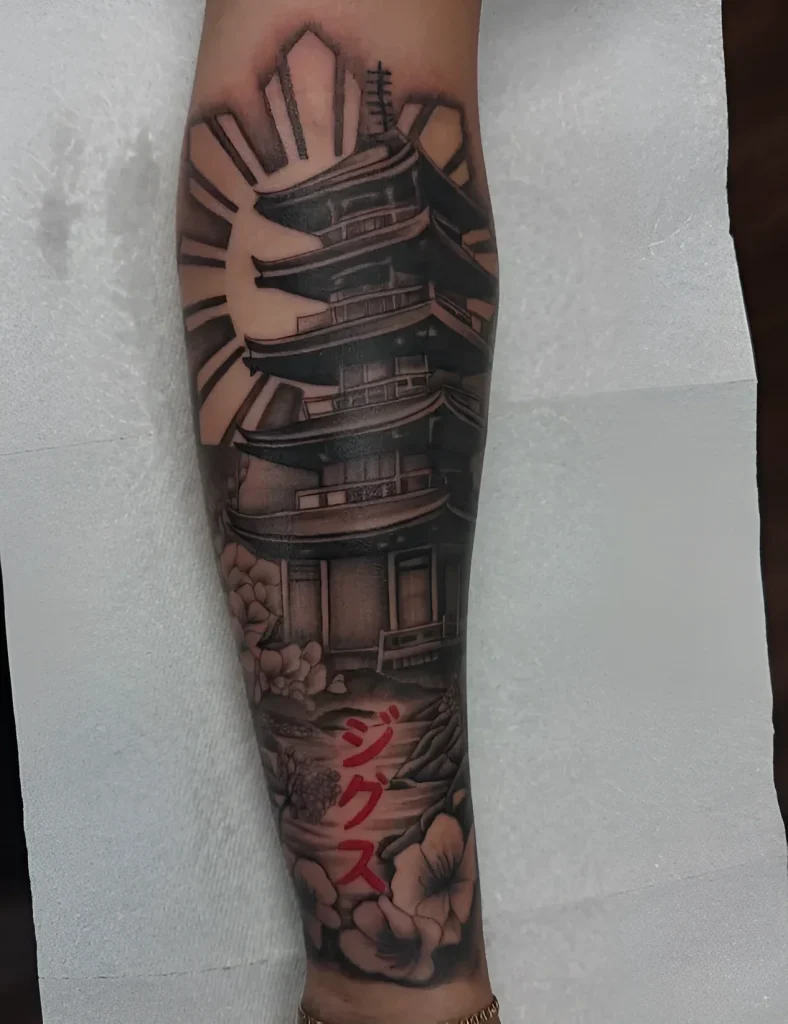
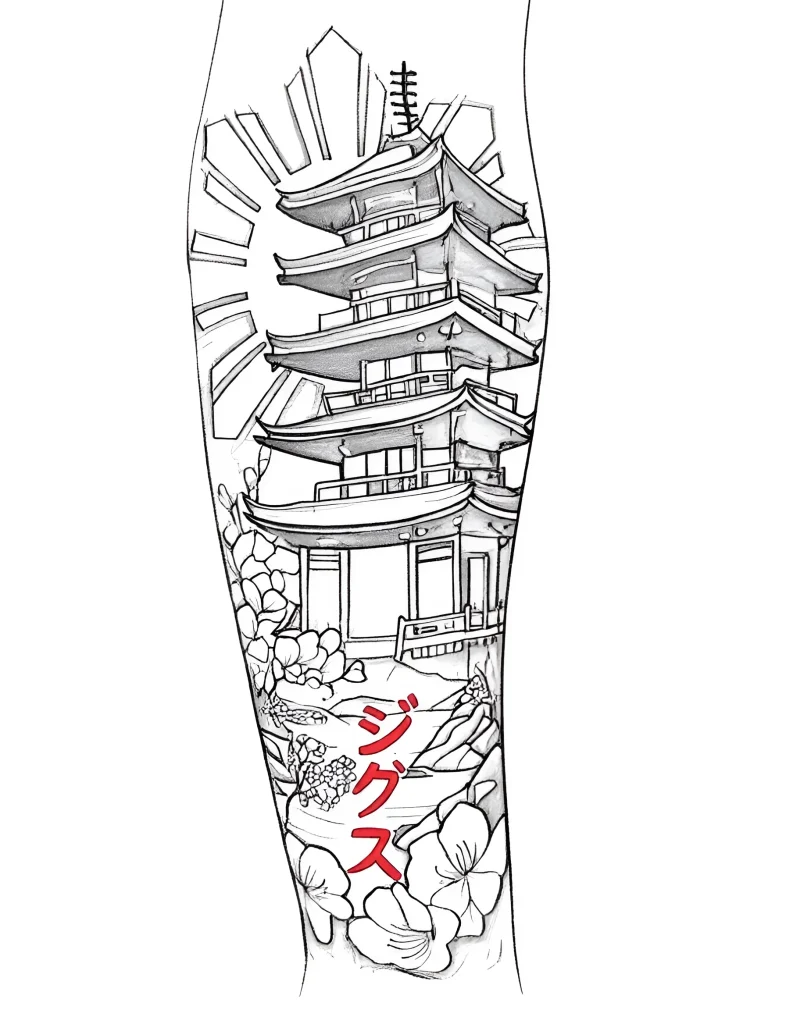
Skin Preparation and Tattoo Application on the Forearm: Step-by-Step Instructions for Beginners
Proper preparation of the forearm skin is key to ensuring your stencil lays evenly and doesn’t rub off during the process.
Step 1: Preparing the Work Area
The forearm often has dense hair. Shaving should be thorough, covering not only the tattoo area but also a 5–7 cm buffer zone around it, including part of the elbow and wrist. Use a new blade and quality shaving gel to avoid irritation that can distort stencil outlines.
Step 2: Stencil Application
This is the most challenging stage on the forearm due to its conical shape. If the sketch wraps around the arm, even a slight misalignment will lead to visual distortion.
- Centering: Determine the main axis of the sketch (e.g., a vertical line). Start applying the stencil from the flattest and most visible part (outer side).
- Working with Curves: When applying the stencil to a conical surface, press it gently to avoid creases. If it’s a full wrap, use one continuous line on the stencil as a guide to ensure the start and end points meet without shifting.
- Drying: Allow the stencil to dry completely (at least 15–20 minutes). On the forearm, especially on inner bends, the stencil can rub off faster due to perspiration.
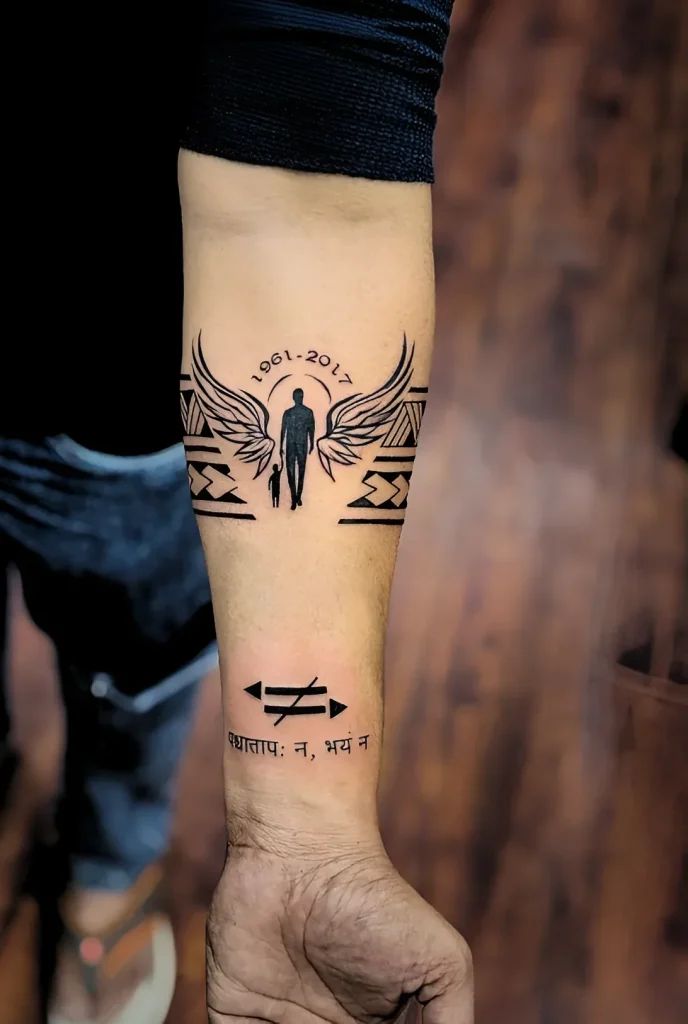
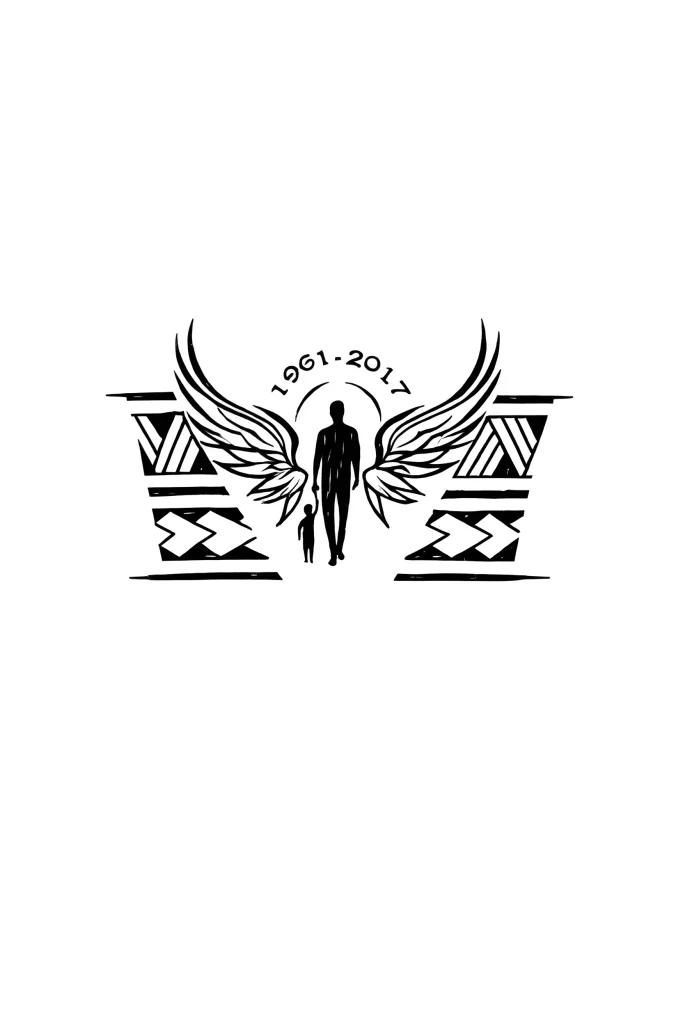
Step 3: Stretching Technique When Working with Curves
On the forearm, you will need to constantly change your skin stretching technique:
- Outer Side: Use standard two-handed stretching.
- Inner Side: Stretch the skin as carefully as possible, but firmly. If the skin is not stretched, the needle may “catch” or cause strong vibration.
- Working with a Wrap: If you are doing a bracelet tattoo, you will need the client’s (or an assistant’s) help to hold the arm in a specific position and stretch the skin as you move around the limb.
Step 4: Controlling Depth and Speed
Remember the varying skin thickness. If you have just worked on the outer, dense part and are moving to the side or inner part, you must reduce the needle depth or lower the machine’s voltage to avoid blowouts.
Forearm Tattoo Aftercare: Healing and Brightness Preservation Tips
The forearm heals relatively quickly (outer part), but it is constantly subjected to mechanical stress (friction with clothing, bending). You, as an artist, must provide the client with comprehensive instructions specific to this area.
Forearm Healing Specifics
- Risk of Friction: The tattoo constantly contacts clothing sleeves, tables, and bags. This increases the risk of irritation and abrasion of the initial scab.
- Constant Movement: Bending the elbow and wrist stretches the skin. With active bending, cracks can appear on the tattoo, slowing healing and potentially leading to pigment loss.
Care Recommendations
Strongly recommend the use of modern healing methods:
- Second Skin (Dermal Patch): For the forearm, this is the best option. The film (e.g., Suprasorb F or Dermalize) protects against friction and allows the skin to breathe, minimizing the formation of thick scabs that can crack with movement.
- Load Restriction: Warn the client about the need to avoid heavy physical exertion and exercises involving active arm bending for the first 7–10 days.
- Hydration: After removing the film (or in case of traditional healing), regular application of moisturizing and healing ointments is crucial to keep the skin elastic and prevent cracking.
Common Mistakes When Applying Forearm Tattoos and How to Avoid Them
For a beginner artist, the forearm can be an area where mistakes are most evident due to its high visibility. Knowing these mistakes will help you prepare in advance.
Mistake 1: Incorrect Sketch Positioning (Twist)
Problem: The sketch looks straight when the client is standing, but in a natural arm position (slightly rotated), it appears twisted or “drifting.” This is especially critical for symmetrical or geometric works.
Solution: Always check the sketch when the client is sitting relaxed. Use a central line running along the forearm as the main axis of symmetry. Ask the client to rotate their arm a few times after applying the stencil.
Mistake 2: Blowouts on the Inner Side
Problem: Ink “bleeds” under the skin, creating bluish or greenish halos around the outline. This happens due to inserting the needle too deeply into the thin dermis of the inner forearm.
Solution: Reduce needle depth to a minimum (about 1.5–2 mm) and lower the machine’s voltage when working on the flexor surface. Always use maximum stretching so the skin is taut like a drum.
Mistake 3: Uneven Outline on Curves
Problem: When transitioning from one plane to another (e.g., from the outer part to the side), the outline line becomes thinner, paler, or, conversely, too thick.
Solution: Maintain consistent pressure and hand speed. The main secret is even skin stretching along the entire length of the line. If you feel the client’s arm is hindering you, ask them to change position before continuing the line.
Mistake 4: Ignoring the Transition to the Elbow and Wrist
Problem: Beginner artists often stop work too close to the joints or don’t consider how the tattoo will look when bent. This creates a “detached” look, especially if the client plans a full sleeve.
Solution: Always leave a logical “buffer” or use elements that naturally transition into the joint area (e.g., soft shadows or dotwork elements). If it’s the end of a sleeve, create a soft, ragged edge rather than a hard straight line.
FAQ: Answers to Frequently Asked Questions About Forearm Tattoos
As an artist, you need to know the answers to these questions to effectively consult with clients.
How Painful is a Forearm Tattoo?
Artist’s Answer: The forearm is a moderately sensitive area, but pain varies significantly depending on the specific zone. The outer side (where the skin is thicker and muscles are denser) is usually tolerated easily. The inner side (flexor surface) and areas directly over bones (especially near the wrist) can be significantly more painful due to the high number of nerve endings and thin skin.
How Long Does a Forearm Tattoo Take to Heal?
Artist’s Answer: Initial healing (until the scab or film comes off) takes 7–14 days. Full skin layer healing, necessary for pigment stabilization, takes 4–6 weeks. Since the forearm is constantly moving, clients must strictly follow moisturizing recommendations to avoid cracking.
Do Forearm Tattoos Fade Significantly?
Artist’s Answer: The forearm is one of the most sun-exposed areas, which is the main cause of fading. To maintain brightness, clients must always use sunscreen with a high SPF, especially during the summer. From a technique perspective, solid packing on the outer side holds up better than thin lines on the inner side.
Can the Entire Forearm Be Tattooed at Once?
Artist’s Answer: While anatomically possible, a full wrap tattoo is more traumatic and requires the client to lie in an uncomfortable position for an extended period. If this is your first large project, it’s better to divide it into two sessions: first the outer part, and then, after healing, the inner part. This makes the process easier for the client and reduces the risk of swelling throughout the limb.
Additional Images
Gallery of remaining images (click to view):


