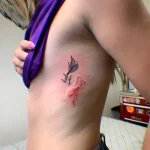
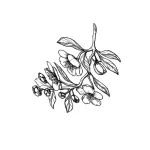
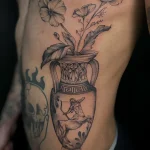
The rib area, or the side of the rib cage, is one of the most challenging yet incredibly sought-after locations for getting a tattoo. It offers an extensive, often vertically oriented canvas, ideal for long compositions, hidden messages, and large-scale works. However, it is precisely the anatomical features, thin skin, and proximity to bone structures that make this area a true test for beginner tattoo artists. In this comprehensive guide, prepared by tatufoto.com experts, we will break down all the nuances of working with the ribs – from anatomy to symbolism, so you can confidently master this complex but rewarding area.

Anatomy and Features of Rib Tattoos: What You Need to Know
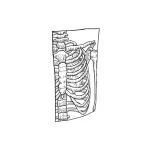
For a tattoo artist, the rib area is not just skin; it’s a dynamic structure that constantly changes depending on breathing and body movement. Understanding the anatomy here is critically important for ensuring even ink saturation and minimizing trauma.
Key Anatomical Factors
- Thinness of Skin and Subcutaneous Fat Layer: Unlike the thigh or forearm, the sides of the body, especially on lean clients, have a minimal fat layer. The skin here is thin and elastic, requiring extreme care from the artist in controlling needle depth. Too deep penetration can cause severe pain, bleeding, and the risk of pigment entering the periosteum, leading to “bleeding” or bluish lines.
- Proximity to Bone: The ribs are located close to the surface, especially in the lower part of the rib cage (floating ribs). The vibration from the machine, transmitted directly to the bone, significantly intensifies the client’s pain.


- Intercostal Muscles: The skin lies directly on the intercostal muscles. The movement of these muscles during breathing requires constant skin tension control from the artist.
- Breathing Dynamics: During a deep inhale, the rib cage expands; during an exhale, it contracts. If the client breathes unevenly, it can distort lines, especially long and thin ones. Artist’s tip: always ask the client to breathe evenly and shallowly while working on critical areas.
Areas of Increased Difficulty
The rib area is not uniform. Artists should be aware of the following areas that require special attention:
- Armpit: An extremely sensitive area with lymph nodes and thin vessels. Working here is painful and requires minimal pressure.
- Lower Rib Edge (Floating Ribs): The most painful part due to minimal bone protection.
- Transition to the Abdomen or Back: These areas often have thicker skin or, conversely, more pronounced curves, requiring adaptation of the stretching technique.
History of Tattoos on the Side of the Rib Cage: From Traditions to Modernity
While rib tattoos do not have as ancient and ritualistic a history as, for example, facial tattoos or limb markings, their placement has always been associated with the idea of privacy and sacredness.
In traditional cultures where tattoos served as social markers, exposed areas (face, hands) were used to display status. Hidden areas, including the ribs and sides, were often reserved for:
- Personal Charms and Talismans: Symbols intended only for the owner or their closest loved ones.
- Ritual Signs: In some tribal traditions (e.g., Polynesian, though ribs were less prioritized than the abdomen and back for them), large compositions covering the torso symbolized protection of vital organs.
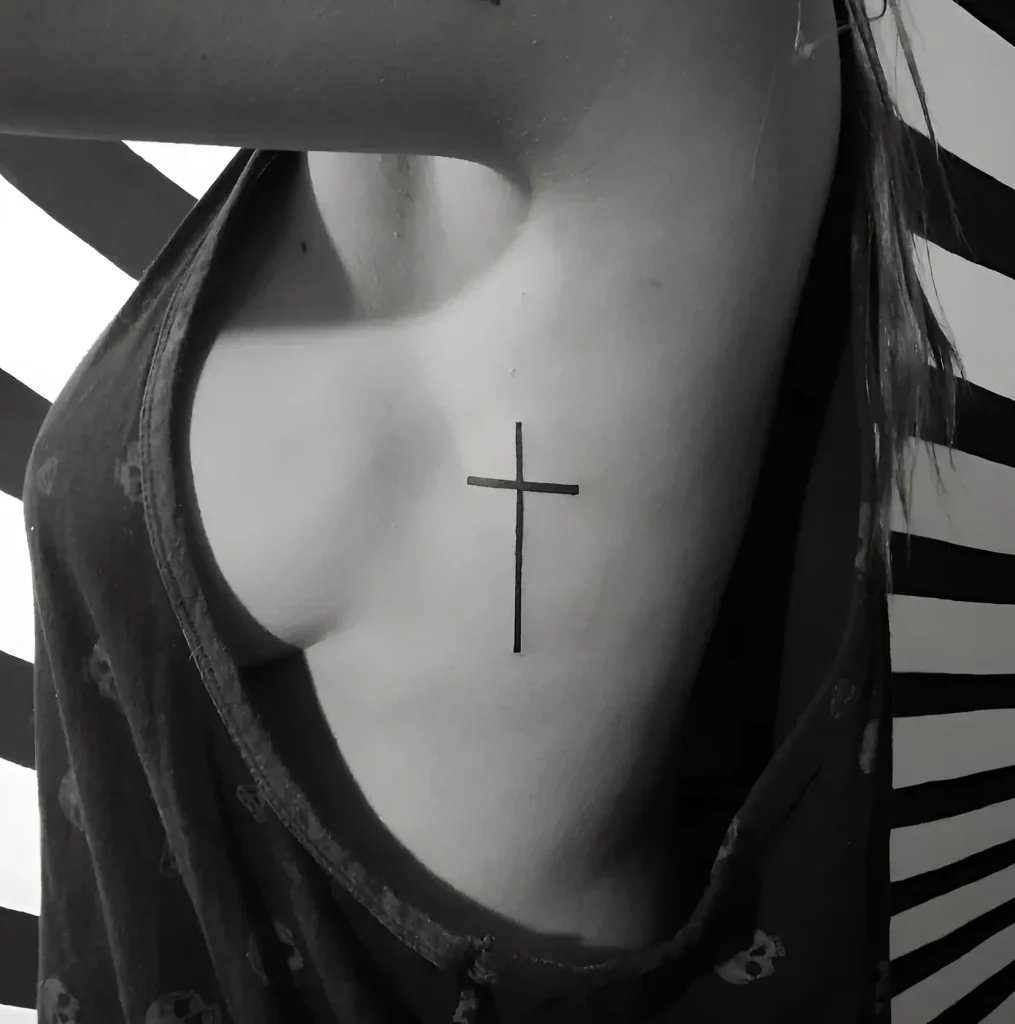

In modern Western culture, the rib area gained popularity in the late 20th and early 21st centuries, becoming an ideal place for:
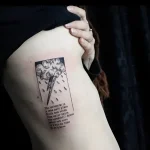
- Hidden Inscriptions: Long quotes, poems, or names that are easily hidden under clothing.
- Women’s Tattoos: The ribs have become a popular choice among women, as they allow for elegant vertical compositions (flowers, branches) that accentuate the curve of the waist.
- Large-Scale Compositions: Ribs, often in conjunction with the back or chest, serve as extensions of larger narrative works, providing a smooth transition and maximum area for detail.
Thus, historically and culturally, rib tattoos are associated with intimacy, protection, and deep personal meaning.
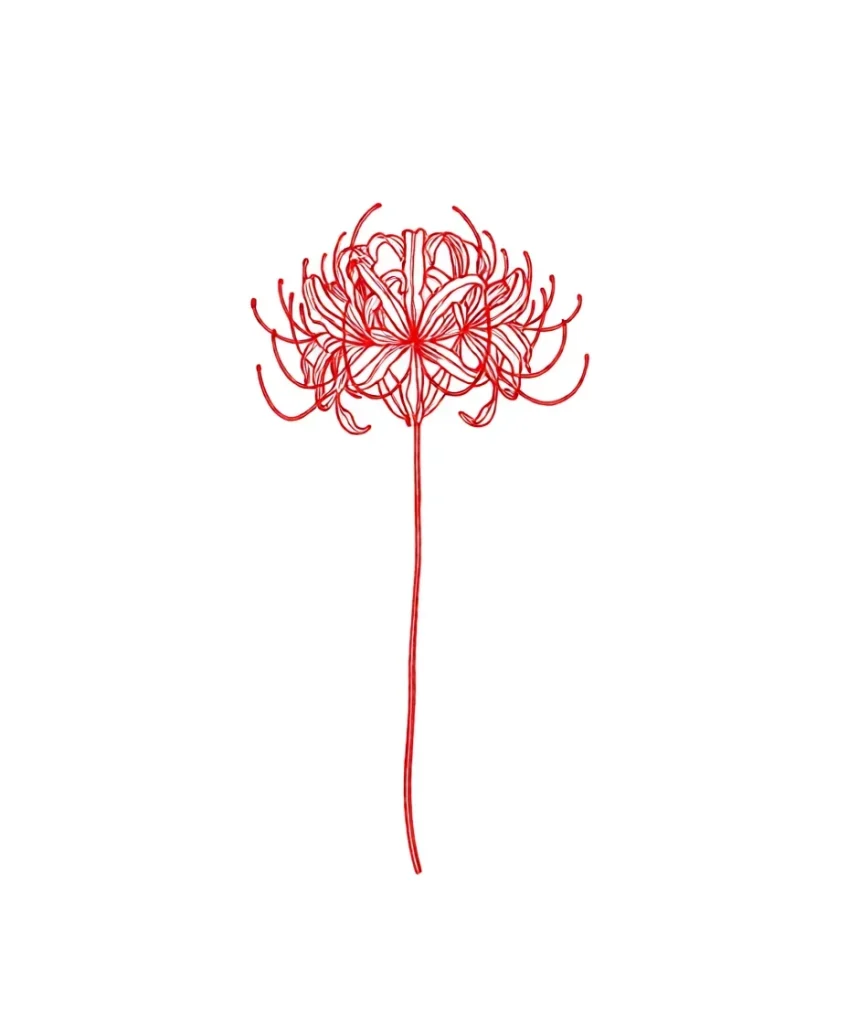
Meanings of Rib Tattoos: Symbolism and Popular Motifs
The choice of a rib tattoo is rarely accidental. Since this is one of the most painful areas, a client who decides on such a work usually imbues it with a deep, often personal, and undisclosed meaning. The placement close to the heart (albeit on the side) enhances the emotional connection to the image.
Symbolism Related to Placement
- Privacy and Secrecy: Anything on the ribs is easily hidden. This is an ideal place for symbols related to personal experiences, tragedies, victories, or vows.
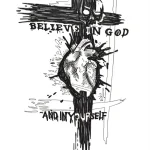
- Connection to the Heart: Tattoos on the left side often symbolize love, memory, loyalty, or emotional states, as they are closer to the vital organ.
- Protection: Images that wrap around the ribs (e.g., snakes, dragons, armor) can symbolize the protection of life force and inner vulnerability.


Popular Motifs and Their Interpretation
Motifs that look particularly good in a vertical or curved projection are especially in demand for ribs:
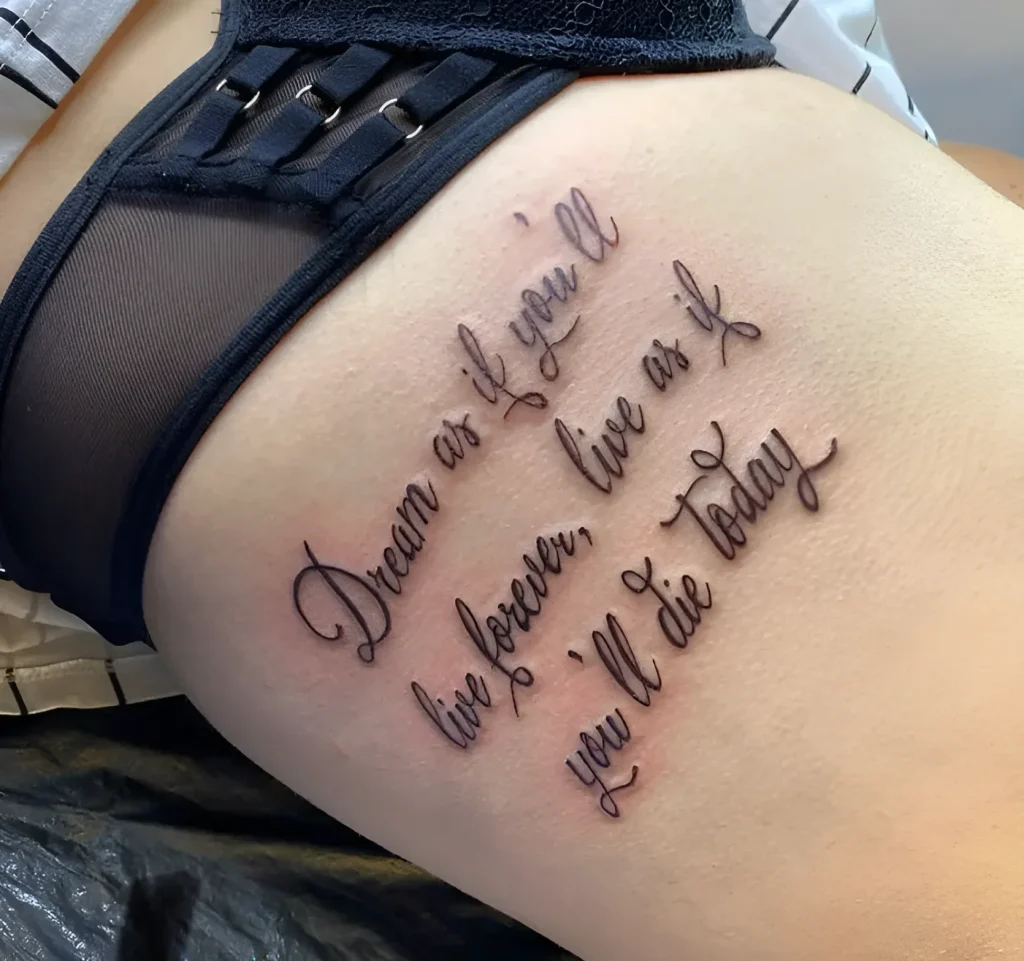
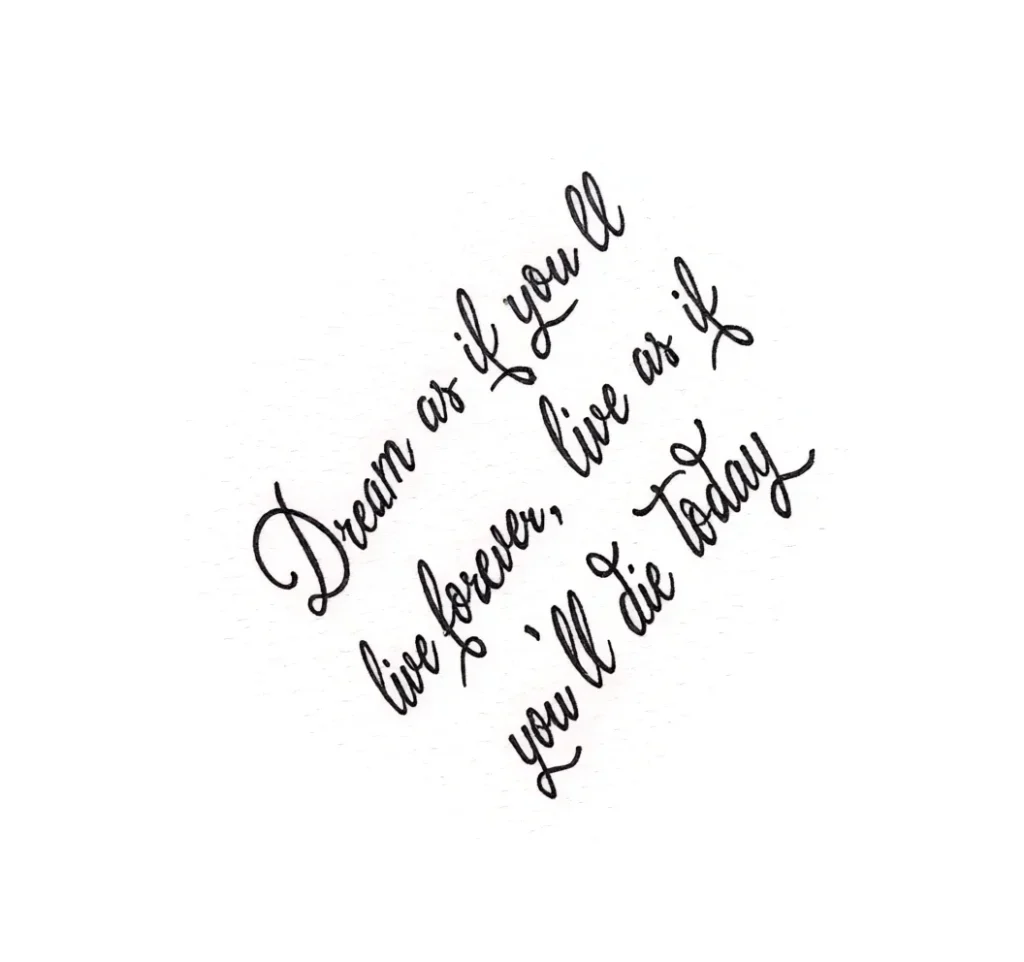
1. Long Text Compositions (Quotes, Poems):
- Meaning: Life credo, philosophical views, remembrance of an important event. The rib format allows for a long text that would be out of place on an arm.
- Artist’s Tip: Use thin, elegant fonts (Fine Line, Script) to minimize pain and ensure readability.
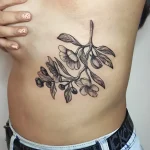
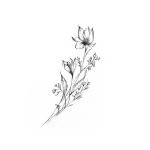
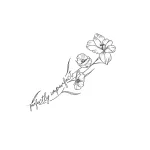
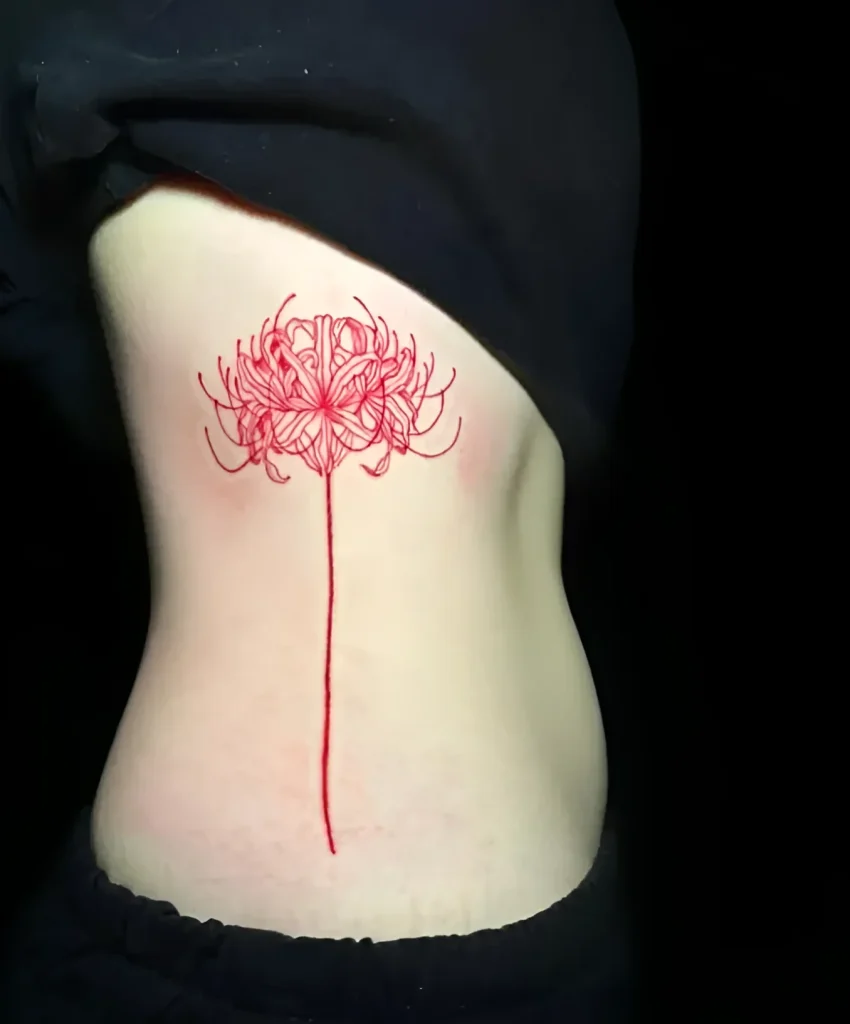
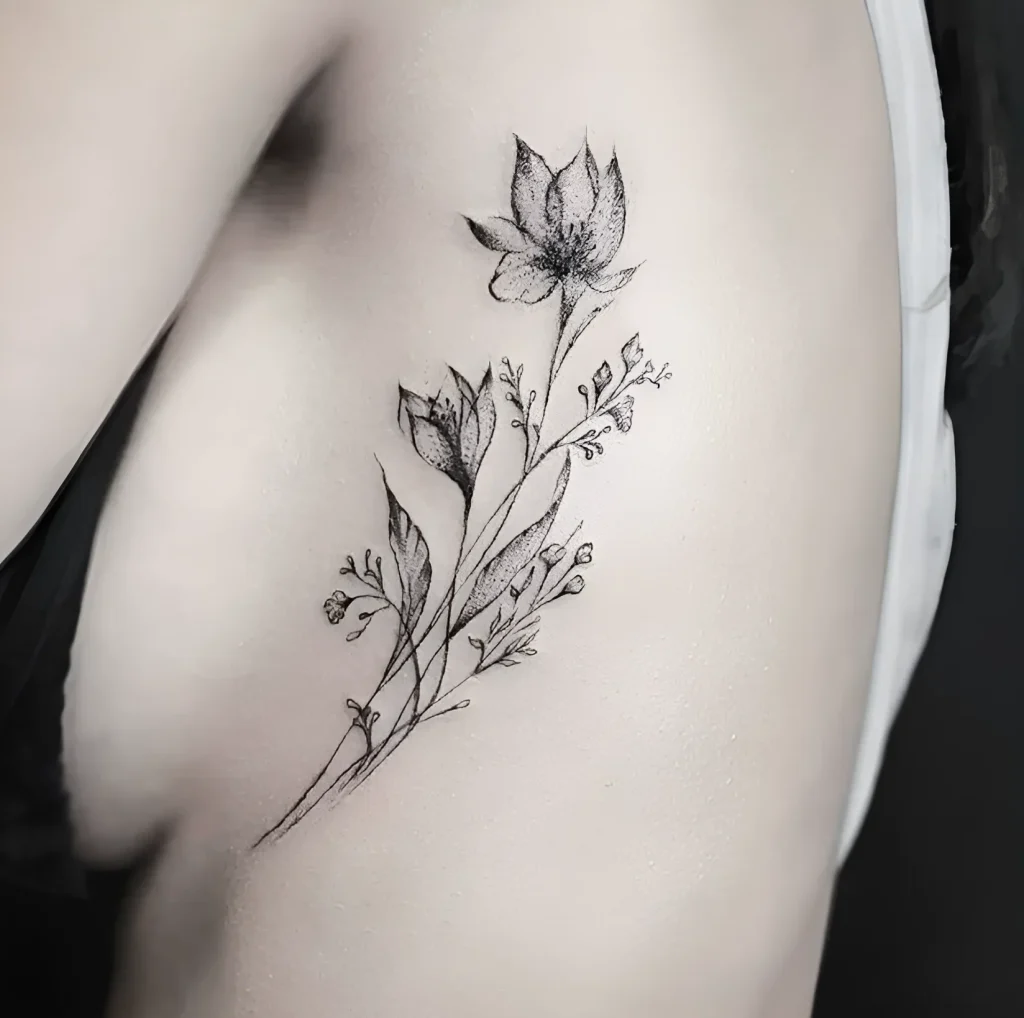
2. Floral Motifs (Branches, Vines, Flowers):
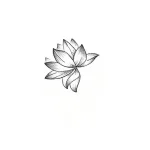
- Meaning: Femininity, growth, renewal. Roses, peonies, and lotuses are particularly popular, smoothly following the curve of the body.
- Artist’s Tip: These motifs are excellent for Blackwork or Dotwork styles, where the play of light and shadow is important, emphasizing the shape of the rib cage.
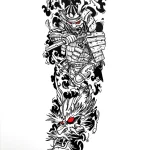
3. Snakes and Dragons:
- Meaning: Wisdom, protection, cyclical rebirth. The curved body of a snake perfectly follows the anatomical curve of the ribs.
- Artist’s Tip: Use the client’s body curvature to create dynamism, making the image “wrap around” the torso.
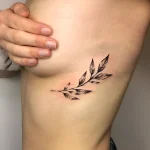
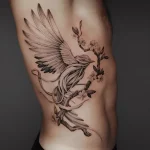
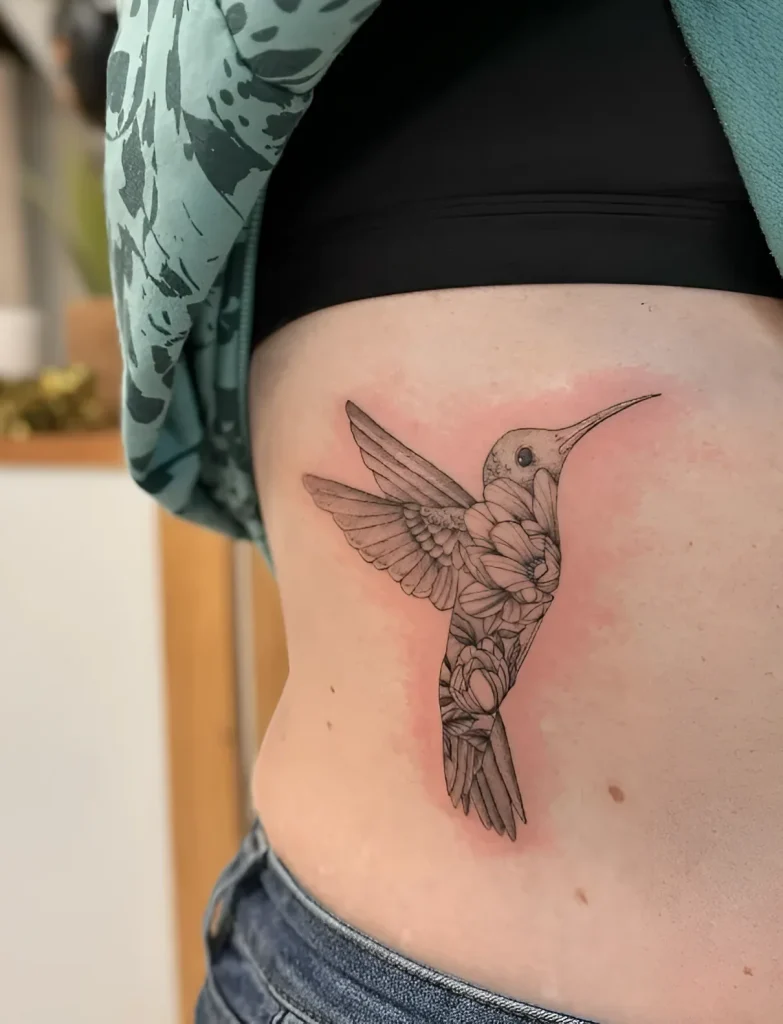
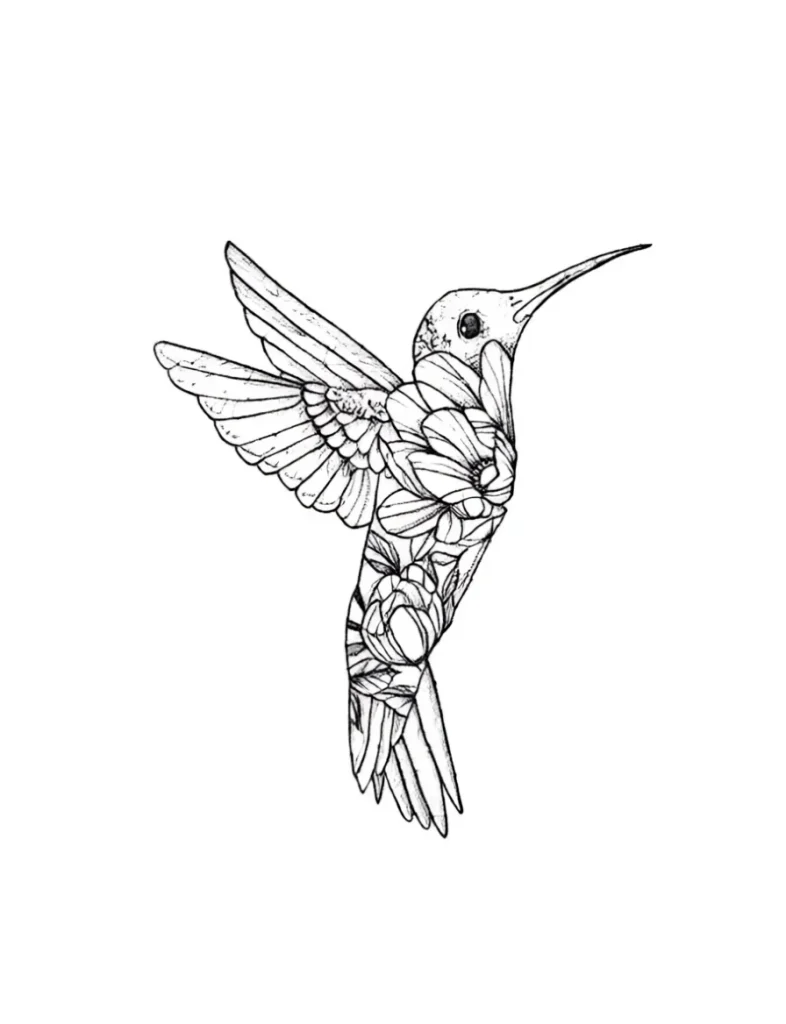
4. Birds and Feathers:
- Meaning: Freedom, lightness, aspiration. Often depicted flying upwards, visually elongating the figure.
- Artist’s Tip: Position the composition so that the birds begin their flight from the lower edge of the ribs towards the armpit or shoulder blade.
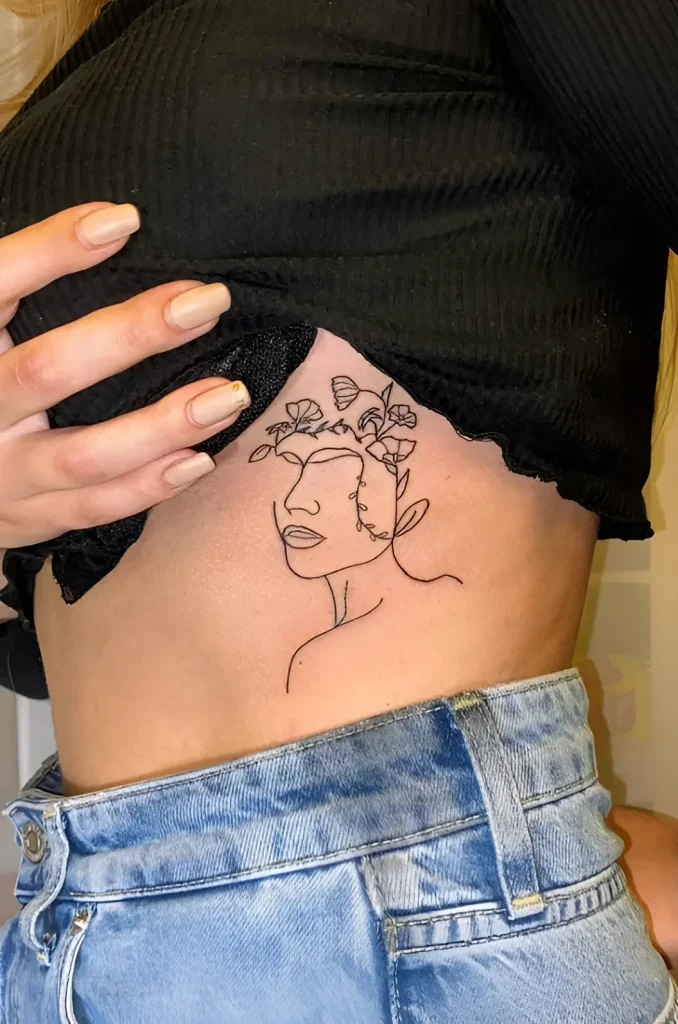
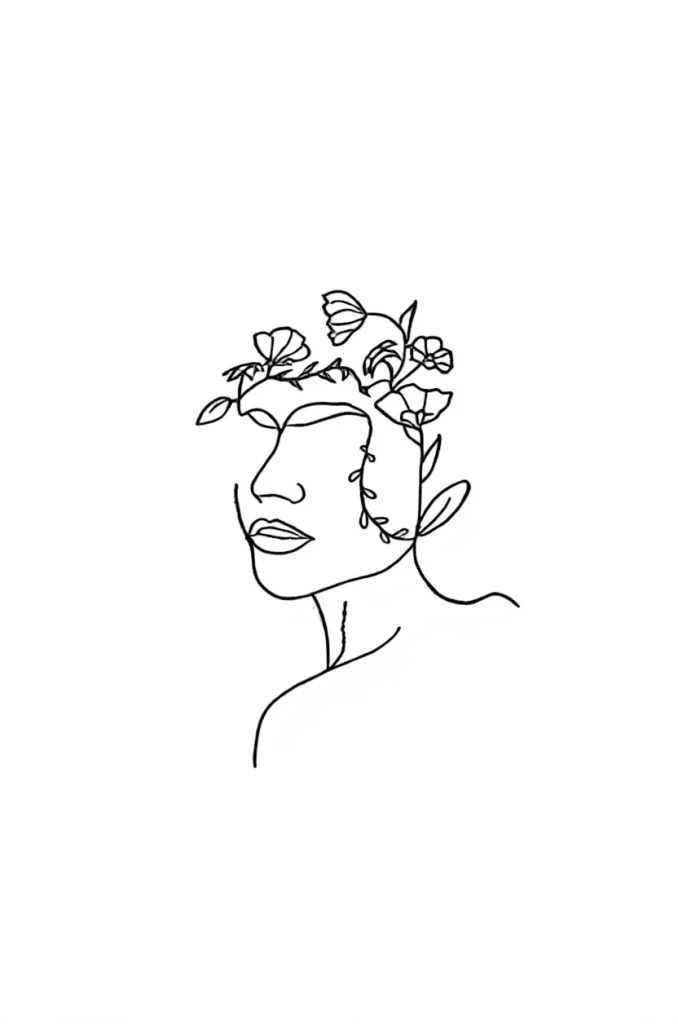
Tattoo Styles for Ribs: From Minimalism to Realism – Which to Choose
The choice of style for ribs directly depends on the tattoo’s purpose and the client’s anatomy. Since the skin here is thin and movement is constant, some styles require special adaptation.
Styles Perfectly Suited for Ribs
1. Fine Line and Minimalism
- Advantages: Require minimal skin trauma, heal quickly, look elegant. Ideal for inscriptions, small symbols, or graphic branches.
- Artist’s Nuances: Hand stability is critically important. Any tremor on the thin rib skin will be noticeable. Use 1RL or 3RL needles.
2. Blackwork and Dotwork
- Advantages: They sit well on contours. Dotwork, due to its technique, is less traumatic than solid fill, which reduces the client’s pain. Blackwork allows for creating powerful yet stylish vertical compositions.
- Artist’s Nuances: When working with dense Blackwork, avoid excessive layering and prolonged work on one area to prevent severe swelling and bruising.
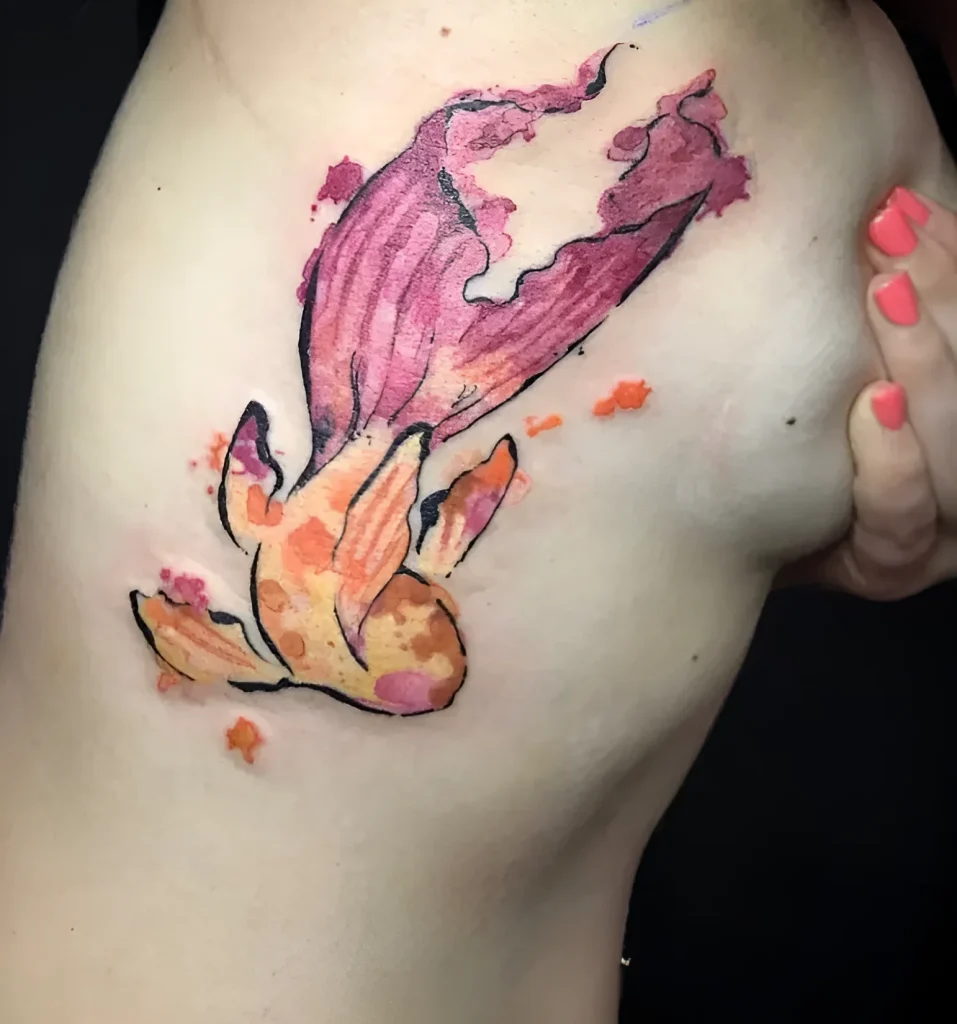
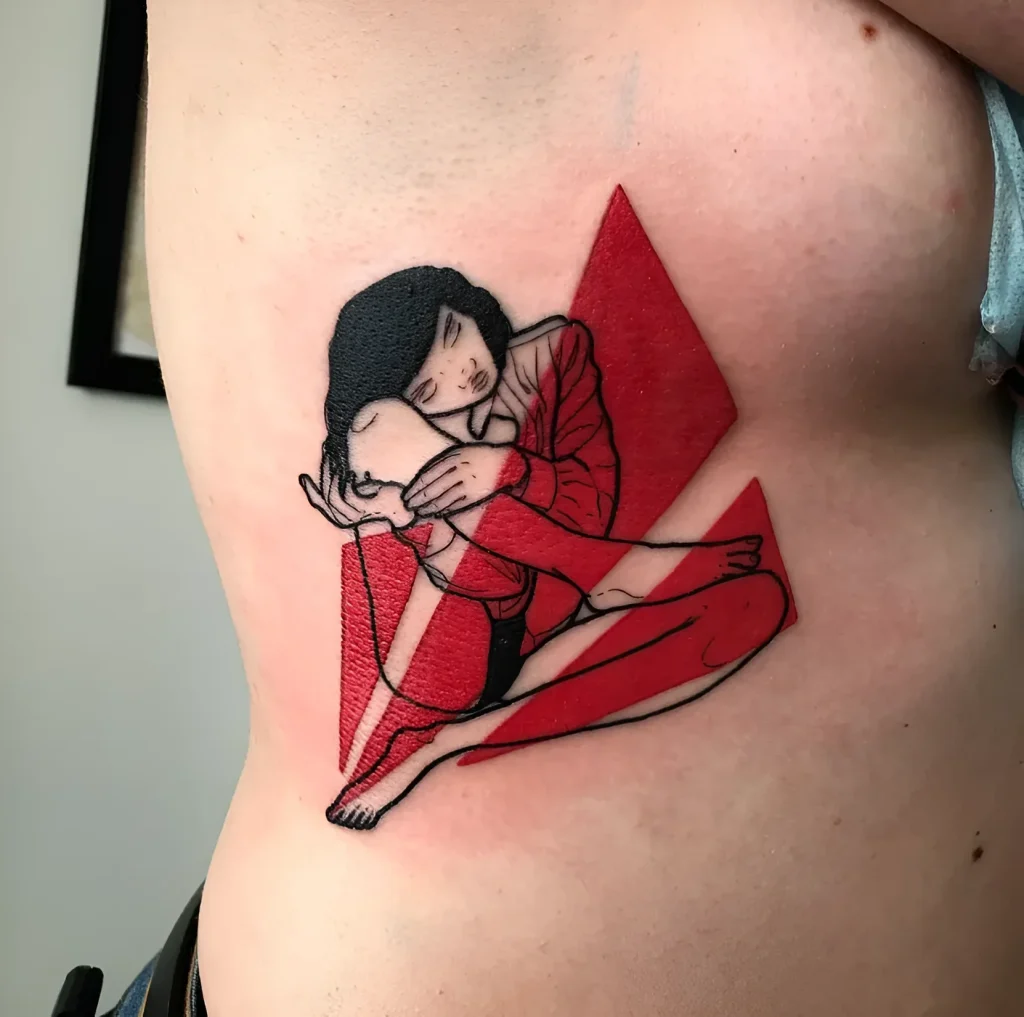
3. Neo-Traditional
- Advantages: Clear outlines and bright, but limited, color palettes. Large flowers, animals, or portrait elements look great.
- Artist’s Nuances: Requires confident work with outlines and solid color. Color may heal slightly longer on the ribs.
Styles Requiring Caution
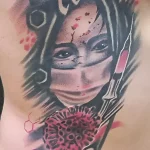
Realism (especially color): Realism requires layered pigment application and dense work. On the ribs, this can be extremely painful for the client and requires long but short sessions (no more than 3-4 hours) to avoid excessive inflammation.
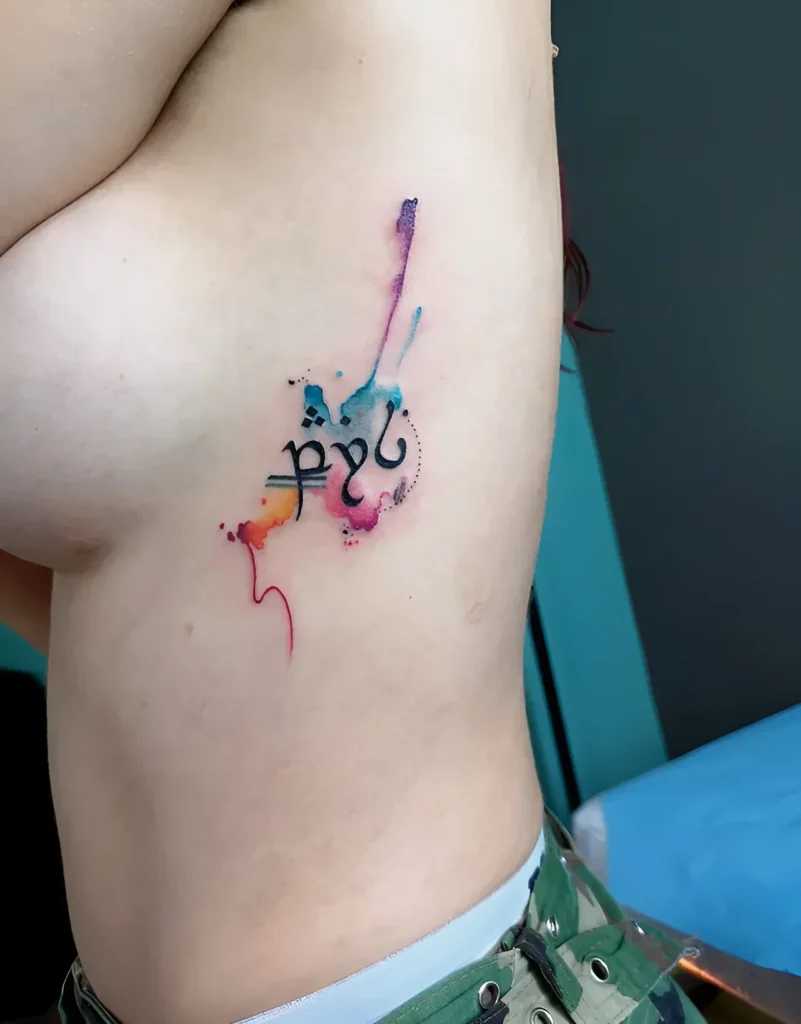
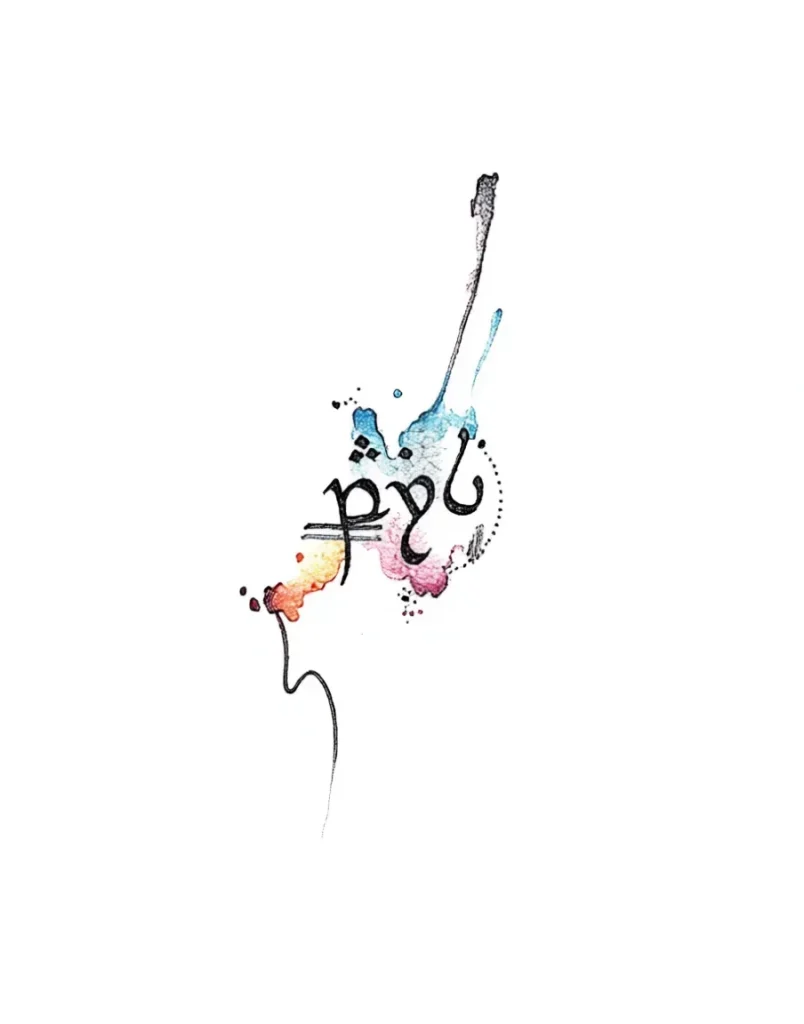
Rib Tattoo Placement: Best Options and Sketch Examples
The success of a rib tattoo depends 50% on correct placement. The sketch should harmoniously fit into the body’s curves, not just be applied to a flat surface.
Key Placement Zones
- Full Vertical (From Armpit to Waist): Ideal for long narrative compositions, quotes, or floral motifs. This is the most extensive area.
- Central Part (Below the Breast, Side): Often used for mandalas, geometric patterns, or small but significant symbols. This area is slightly less painful than the lower rib edge.
- Wrap-around with Transition to Back or Abdomen: Suitable for large-scale works (dragons, waves, landscapes) that use the ribs as a connecting link between the front and back of the body.
Examples of Harmonious Placement
For Vertical Inscriptions:
- The inscription should be placed parallel to the body’s curve. Start from the lower edge of the breast and descend to the waist.
- Beginner’s Mistake: Placing text strictly horizontally. When moving, this can create a “wave” effect and distort the letters.
For Floral Motifs:
- Branches should follow their natural growth direction, curving with the body’s contour. This emphasizes feminine forms.
- Tip: Use contrast between thin stem lines and denser leaf shading to give the work volume on the curved surface.
For Geometric Patterns and Mandalas:
- Round shapes are best placed on the part of the ribs that remains maximally flat when standing (usually the upper third).
- If the mandala is large, it should be slightly elongated vertically to avoid visual compression when viewed from the side.
Tips for Beginner Tattoo Artists Working with the Rib Area: Technique, Pain, and Aftercare
Working on the ribs requires discipline, patience, and specialized technique. This is not an area where you should practice for the first time.
Technical Recommendations for the Artist
1. Stretching (Skin Tension):
- On the ribs, the skin is very mobile. Use the strongest and three-point stretch possible. One hand of the artist stretches the skin upwards, the second downwards, and the third point of tension is the machine itself, which slightly presses the skin.
- Pull the skin not only sideways but also away from the bone.
2. Depth and Pressure Control:
- On the ribs, work with a lower needle protrusion than on fleshier areas.
- Pressure should be minimal. Use a lower machine speed if you are working on outlines to ensure a clean but not traumatic line.
- Constantly monitor the client’s reaction. If you see the skin swelling instantly or bleeding heavily, you are likely applying too much pressure.
3. Client Positioning:
- The ideal position for the client is lying on their side, with the upper arm raised and placed behind the head. This maximally stretches the rib skin and moves the shoulder blade out of the working area.
- Use pillows or a bolster under the waist to level the side surface and reduce the curvature of the spine.
Pain Management and Sessions
The ribs are one of the most painful areas (along with knees, elbows, and head). A beginner artist must be prepared for the client to frequently ask for breaks.
- Short Sessions: Plan sessions no longer than 2.5–3 hours. Prolonged work on the ribs causes severe stress and swelling.
- Anesthesia: Discuss the use of local anesthetics (creams) with the client an hour before the session. However, remember that anesthesia can slightly alter skin texture, making it more “rubbery.”
- Psychological Support: Constantly communicate with the client. Distract them with conversation and remind them of the importance of even, shallow breathing.
Specifics of Rib Tattoo Aftercare
Due to constant movement and friction with clothing (especially bras for women), healing can be more challenging.
- Friction: Warn the client about the need to wear loose clothing, avoiding tight belts and bras in the tattoo area.
- Sleep: Recommend sleeping on the opposite side or on their back for the first week.
- Hygiene: Given that this area is prone to sweating, thorough hygiene and timely moisturizing are critically important.

Frequently Asked Questions About Rib Tattoos (FAQ)
How painful is getting a tattoo on the ribs?
Most clients rate the pain on the ribs as high (8-9 out of 10). The reason is the minimal layer of fat and muscle, as well as the direct transmission of machine vibration to the bone. The pain level can be higher for lean individuals and in the lower rib area.
How long does a rib tattoo take to heal?
Initial healing takes 10-14 days. However, due to constant friction and body movement, complete skin recovery can take up to 4-6 weeks. It is important to strictly follow aftercare recommendations to avoid secondary infection.
Will a rib tattoo stretch significantly after weight gain or pregnancy?
Rib tattoos located above the waist are less prone to stretching than tattoos on the abdomen or lower back. Minor weight changes usually do not affect the quality of the work. However, during pregnancy or significant weight gain, the skin in this area can stretch, leading to slight distortion of the image. The thinner the lines, the less noticeable the changes will be.
Do rib tattoos fade faster?
No, the ribs are one of the most sun-protected areas, as they are almost always covered by clothing. Tattoos here retain their vibrancy longer than on the arms or legs. The main problem affecting quality is not fading, but the potential for “bleeding” of the outline due to incorrect application depth.

Interesting Facts About Tattoos on the Side of the Rib Cage
Rib tattoos, in addition to their complexity, have several unique features that set them apart in tattoo culture:
1. “Canvas for Introverts”: The rib area is often chosen by people who want a large, meaningful tattoo but do not wish to display it to the general public. It’s an ideal compromise between scale and privacy.
2. Symbol of Endurance: Since working on the ribs requires significant patience and endurance from the client, a completed tattoo is often perceived as a symbol of overcoming pain and personal strength.

3. “Dialogue Tattoo”: Many rib tattoos, especially long texts, are designed to be read only in a specific body position (e.g., when the person raises their arm or turns). This makes them a kind of intimate dialogue between the client and those they choose to show their work to.
4. Ideal Zone for “Volumetric” Art: Professional artists use the curvature of the ribs to create a 3D effect or “wrapping” (e.g., branches wrapping around the body), which is impossible on flat areas like the back or thigh. The ribs allow the work to have a natural, anatomically determined volume.
Conclusion
A rib tattoo is the pinnacle of skill and patience. If you, as a beginner artist, master the technique of working in this complex, dynamic, and sensitive area, you will not only significantly improve your professional level but also be able to create truly deep and impressive works for your clients. Remember: the key to success here is thorough anatomical study, perfect stretching, and respect for the client’s pain threshold.
Additional Images
Gallery of remaining images (click to view):