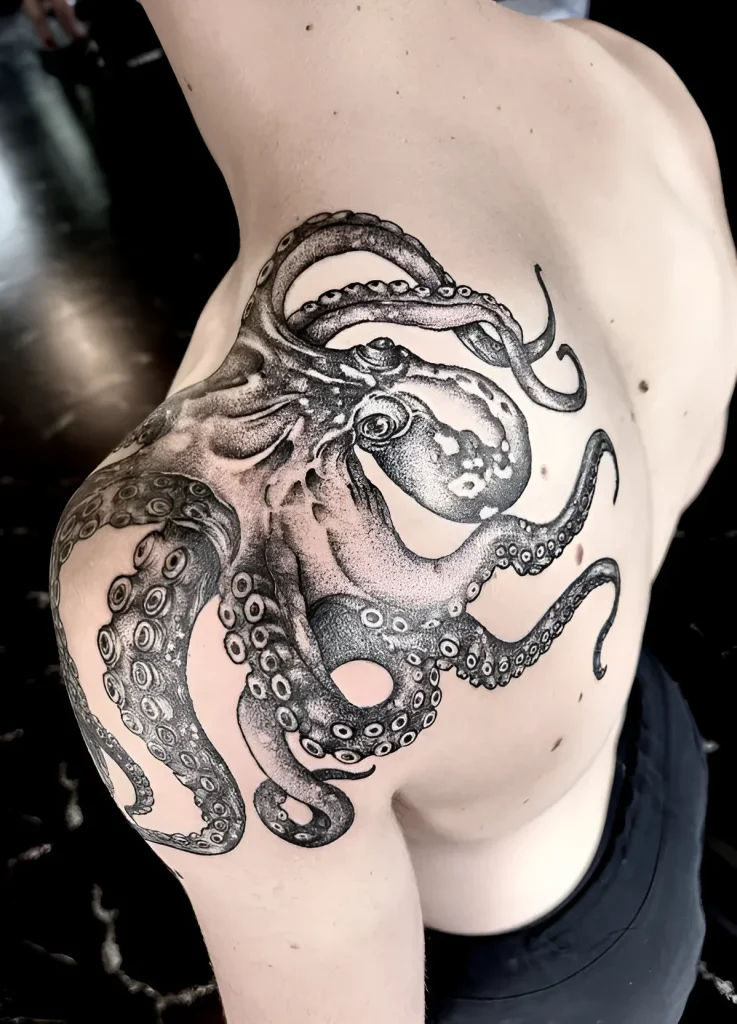
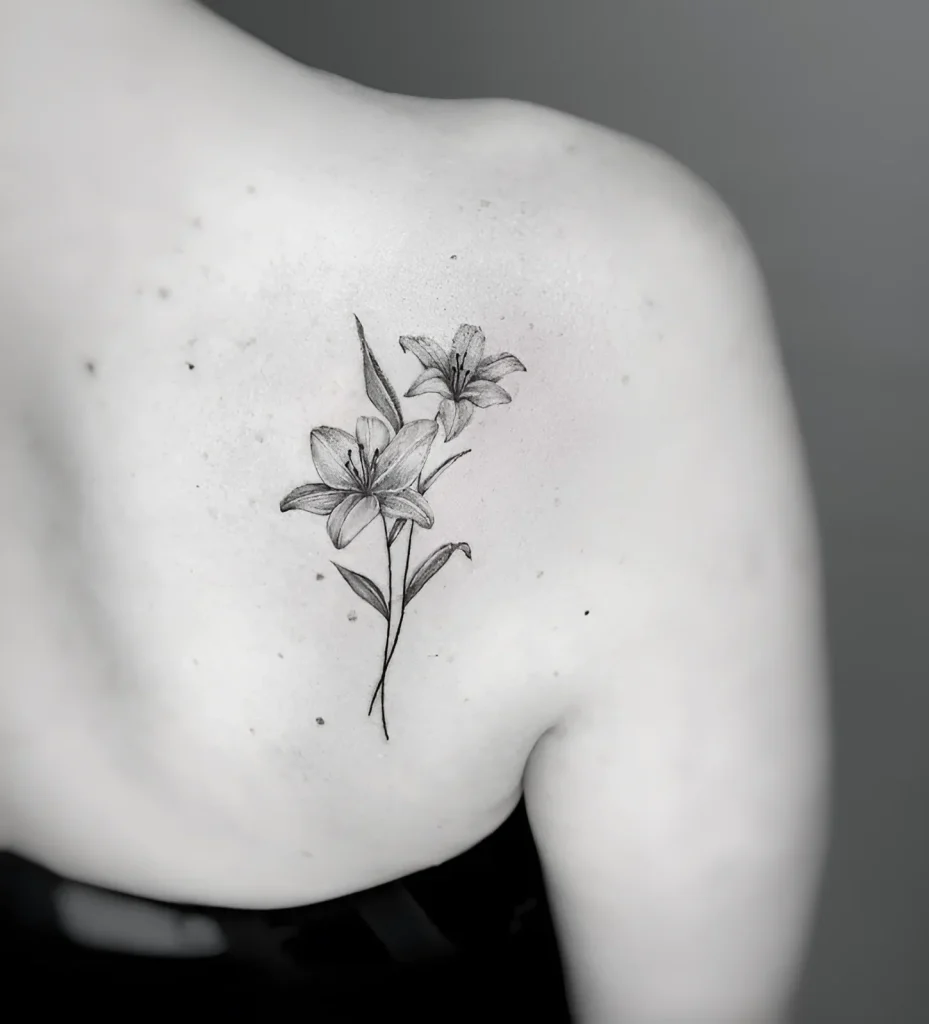
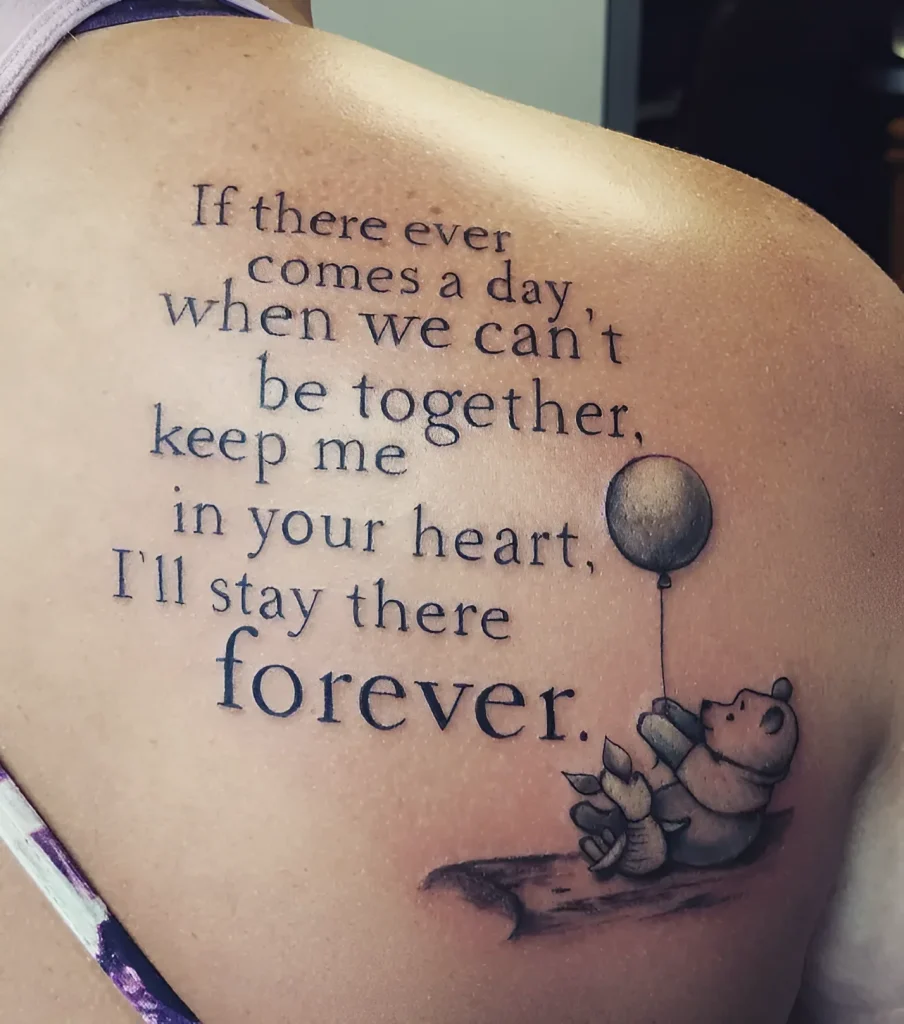
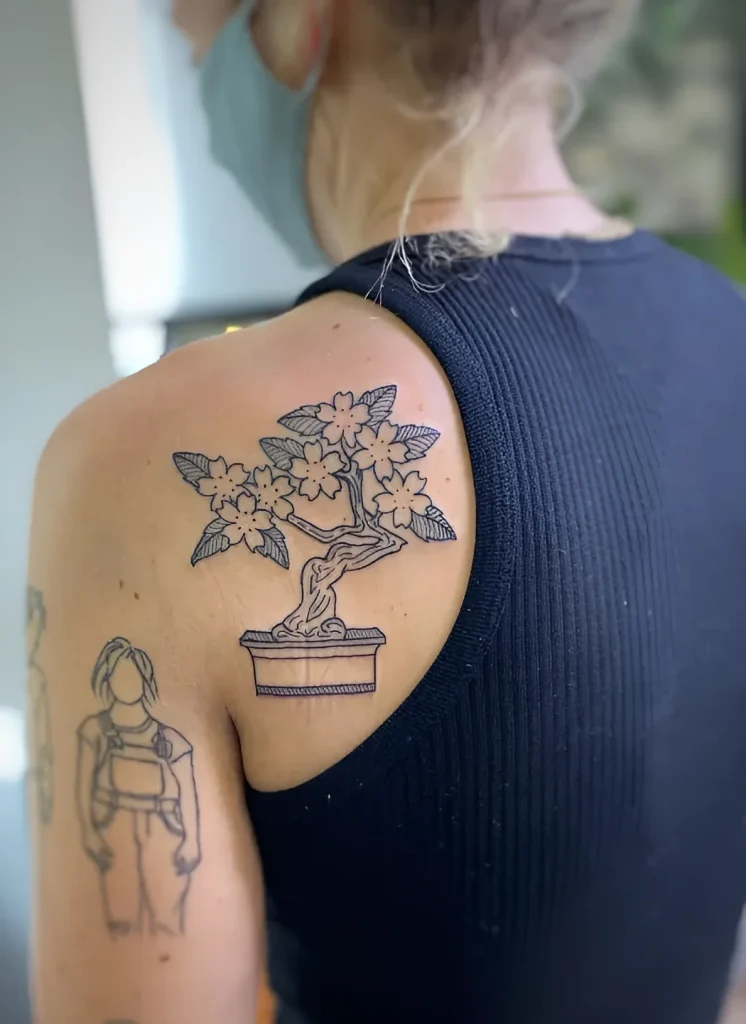
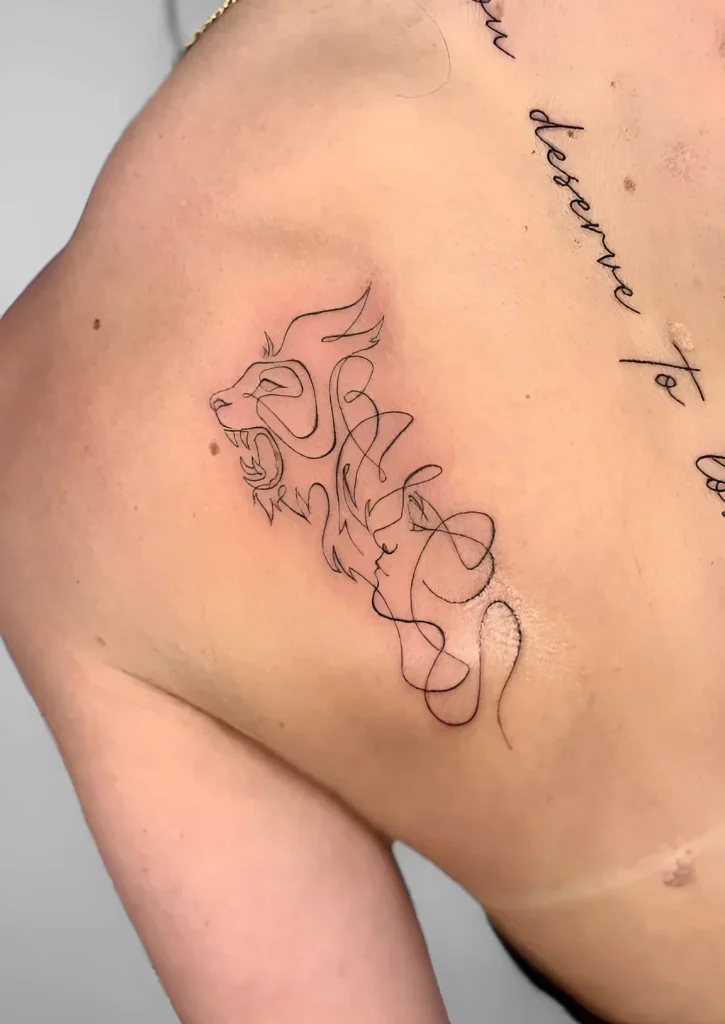
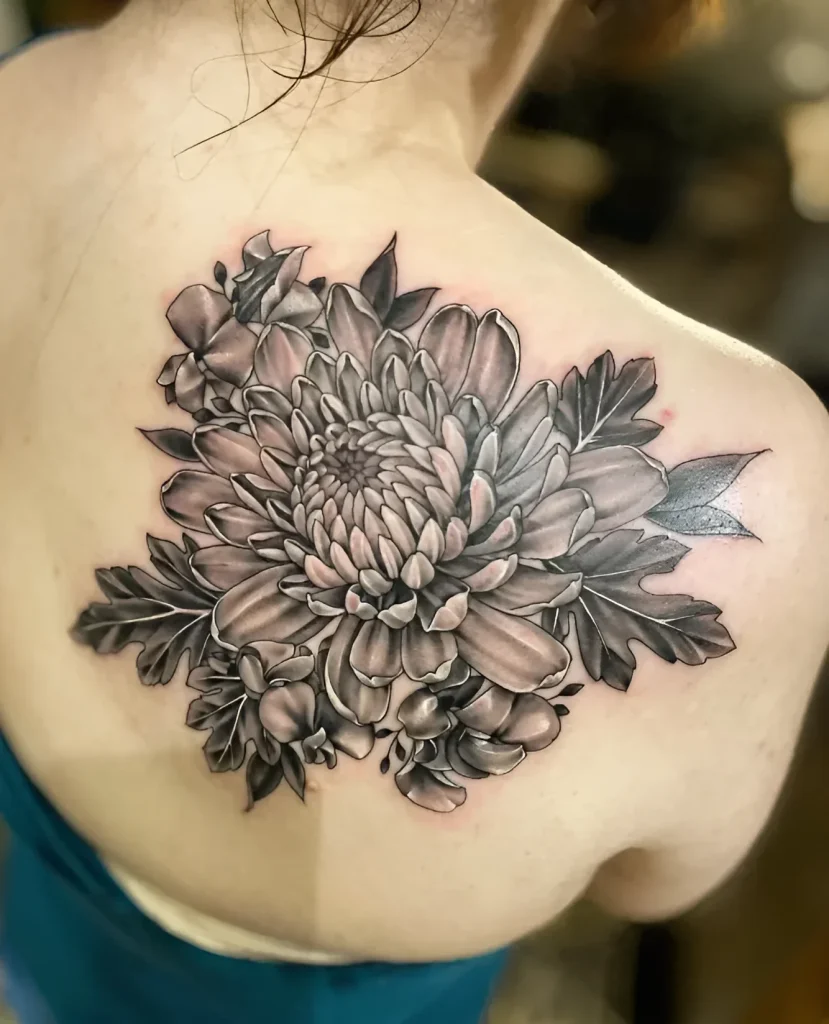
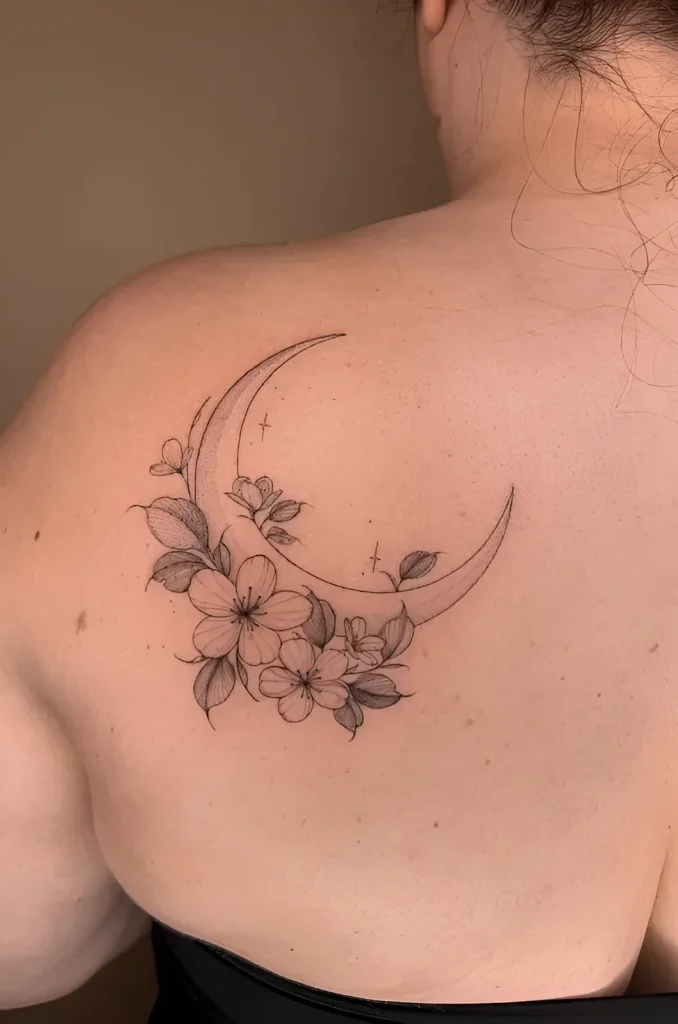
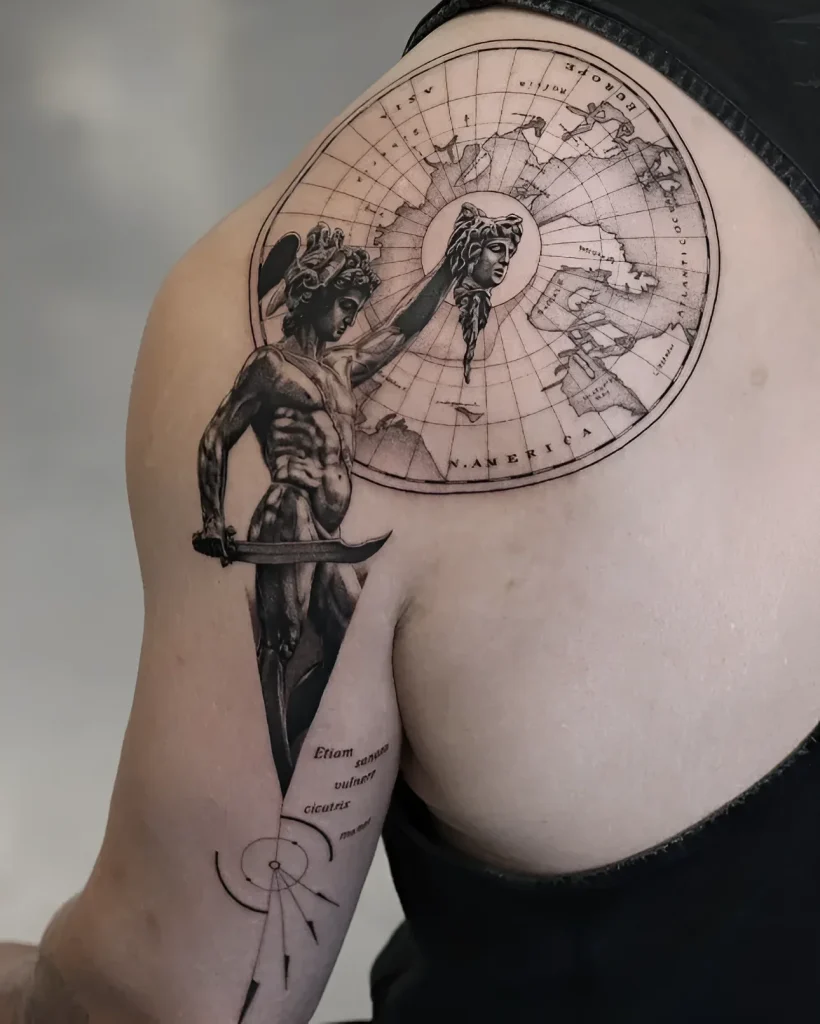
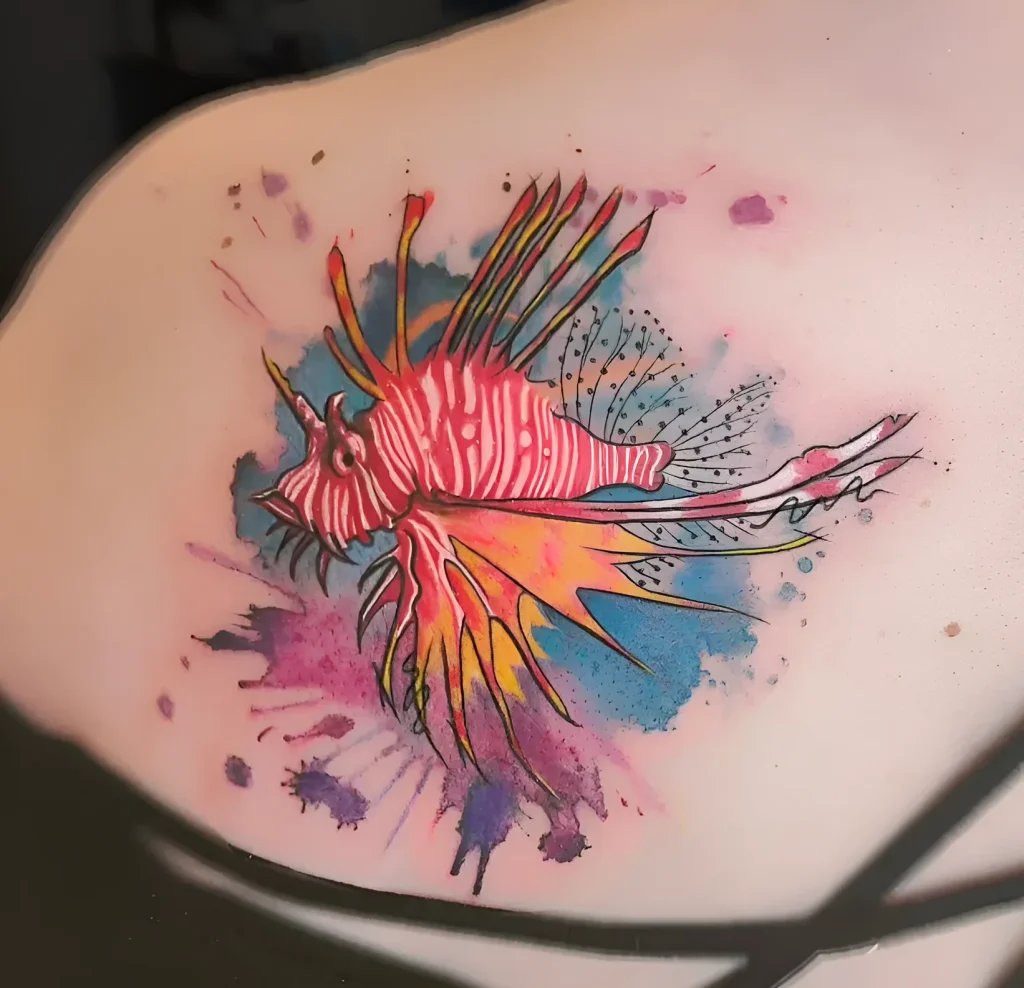
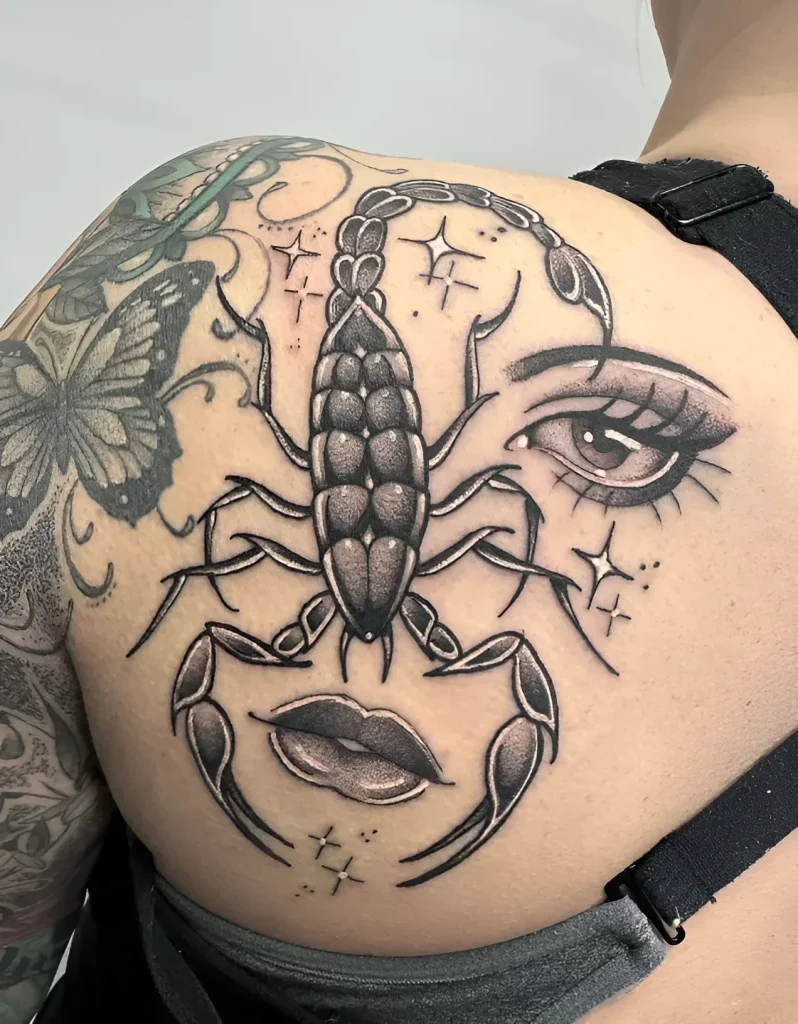
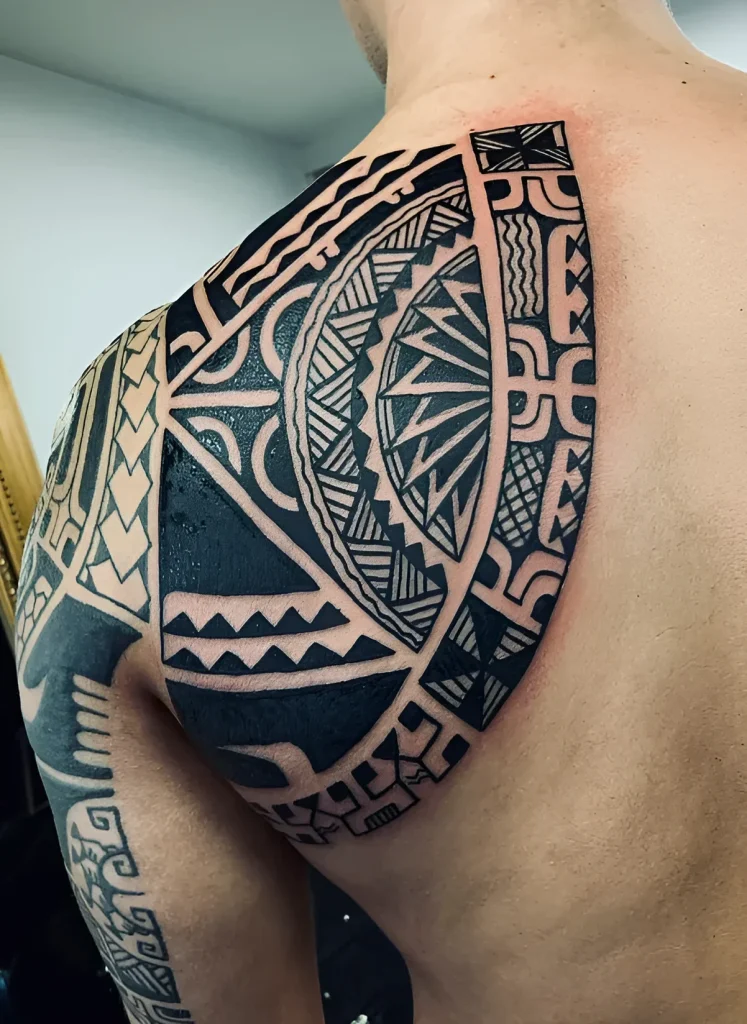
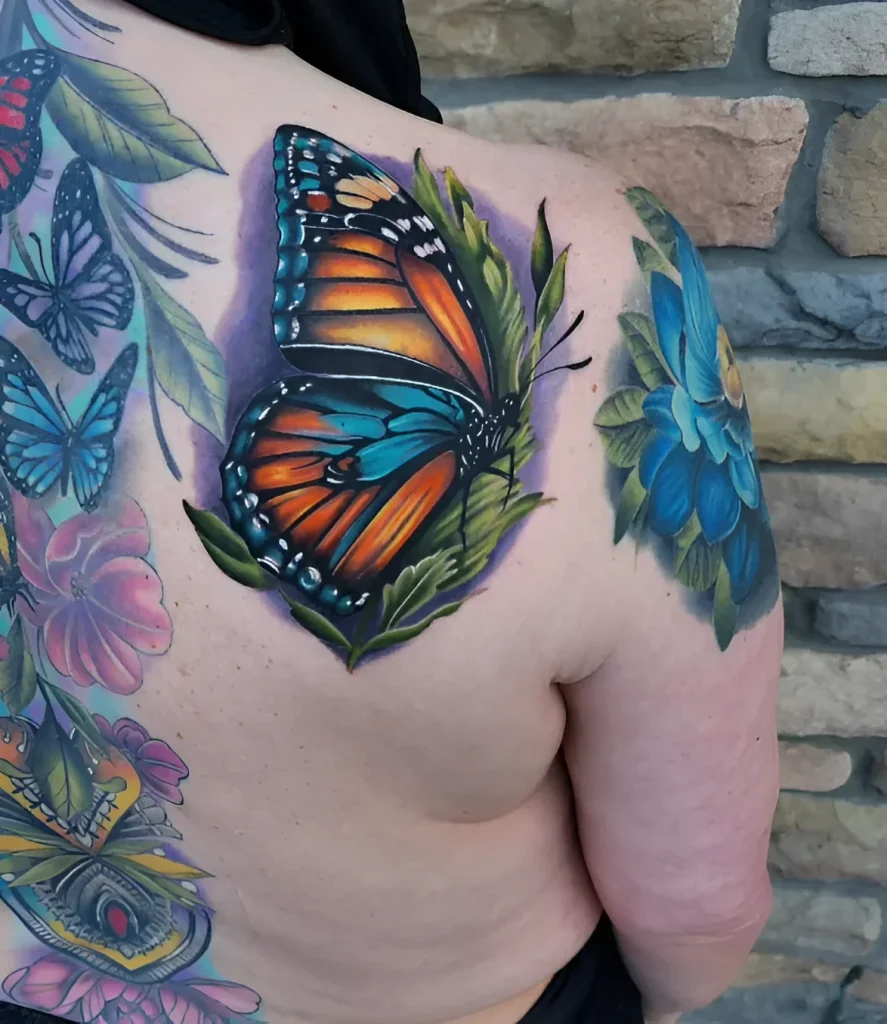
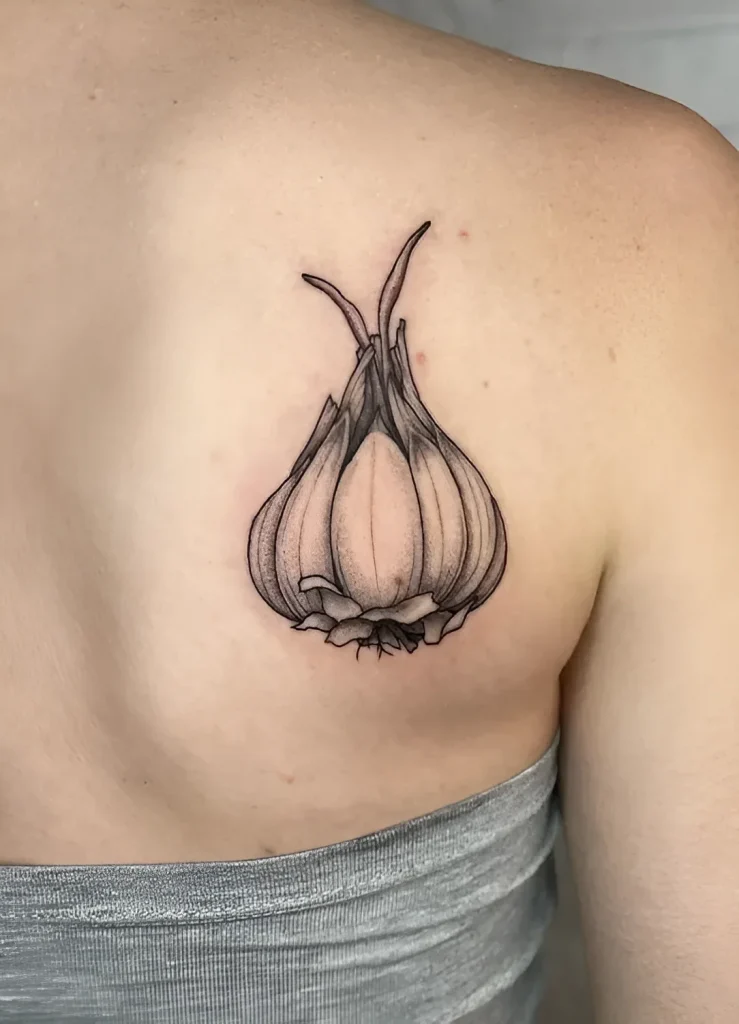
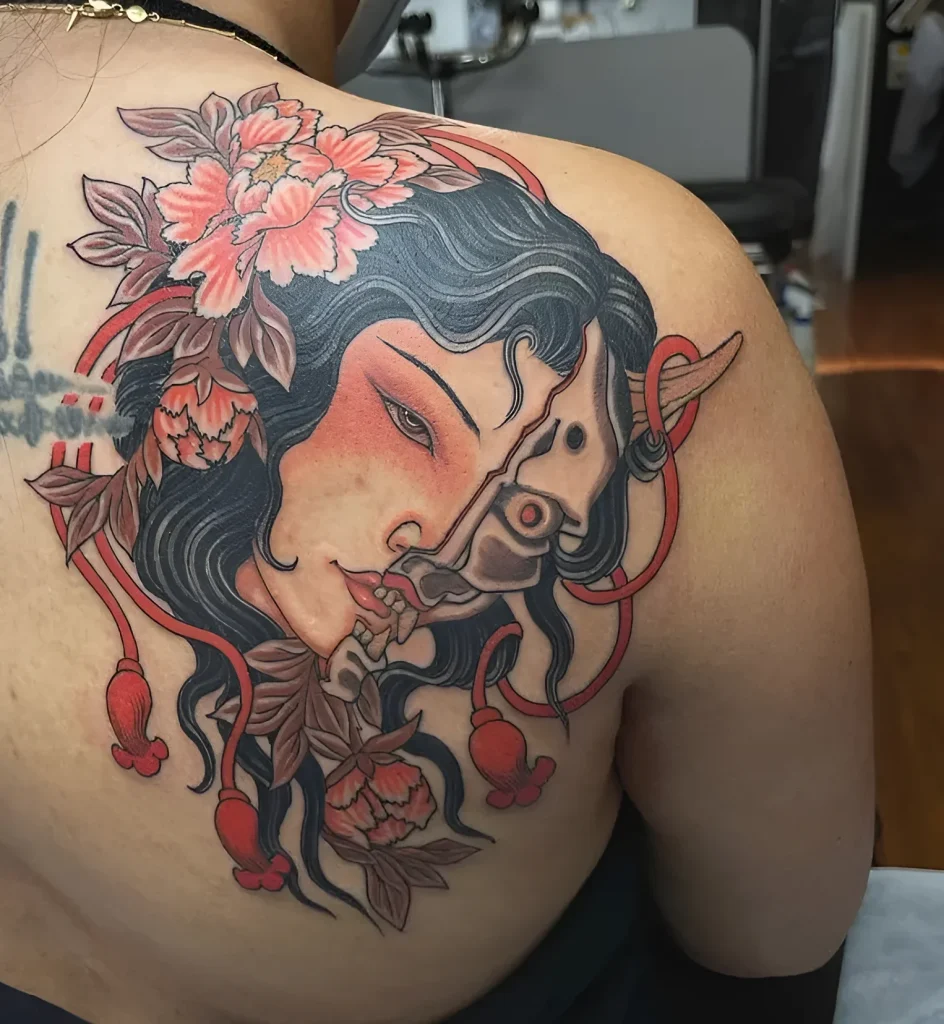
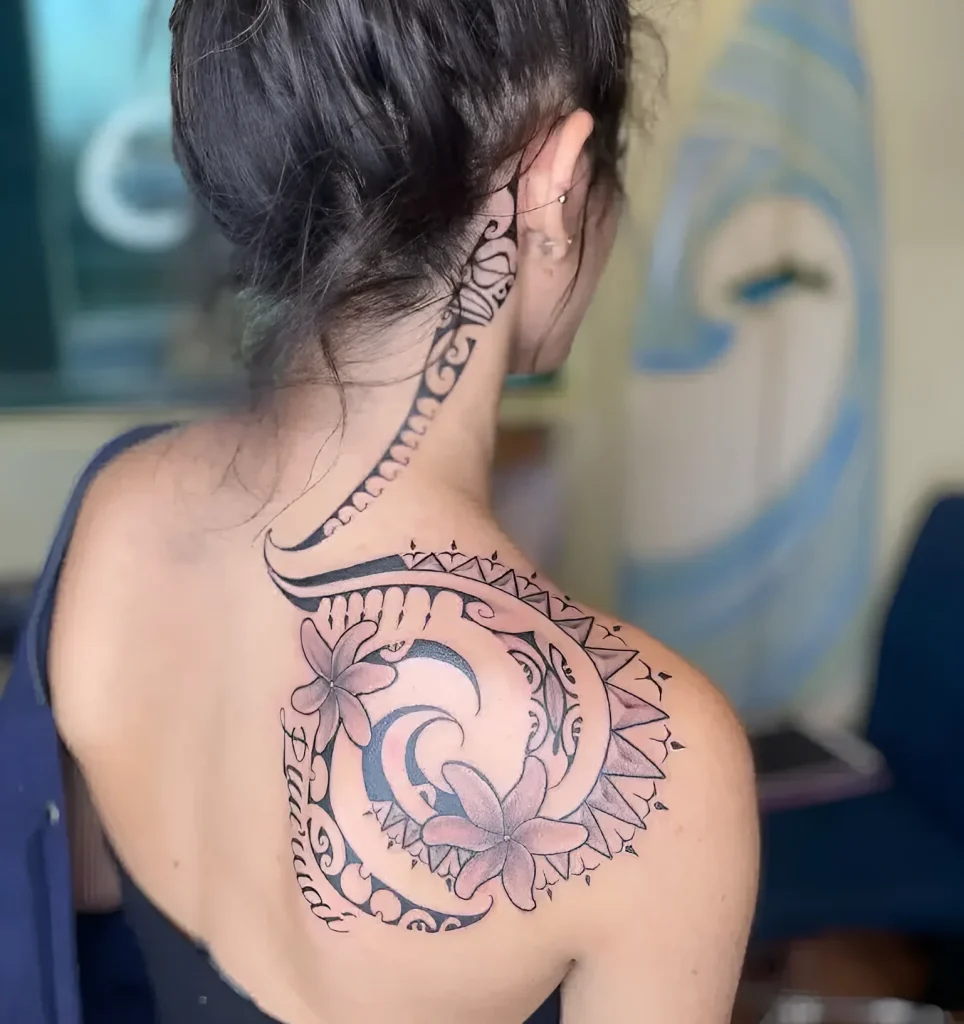
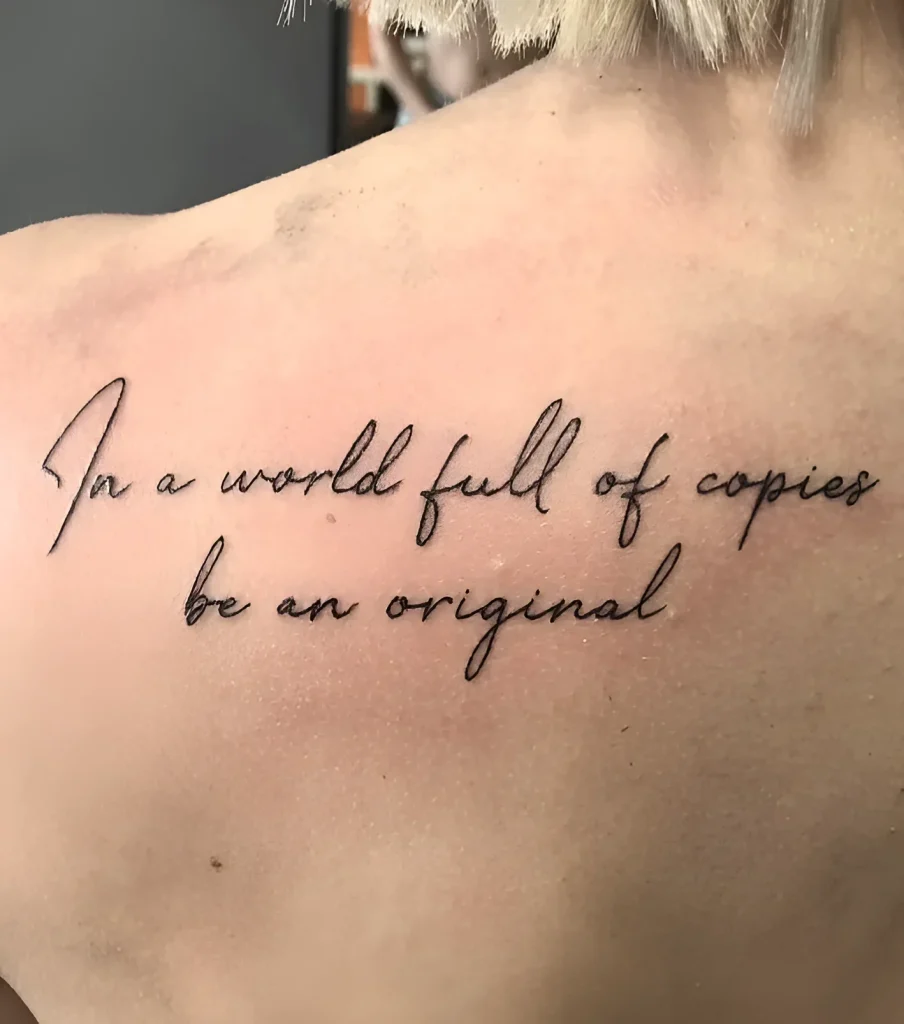
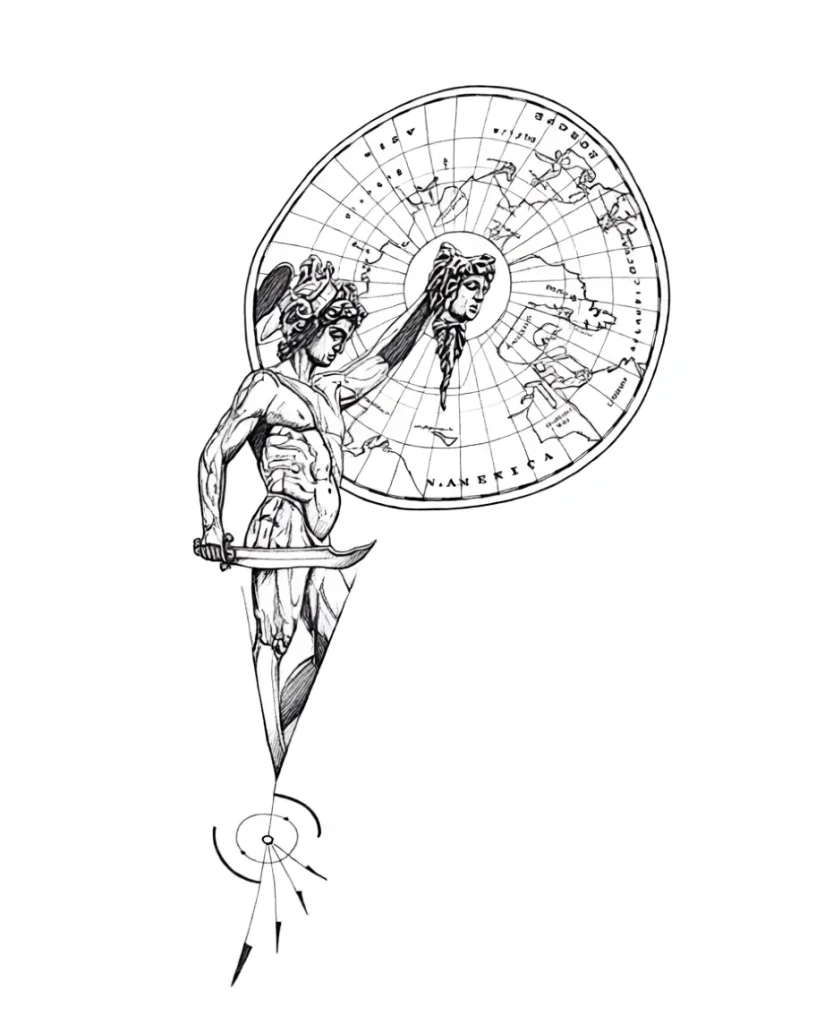
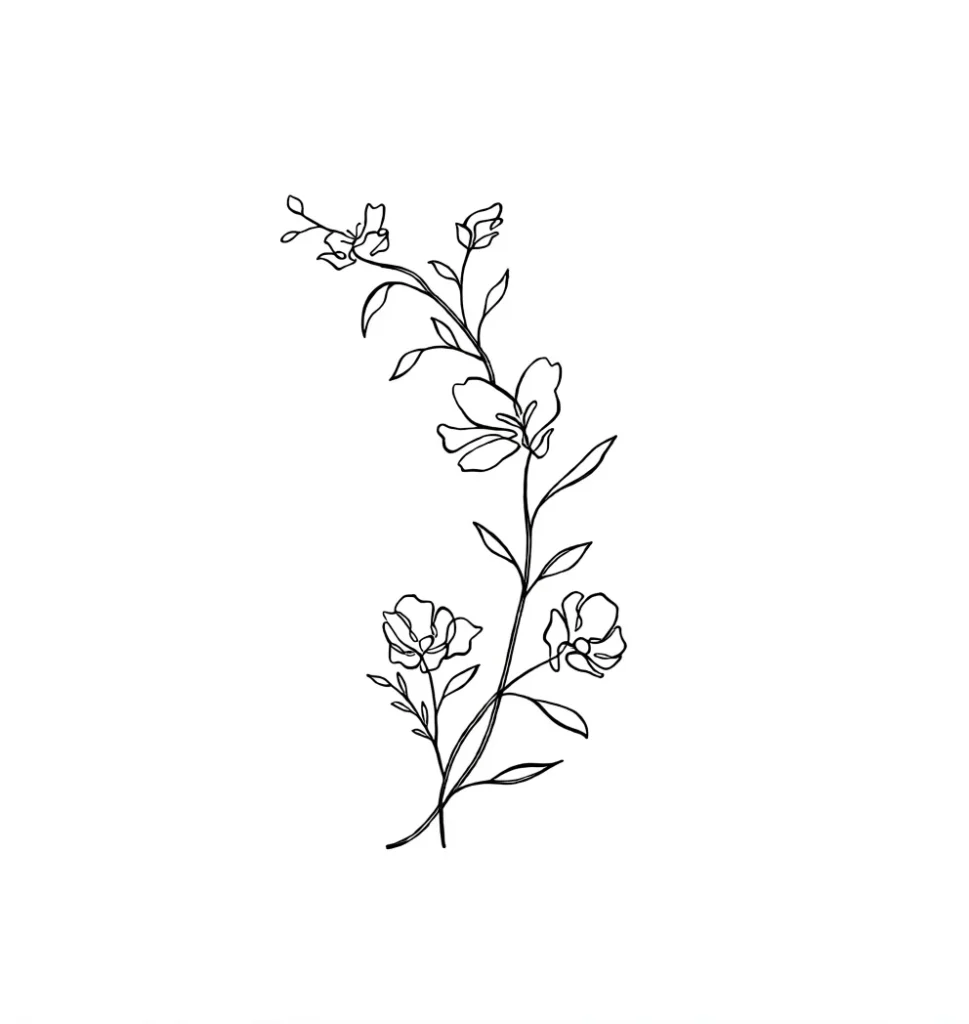
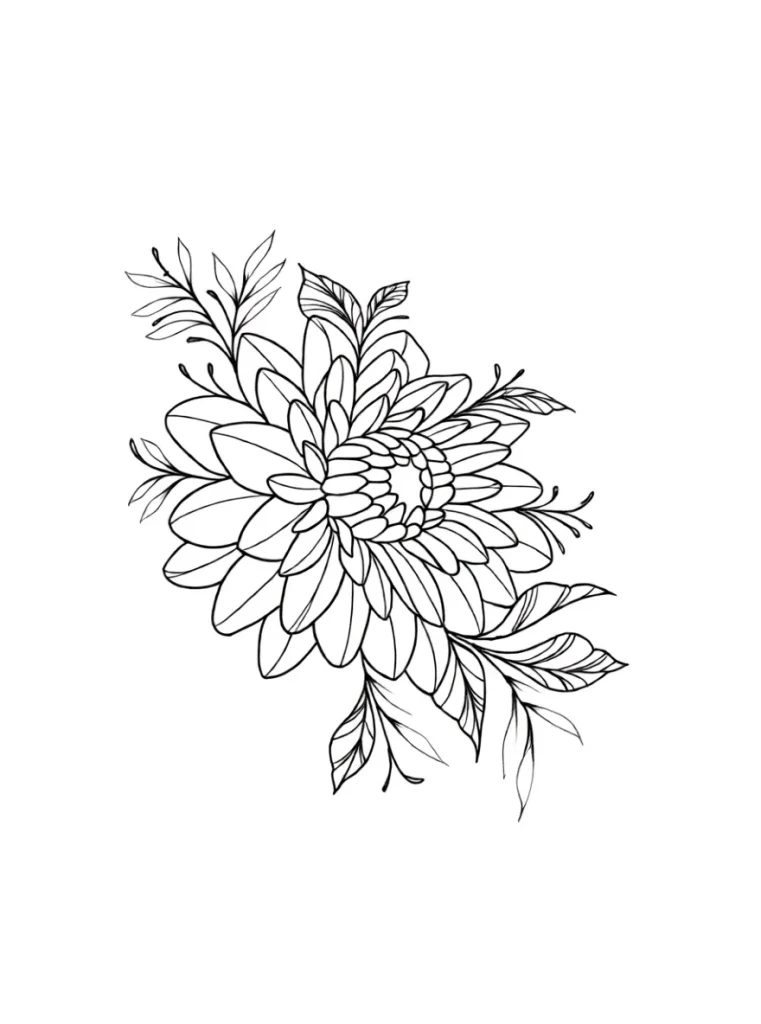
The shoulder blade, or scapula, is one of the most attractive yet technically challenging areas for tattooing. This area provides an expansive, curved canvas, ideal for large-scale, dynamic compositions that can seamlessly flow onto the back, shoulder, or chest. However, working here requires the artist to have a deep understanding of anatomy, knowledge of specific skin-stretching techniques, and the ability to work with constant muscle tension. This guide is designed specifically for beginner tattoo artists who wish to master all the nuances and specifics of tattooing this premium area.

Tattoo on the Shoulder Blade: A Complete Guide for Beginner Tattoo Artists – Where to Start
Before you start working with the needle, thorough preparation is necessary. The success of a shoulder blade tattoo depends 50% on proper planning and client consultation.
Step 1: Consultation and Sketch Placement
The shoulder blade is an area where the shape and skin tension change significantly with arm movement. This is a key point that a beginner artist must consider.
- Assessing Mobility: Ask the client to perform several arm movements (raise, lower, bring shoulder blades together). This will help understand how the tattoo will “live” on the skin.
- Choosing the Composition: Determine if the design will follow the natural curve of the shoulder blade (ideal for wings, flowers, dragons) or if it will be strictly geometric. Geometry requires particular precision in placement.
- Central Axis: Ensure the sketch is centered relative to the spine’s axis and the bone’s natural curve. A 1-2 mm error on the shoulder blade becomes critical when the client stands upright.

Step 2: Preparing the Workspace and Client
Client and artist comfort are crucial, as the work can take many hours, and the pose must be as static as possible.
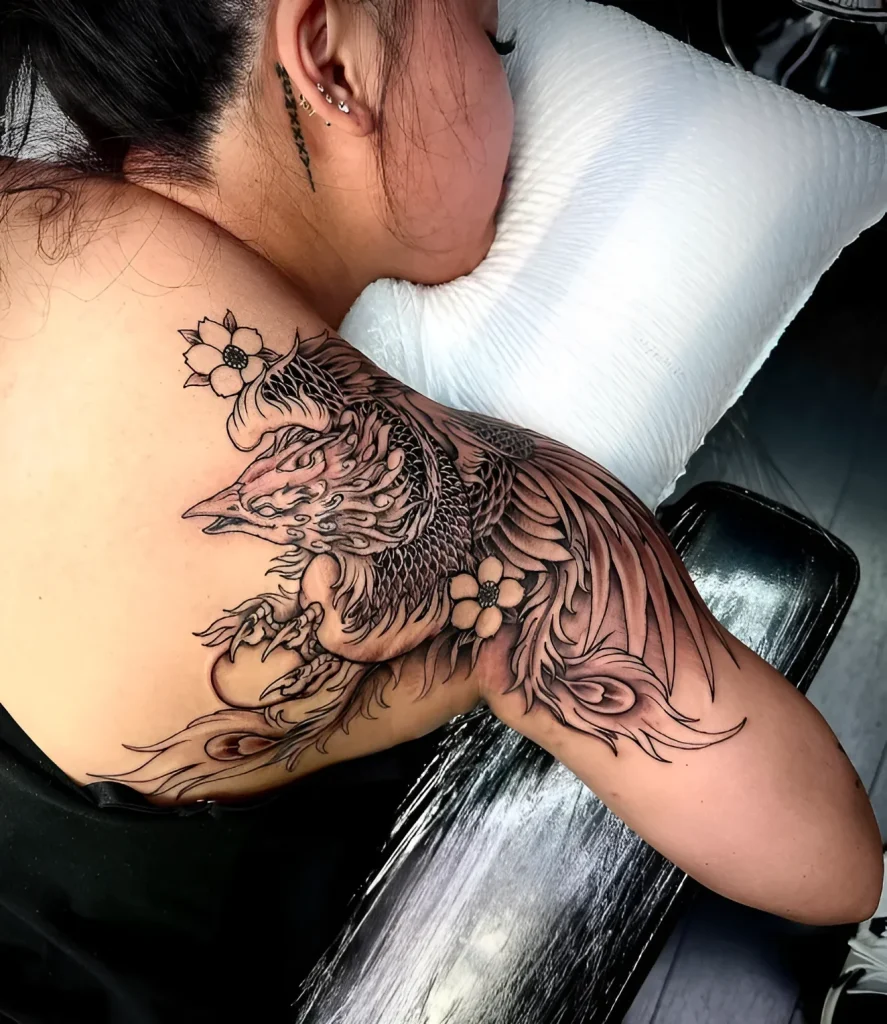
- Client’s Position: The optimal pose is for the client to sit slightly leaning forward, resting their hands on a pillow placed on a special table or couch. This helps to spread the shoulder blades as much as possible and stretch the skin over the bone.
- Lighting: Use directional light to avoid shadows cast by the curved surface of the shoulder blade.
- Disinfection and Shaving: Thoroughly clean the entire area, including adjacent shoulder and trapezius zones, as the sketch may extend beyond the planned area.
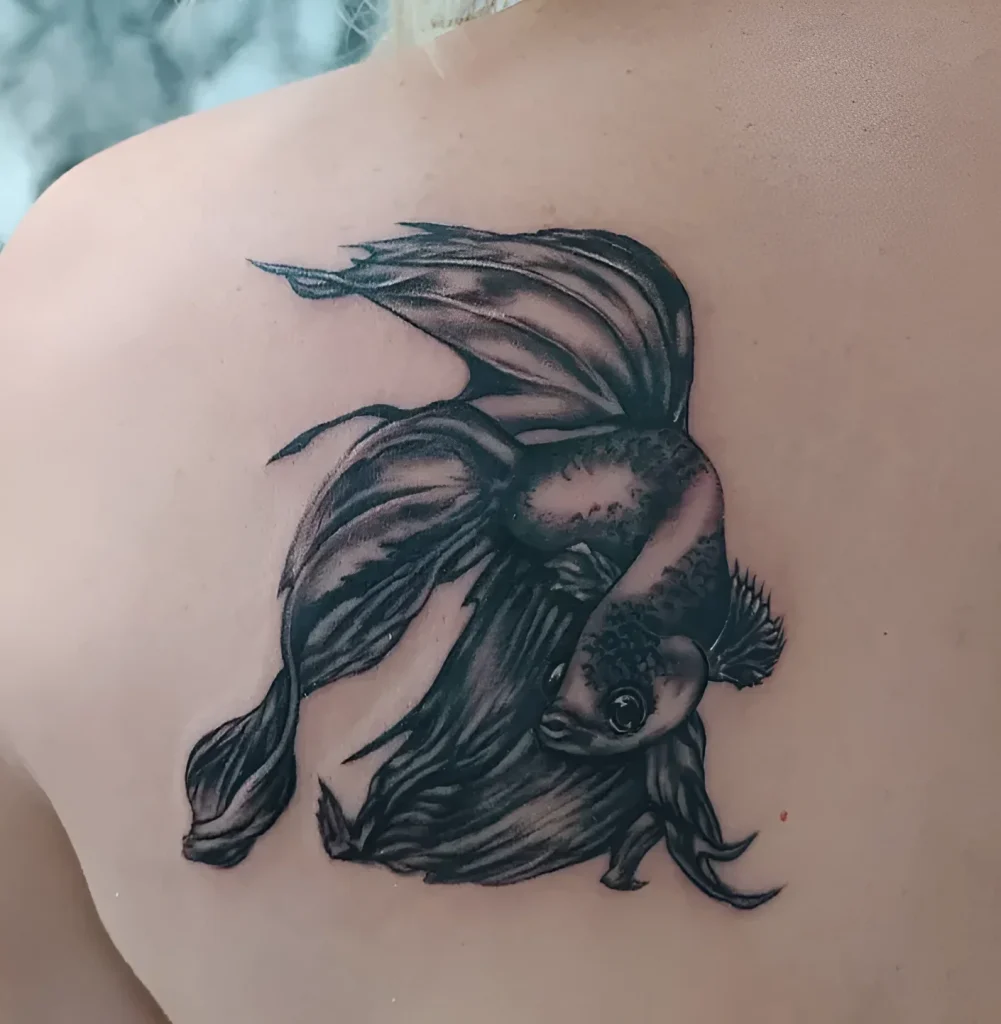
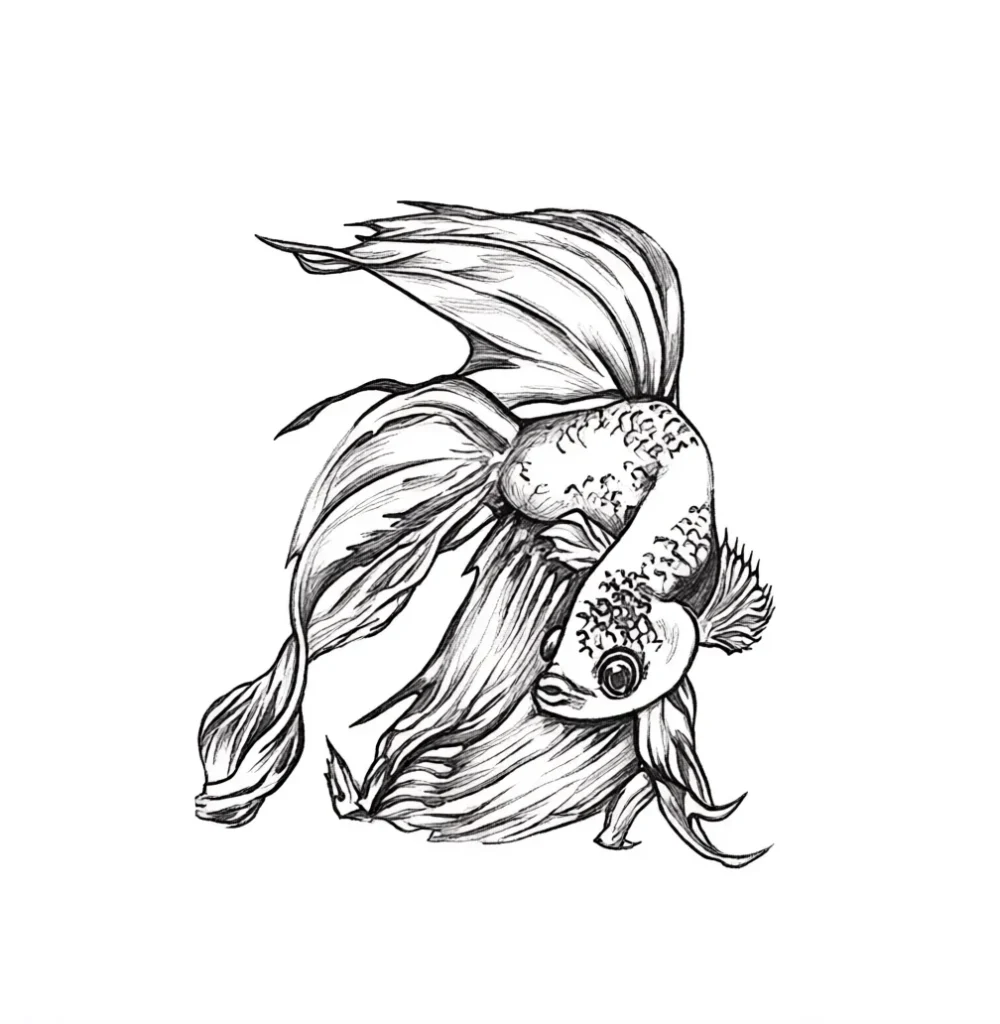
Shoulder Blade Anatomy and Skin Characteristics for Tattooing: Important Nuances
Understanding the anatomy of the shoulder blade (scapula) and its surrounding muscles (trapezius, deltoid, rhomboids) is the foundation for safe and high-quality work in this area.
Bone Structure and Muscular Corset
The shoulder blade is a flat, triangular bone that is not directly connected to the ribs but is held in place by a powerful muscular corset. This creates several technical difficulties:
- Direct Proximity to Bone: Over the shoulder blade, the skin is often thinner than, for example, on the arm or forearm. When working directly over the bone (especially the spine of the scapula), the artist must be extremely careful to avoid over-penetrating the needle, which can lead to blowout (pigment spreading).
- Mobility: The muscles (especially the trapezius and rhomboids) are constantly in motion or under tension. If the client is not relaxed, the skin will “move,” making it difficult to lay down straight lines.
- Varying Skin Thickness: In the upper part (closer to the neck and trapezius), the skin can be thicker and fattier, requiring a more confident pass. In the central part, directly over the bone, the skin is thinner and more sensitive.
Sensitivity and Pain Threshold
Contrary to popular belief, the shoulder blade can be a quite painful area, especially for individuals with a low percentage of subcutaneous fat:
- Bone Edges: Areas where the skin is stretched directly over the bone’s edge (especially the medial edge, closer to the spine) are highly sensitive. Nerve endings run here, and the machine’s vibration is felt more intensely.
- Accessory Areas: The area where the shoulder blade transitions to the armpit or shoulder can also be sensitive due to the thinness of the skin.
Artist’s Tip: Always warn the client about potential vibration and discomfort when working directly over the bone. Use machines with minimal vibration and avoid working on one spot for too long.
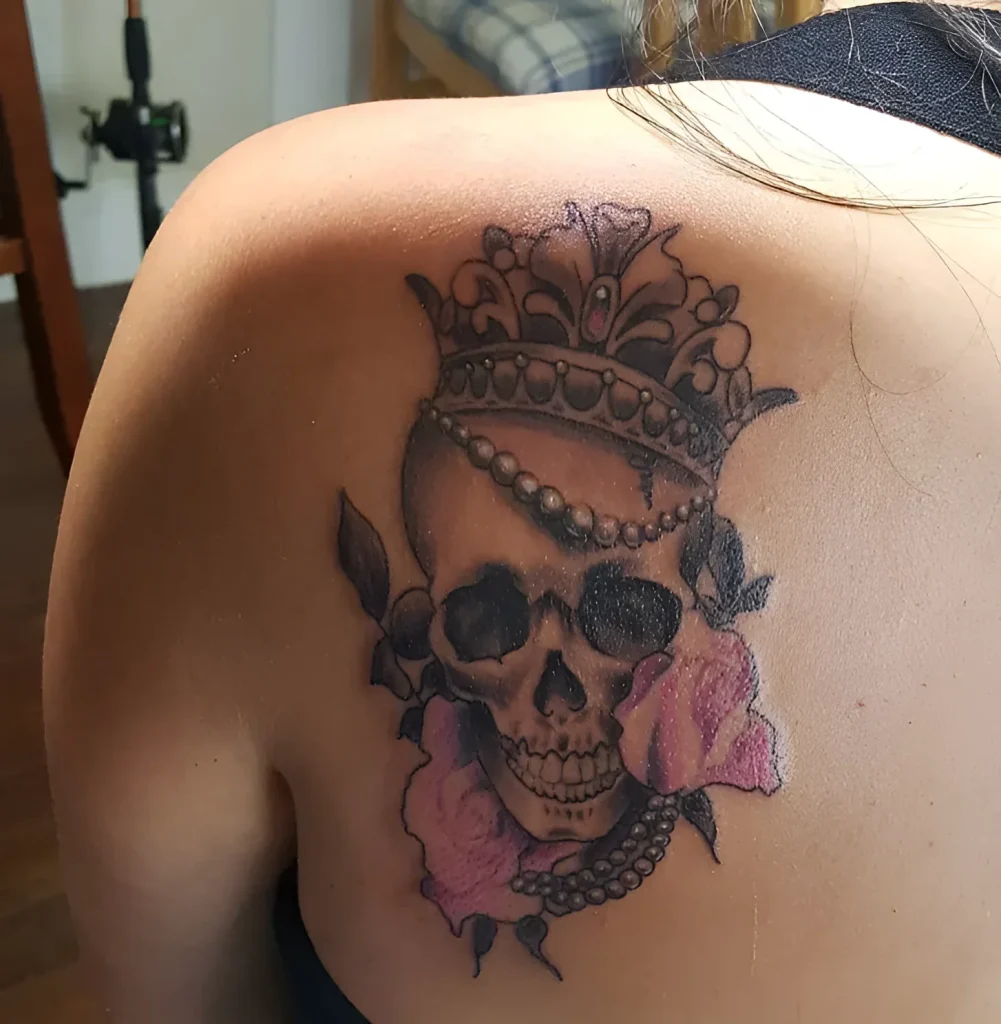
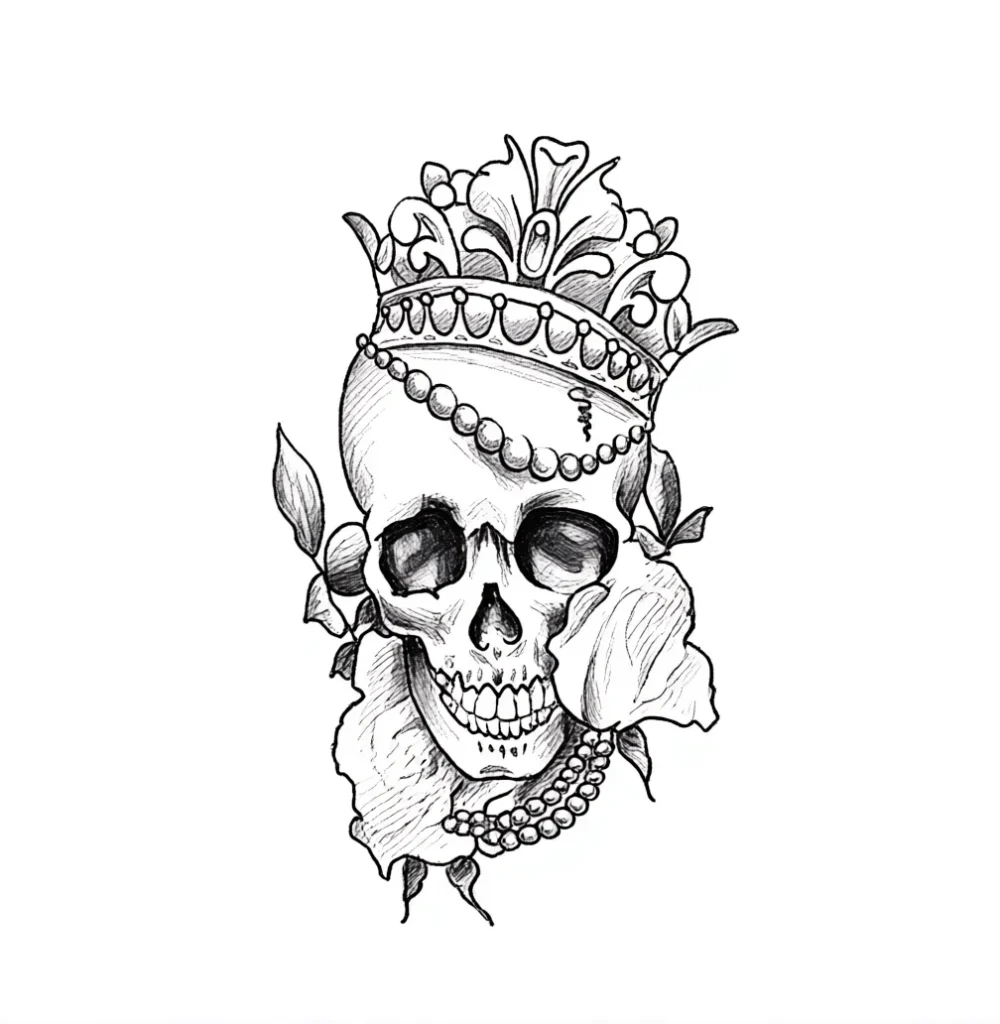
Popular Shoulder Blade Tattoo Designs: Ideas and Inspiration for Beginners
The shoulder blade is an ideal area for realizing the potential of designs that require asymmetry, vertical, or diagonal movement. Choosing the right design that harmoniously fits the anatomical relief is a sign of professionalism.
Designs That Maximize the Shoulder Blade’s Shape
Beginner artists are advised to focus on designs that naturally follow the body’s curves:
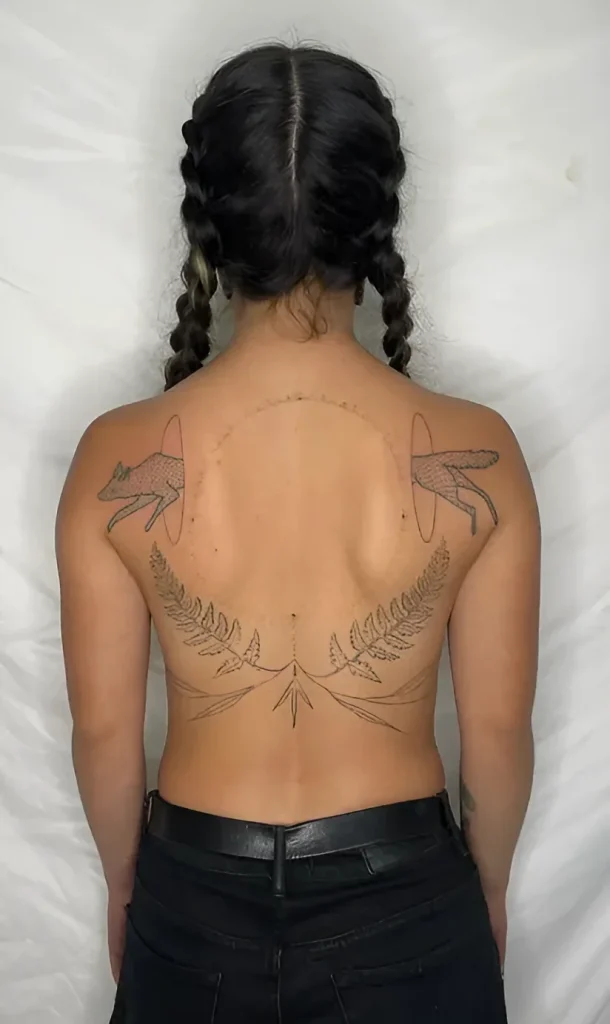
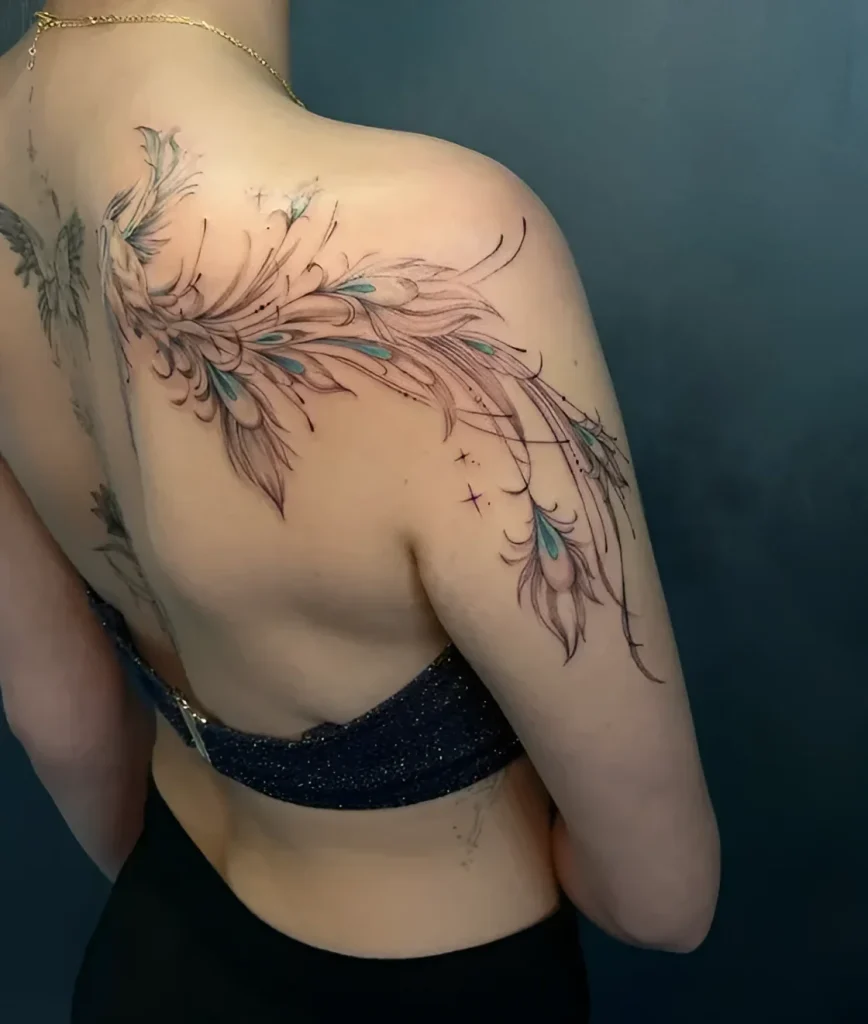
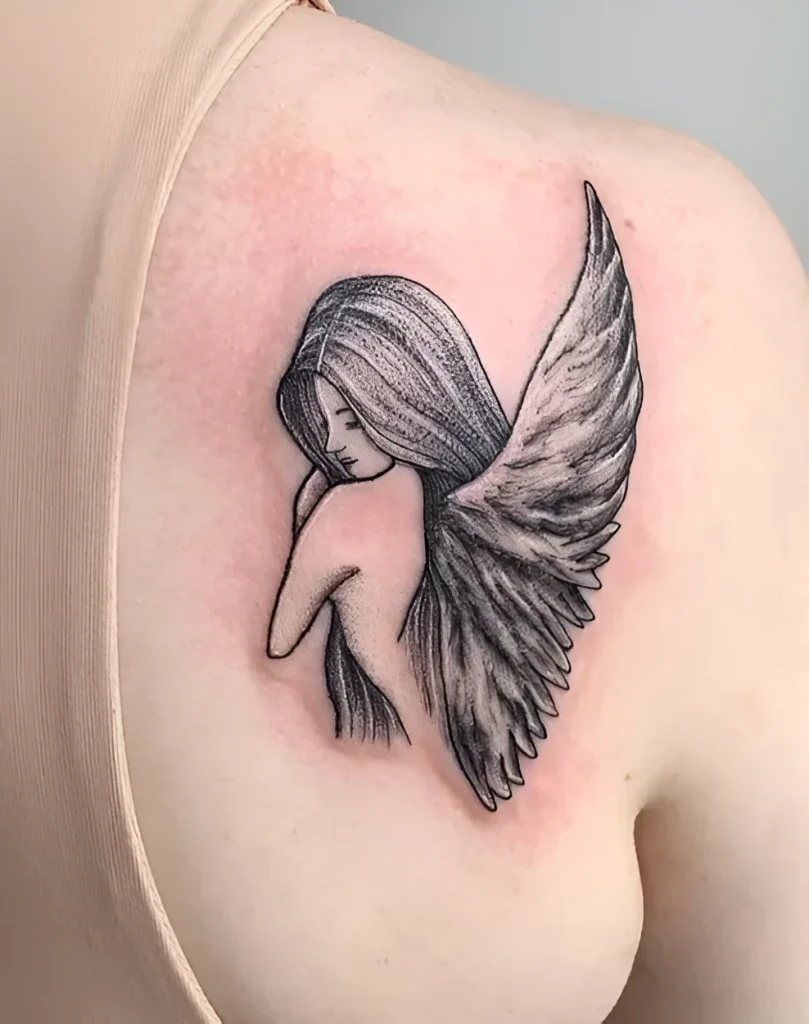
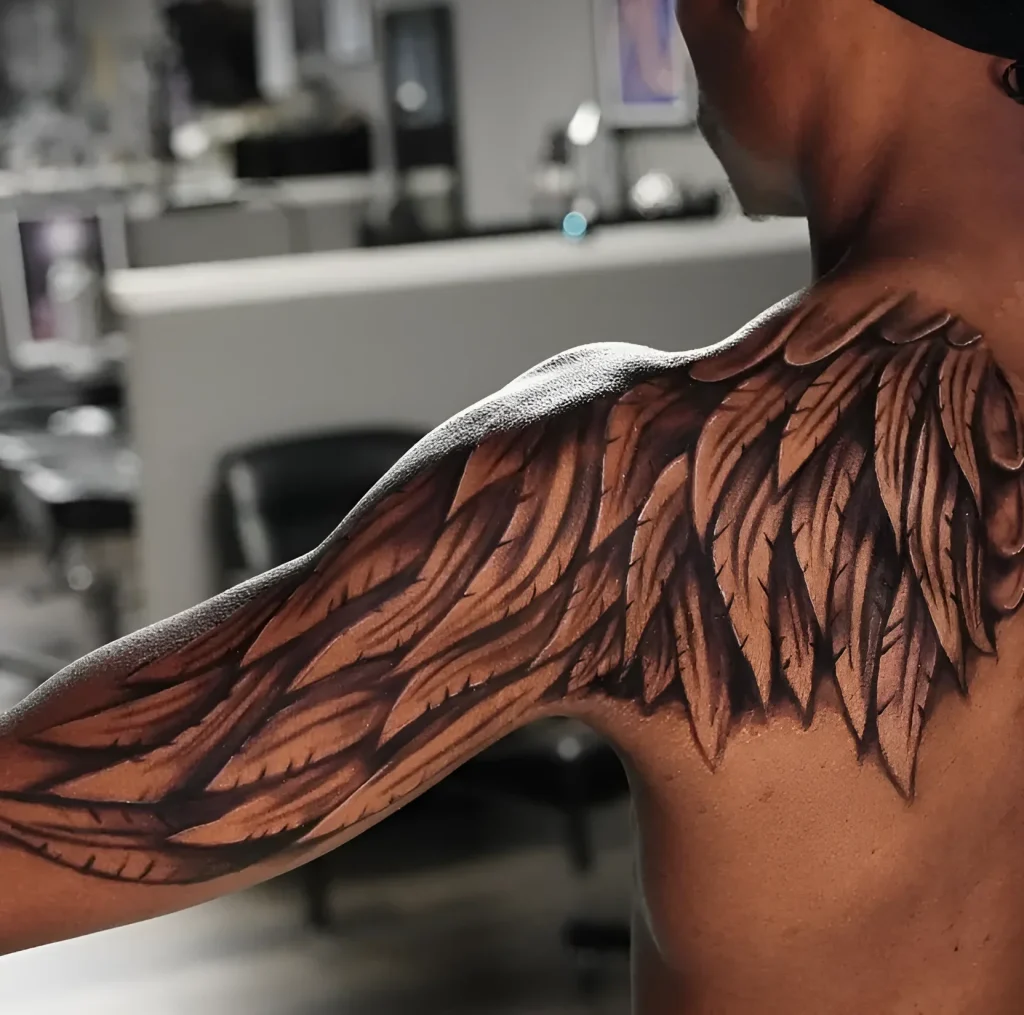
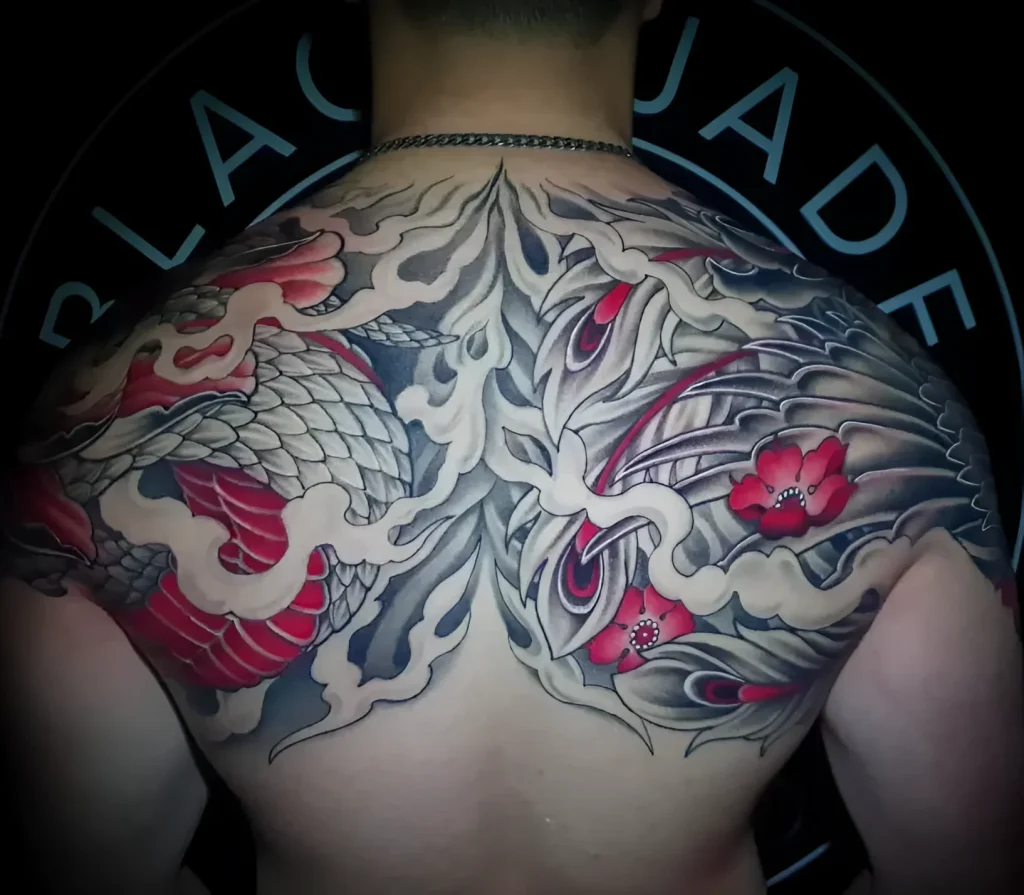
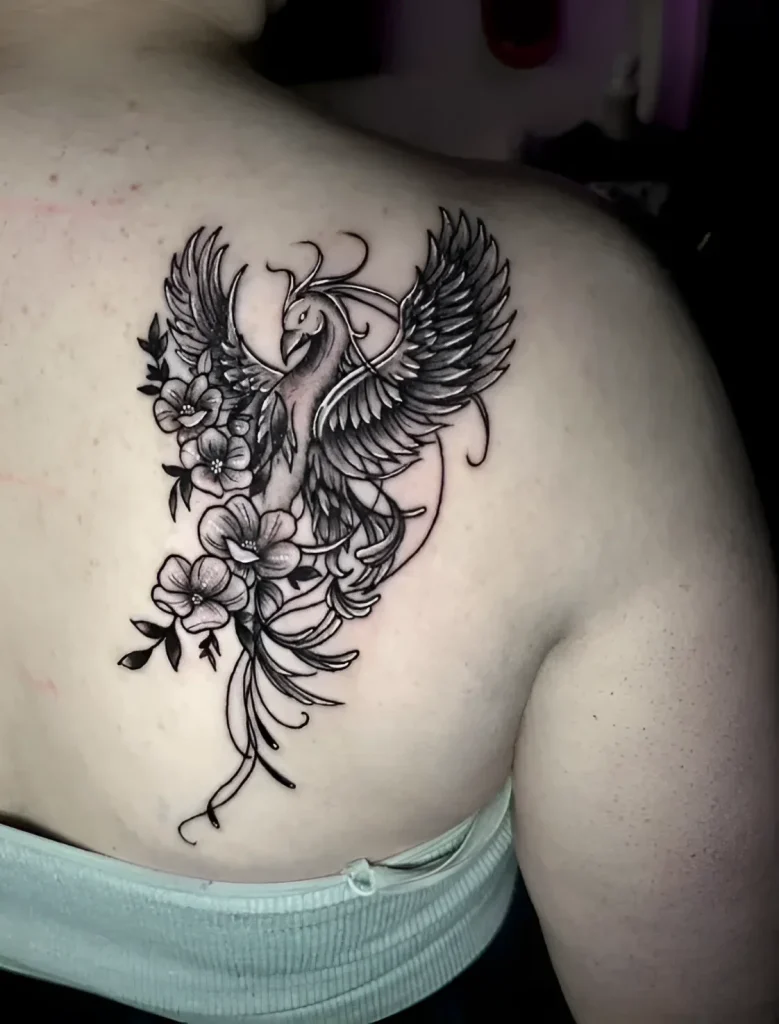
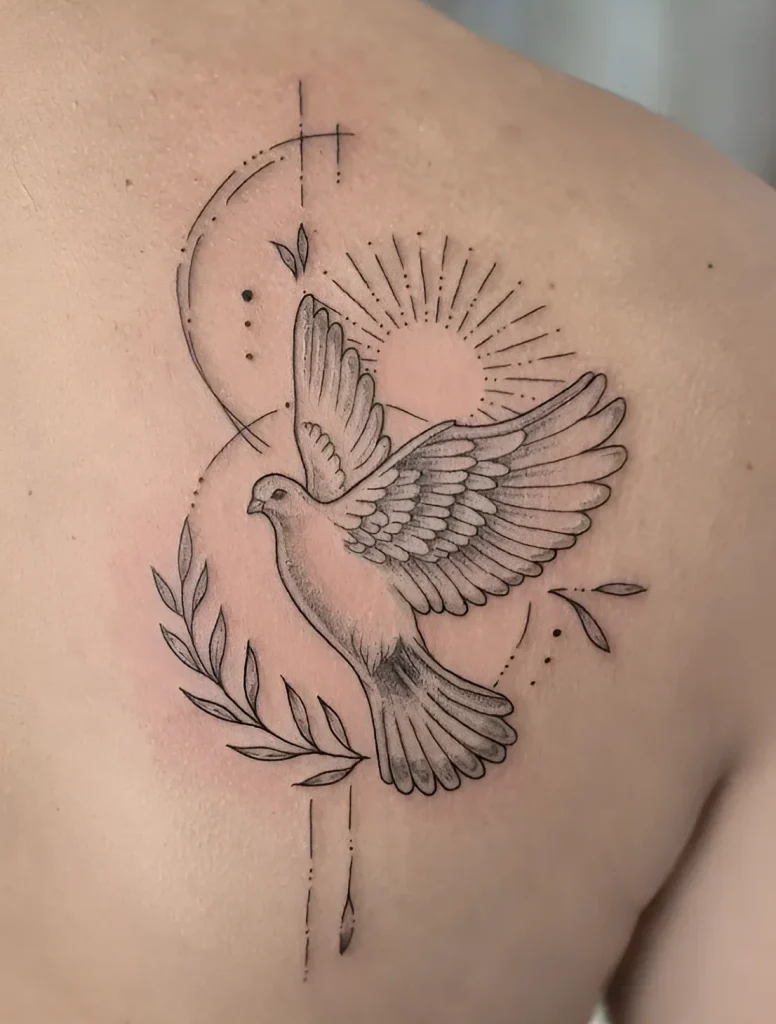
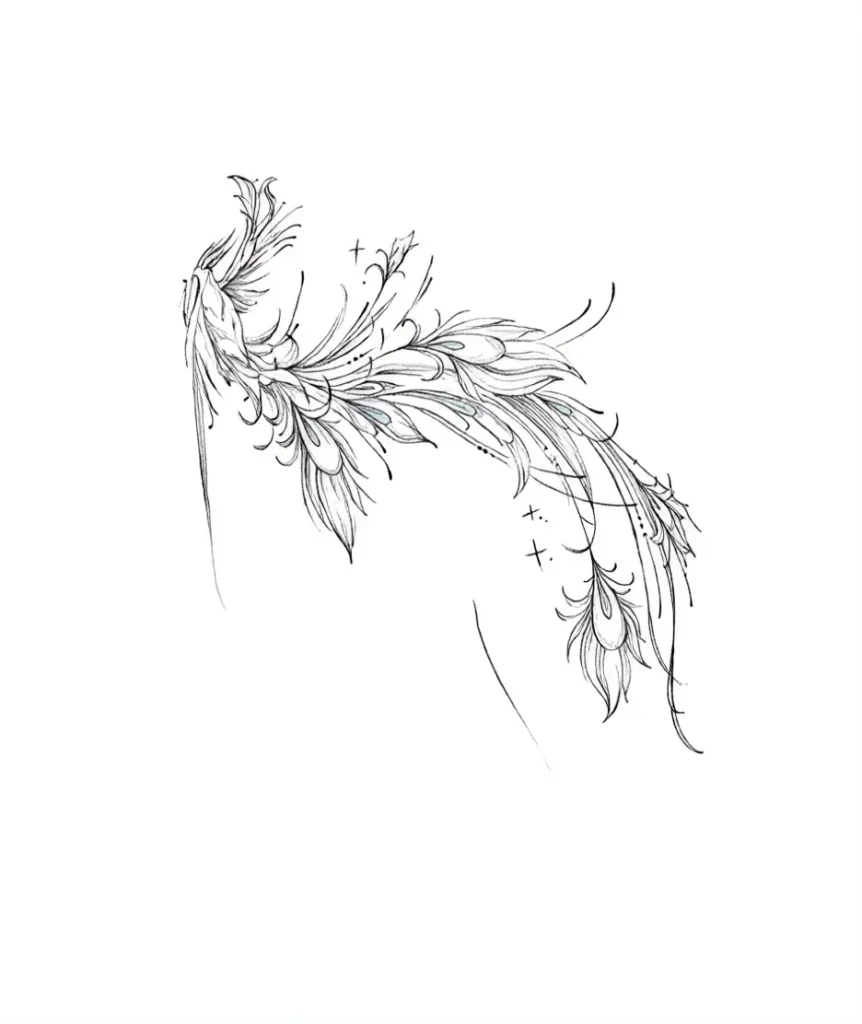
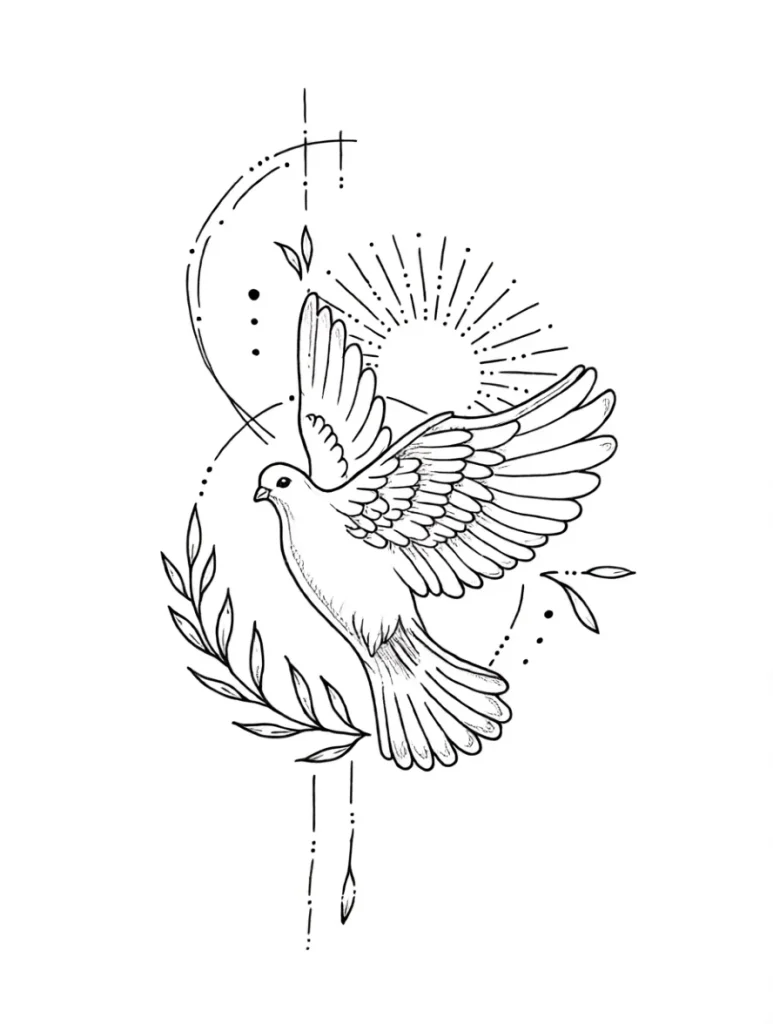
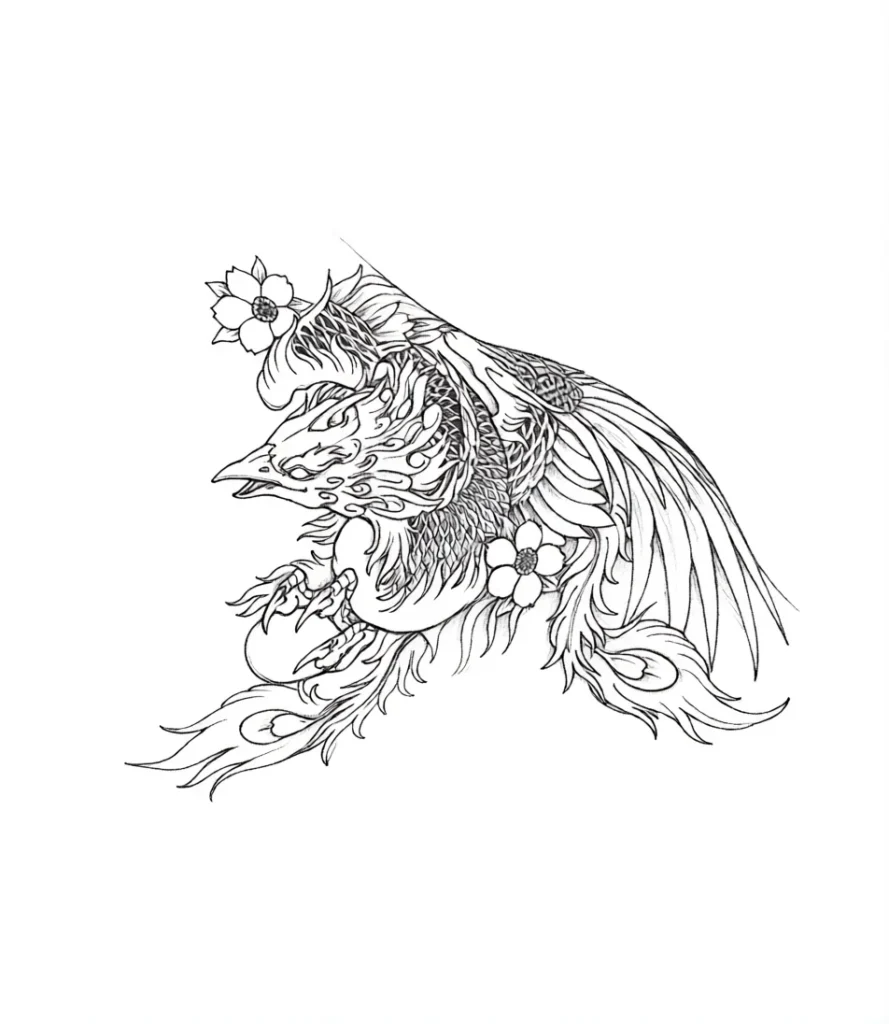
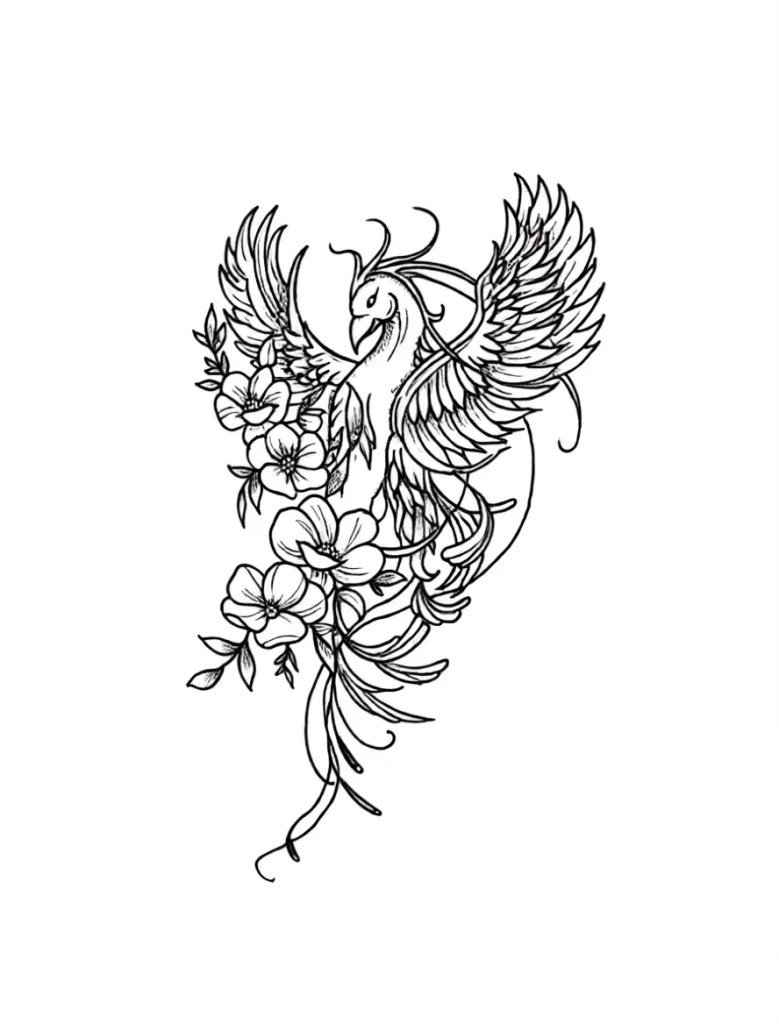
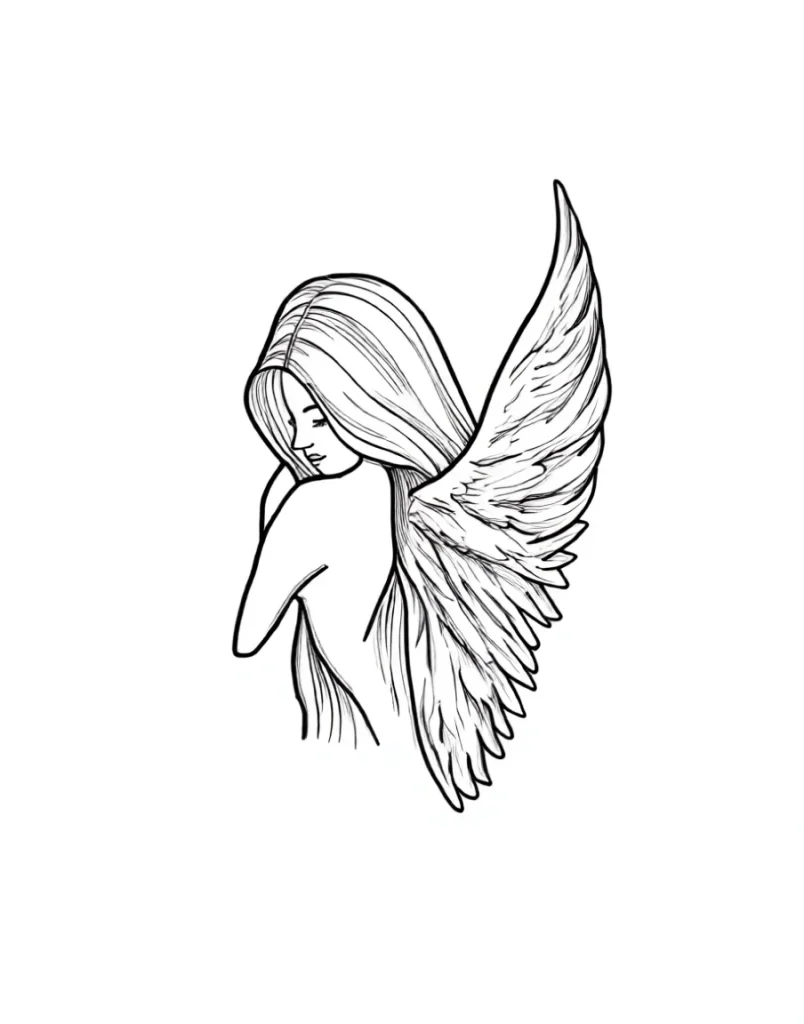
- Wings and Feathers: This is a classic choice. Wings can start on the shoulder blades and symmetrically extend down the back. It’s important that the central part of the wing (where it attaches to the body) lies perfectly on the spine of the scapula.
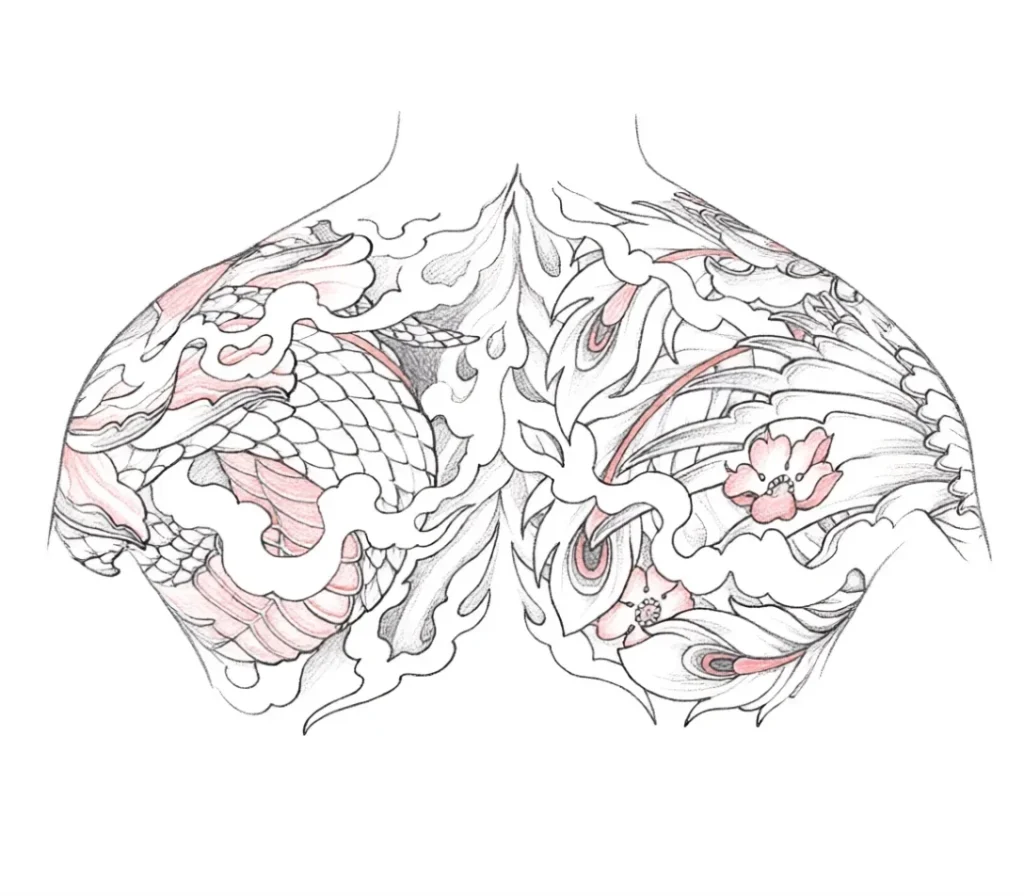
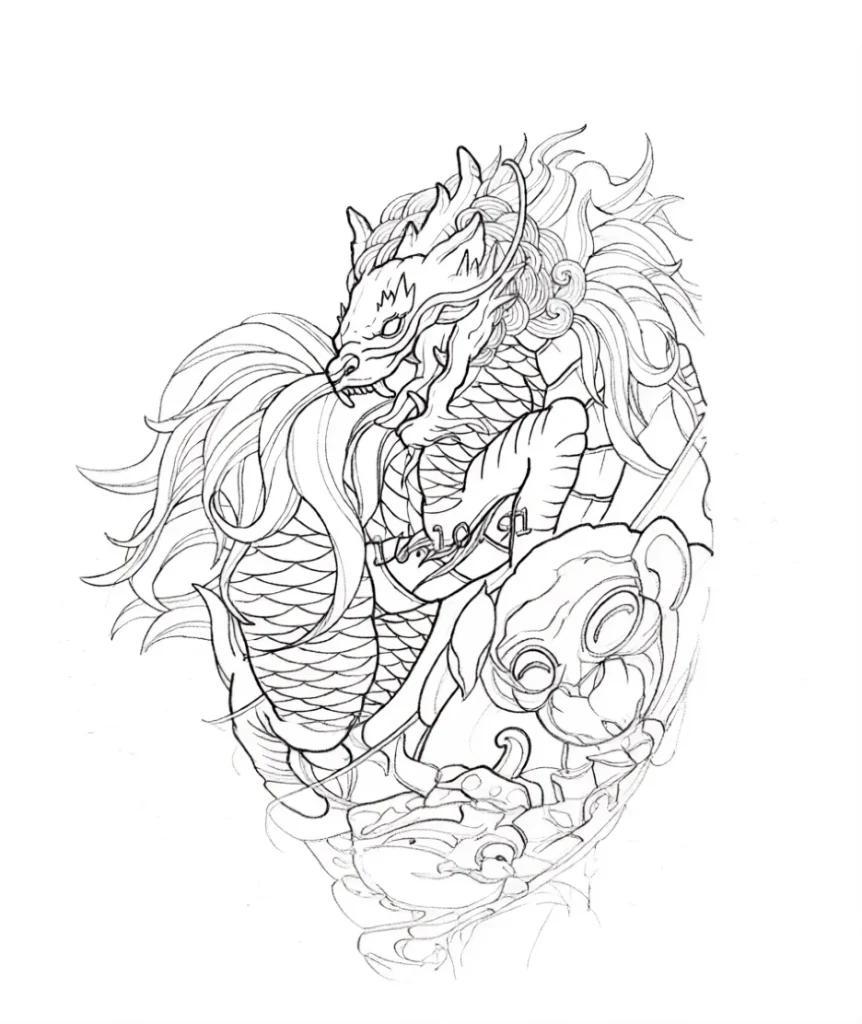
- Dragons and Serpents: Their curved bodies and tails perfectly mimic the natural S-shaped movement of the shoulder blade and trapezius, creating a dynamic effect.
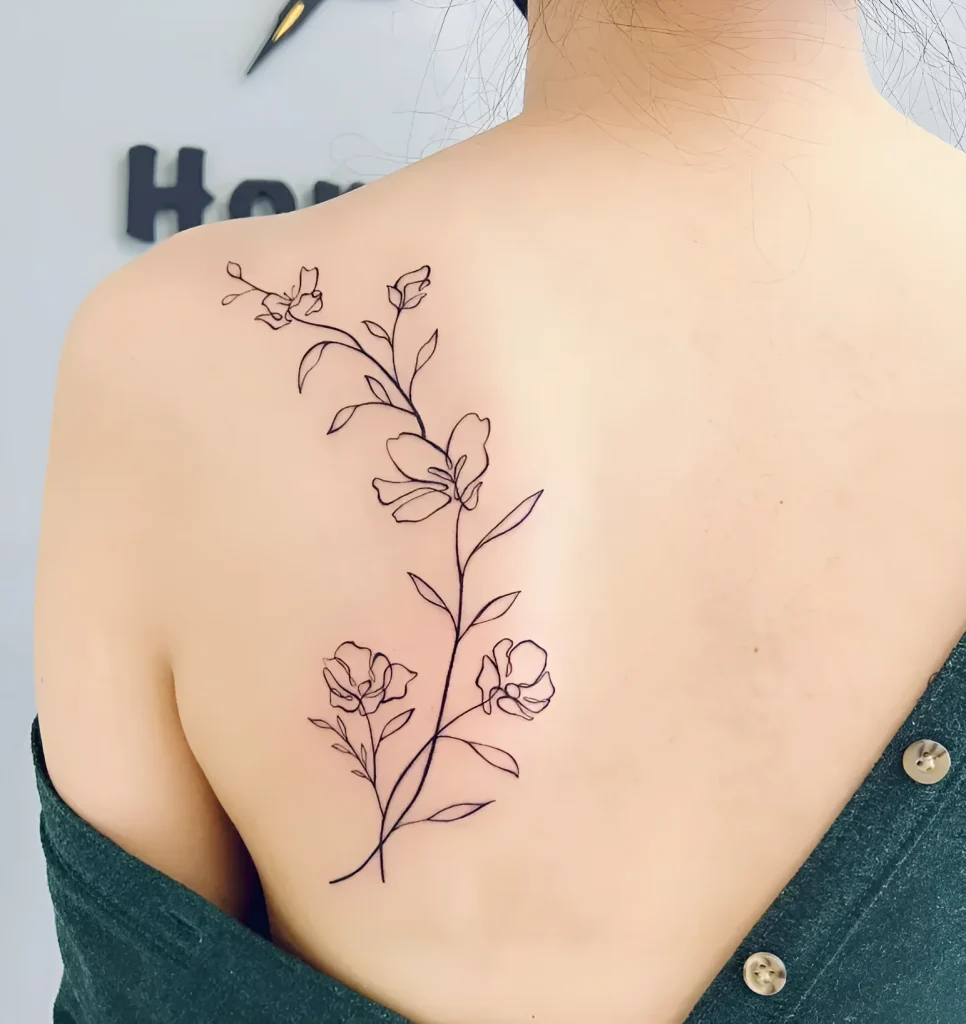
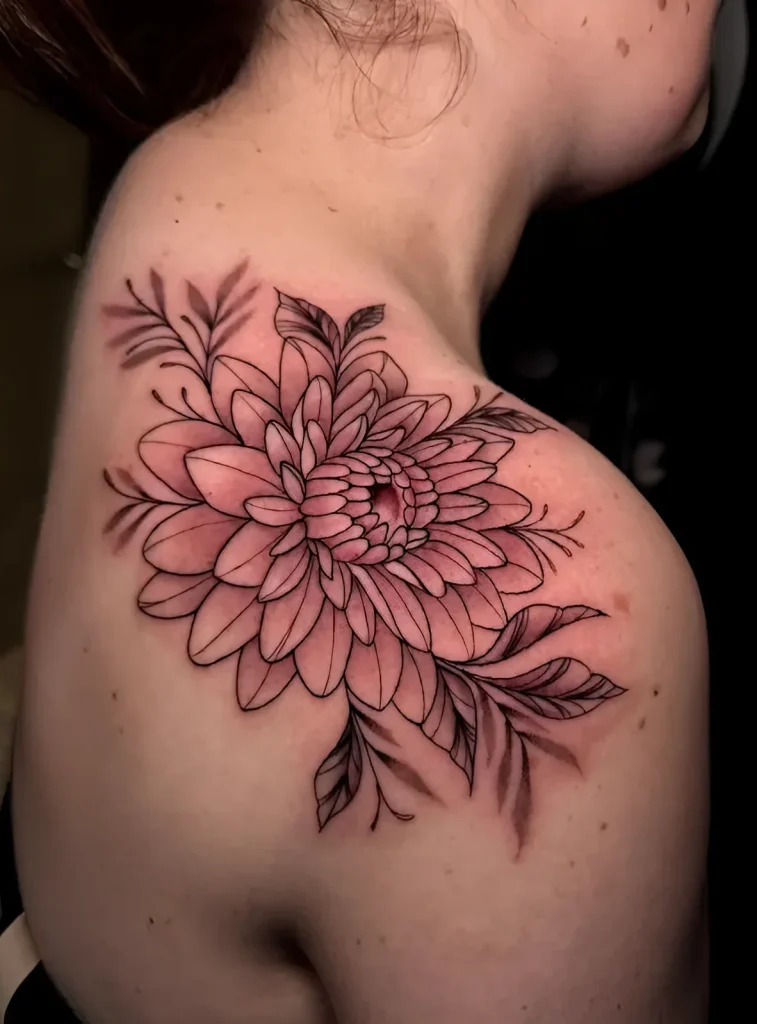
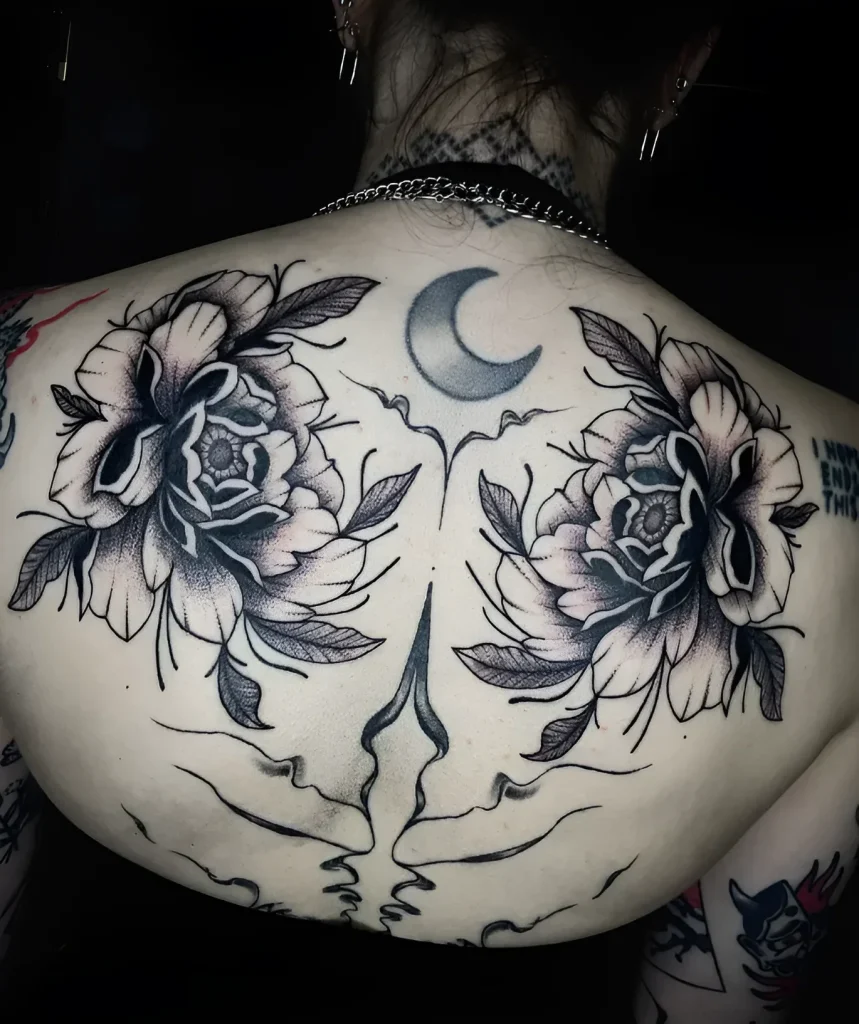
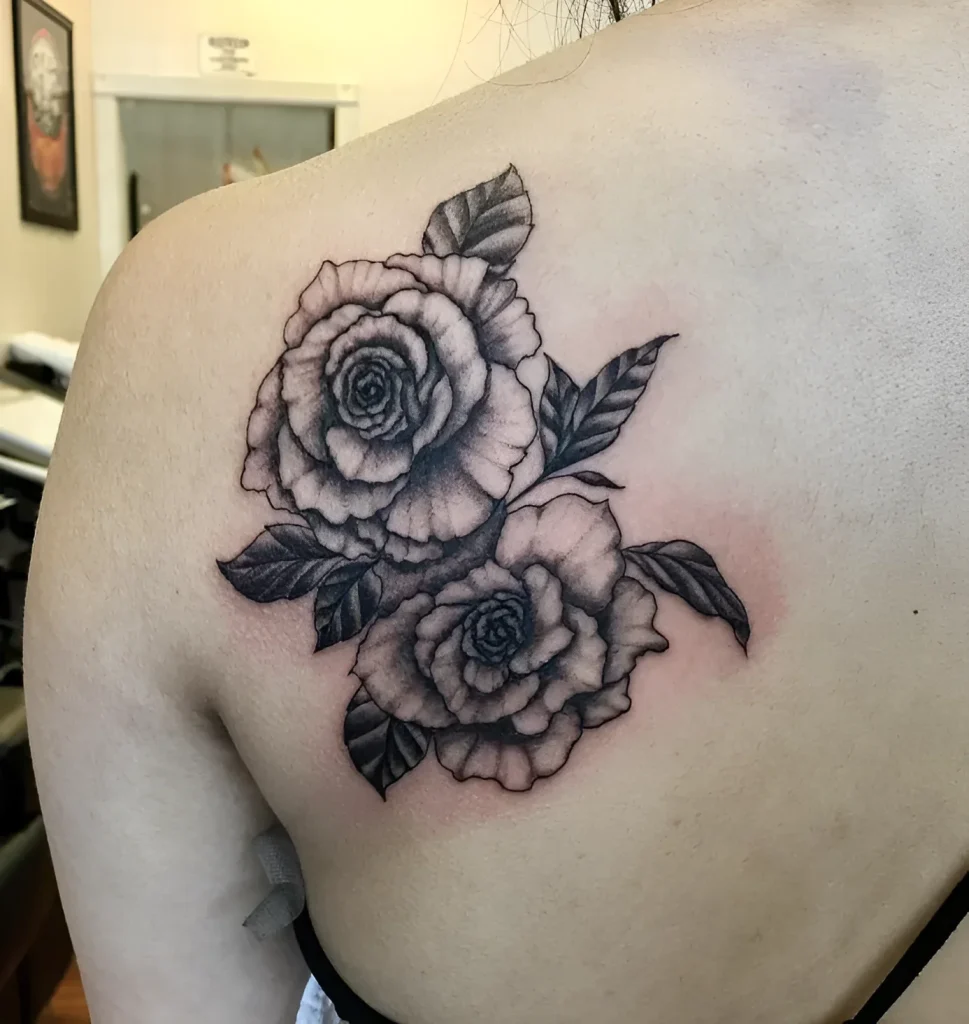
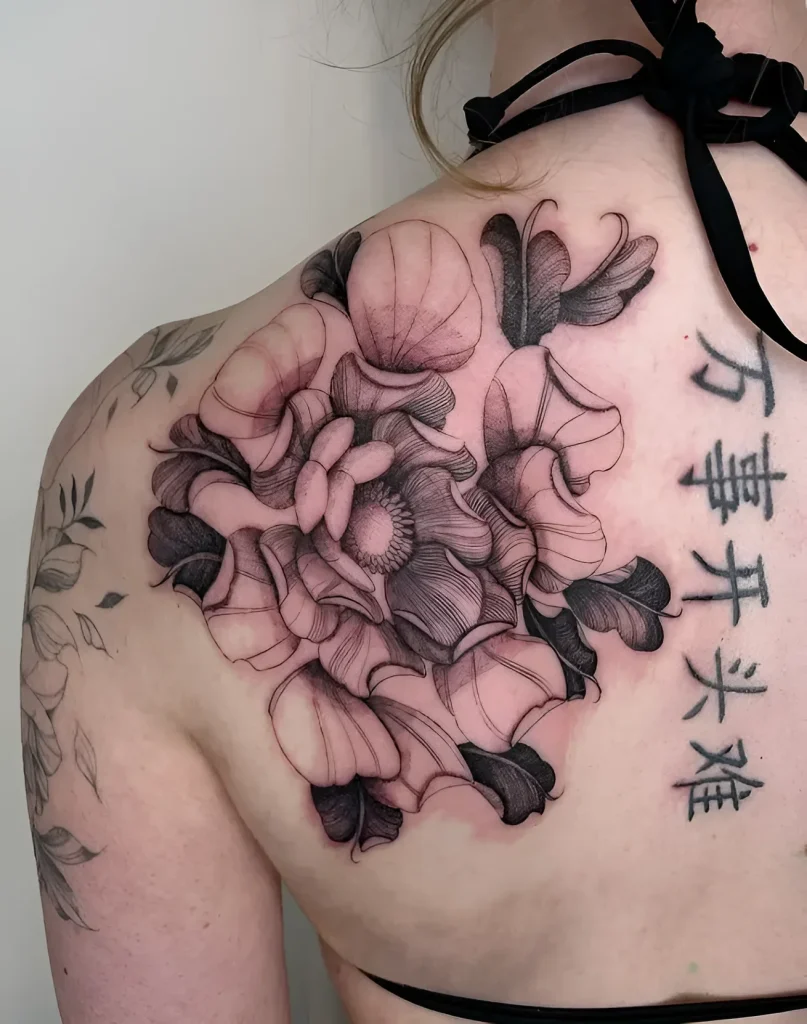
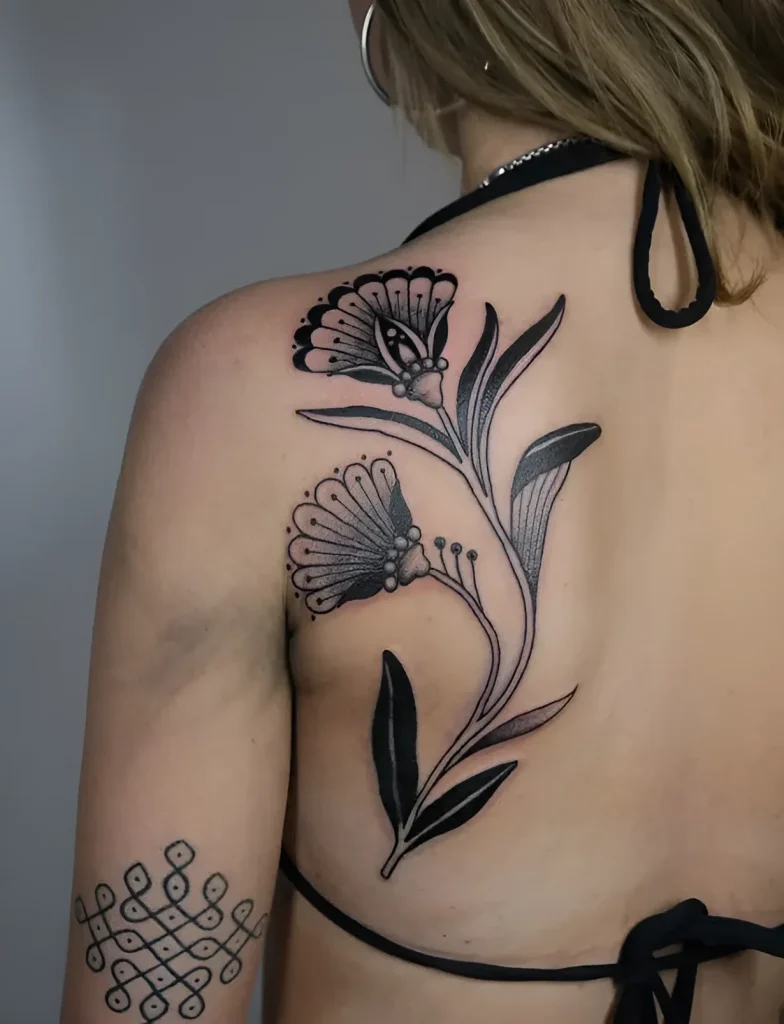
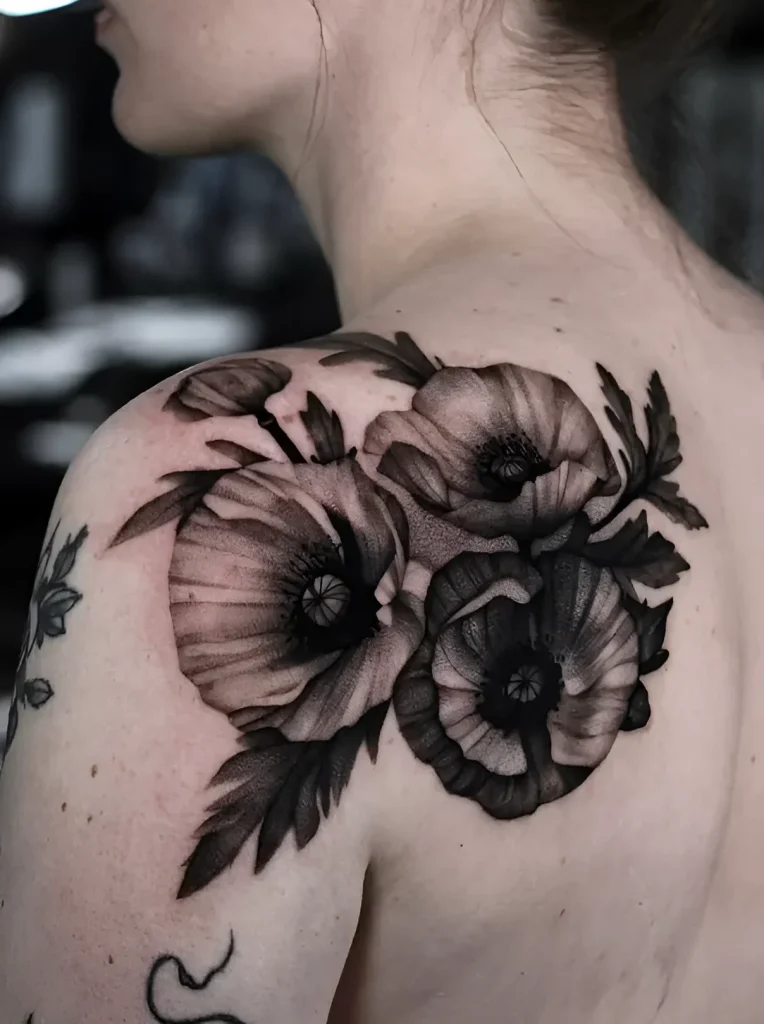
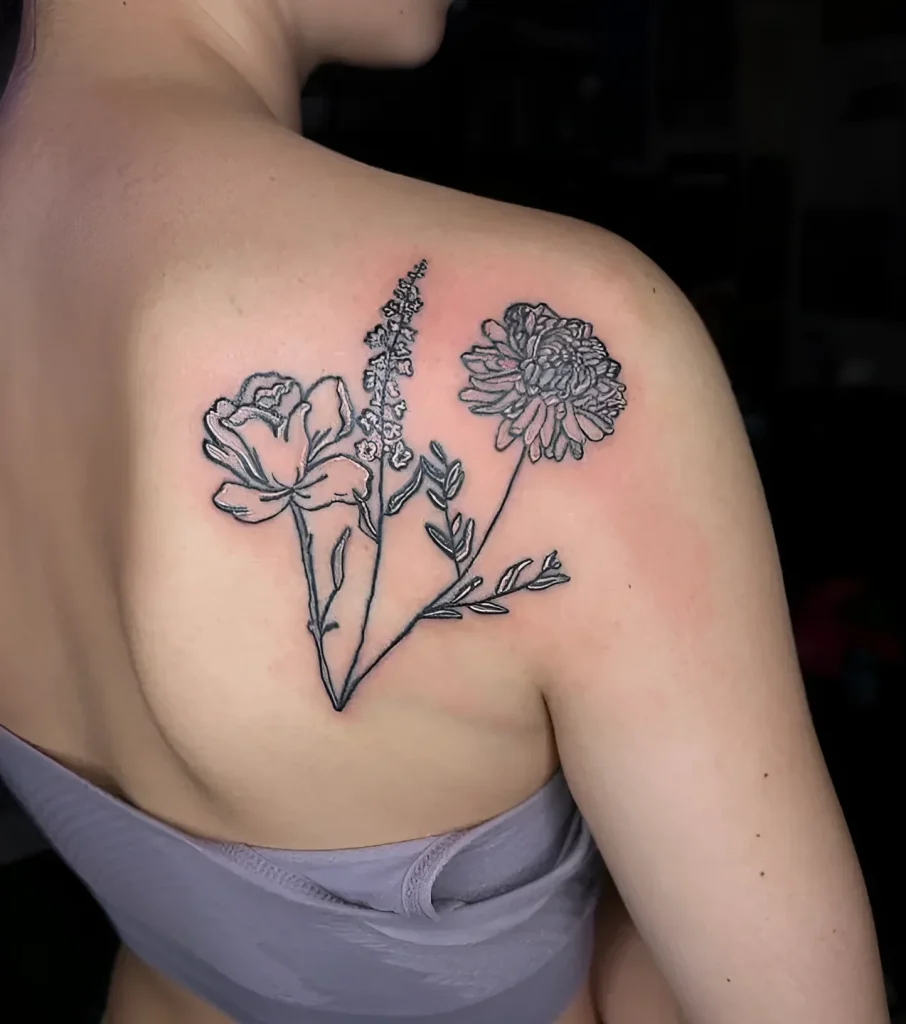
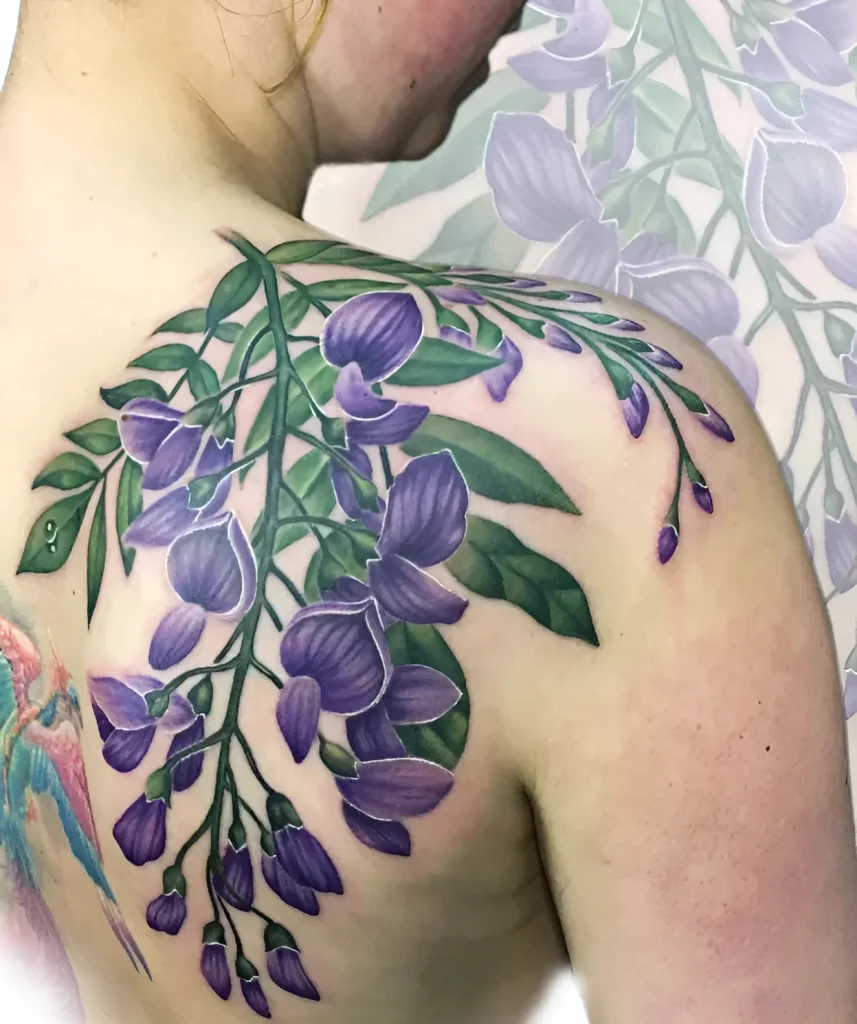
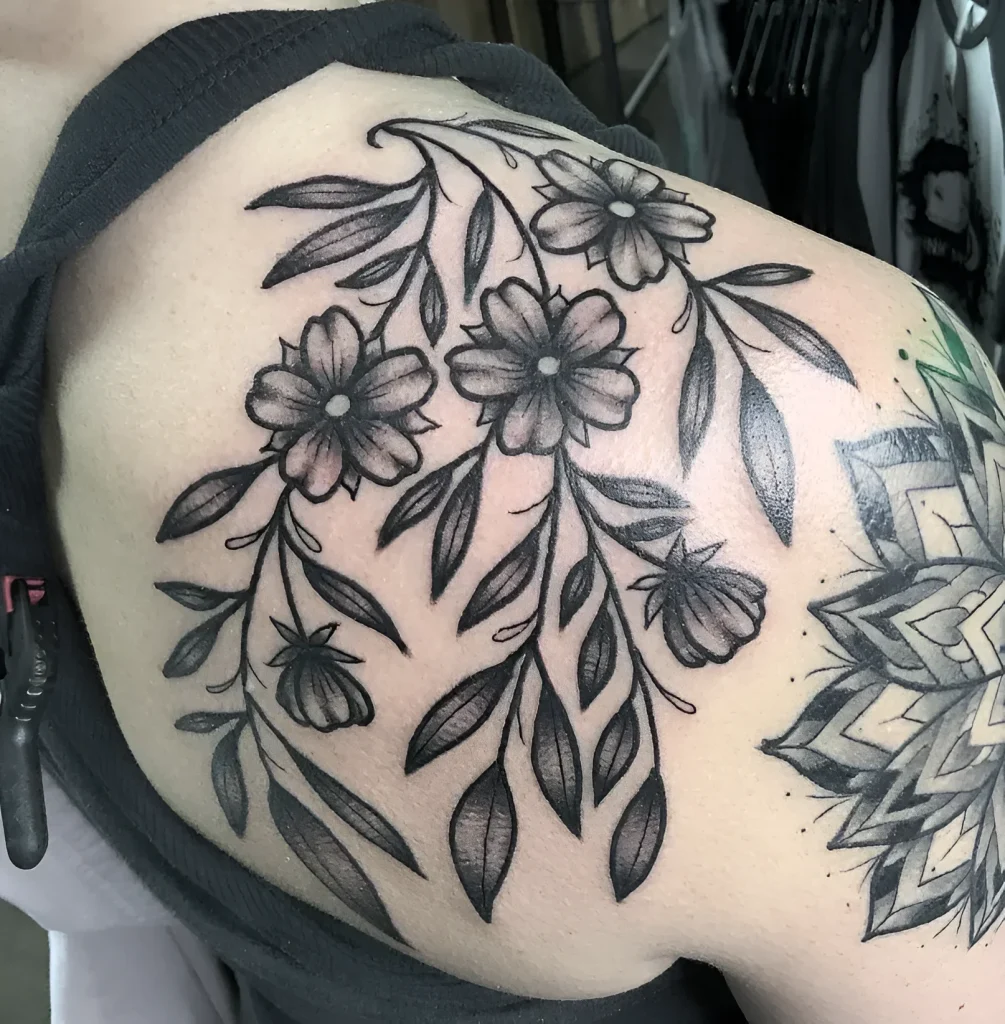
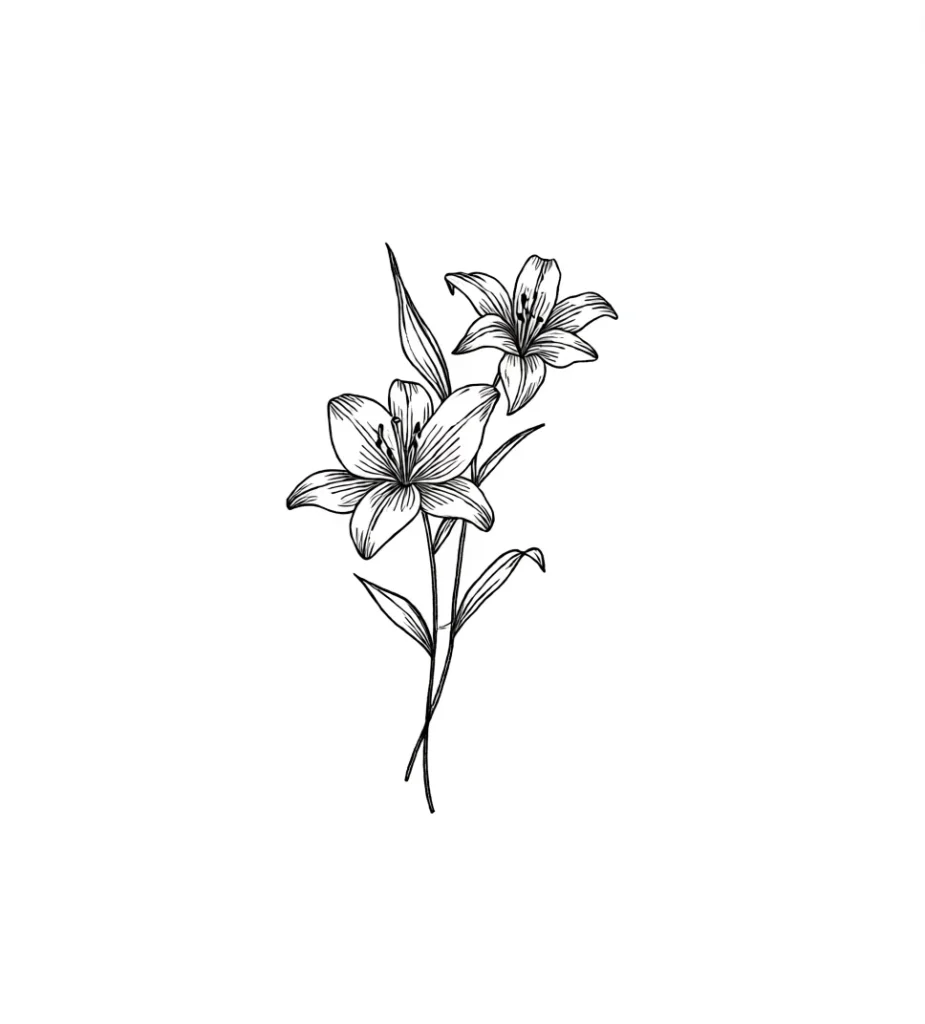
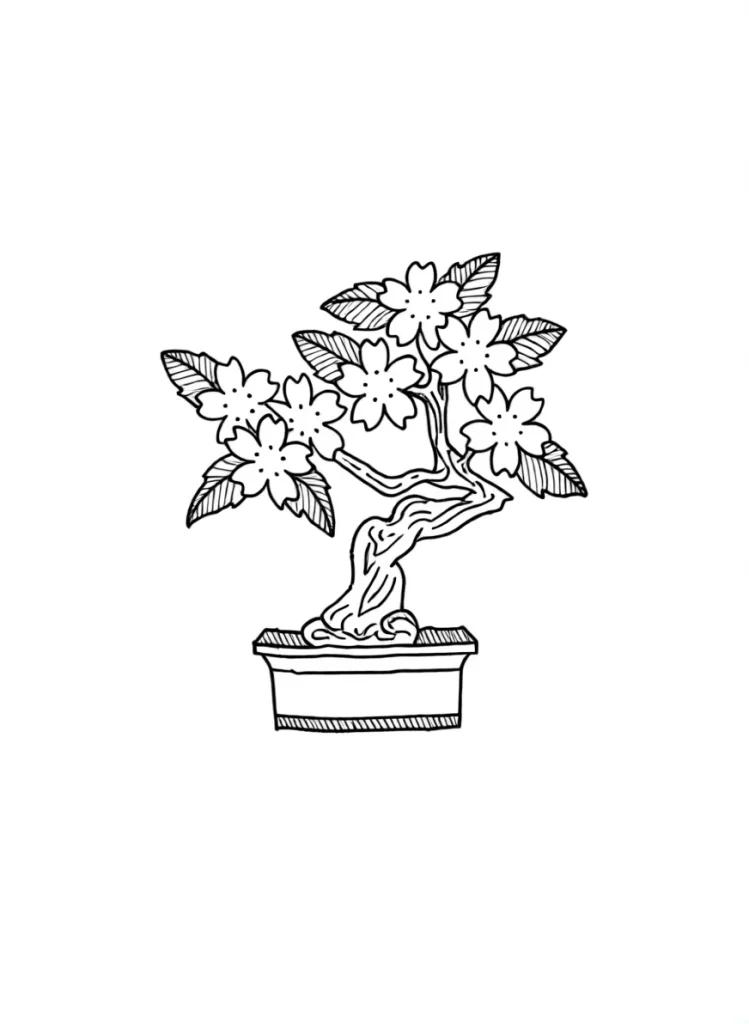
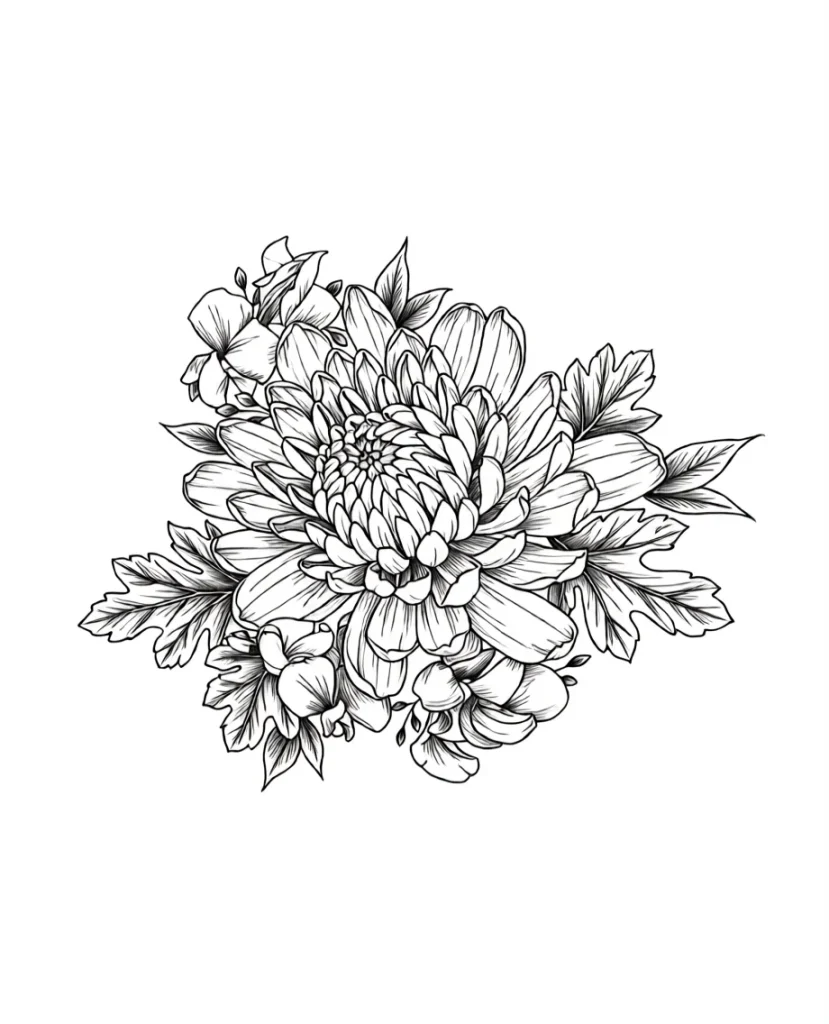
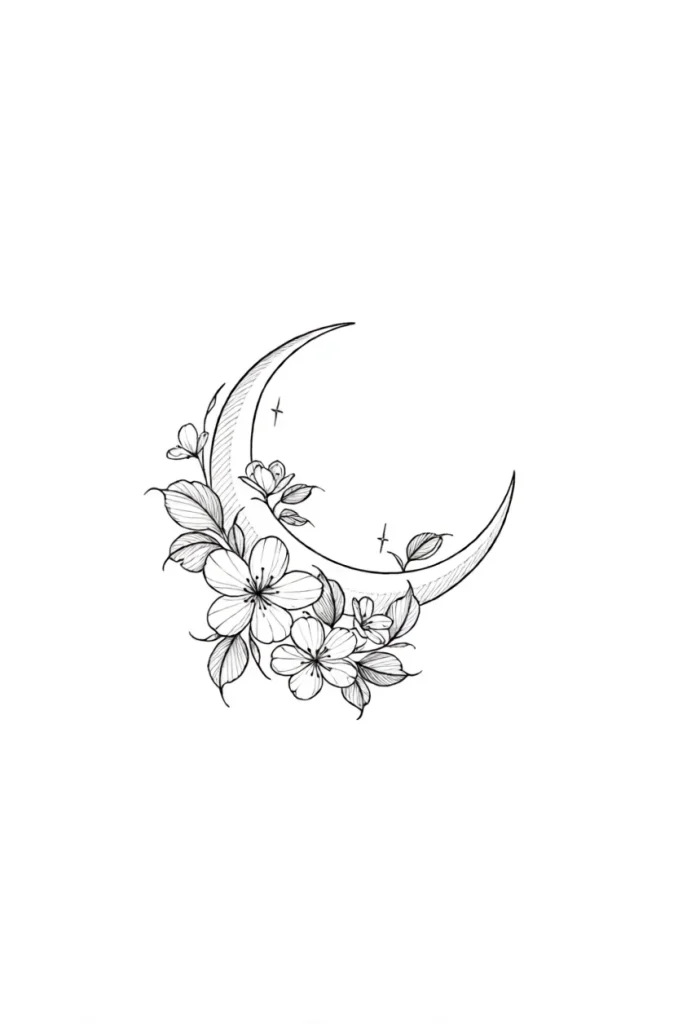
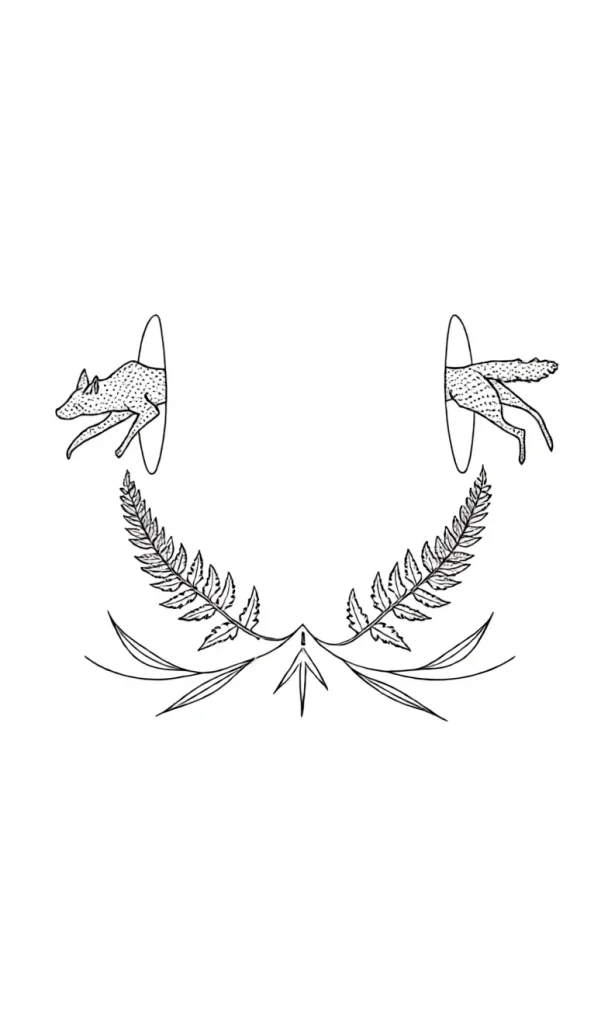
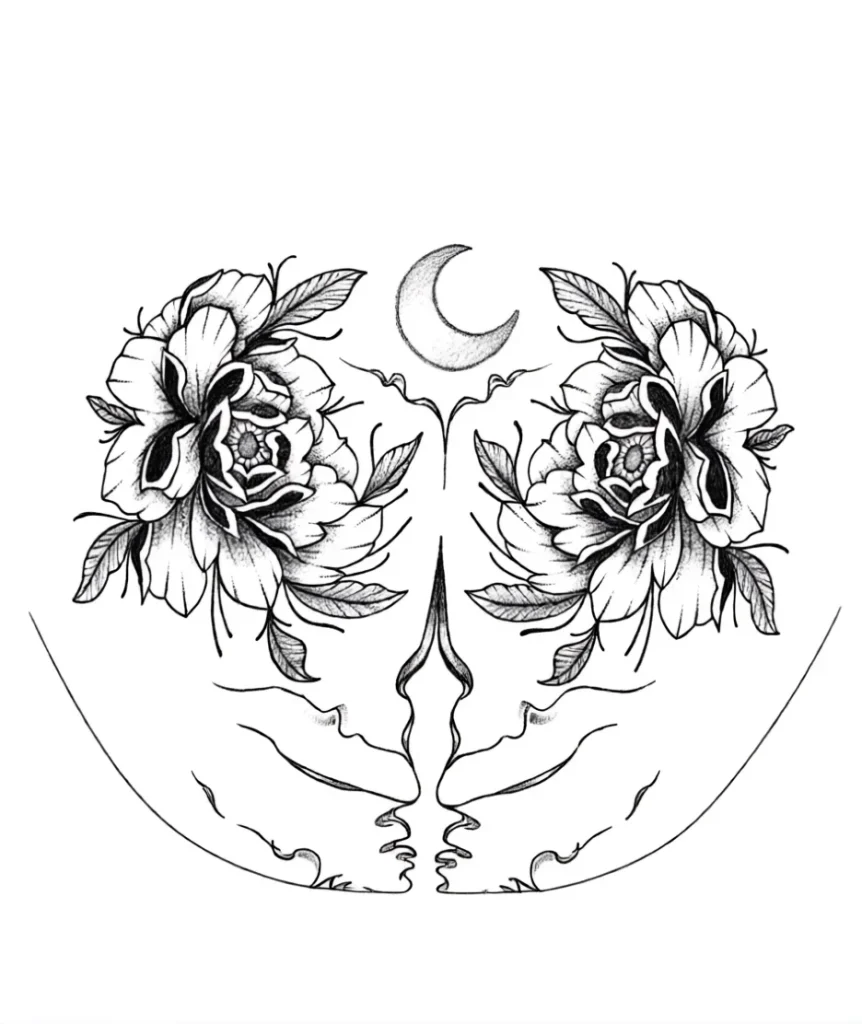
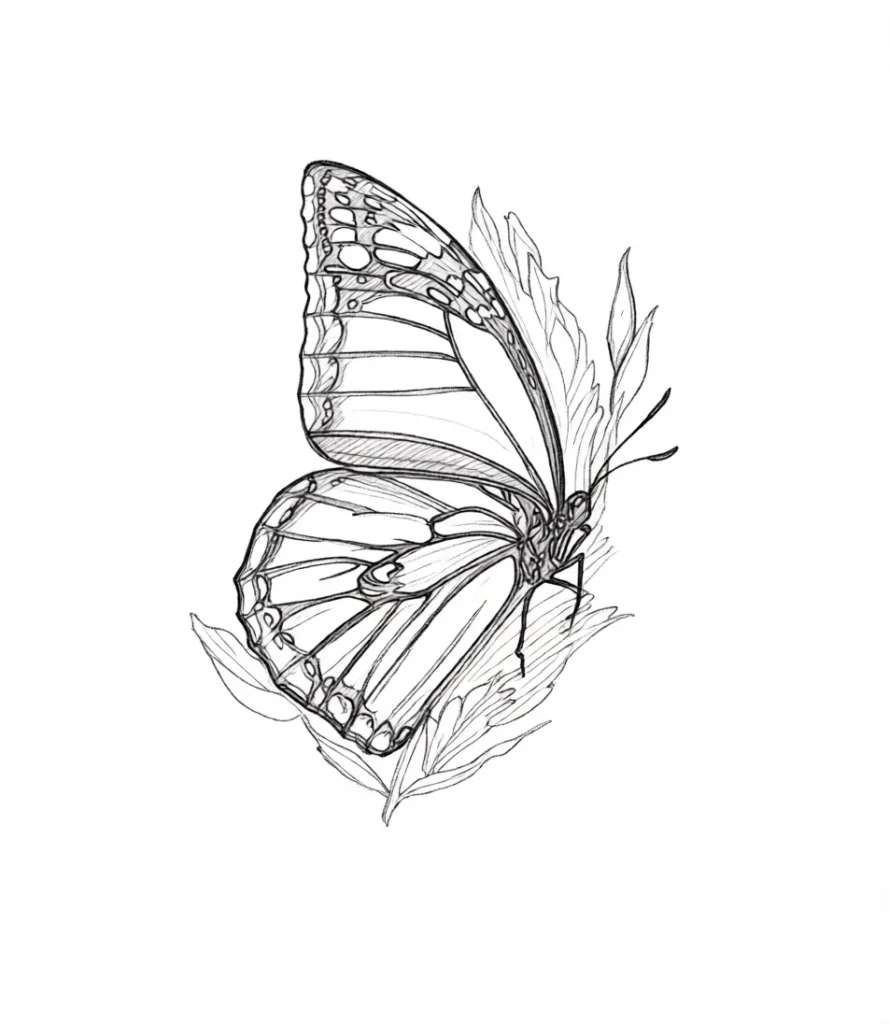
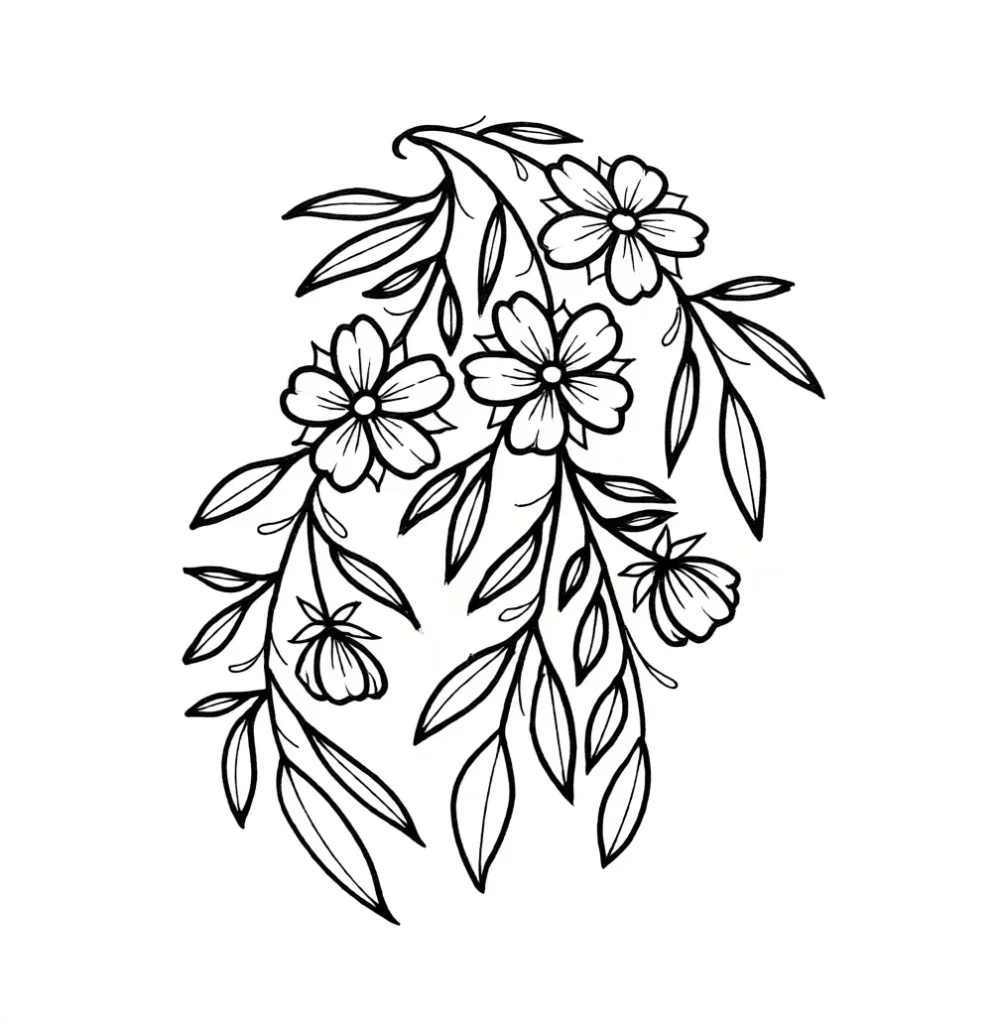
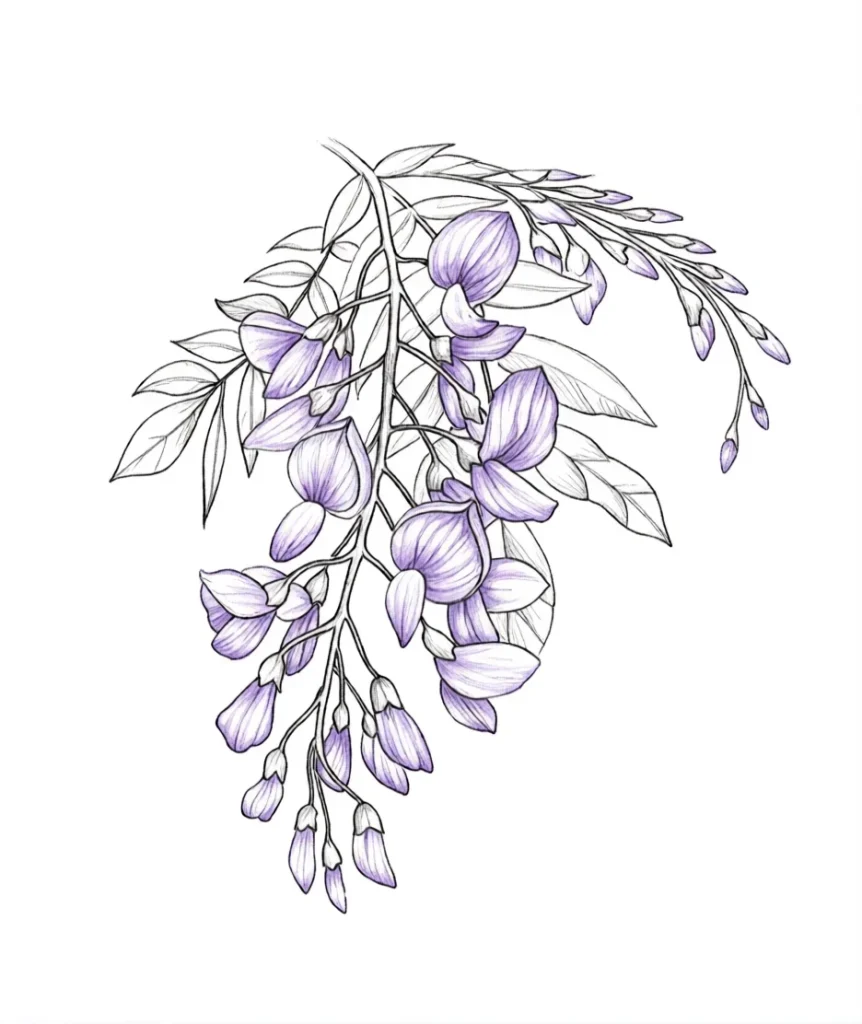
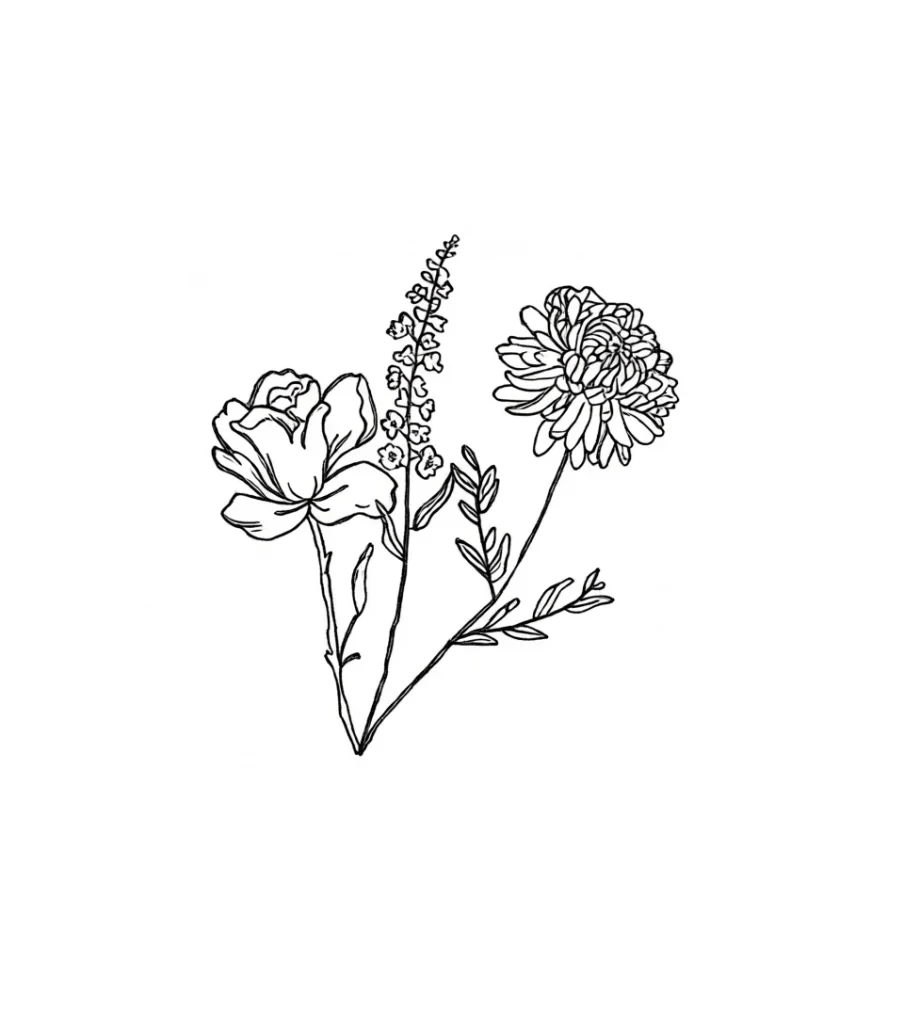
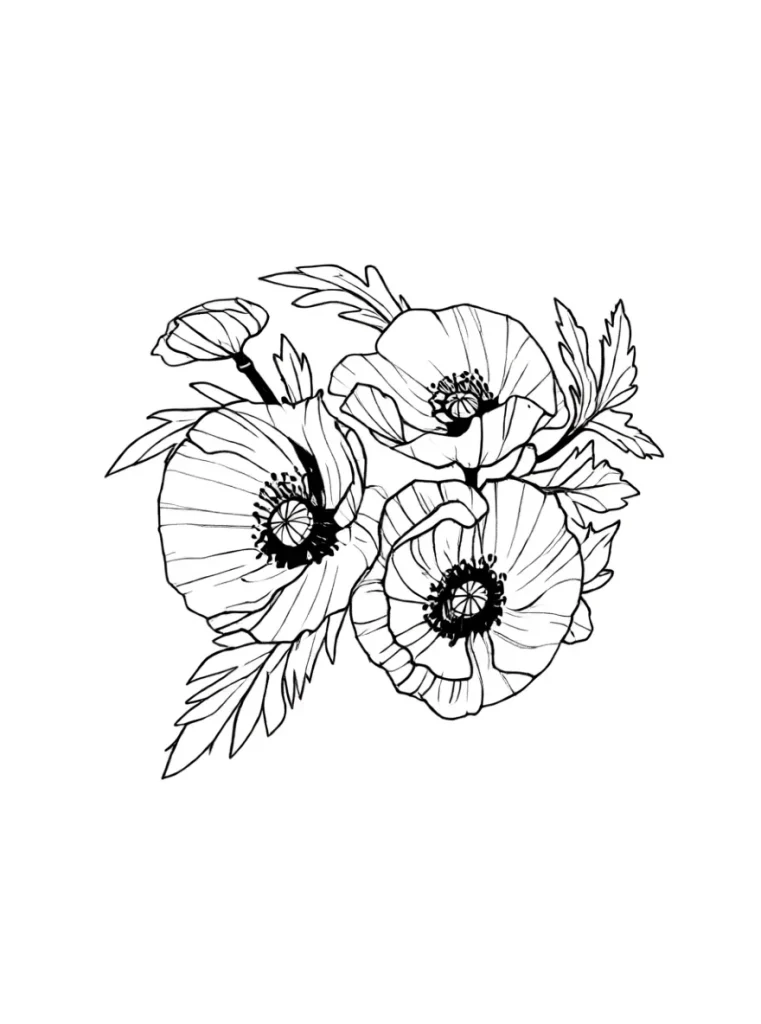
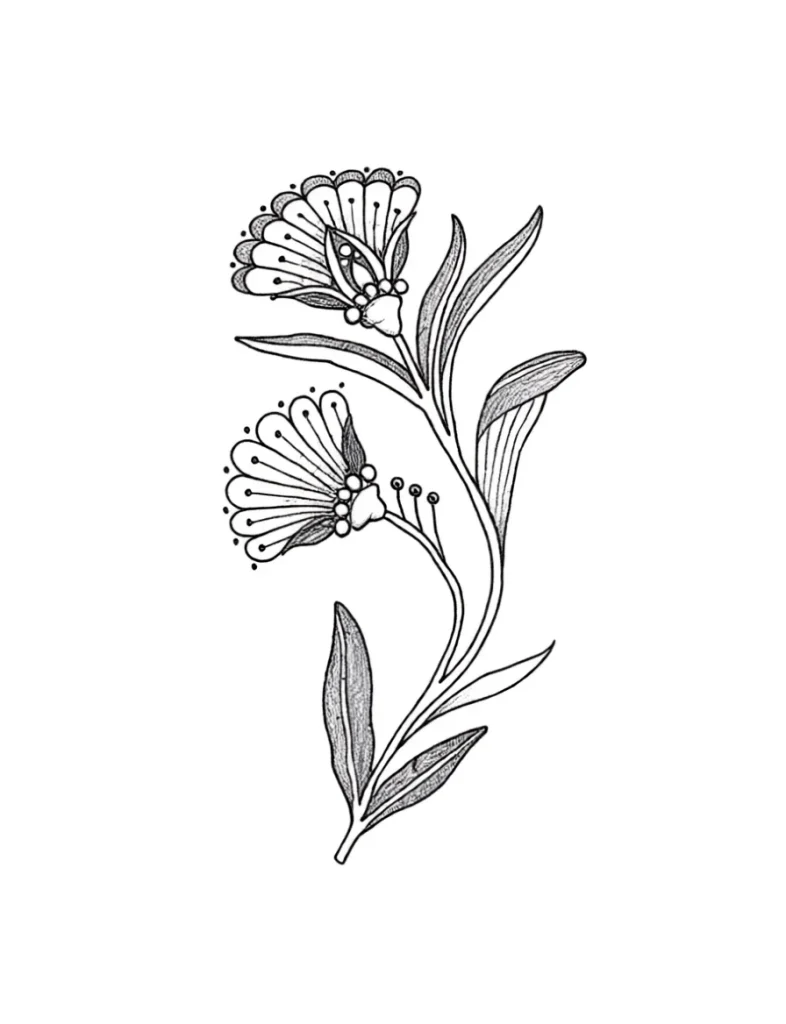
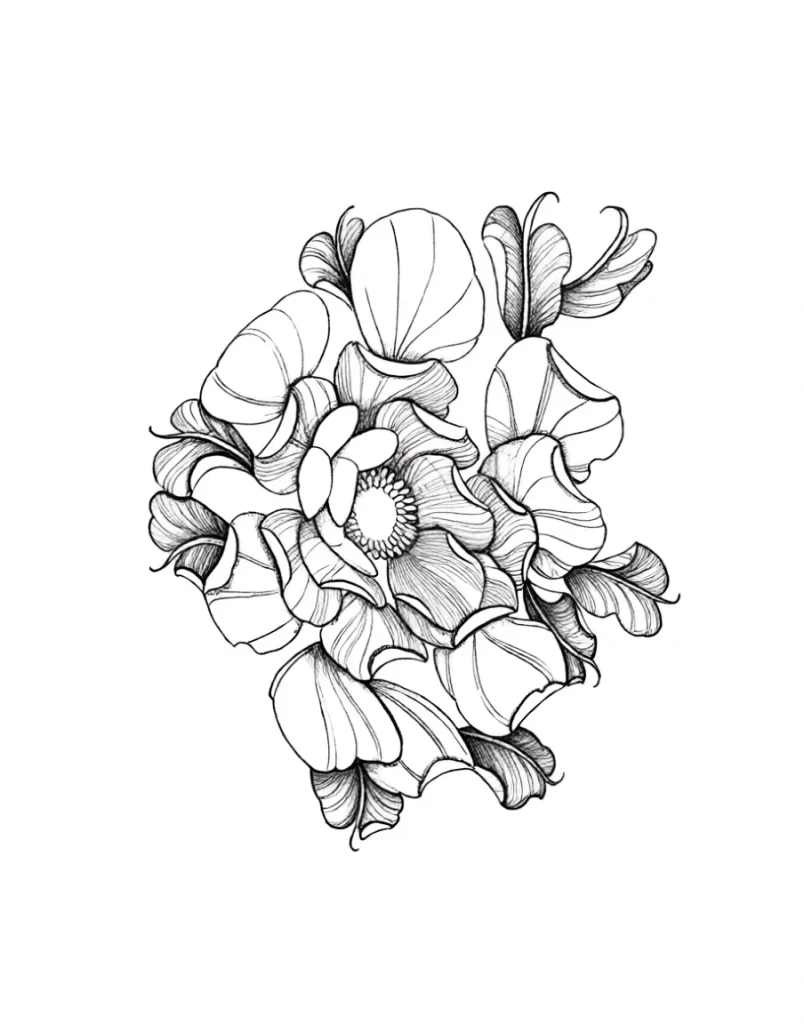
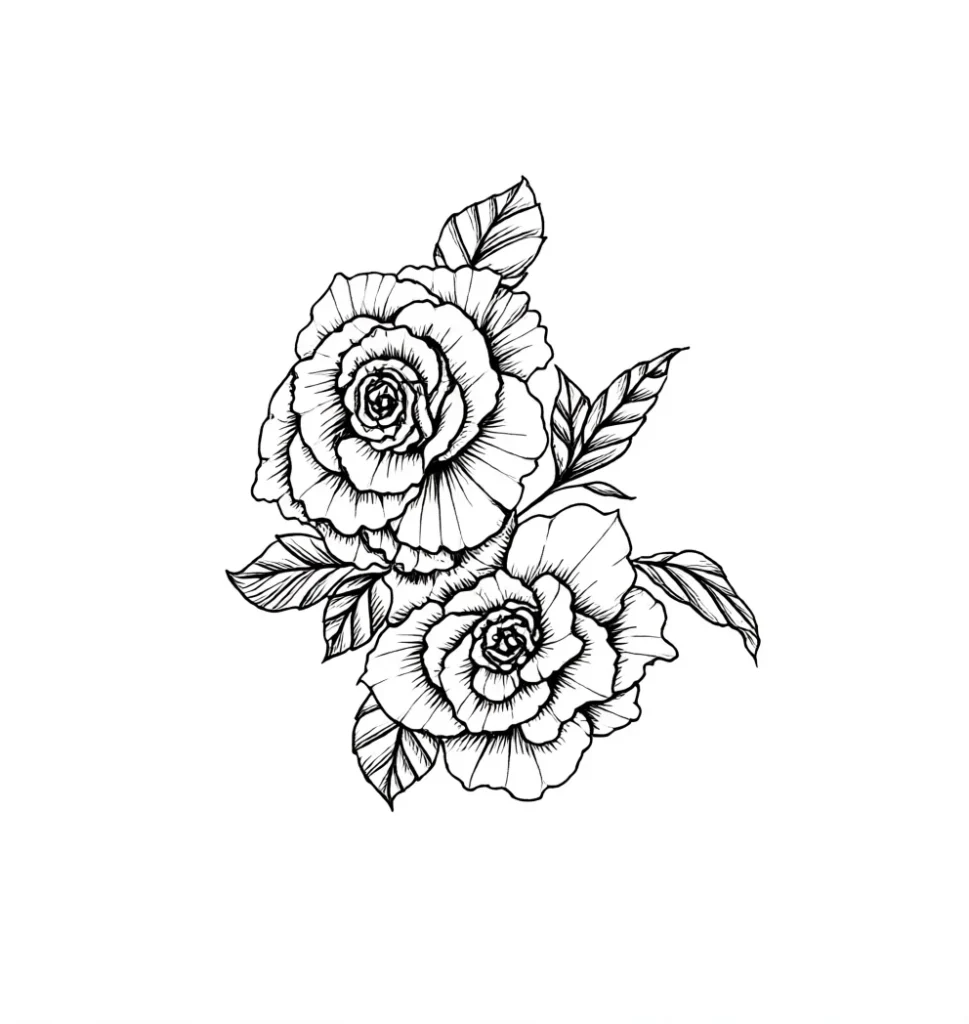
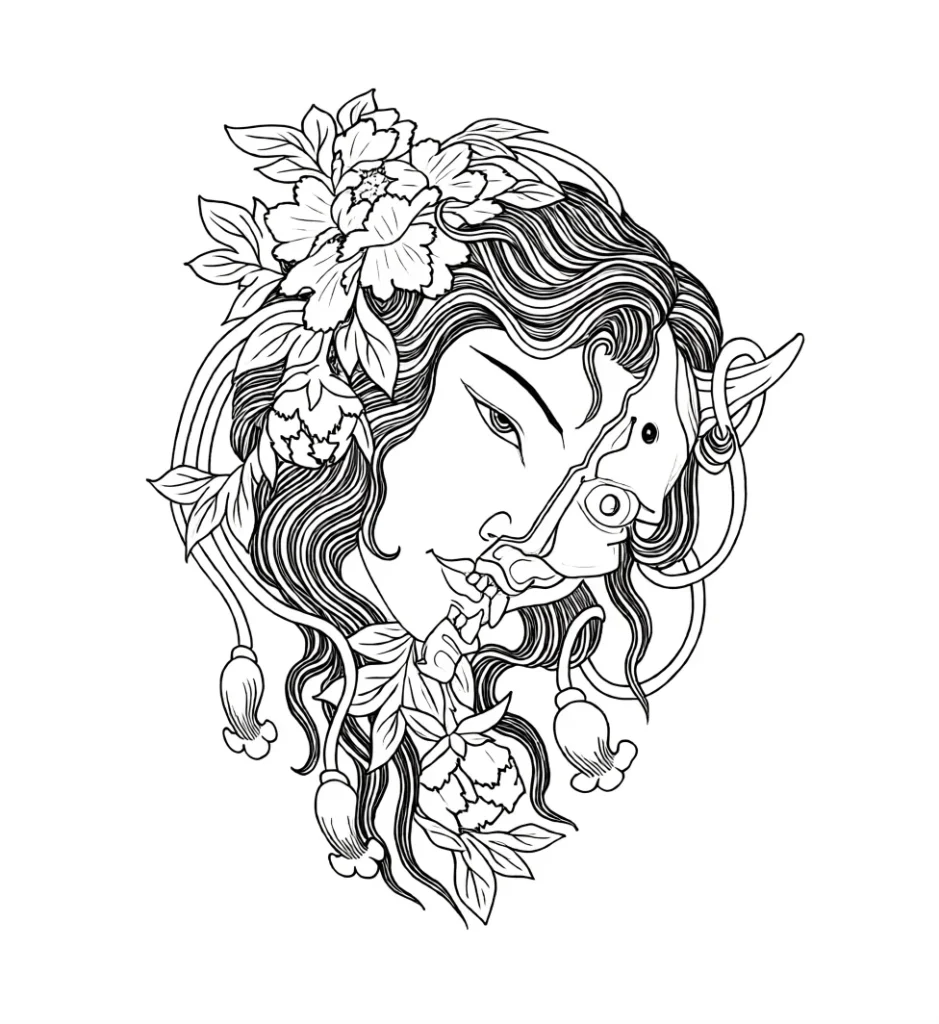
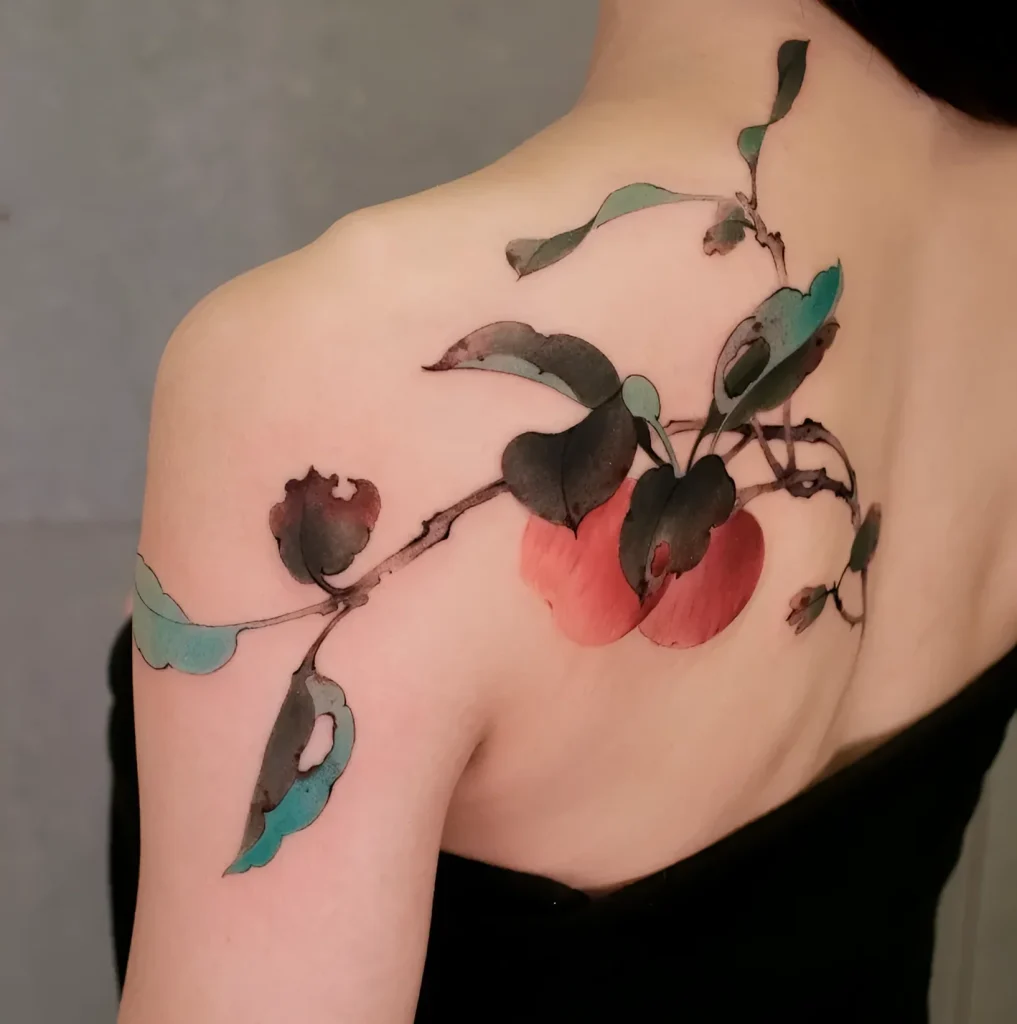
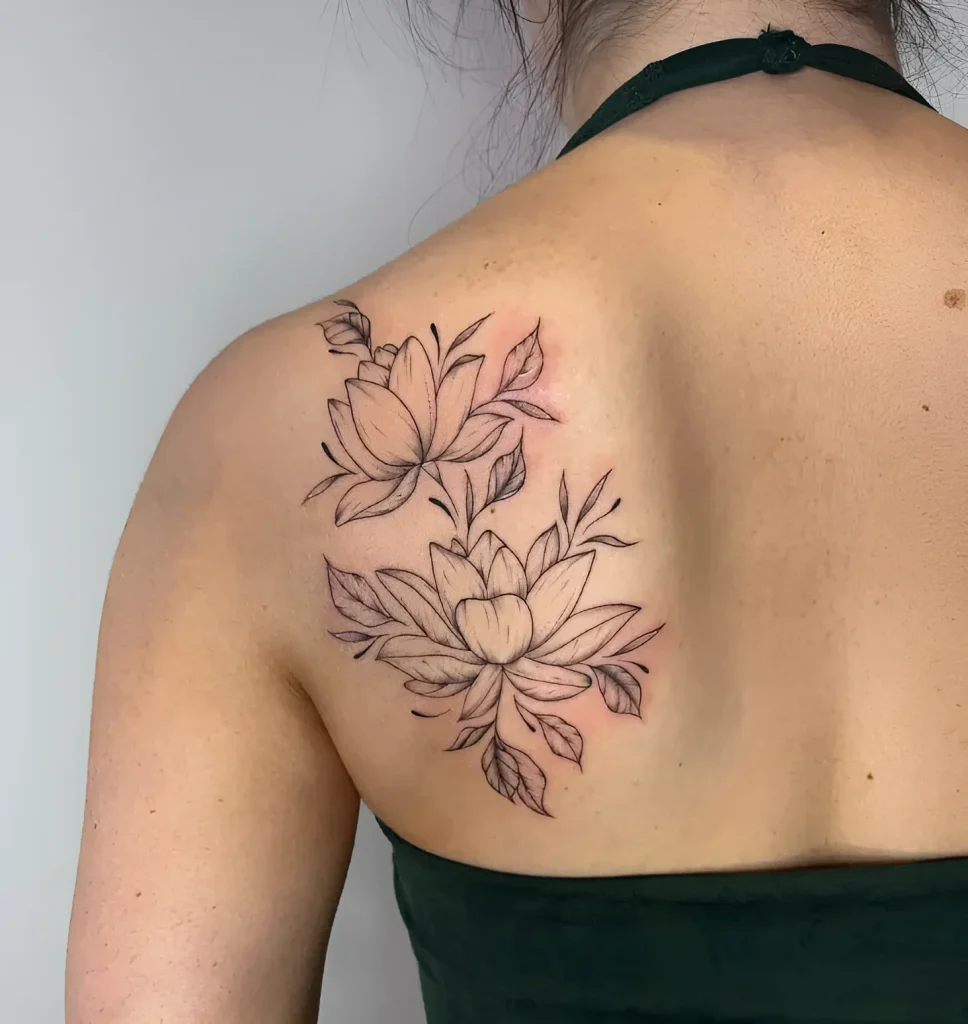
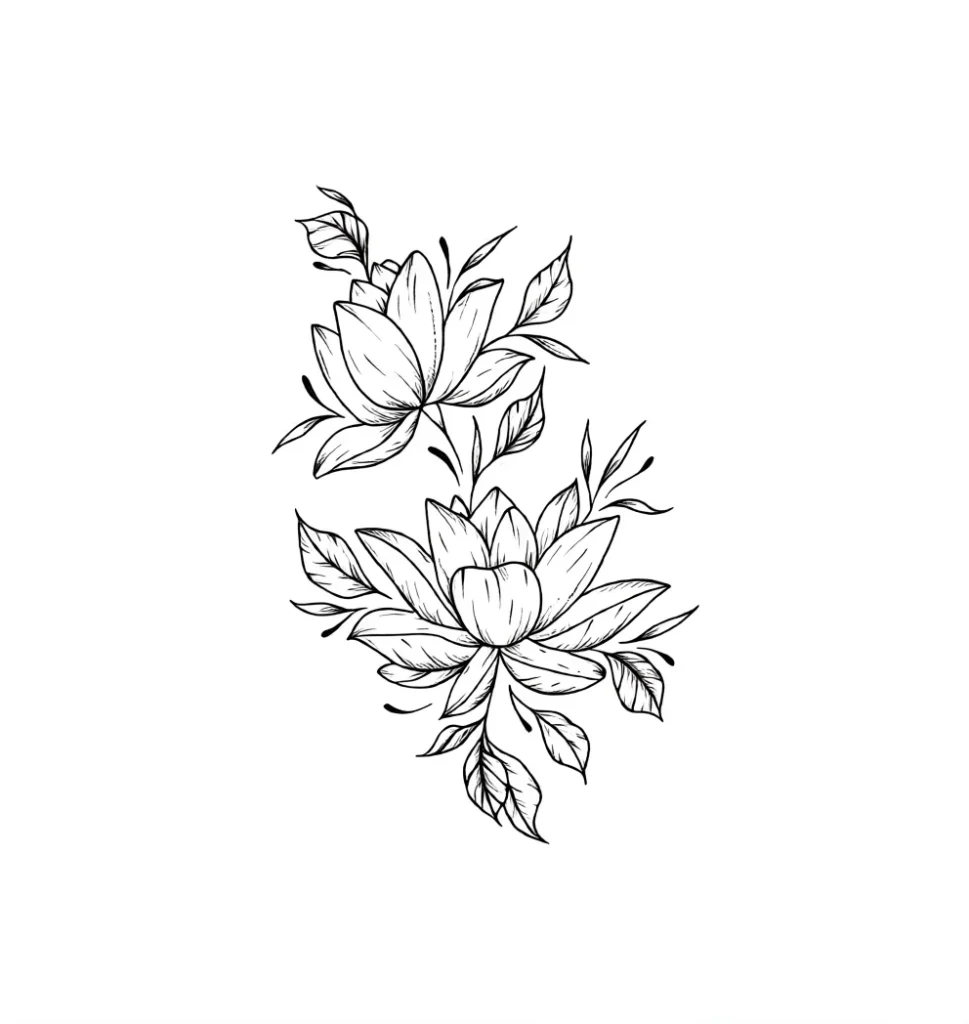
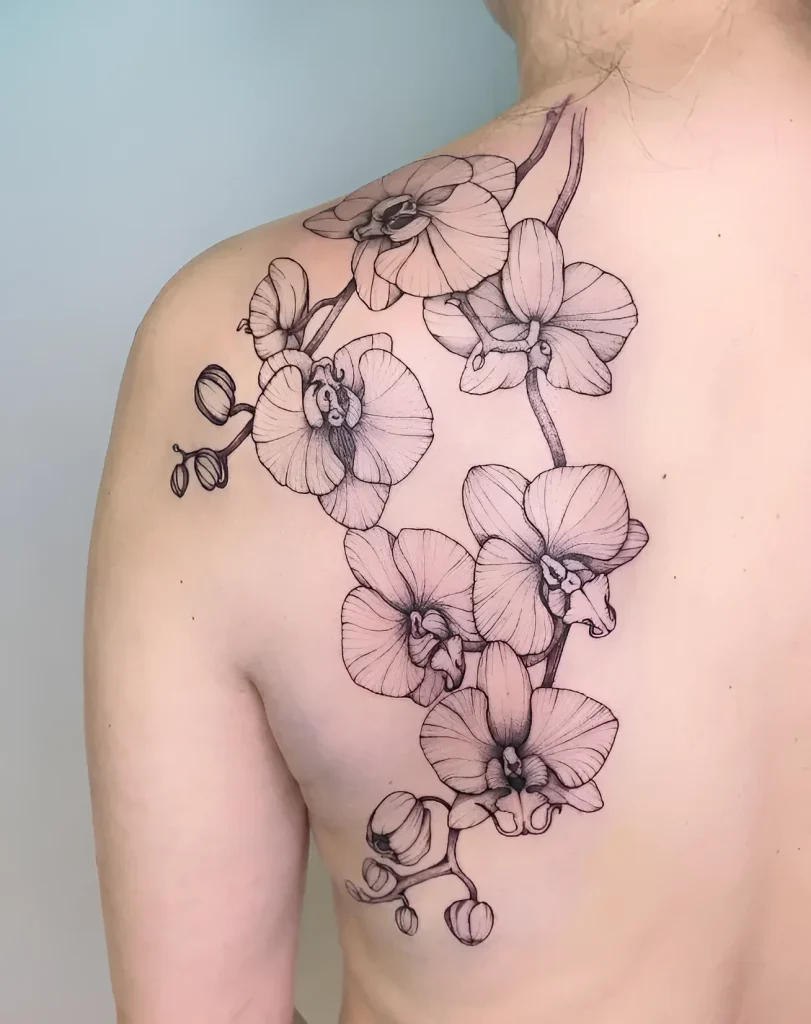
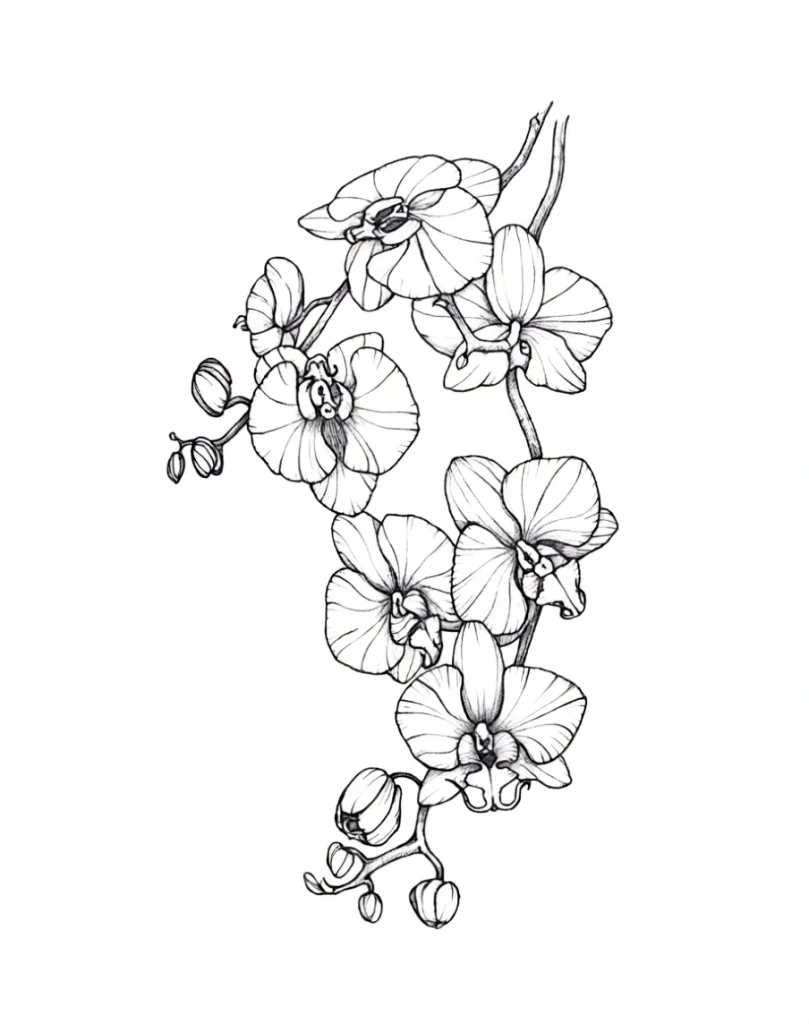
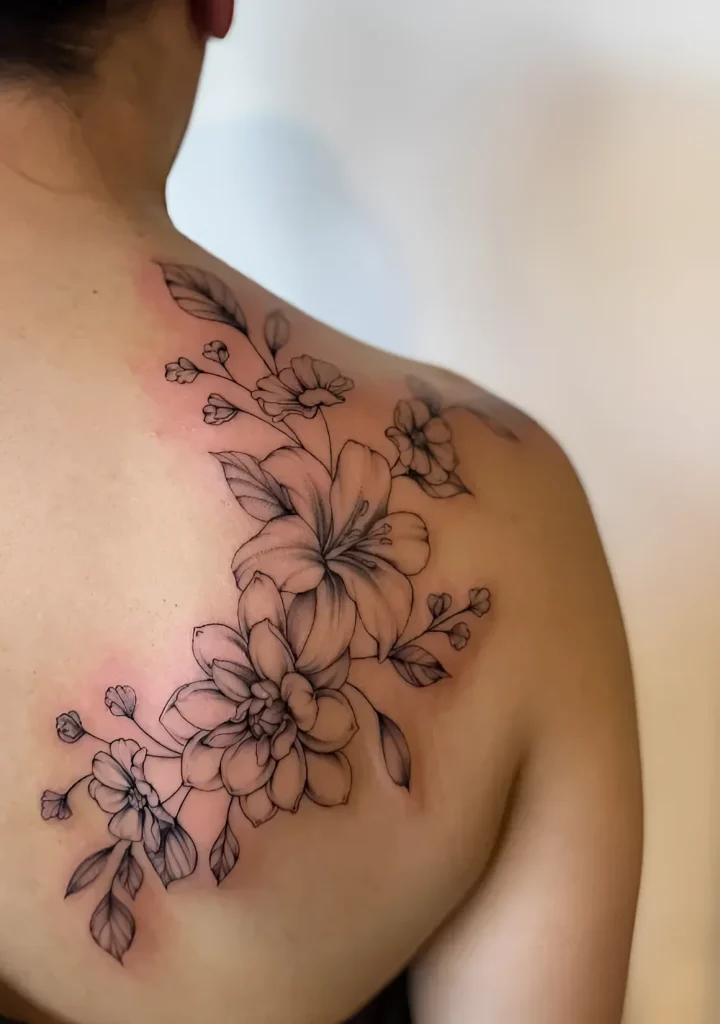
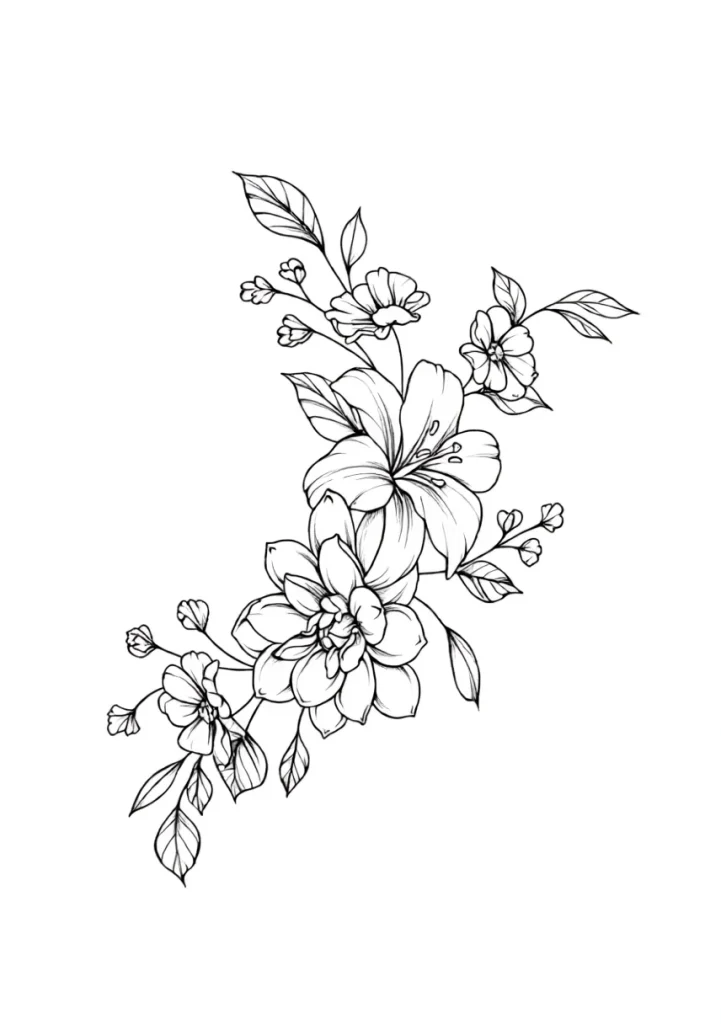
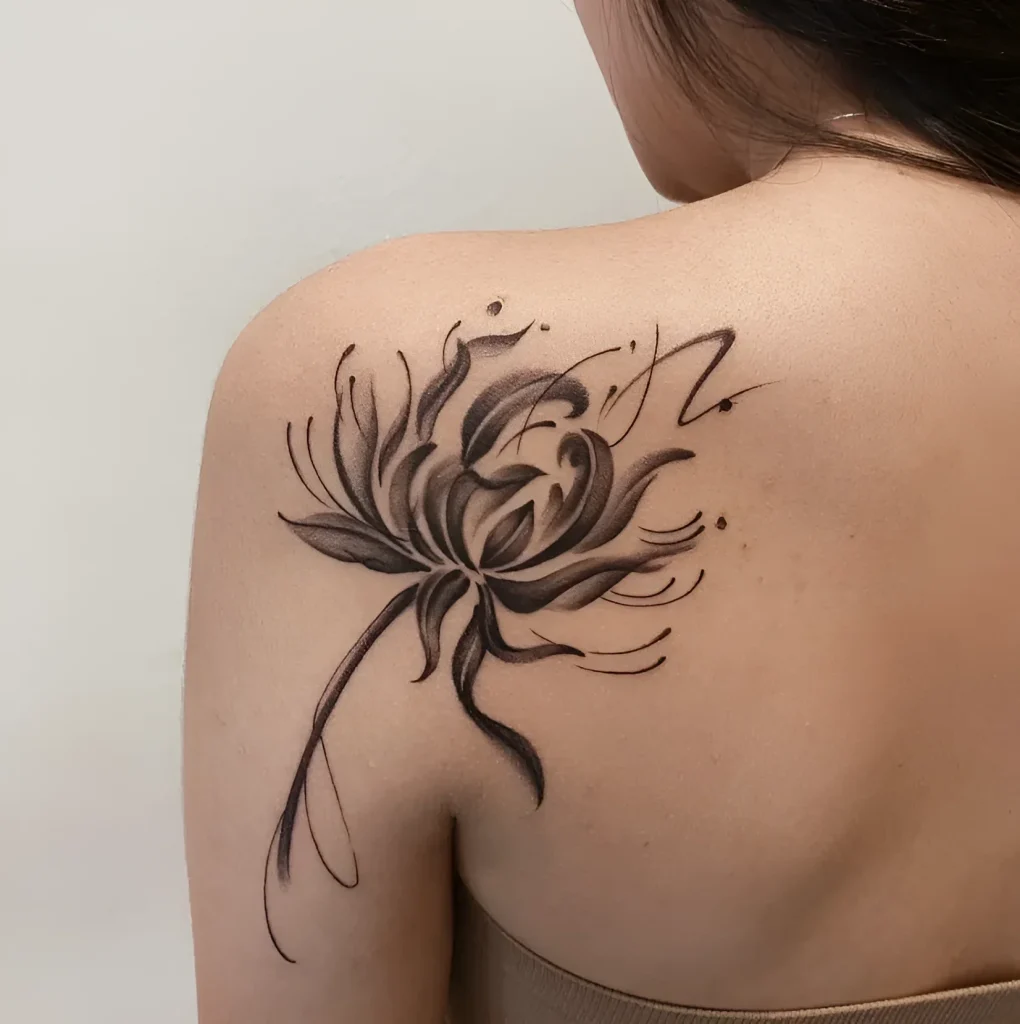
- Floral Arrangements: Flexible branches, roses, or peonies can elegantly frame the bone. This is an excellent choice for Blackwork or Dotwork techniques, where gradients and soft transitions are important.
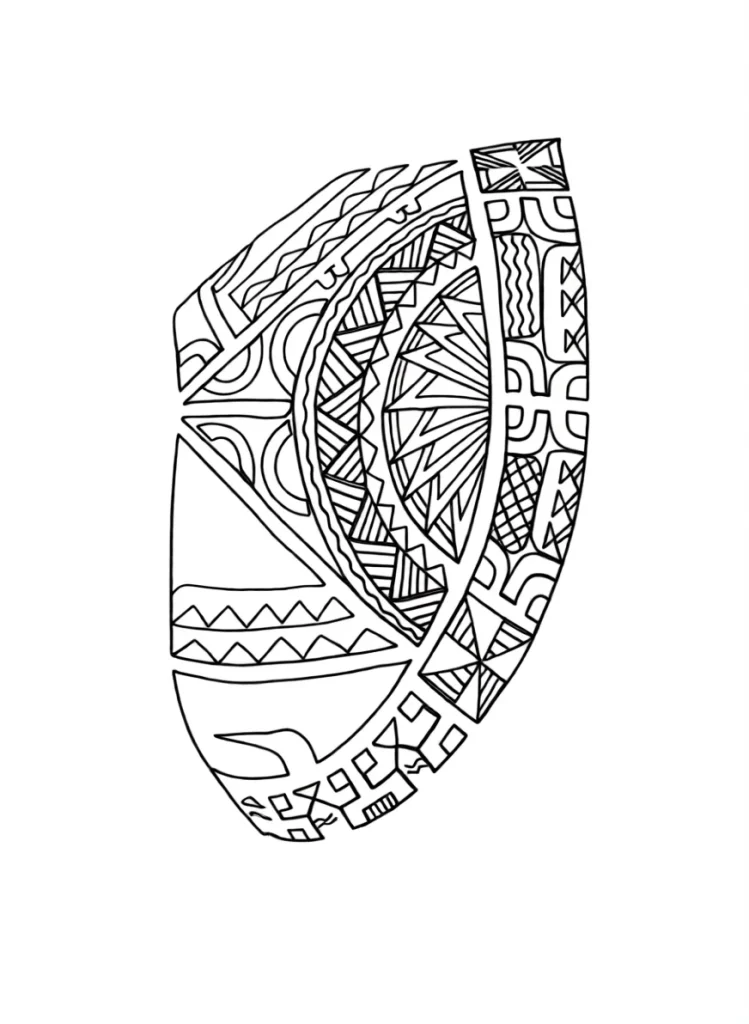
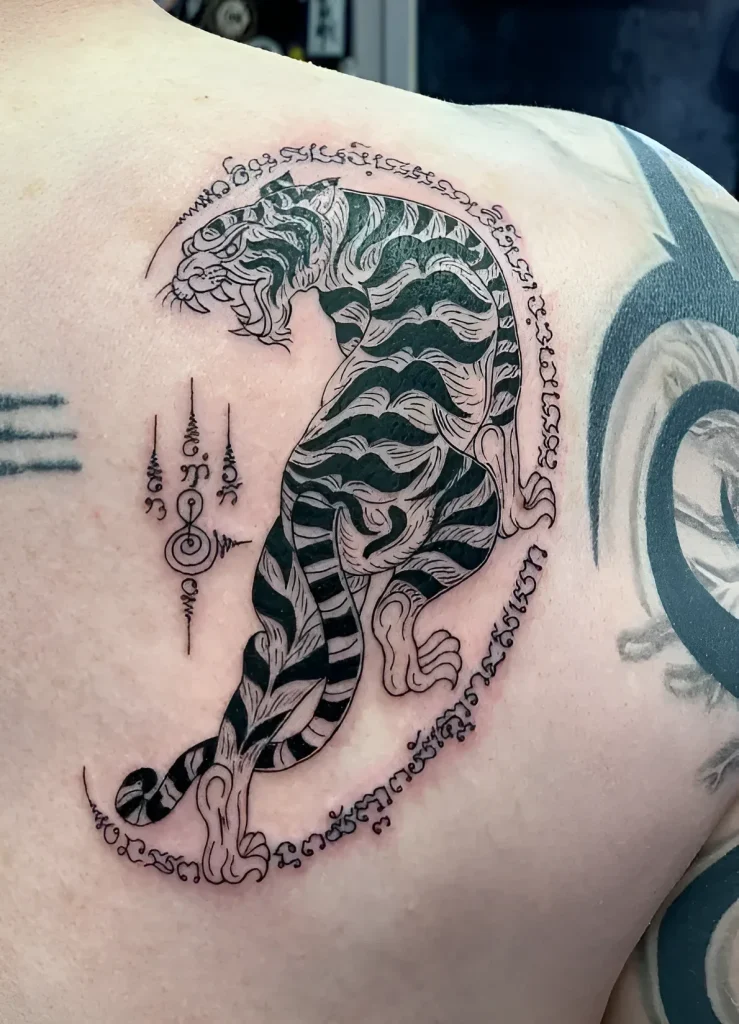
- Mandalas and Geometry: If you choose geometry, it should either be strictly centered on the shoulder blade itself (ideal for round mandalas) or placed asymmetrically on one shoulder blade, using it as a base for a larger composition extending to the shoulder.
Stencil Placement Specifics
Placing the stencil on the shoulder blade is the most critical moment. An error here can ruin the entire work, as a sketch that looks straight when the client is leaning can appear crooked when they stand up.
- Check in Three Positions: The stencil should be checked when the client is: a) sitting and leaning forward; b) sitting upright; c) standing straight.
- Using Anatomical Markers: Always use the spine of the scapula and the spine as the main reference points for symmetry and centering.
- Curvature: If the design is meant to be straight, apply the stencil considering the natural curvature of the body. A straight line on flat paper, transferred to a curved shoulder blade, will appear concave.
Shoulder Blade Tattooing Techniques: Step-by-Step Instructions for Beginner Artists
Working on the shoulder blade requires a specific approach to skin stretching and machine speed adjustment. A beginner artist must master the “three-point” technique for maximum control.
Skin Preparation and Stretching
Since the shoulder blade is an area with high muscle mobility, skin stretching must be perfect.
The “Three-Point Stretching” Rule:
- Primary Stretch (Artist’s Hand): Use your free hand for strong, two-way stretching. The skin should be as flat as possible, especially when laying down the outline.
- Secondary Stretch (Client): Ask the client to place the hand corresponding to the tattooed shoulder blade on their opposite shoulder or under their armpit. This movement maximally spreads the shoulder blades and stretches the skin.
- Support (Second Artist or Assistant): For large pieces, especially in the area where the shoulder blade transitions to the spine, an assistant may be needed to hold the skin or pillow in a static position.
Needlework Technique
When working on the shoulder blade, controlling depth and speed is critical.
- Lining: Use a medium needle extension (about 2-2.5 mm) and moderate machine speed. Avoid moving too quickly, as this increases the risk of an uneven outline on mobile skin. When working directly over the bone, slightly reduce the needle extension and work with less pressure.
- Shading and Packing: For solid packing, ensure the skin is perfectly stretched. Since the shoulder blade is an area prone to friction with clothing, it’s important to achieve maximum pigment density to prevent color loss during healing. Use Magnum needles, working at a slight angle to ensure even pigment application.
- Vibration Management: Machine vibration on the bone can cause significant discomfort to the client. Work in short, confident passes, taking small breaks to allow the client to rest.
Practical Tip: Start working on the areas furthest from the spine and bone (e.g., on the trapezius muscle) so the client gets accustomed to the sensations before you start working on the most sensitive spots.
Shoulder Blade Tattoo Aftercare: Tips for Clients and Recommendations for Artists
Aftercare for a shoulder blade tattoo has its specifics, related to constant friction with clothing, bedding, and active movement of the shoulder girdle.
Client Recommendations
The client should be instructed on the need to limit movement and choose clothing correctly.
- Movement Restriction: For the first 3-5 days, minimize sudden arm movements involving the tattooed shoulder blade. Avoid lifting heavy objects, stretching, or exercises that bring the shoulder blades together or apart.
- Clothing Choice: It is recommended to wear loose, breathable clothing (cotton, bamboo) that will not chafe the tattooed area. Avoid tight bras or backpack straps that exert constant pressure.
- Sleep: Sleep on the opposite side or on your stomach. Sleeping on your back can cause the tattoo to stick to the sheets and damage the fresh design.
- Protective Film (Dermal Film): The use of modern protective films (e.g., Suprasorb F, Saniderm) is especially relevant for this area, as the film minimizes friction and allows the client to move more freely without worrying about contact with clothing.
Aftercare Tips from the Artist
The artist should explain that due to increased mobility and friction, healing may take slightly longer than on static areas (e.g., shins).
Key Points:
- Ensure the client uses a minimal amount of moisturizing product. Excess cream in the shoulder blade area, covered by clothing, can create a greenhouse effect and slow down healing.
- Remind them that skin tension during movement may cause more noticeable peeling and a feeling of tightness than usual. This is normal.
- Emphasize the importance of a touch-up appointment. Due to healing peculiarities, small gaps or “color loss” in areas of maximum friction are not uncommon.
Common Mistakes When Tattooing the Shoulder Blade and How to Avoid Them
The shoulder blade forgives fewer mistakes than flat, fleshy areas of the body. Beginner artists often encounter problems related to anatomy and placement.
Mistake 1: Incorrect Stencil Placement
Problem: The sketch looks straight when the client is leaning, but becomes skewed or asymmetrical when the client stands up.
How to Avoid: Always check the stencil in an upright, relaxed position. If the tattoo is symmetrical, use a laser level or string to ensure the left and right sides are positioned equally relative to the spine and the spine of the scapula.
Mistake 2: Blowout (Pigment Spreading)
Problem: Pigment “explodes” under the skin, creating bluish, blurry halos around the outline, most often over the bone itself.
How to Avoid: Blowout occurs due to excessively deep needle insertion, which pierces the dermis and enters the subcutaneous fat layer. Over the shoulder blade, the dermis layer is thinner. Use a shorter needle extension (2.0–2.2 mm) and work with less pressure, especially in areas where you feel the bone.
Mistake 3: Patchy Saturation
Problem: Color or black pigment is applied unevenly. This is especially noticeable in areas where the skin moves a lot (e.g., on the trapezius muscle).
How to Avoid: Insufficient skin stretching is the main cause. Ensure the skin is stretched to a “drum-like” tautness. Work slower and use a larger Magnum to ensure dense filling in fewer passes.
Mistake 4: Ignoring Muscle Relief
Problem: A sharp, geometric design is applied without considering that muscles can distort it. When muscles tense, the lines “break.”
How to Avoid: For geometric or architectural designs, choose areas with the least mobility. If the design is meant to be dynamic, it should follow the muscle relief, not try to ignore it. Try drawing the sketch directly on the body with a marker to see how it looks during movement.
Shoulder Blade Tattoos: Frequently Asked Questions (FAQ)
As a professional tattoo encyclopedist, we have compiled the most frequent questions that clients and beginner artists ask regarding shoulder blade tattoos.
Q: How painful is tattooing the shoulder blade?
A: Pain threshold is individual, but the shoulder blade is considered a moderately sensitive area. The most painful spots are directly over the bone (especially the spine of the scapula) and the edges where the bone is close to the skin’s surface. Pain here is often sharp, related to strong vibration transmitted through the bone.
Q: What tattoo size is best suited for the shoulder blade?
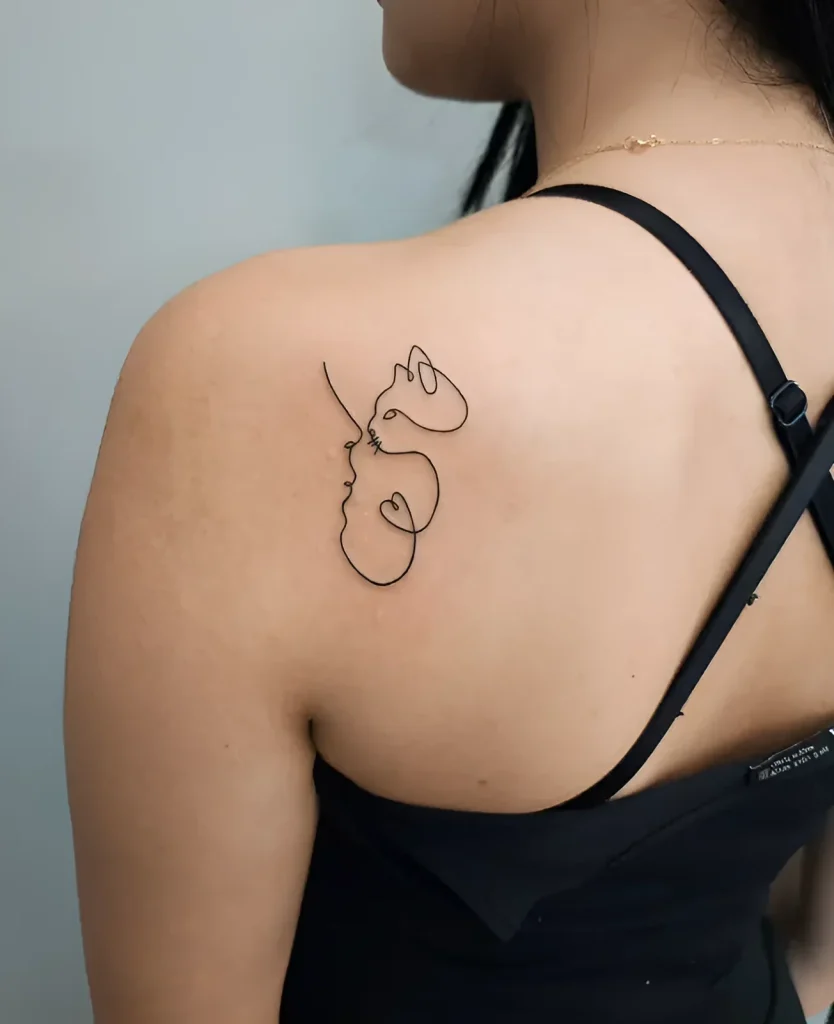
A: The shoulder blade is ideal for medium to large tattoos. Small, minimalist designs often get lost on such an expansive and contoured canvas. It is recommended to utilize the entire area of the shoulder blade, and also consider the possibility of extending the design to the shoulder or upper back to create a cohesive composition.
Q: Can symmetrical tattoos be done on both shoulder blades?
A: Yes, this is a very popular request, especially for wing designs or complex mandalas. However, symmetrical work requires the highest precision in stencil application. A beginner artist should dedicate twice as much time to centering and checking, as even the slightest asymmetry will be noticeable.
Q: Can scars on the shoulder blade be tattooed?
A: Yes, the shoulder blade is often a location for old surgical scars. Tattooing scars is possible, but only after they have fully matured (at least a year). Scar tissue may accept pigment less readily and require more careful needlework due to altered tissue density.

Interesting Facts About Shoulder Blade Tattoos: History and Cultural Significance
While shoulder blade tattoos do not have as ancient and specific a history as, for example, face or hand tattoos, they have always played an important role in cultures associated with the symbolism of protection and strength.
- Symbol of Protection and Strength: In most cultures, the back and shoulder blades are associated with protection (as if a warrior were carrying a shield). Tattoos located here often carry a protective meaning, symbolizing spiritual armor, protection from evil, or readiness to confront challenges.
- Military and Naval Symbolism: In the 20th century, shoulder blades were often used to apply symbols related to military branch affiliation or ranks. Naval tattoos (e.g., swallows or anchors) placed on the shoulder blades symbolized returning home or long voyages.
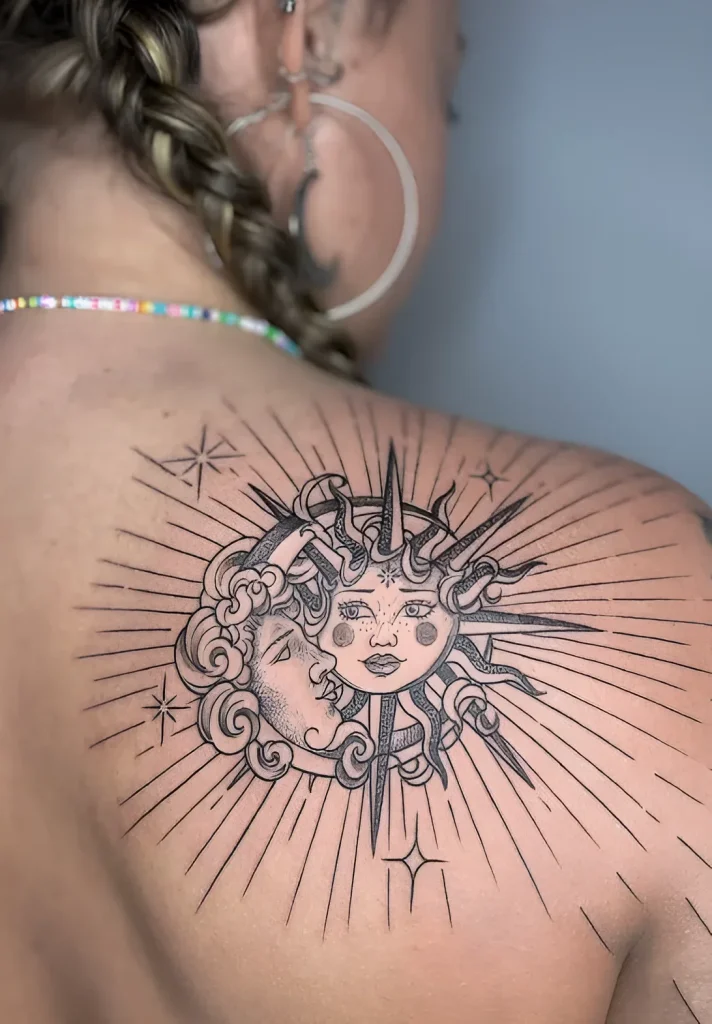
- A Woman’s Choice: In modern tattoo culture, the shoulder blade has become one of the most popular areas among women. This is because it allows for the creation of a large and expressive composition that can be easily hidden under clothing but is also impressively displayed in open attire. Designs often include flowing, feminine motifs – flowers, butterflies, moon phases.
- A “Hidden” Area: The shoulder blade is among the areas that the person cannot see without a mirror. This often gives the tattoo a more personal, intimate, or meditative meaning. Clients choose this area for symbols that are meant to watch over them, protect them, or serve as a reminder of something left behind.
Mastering tattooing on the shoulder blade is an important step in the development of any artist. Remember that patience, thorough anatomical preparation, and perfect skin-stretching technique are the keys to creating a durable and aesthetically flawless work of art on your client’s body.
Additional Images
Gallery of remaining images (click to view):