
The bicep (biceps brachii) is one of the most popular and, at first glance, simplest areas for tattooing. Its smooth, large surface seems like an ideal canvas. However, for a beginner tattoo artist, working on the bicep presents many pitfalls related to anatomical mobility, uneven skin thickness, and proximity to sensitive areas. In this comprehensive guide, we, as experts from tatufoto.com, will break down all the key aspects you need to know to ensure your work on this area is flawless and safe.
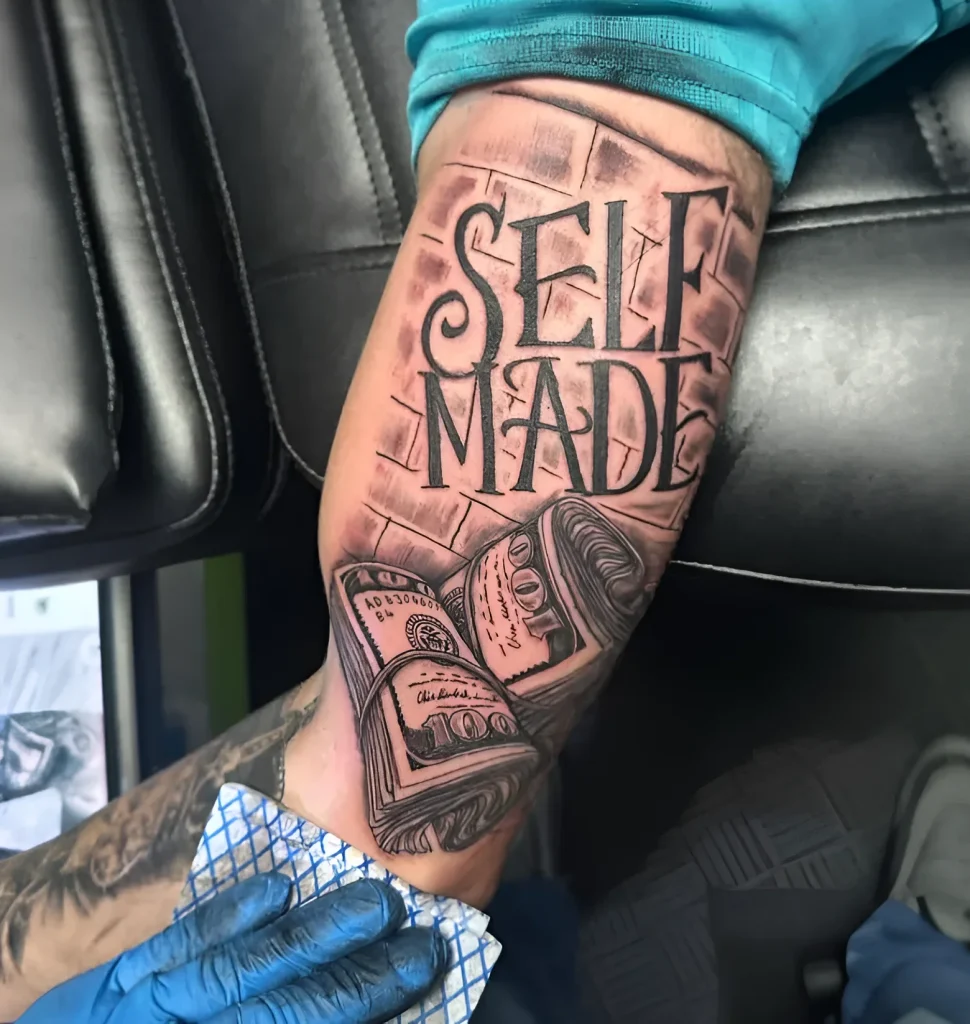
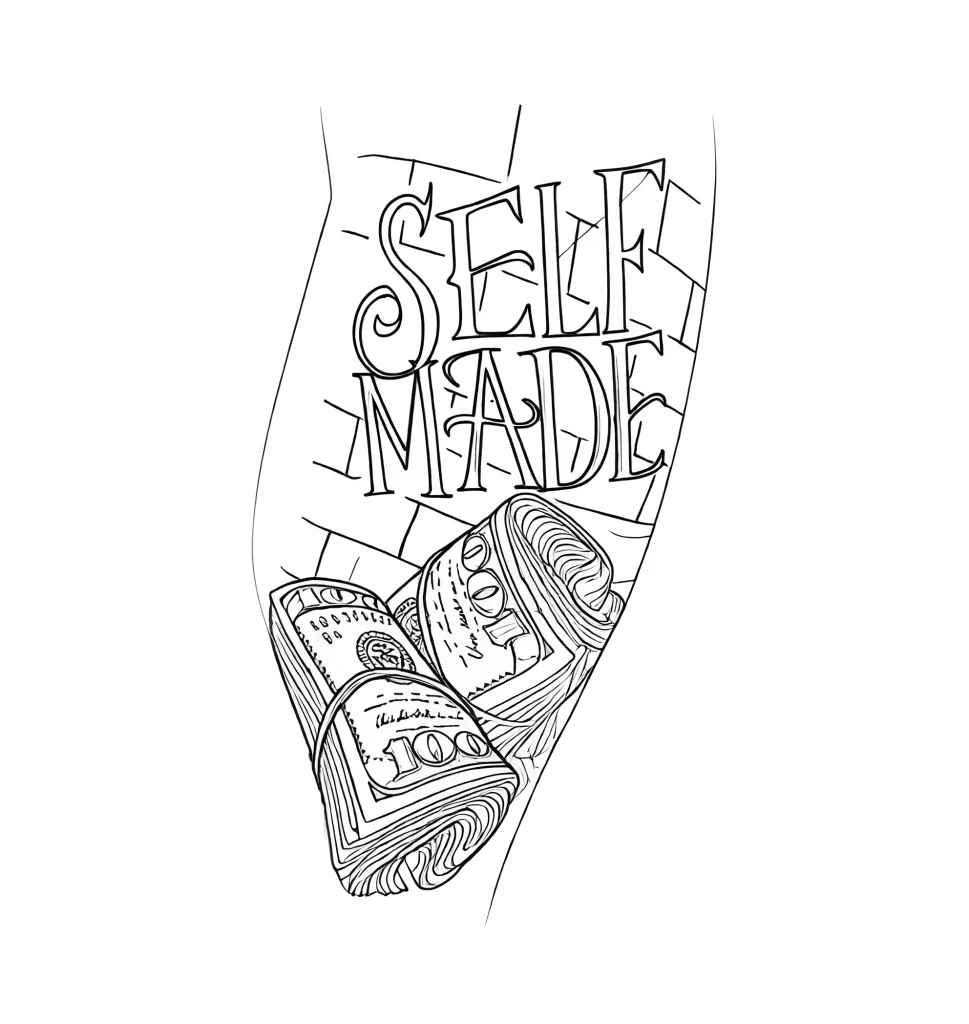
Bicep Tattoos: A Complete Guide for Beginner Tattoo Artists – Where to Start
Before you pick up your machine, you must prepare thoroughly. Working on the bicep requires not only artistic vision but also a deep understanding of body mechanics. Your first steps should focus on client assessment and session planning.
Client Assessment and Consultation
The bicep is a muscle that significantly changes shape with movement and tension. Your task is to ensure the design looks harmonious in both relaxed and tensed states.
- Muscle Tone Assessment: Ask the client to tense and relax their arm. If the client is actively involved in sports, their bicep will have a pronounced peak. This is critically important for realism and portraits, where a slight distortion can ruin the entire piece.
- Shape and Flow: Decide whether the design will follow the natural flow of the muscle or contrast with it. For beginners, it’s recommended to choose designs that wrap around the bicep to minimize visual distortions.
- Side Selection: The outer side (lateral) is more visible and has thicker skin. The inner side (medial) is more sensitive but offers greater privacy. Discuss this with the client.

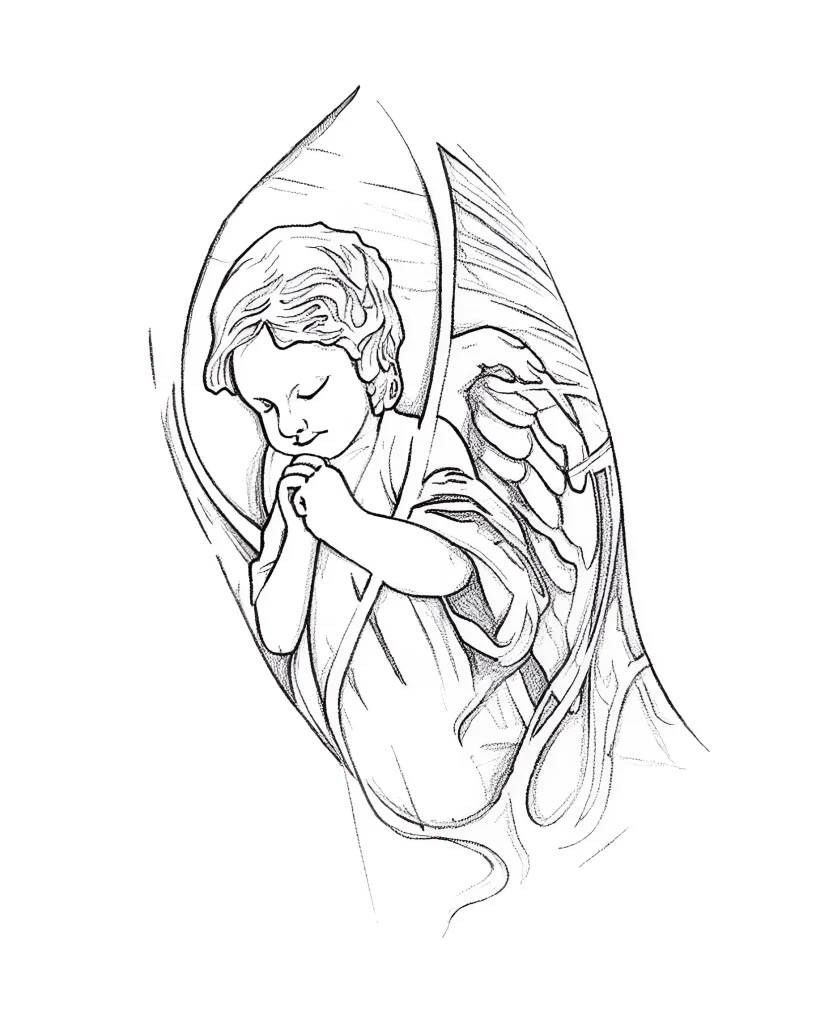
Workspace Preparation
Stability is crucial for working on the bicep. You will need a special armrest that allows the client’s arm to be fully relaxed and fixed at the correct angle.
- Client Positioning: The client should sit or lie as comfortably as possible so that the arm does not get tired or twitch. When working on the outer side, the arm often needs to be extended and turned palm down. When working on the inner side, the arm can be slightly bent at the elbow.
- Lighting: Considering that the inner part of the bicep is often in shadow, ensure your work light is directed to avoid glare on wet skin and to provide even illumination of all curves.
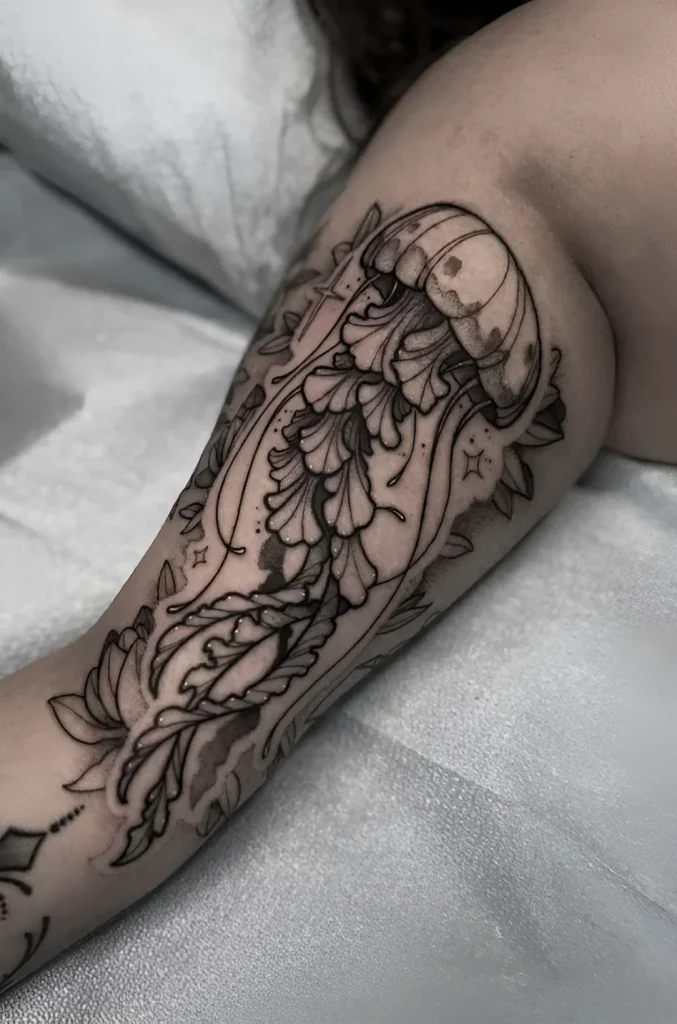
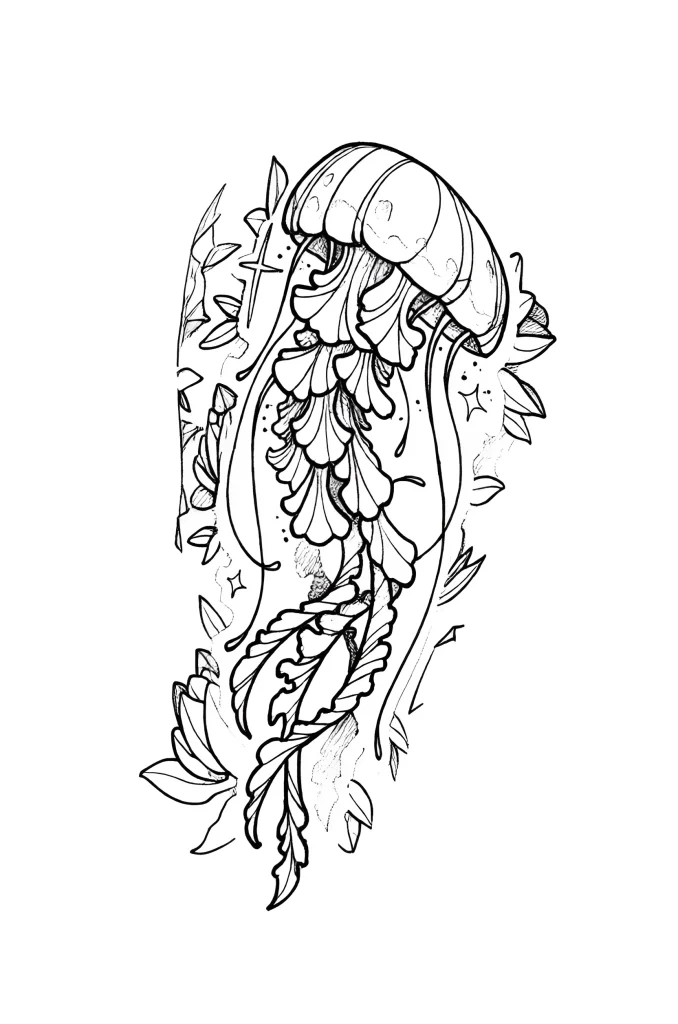
Bicep Anatomy and Skin Characteristics for Tattooing: Important Nuances
Deep anatomical knowledge is not just theory; it’s your safety and a guarantee of a quality result. The bicep is not a flat board but a complex, constantly moving cylinder with rapidly changing skin characteristics.
Zone I: Outer (Lateral) Side
This is an ideal zone for most detailed work. The skin here is thick, dense, and stretches well. Pain sensation is minimal, allowing beginners to work longer on details.
- Characteristics: Good needle cushioning, low risk of ink blowout.
- Artist’s Tip: You can use more aggressive machine settings here and work with large magnums for solid packing.
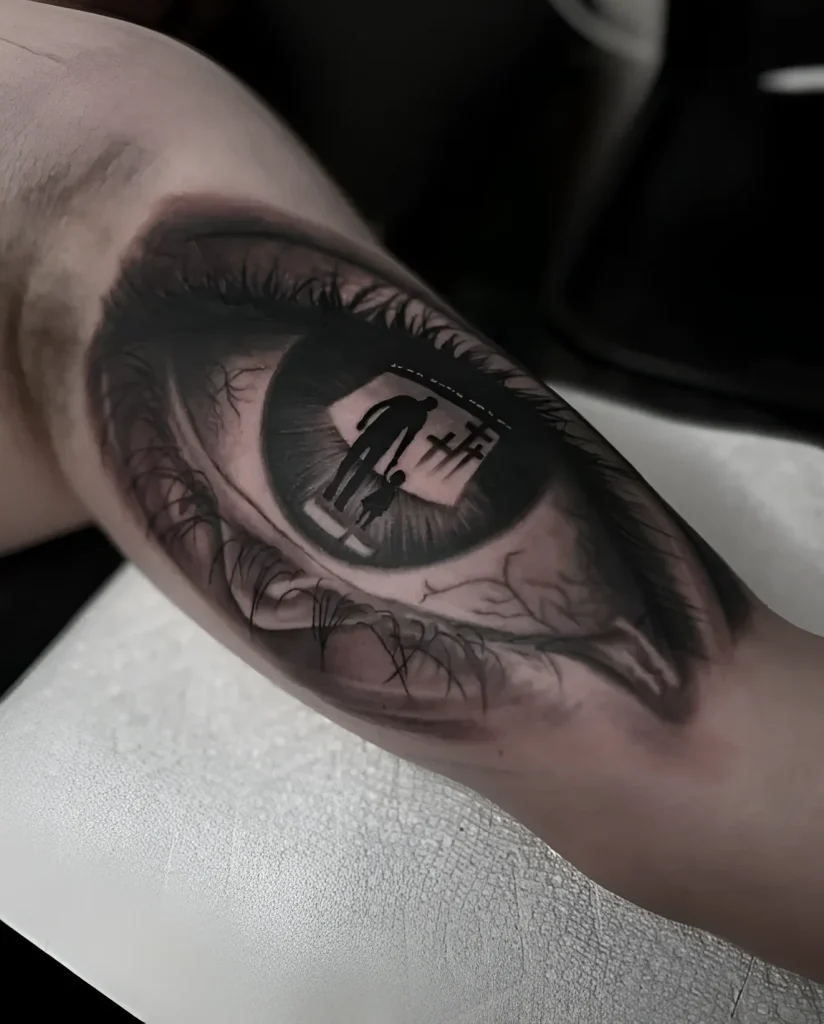
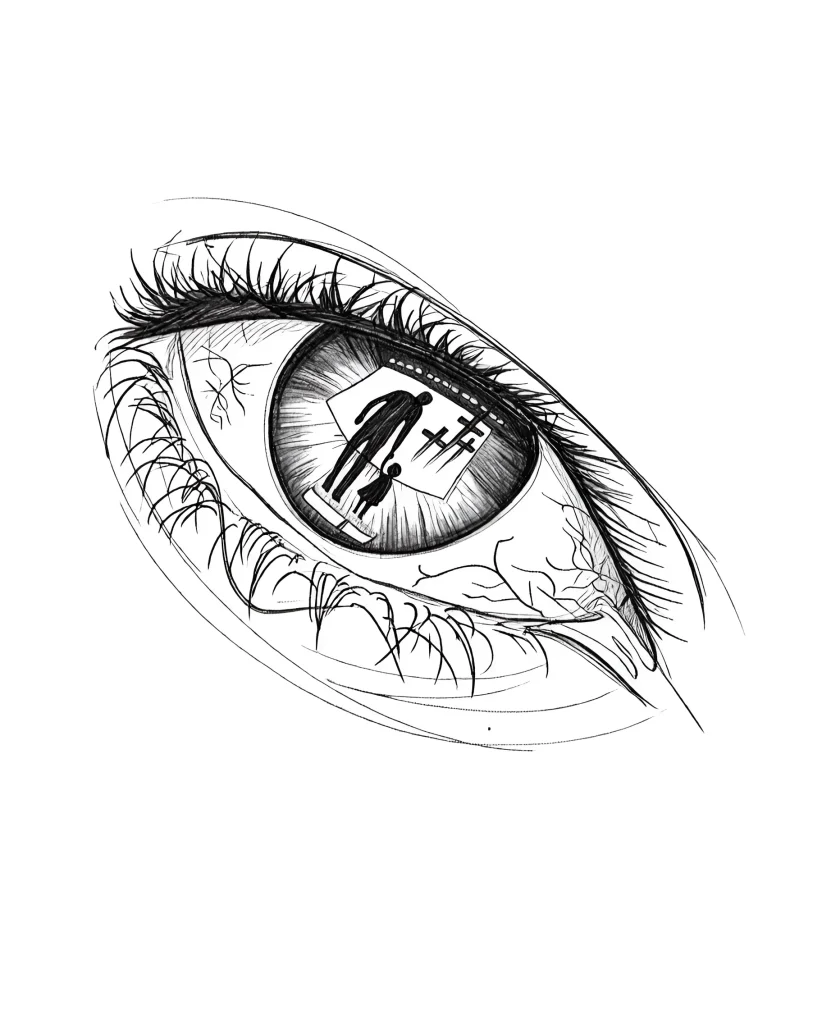
Zone II: Inner (Medial) Side
This is the most sensitive and challenging area for beginners. The skin here is significantly thinner, with large veins and nerve endings closer to the surface.
- Characteristics: High sensitivity, rapid swelling, increased risk of blowout due to thin dermis. Proximity to the median and ulnar nerves requires caution.
- Artist’s Tip: Reduce needle depth and work at a slower speed. Use more delicate skin stretching techniques to avoid damaging capillaries.
Zone III: Side Curves and Armpit Area
The transition from the outer to the inner side is an area of maximum curvature and movement. Incorrect outline application in this area will lead to distortion when the arm is tensed.
- Characteristics: The skin here constantly compresses and stretches. The armpit area contains lymph nodes and very thin, wrinkled skin. Working in this area is extremely painful for the client.
- Artist’s Tip: When applying the stencil, ensure the client holds their arm in a neutral, relaxed position. Avoid overly small details in the flexion areas.
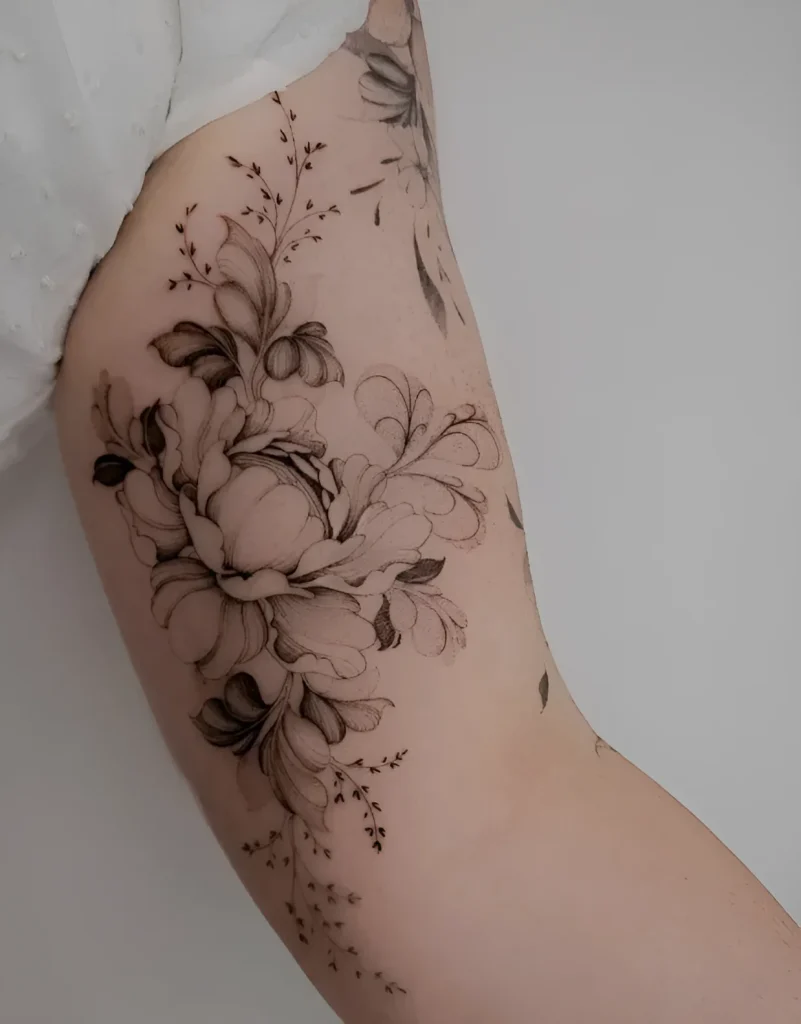
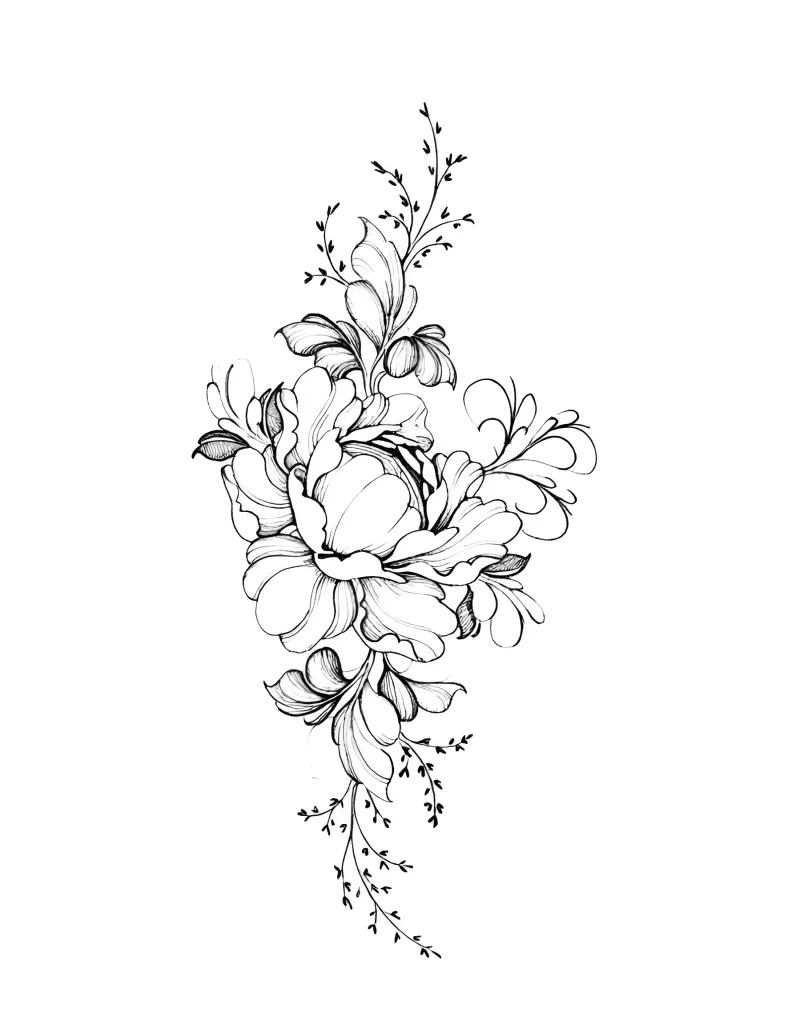
Popular Bicep Tattoo Designs: Ideas for Inspiration and Examples of Work
The choice of design for the bicep should consider its cylindrical shape and its role as a “showcase” of strength or symbolism. For a beginner artist, it’s important to choose a design that technically matches their skill level while maximizing the anatomical features.
Designs Perfectly Suited for the Bicep
The bicep is excellent for designs that require volume and three-dimensionality:
- Bangles and Flowing Ornaments (Tribal, Polynesian): These styles naturally follow the shape of the arm. They are ideal for beginners as they allow for mastering even application of solid packing and symmetry on a curved surface.
- Realism on the Outer Side: Portraits, animals, or mythological creatures placed on the outer, flatter part of the bicep benefit most from its stability and good skin elasticity.
- Text and Calligraphy (Inner Side): The inner part of the bicep is often used for personal, discreet inscriptions. Precision is required here to avoid blowout of thin lines.
- Geometric and Blackwork Patterns: Due to their clean lines and solid black color, these styles emphasize musculature. However, they require perfect skin tension to maintain straight lines.

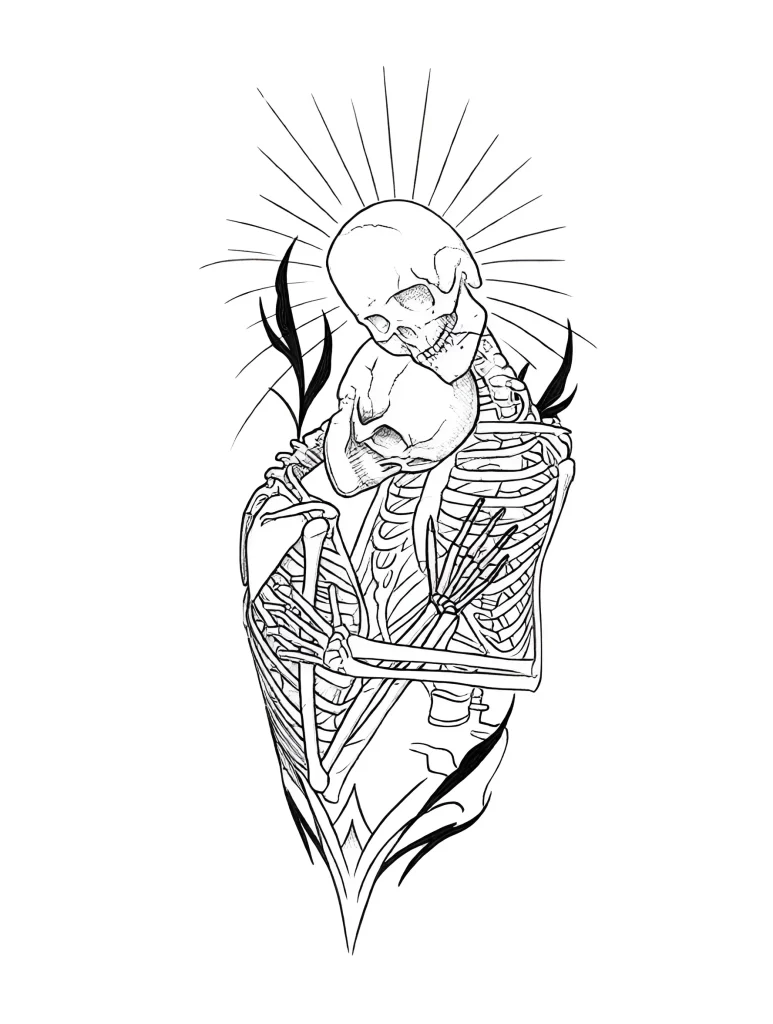
How to Adapt a Design to the Anatomy
Never transfer a flat design to the bicep without adaptation. You must “wrap” the image around the muscle.
- The Wrapping Principle: Remember that lines that appear parallel on paper must be slightly curved on the stencil to look straight on a cylindrical surface.
- Centering: If you are creating a single element (e.g., a rose or a skull), its center should be precisely at the peak of the bicep, not just in the middle of the arm. This ensures maximum visibility.
- Using Negative Space: In blackwork and ornamental pieces, use the curves of the bicep to create a play of light and shadow, emphasizing the muscle’s volume.
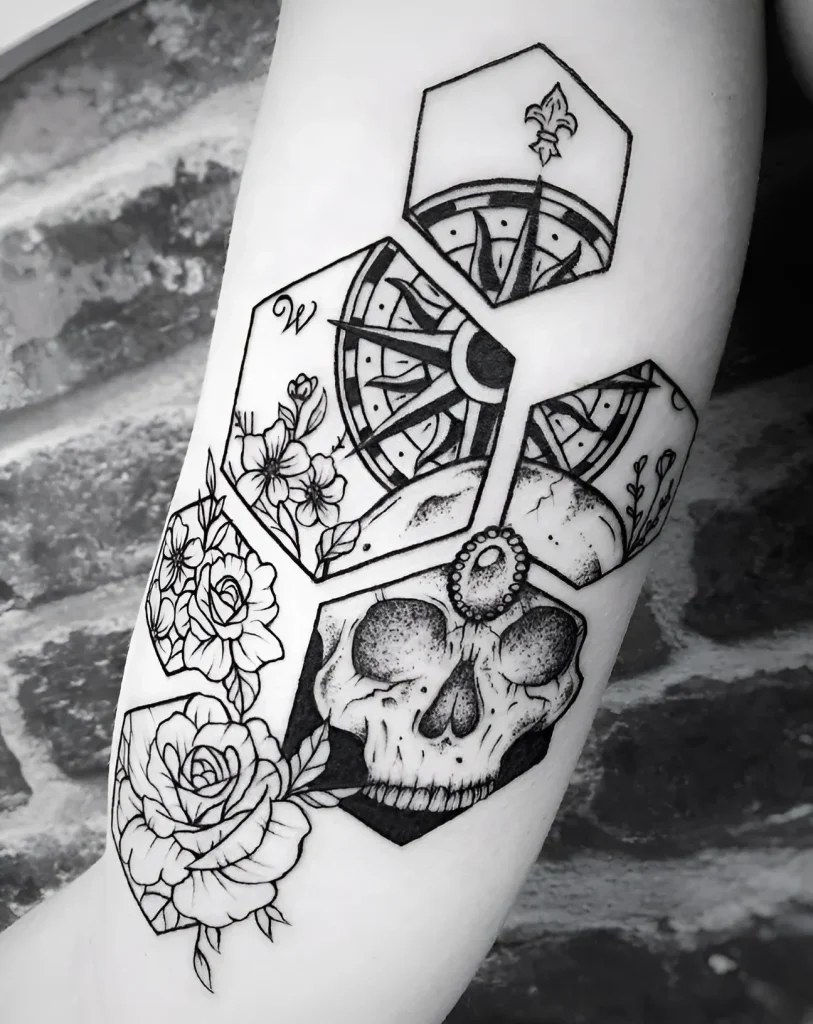
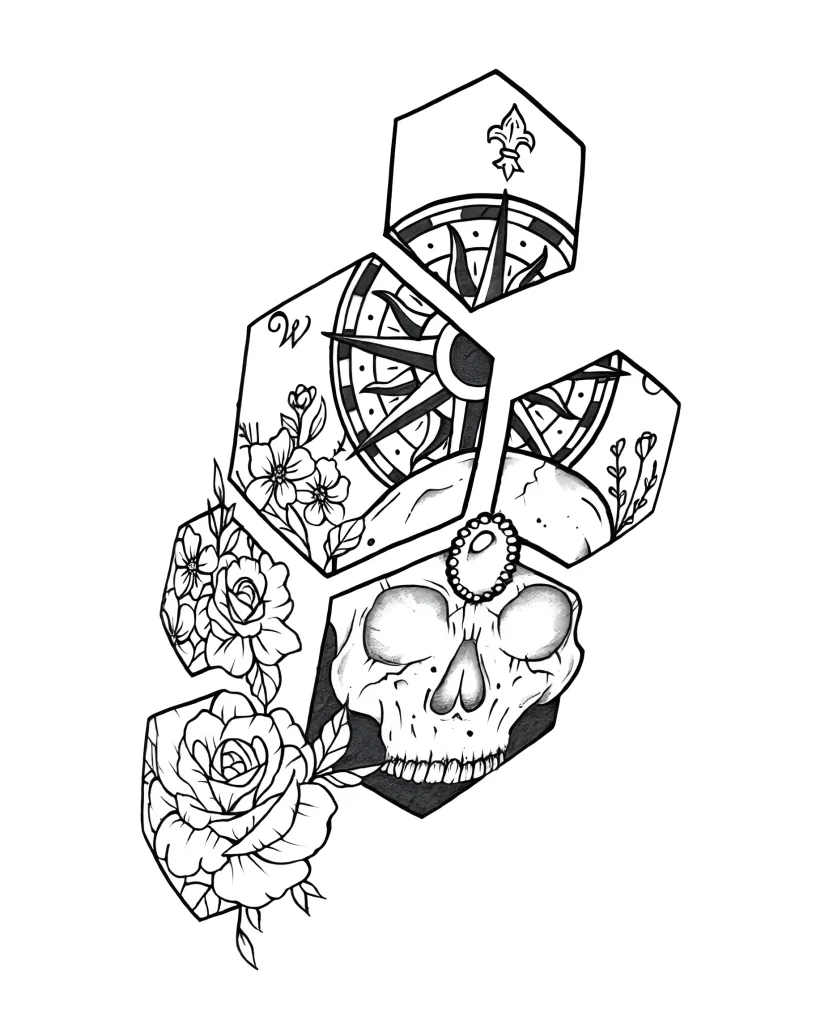
Bicep Tattoo Application Techniques: Tips for Beginner Artists
Working on the bicep requires mastering specific stretching and stabilization techniques. Proper skin tension is more important here than on flat surfaces like the forearm.
Skin Stretching Technique (The Three-Hand Rule)
A beginner artist often uses only two hands: one holds the machine, the other stretches the skin. This is not enough for the bicep, especially on the curves. You need the client’s arm to act as a “third hand.”