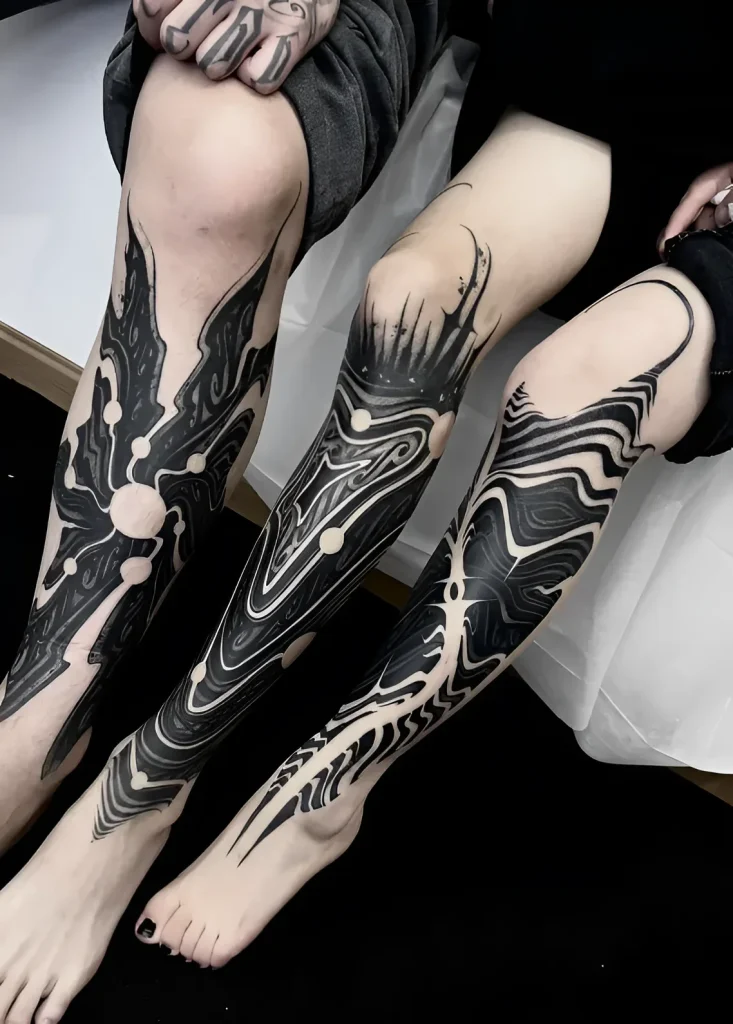
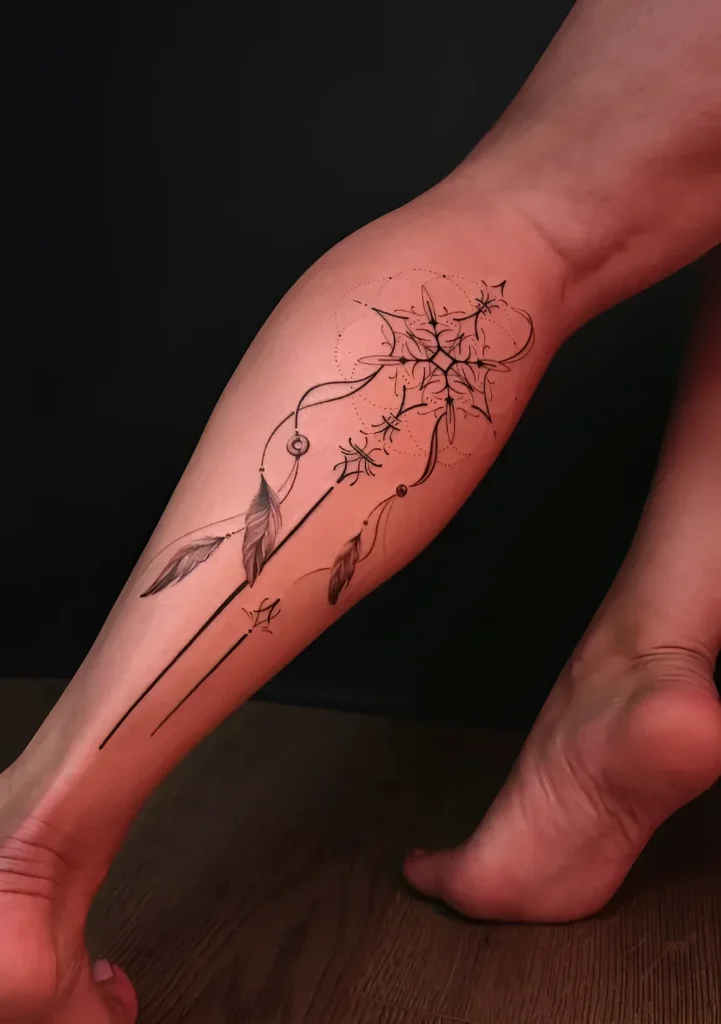
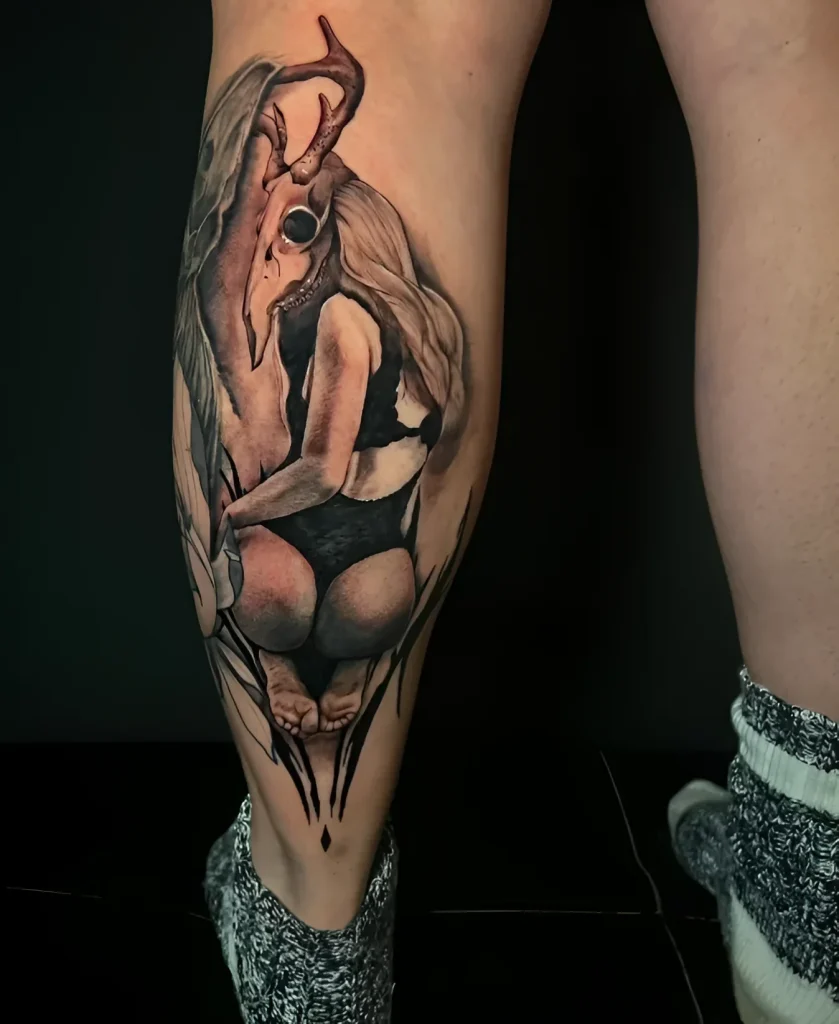
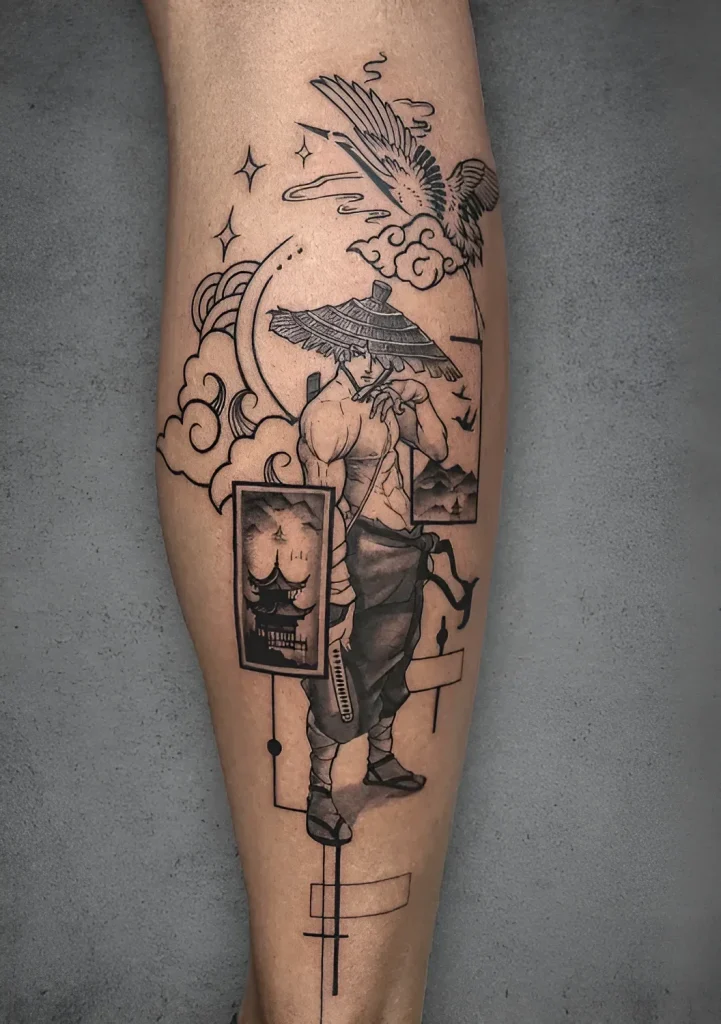
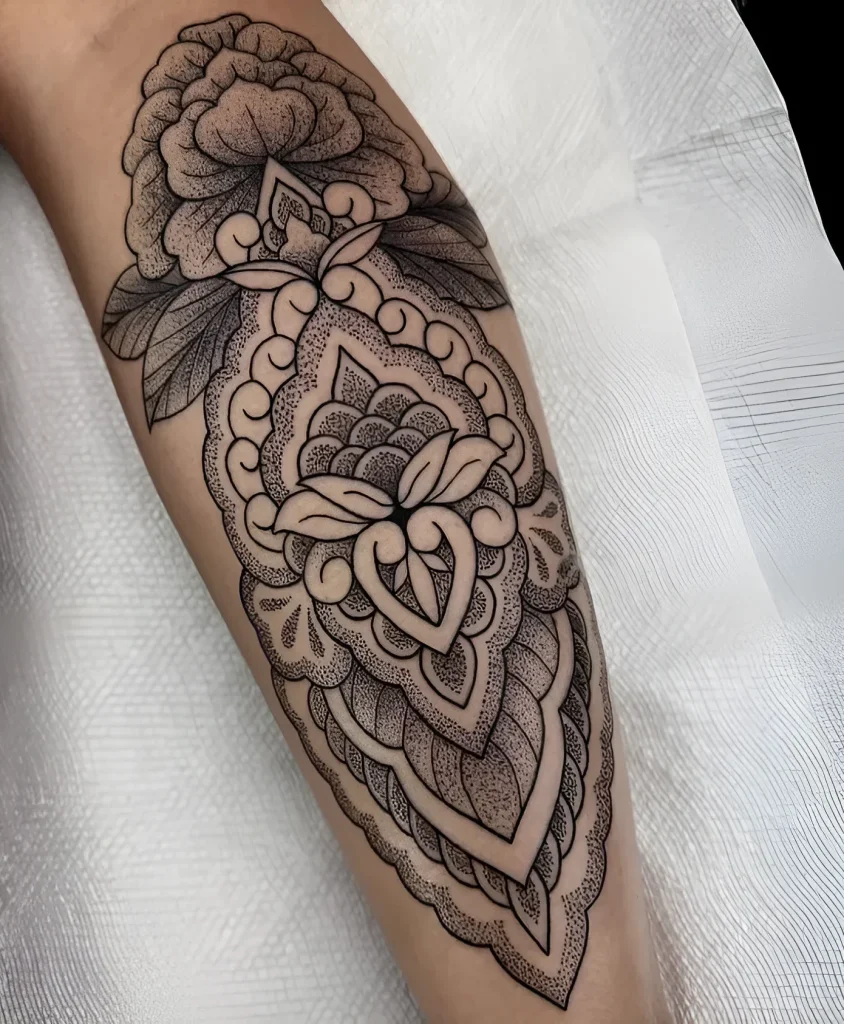
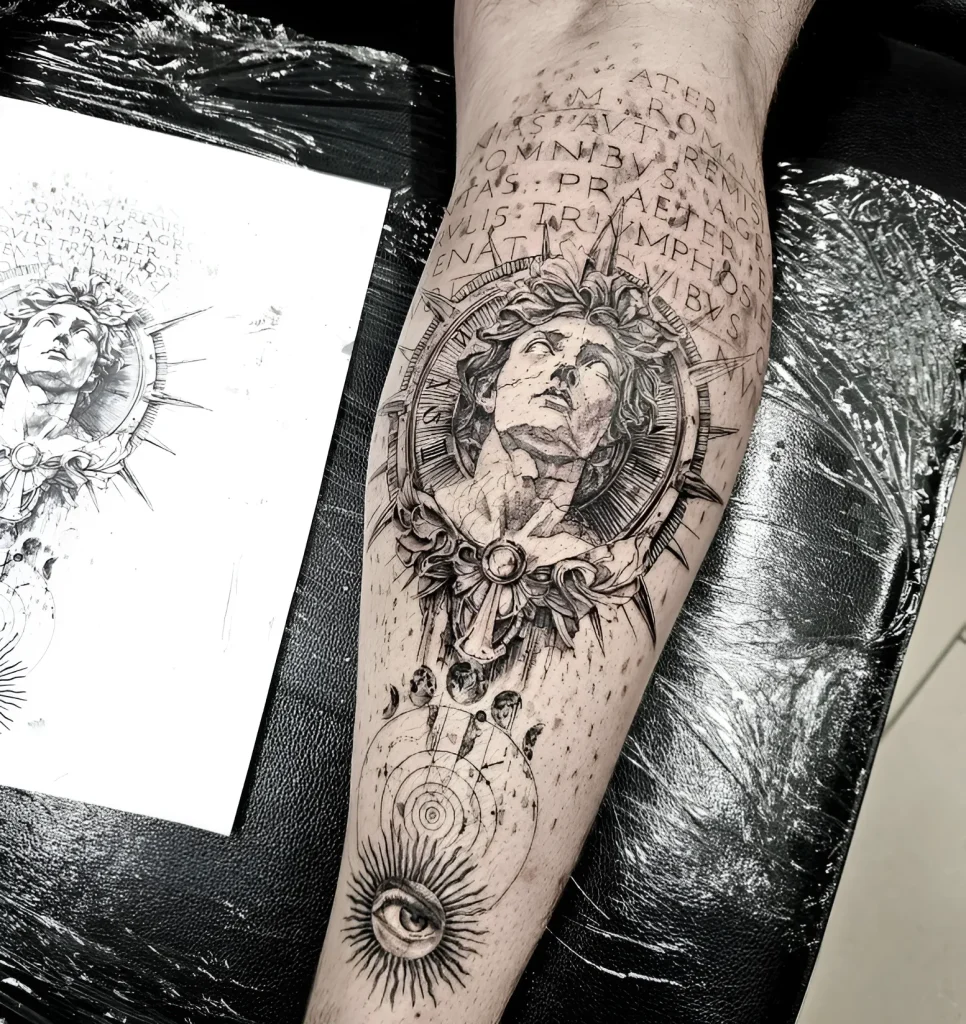
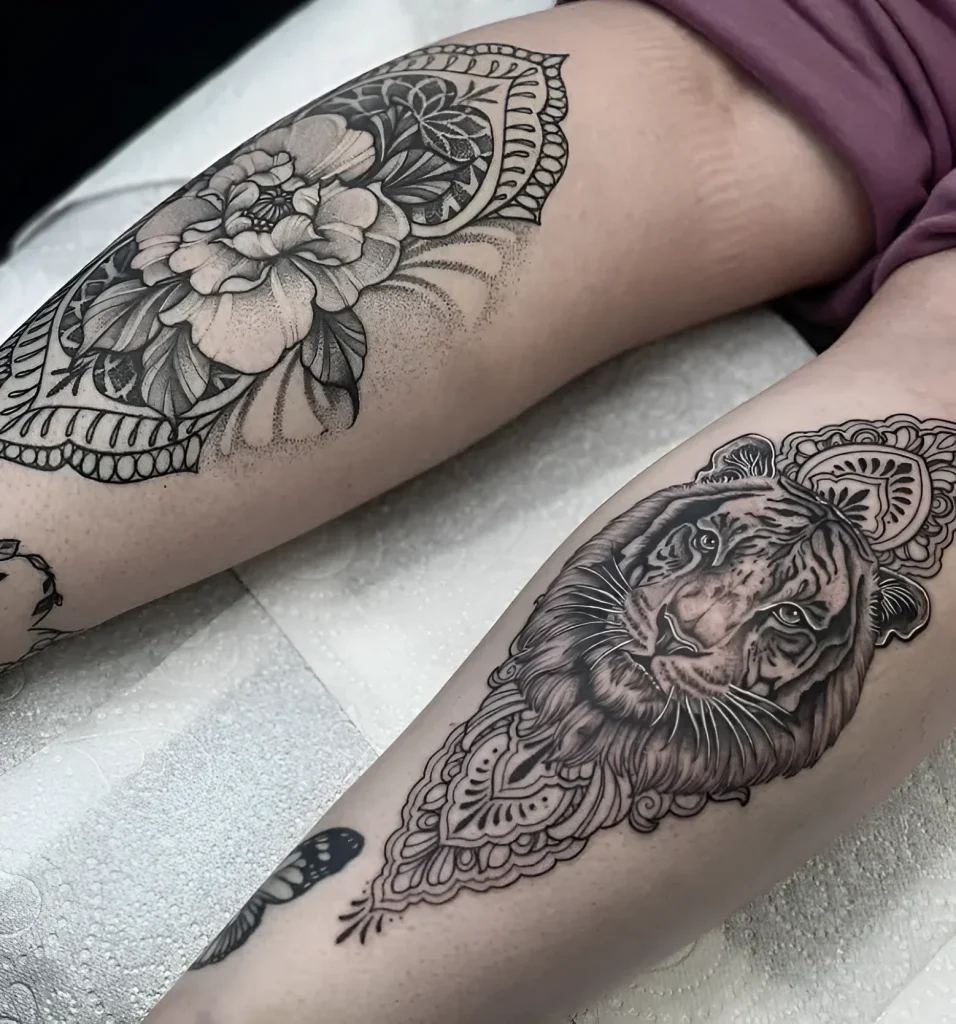
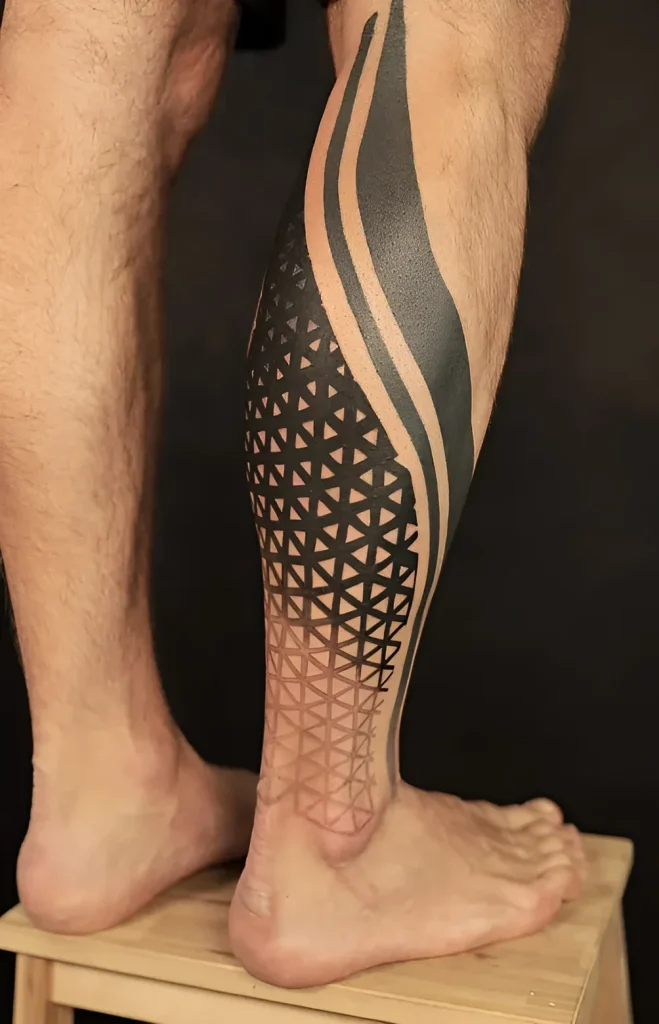
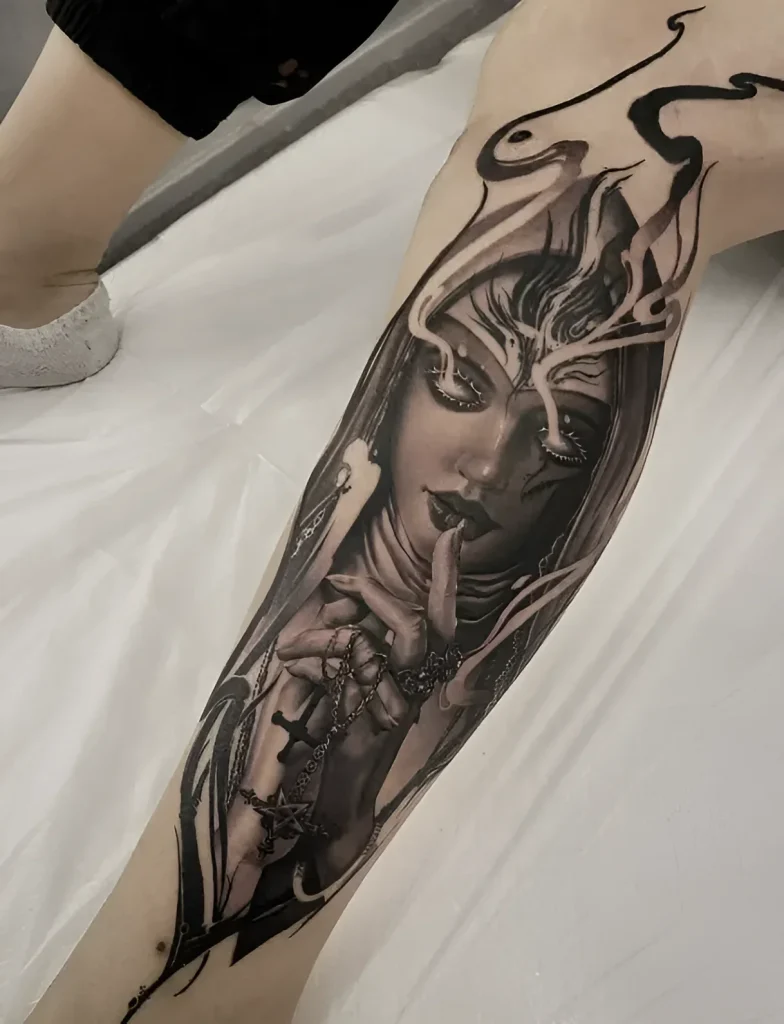
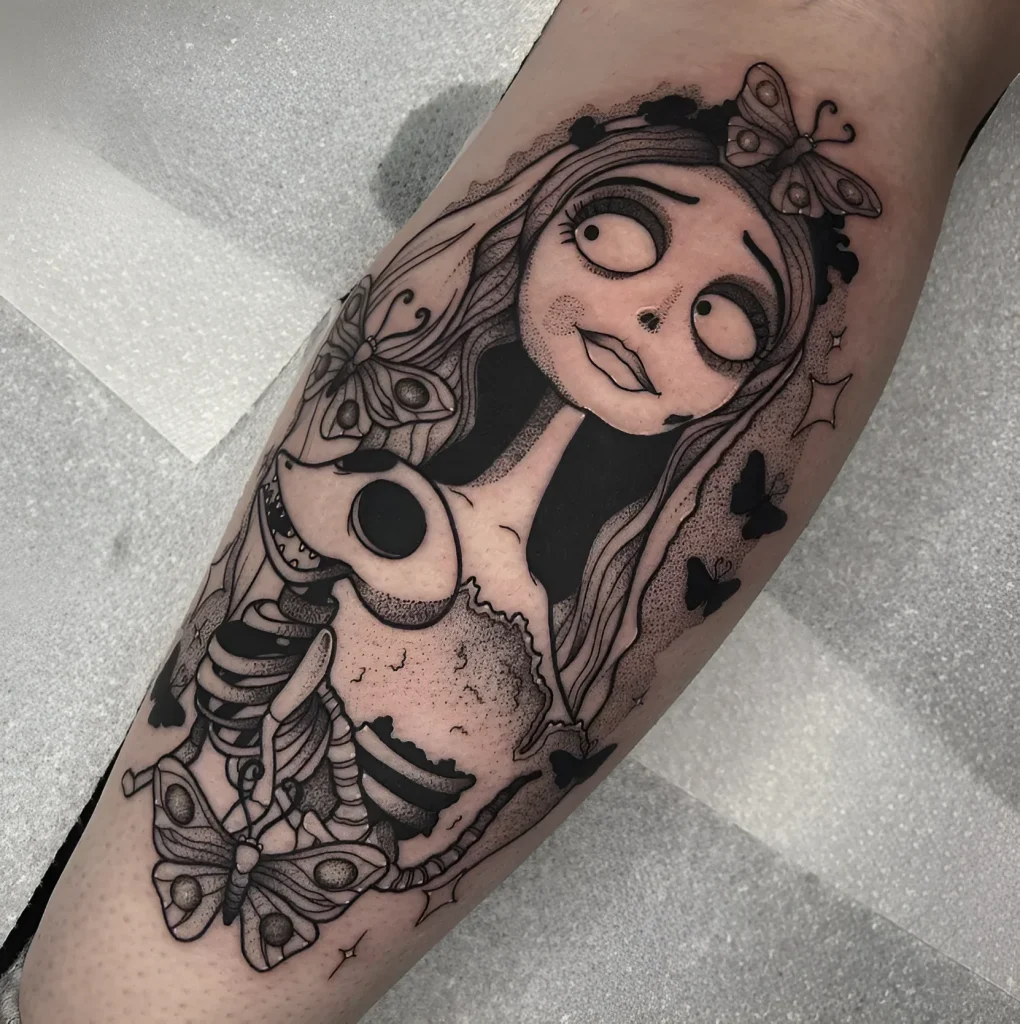
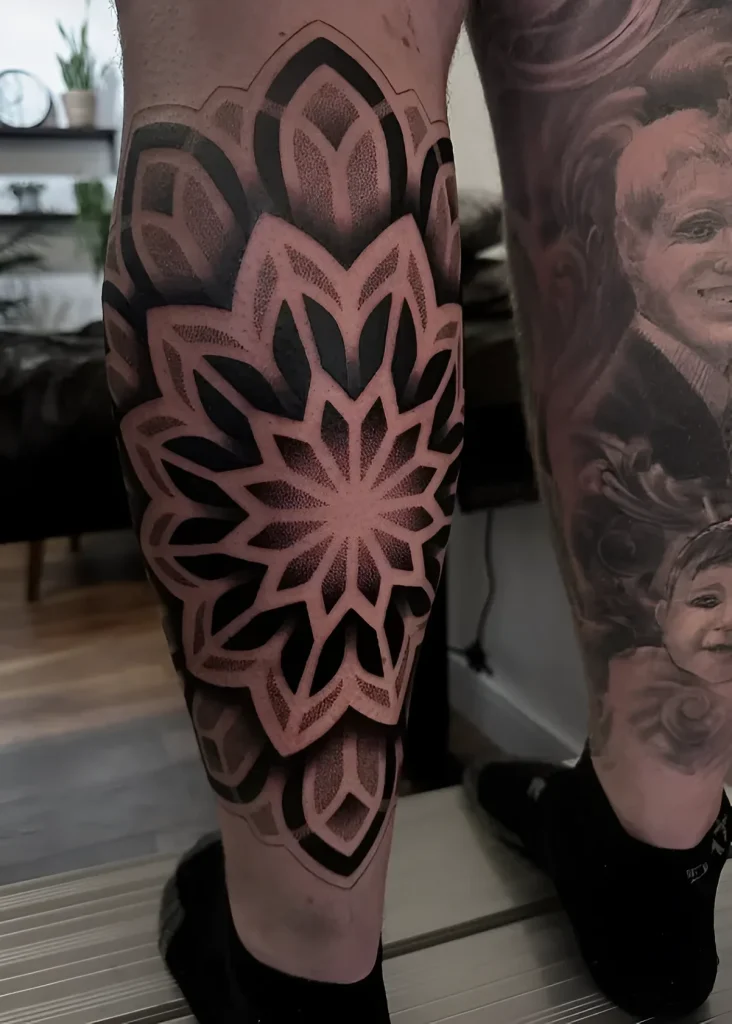
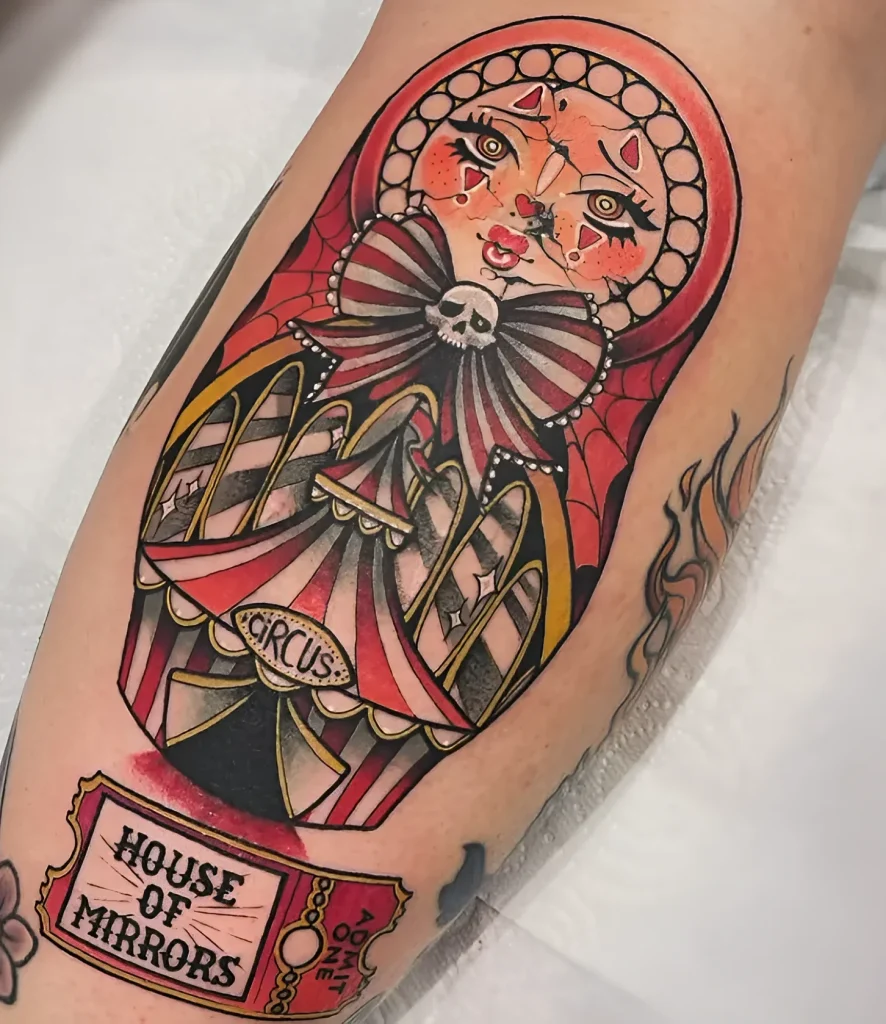
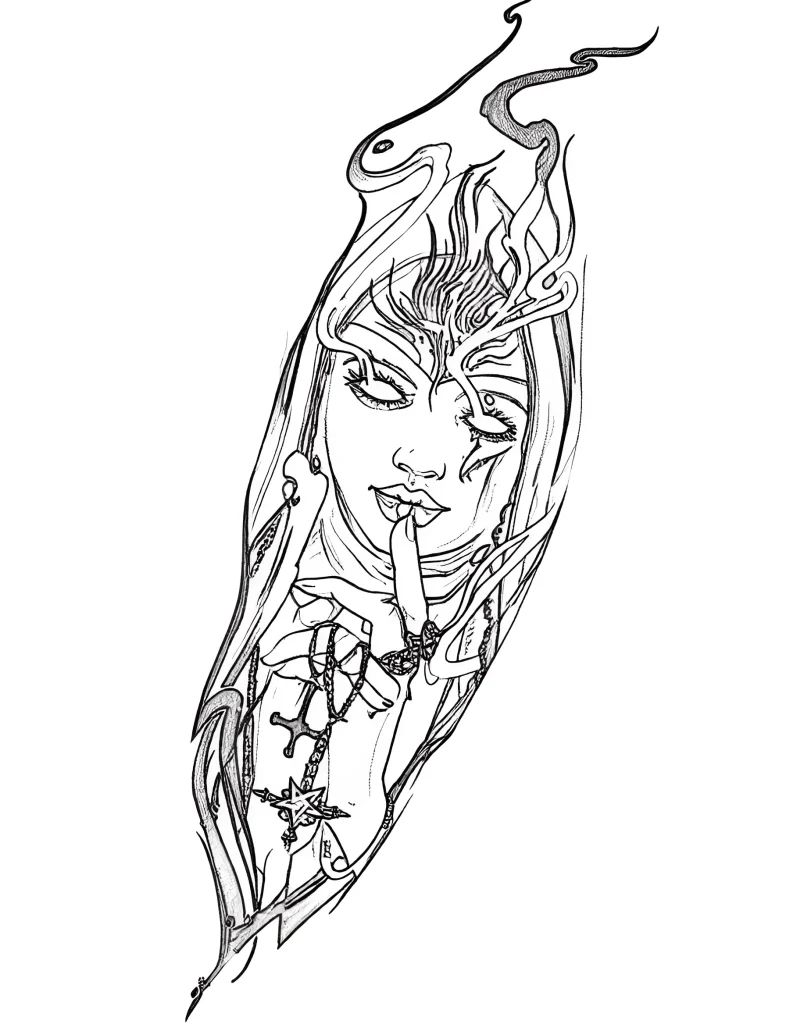
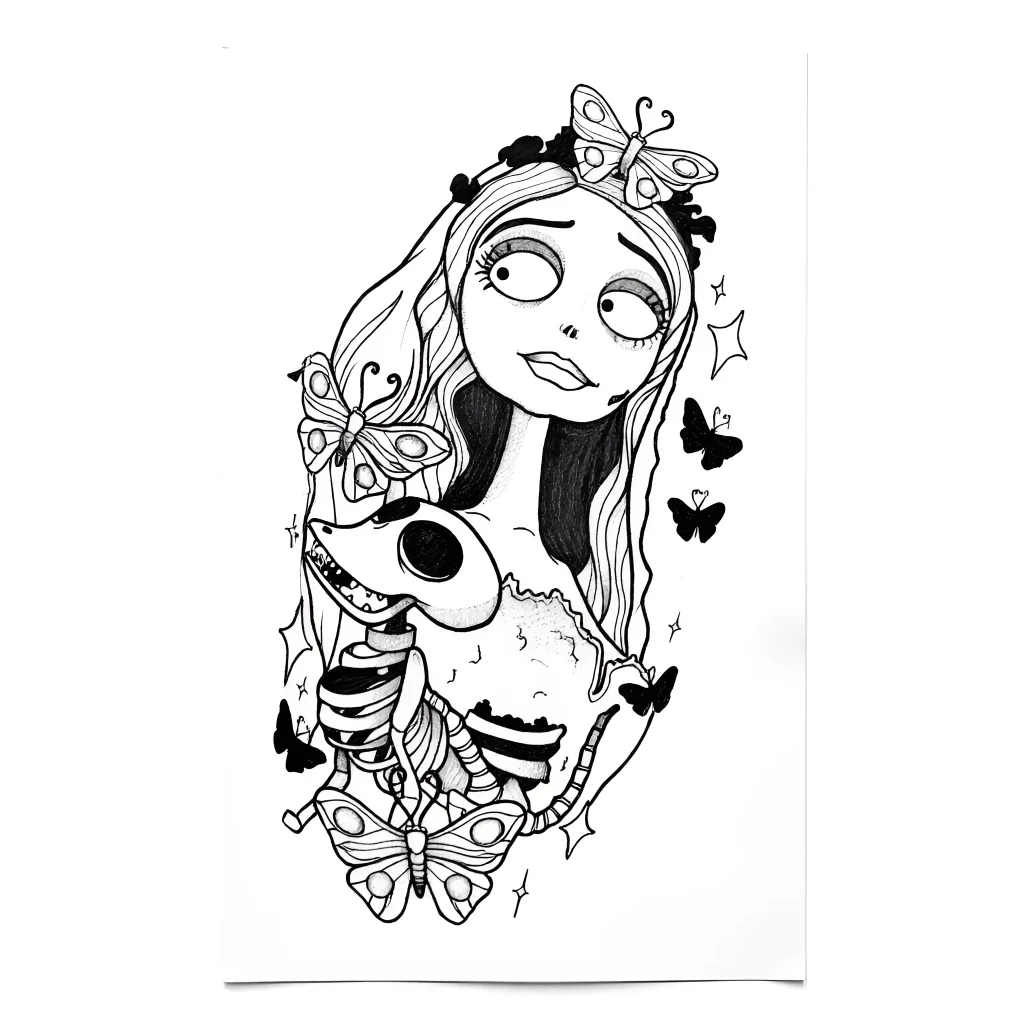
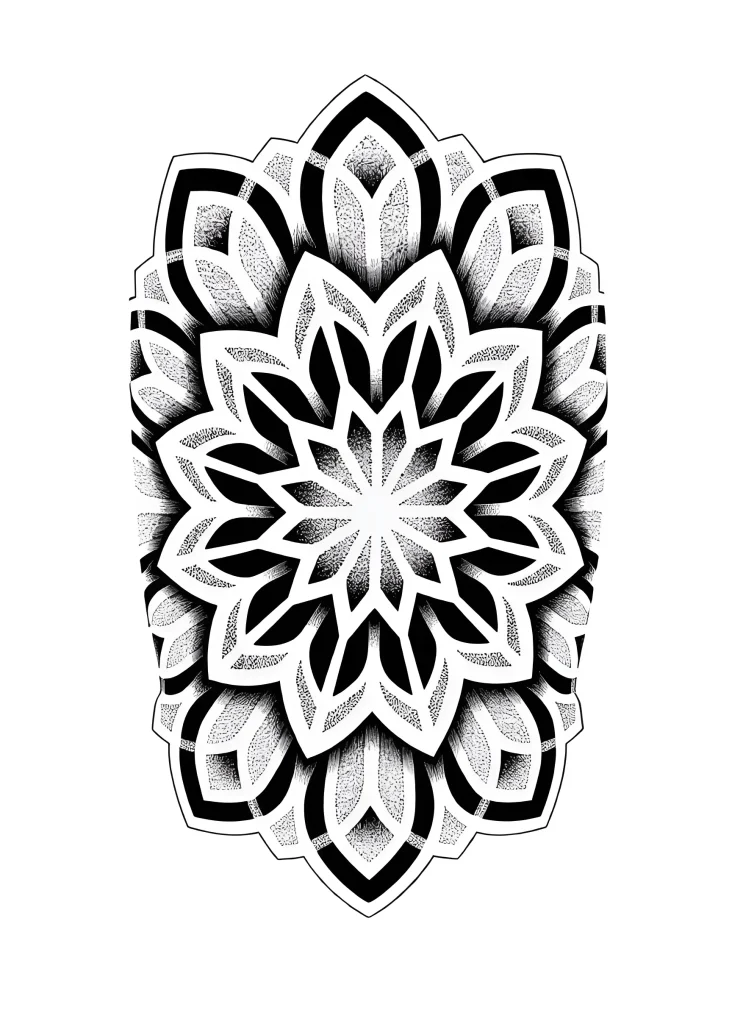
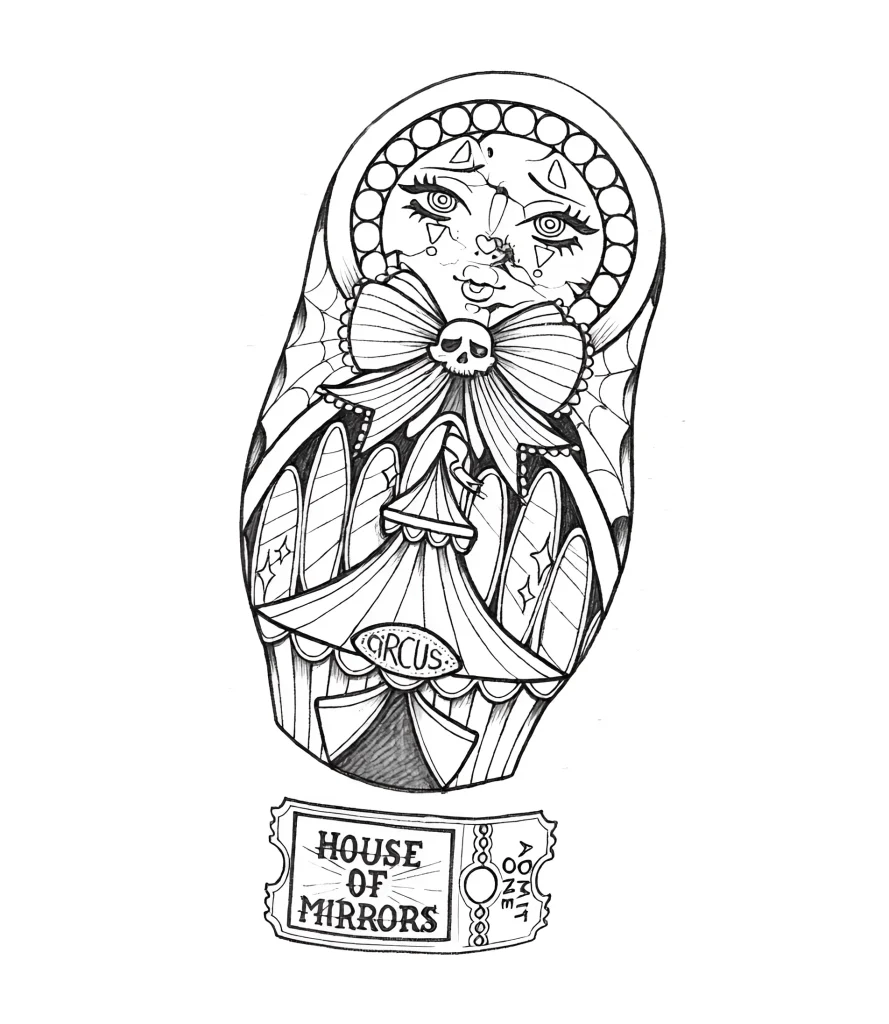
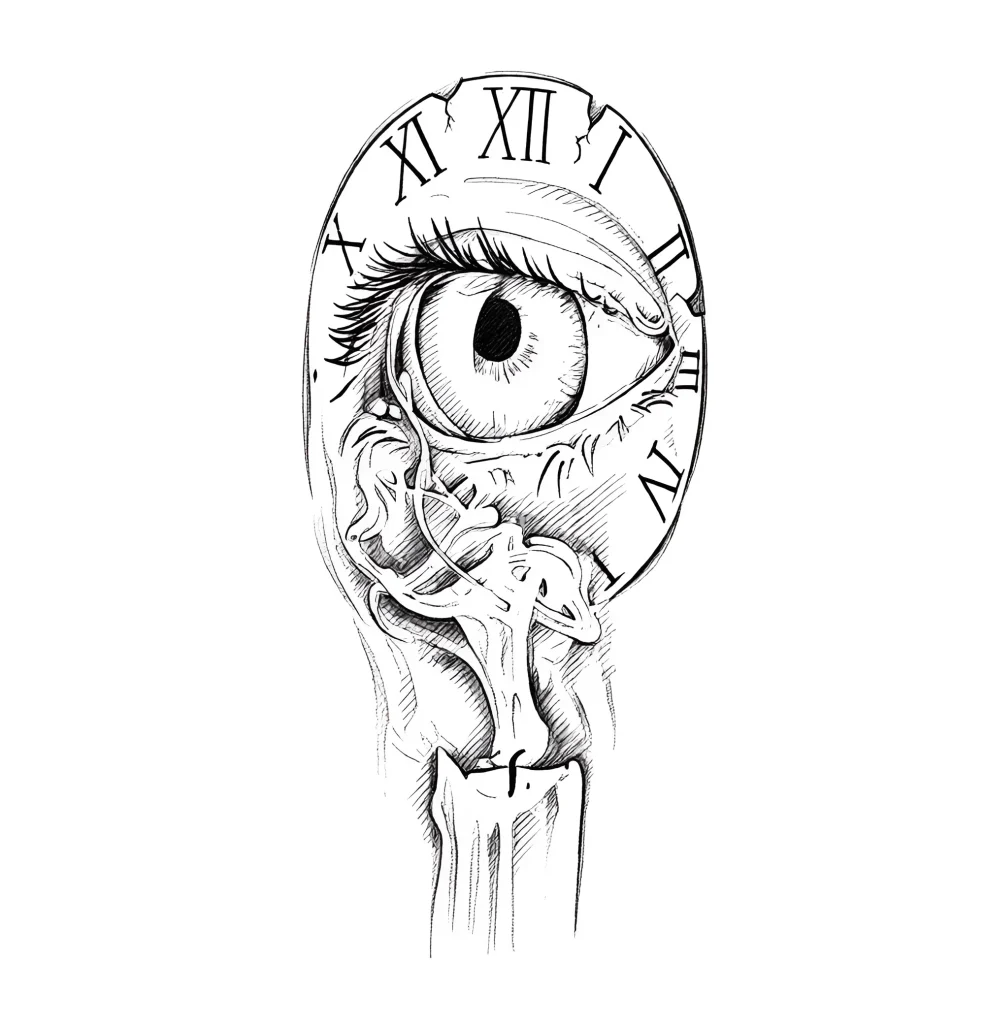
The calf is one of the most dynamic and yet rewarding areas of the body for tattooing. It provides an extensive, often sparsely haired canvas, ideal for large-scale, vertically oriented, or wrap-around designs. However, for a beginner tattoo artist, working on this area presents a number of unique anatomical and technical challenges. Successfully tattooing the calf requires a deep understanding of muscle structure, skin variability, and healing specifics. This guide has been developed by tatufoto.com to equip you with the knowledge needed for a professional and safe start in working with this complex but incredibly striking area.
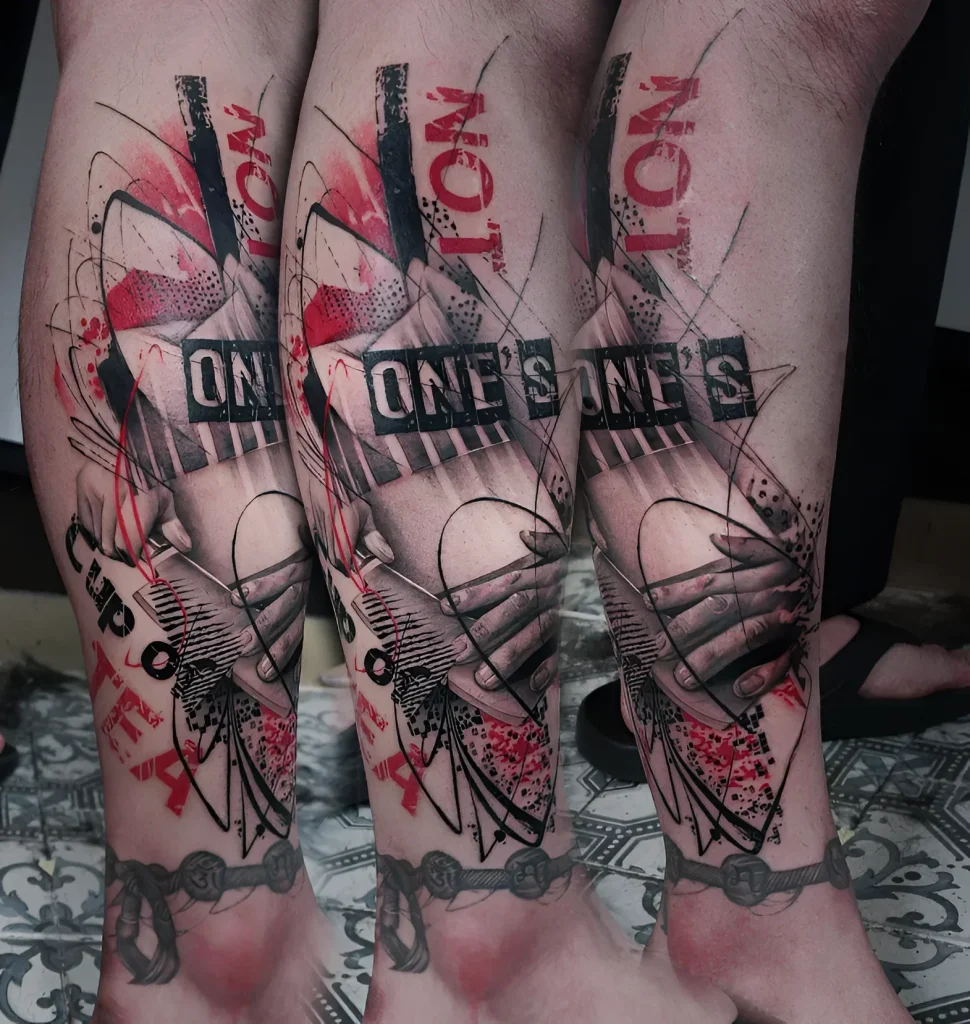
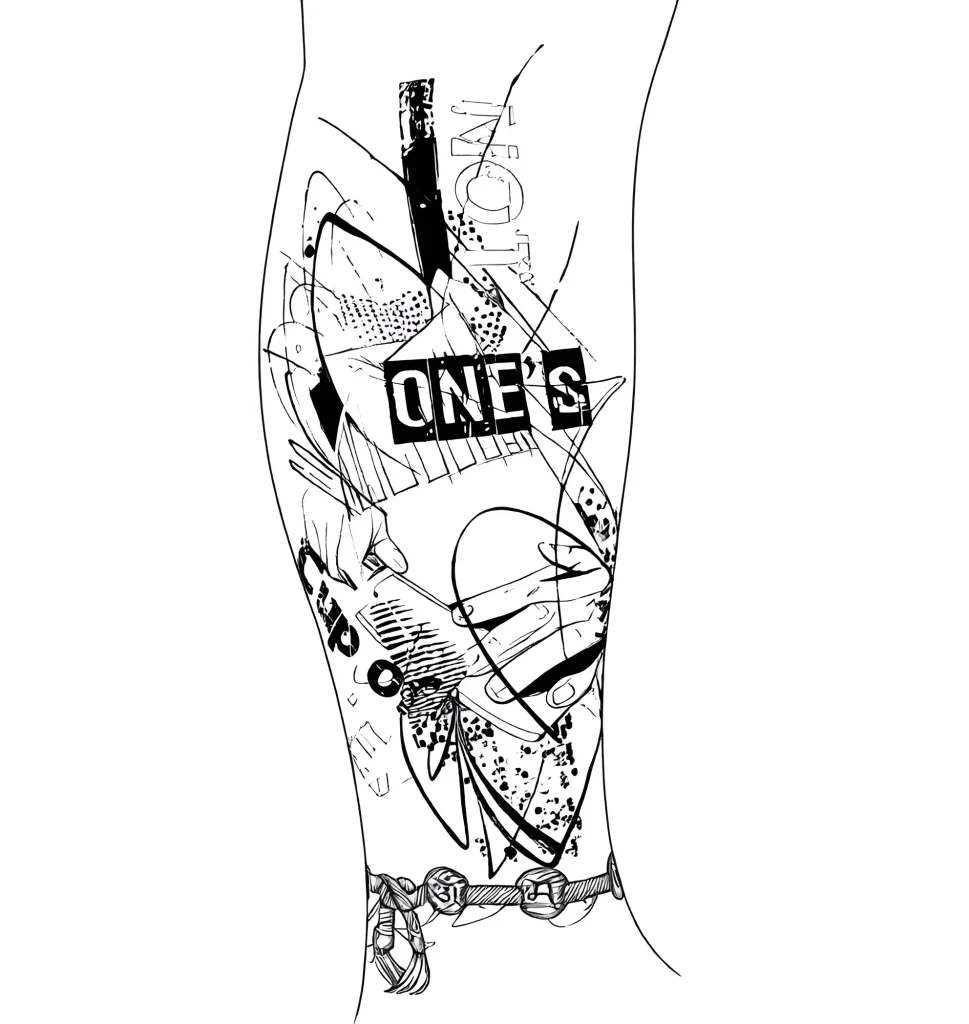
Calf Tattoos: A Complete Guide for Beginner Tattoo Artists – Where to Start
Starting a calf tattoo should be methodical and based on thorough preparation. The calf is not a flat surface but a complex cylinder that changes shape with movement. Your first step is not to turn on the machine, but to have a detailed consultation and analyze the client’s anatomy.
Stages of Preparation for a Calf Session:
- Consultation and Design Analysis: Ensure the chosen sketch harmoniously fits the calf’s shape. Volumetric or symmetrical designs require special attention to how they will look in motion and when the leg is turned.
- Muscle Tone Assessment: Ask the client to tense and relax their calf muscle (gastrocnemius). This will help you see how the contour changes and where lines might become distorted. For athletes with high muscle tone, skin stretching can be more challenging.
- Skin Preparation: The calf, especially on men, can be covered with dense hair. Thorough shaving and disinfection are critical. Ensure the skin is clean and dry before applying the stencil.
- Client Positioning: This is a key point. For working on the back of the calf, the client should lie on their stomach (prone position), with a roll under their ankles to relax the muscles. For the sides, a side-lying position may be required. Client comfort and your access to the area should be a priority.
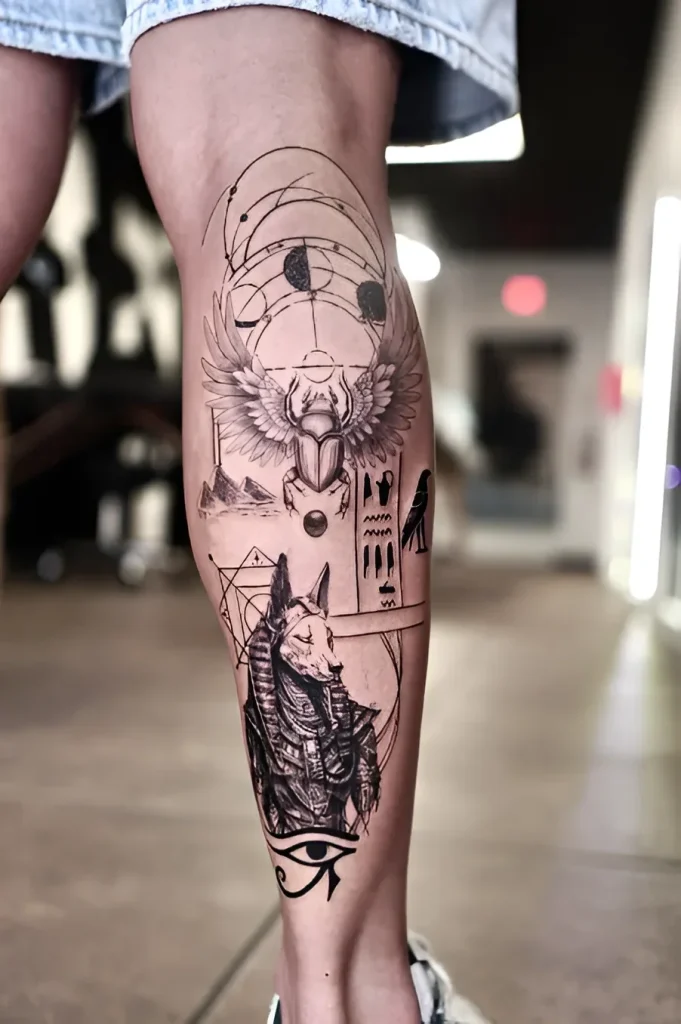
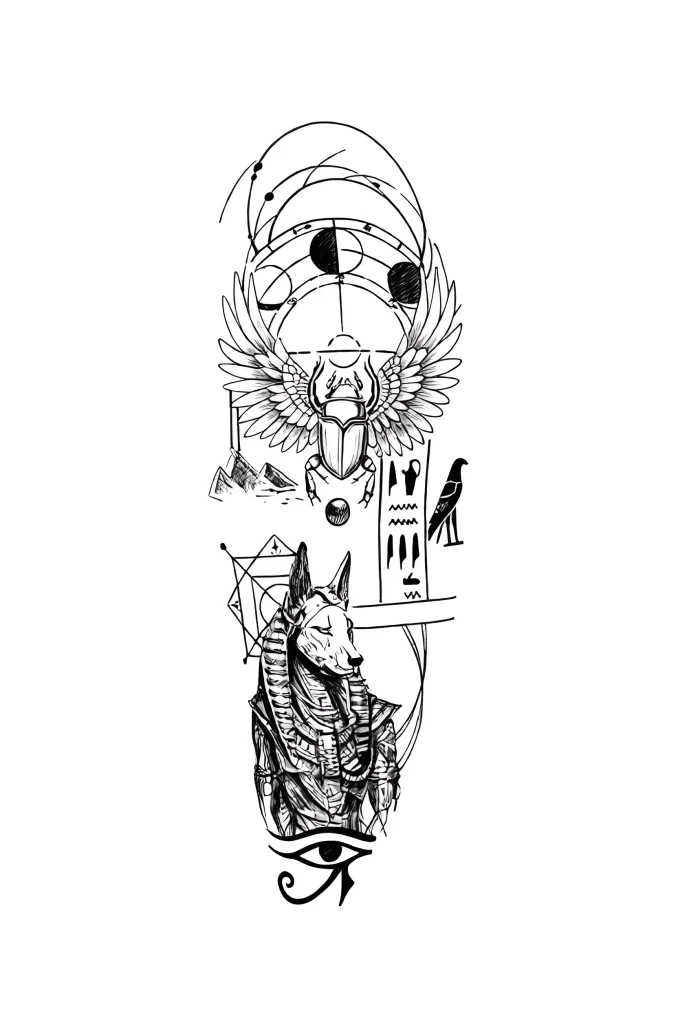
Calf Anatomy and Skin Characteristics for Tattooing: Important Nuances
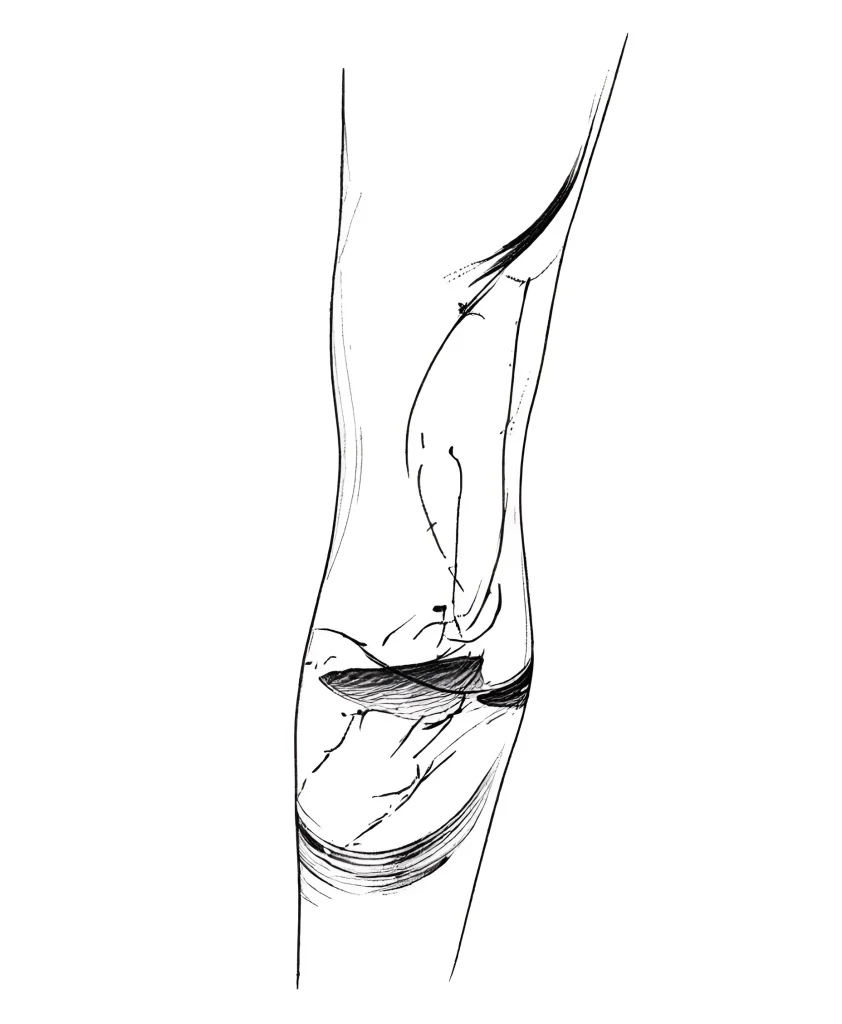
Understanding the structure of the lower leg is fundamental to successful tattooing. The calf consists of two main muscle groups and has significant differences in skin thickness and sensitivity across its surface.
Anatomical Zones and Their Characteristics:
1. Posterior (Medial) Calf Area:
- Muscles: This area is dominated by the gastrocnemius and soleus muscles. They form the main convex part, providing a large, relatively flat working area.
- Skin: The skin here is quite thick and elastic, allowing the artist to work with confidence. However, when the muscle is strongly tensed, the skin can stretch excessively.
- Pain: The pain level is moderate, as the fatty layer and muscle mass provide good cushioning.
2. Side Calf Areas (Inner and Outer):
- Characteristics: These areas are characterized by a rapid transition to bone (tibia and fibula).
- Skin: The skin here is thinner, especially closer to the shin, which increases the risk of “blowouts” – ink spreading under the epidermis. Reduced pressure and a more cautious needle depth are required.
- Pain: Sensitivity is higher due to the proximity of nerve endings and bony structures.
3. Popliteal Fossa and Achilles Tendon Area:
- Popliteal Fossa Area (Behind the Knee): This is an area with very thin, sensitive skin, a large number of lymph nodes, and vessels. Tattooing here is highly undesirable and very painful.
- Achilles Tendon: The skin here is thin and lies tightly against the tendon. Tattooing in this area, while possible, requires maximum caution, as any movement of the tendon can distort the lines.
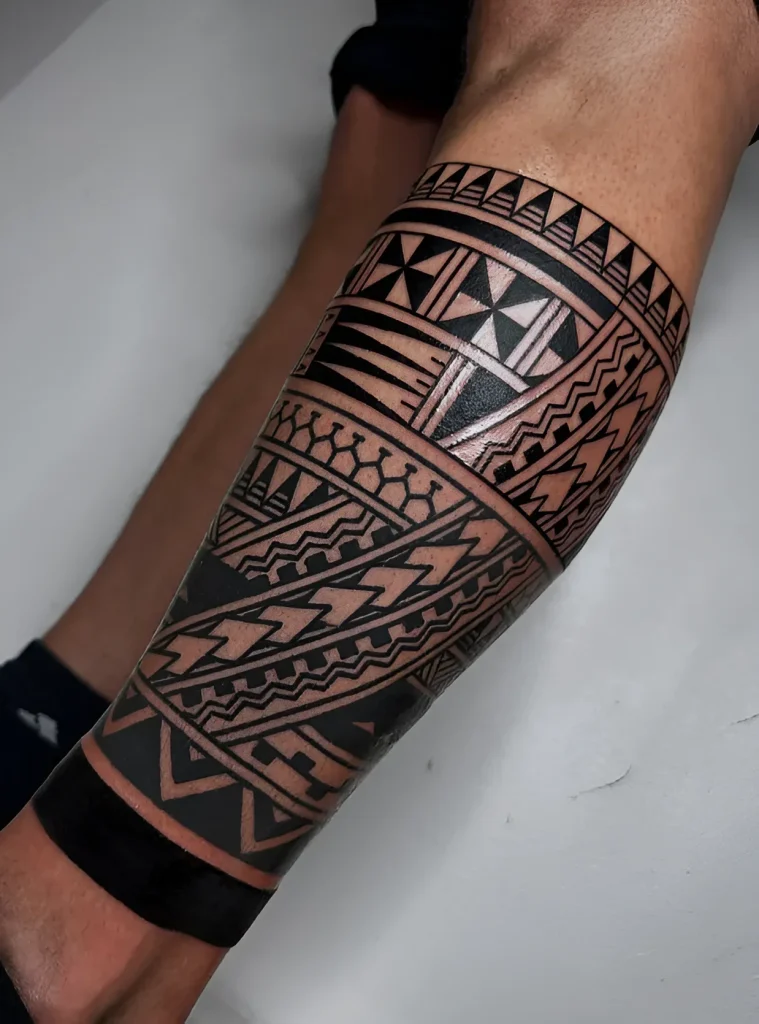
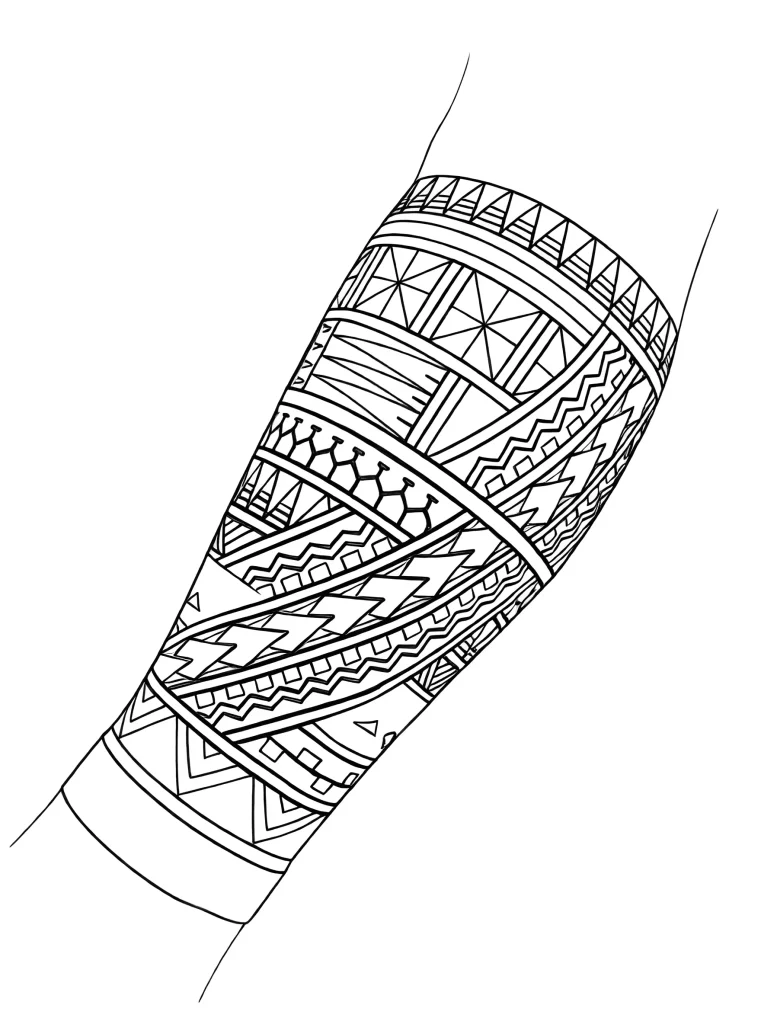
Popular Calf Tattoo Designs: Ideas and Inspiration for Beginners
The shape of the calf dictates certain compositional requirements. It’s important for a beginner artist to understand which designs look most advantageous on this anatomical feature.
Designs Perfectly Suited for the Calf:
1. Vertically Oriented and Elongated Compositions:
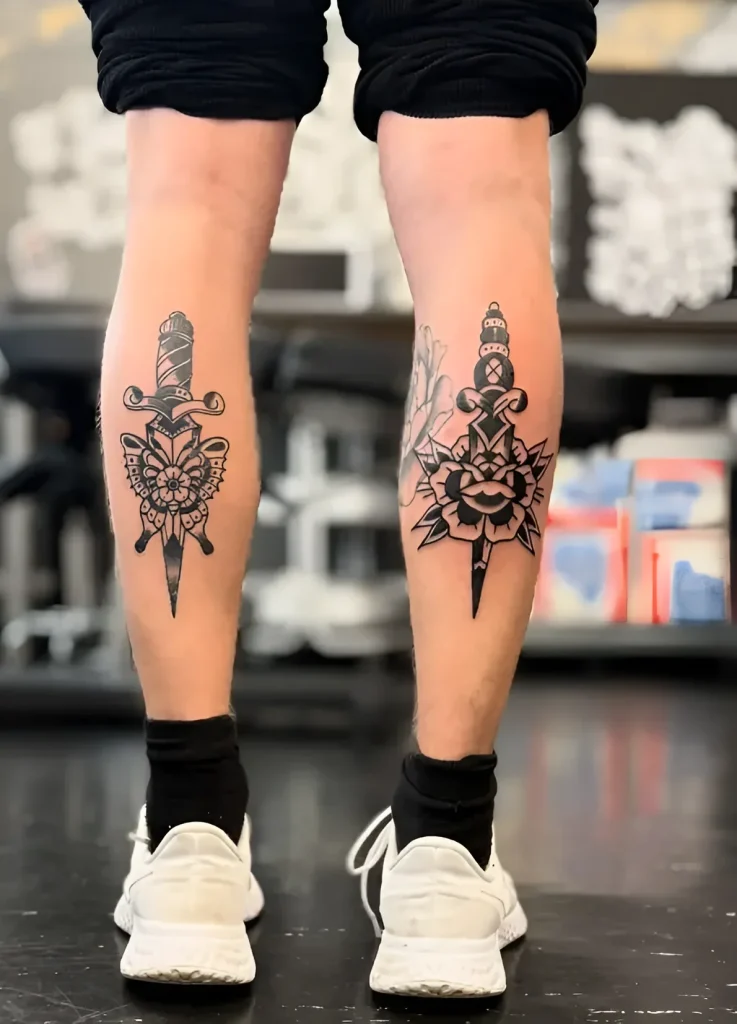
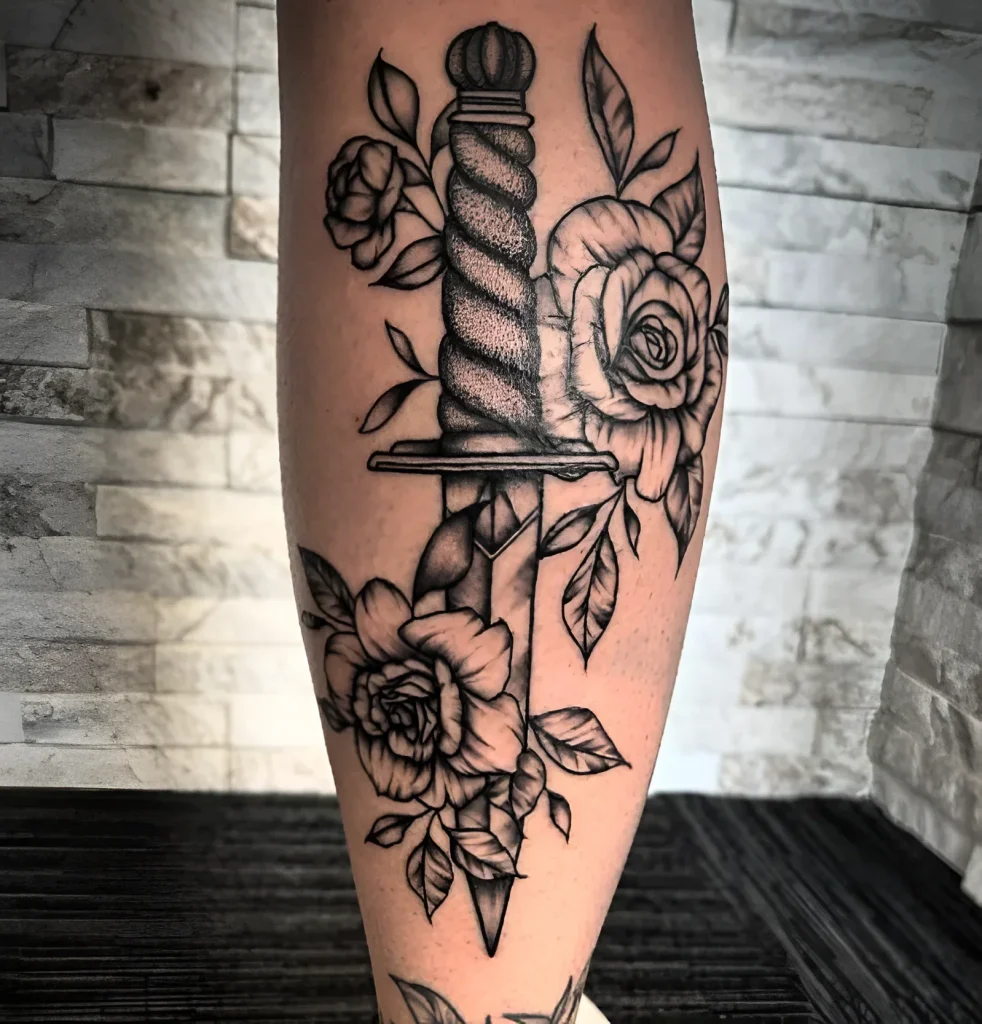
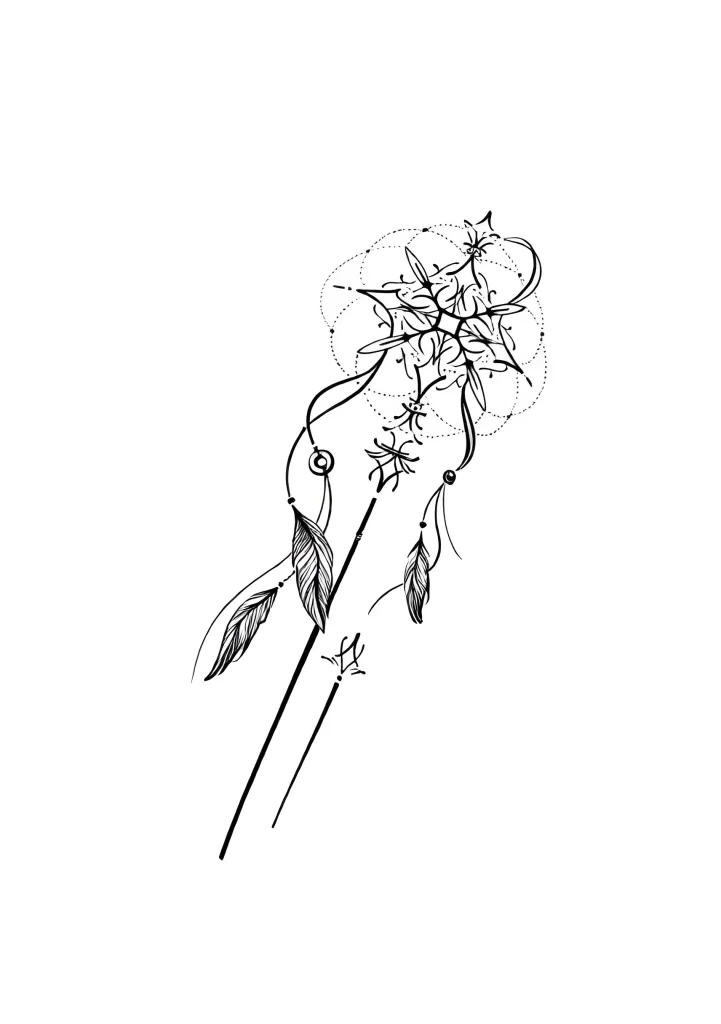
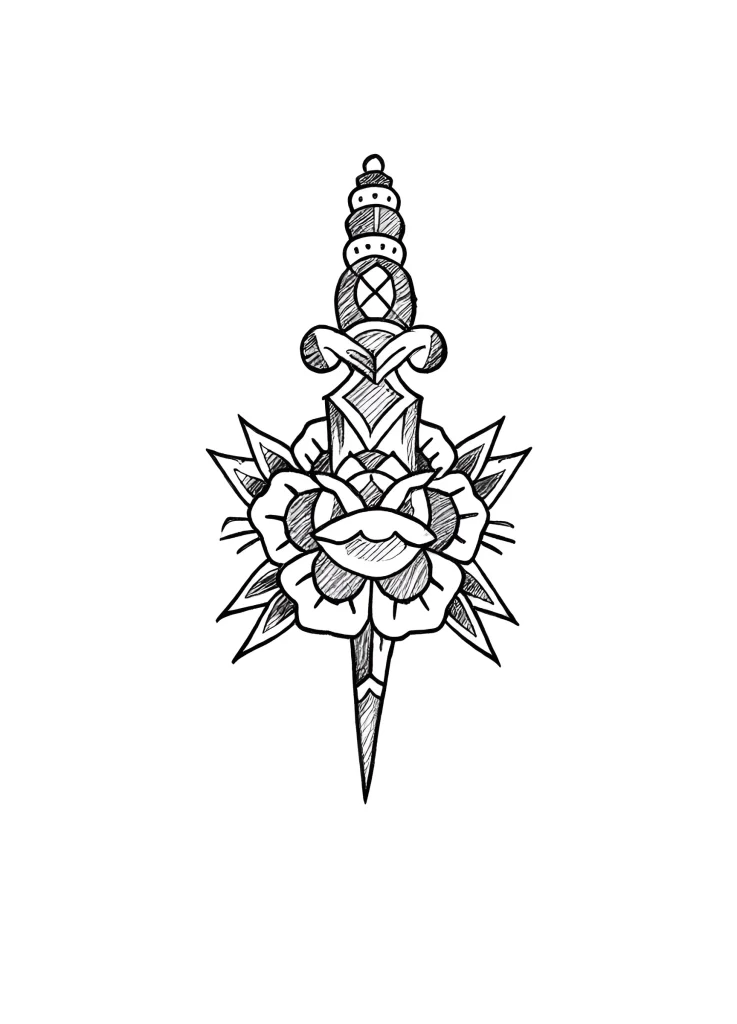
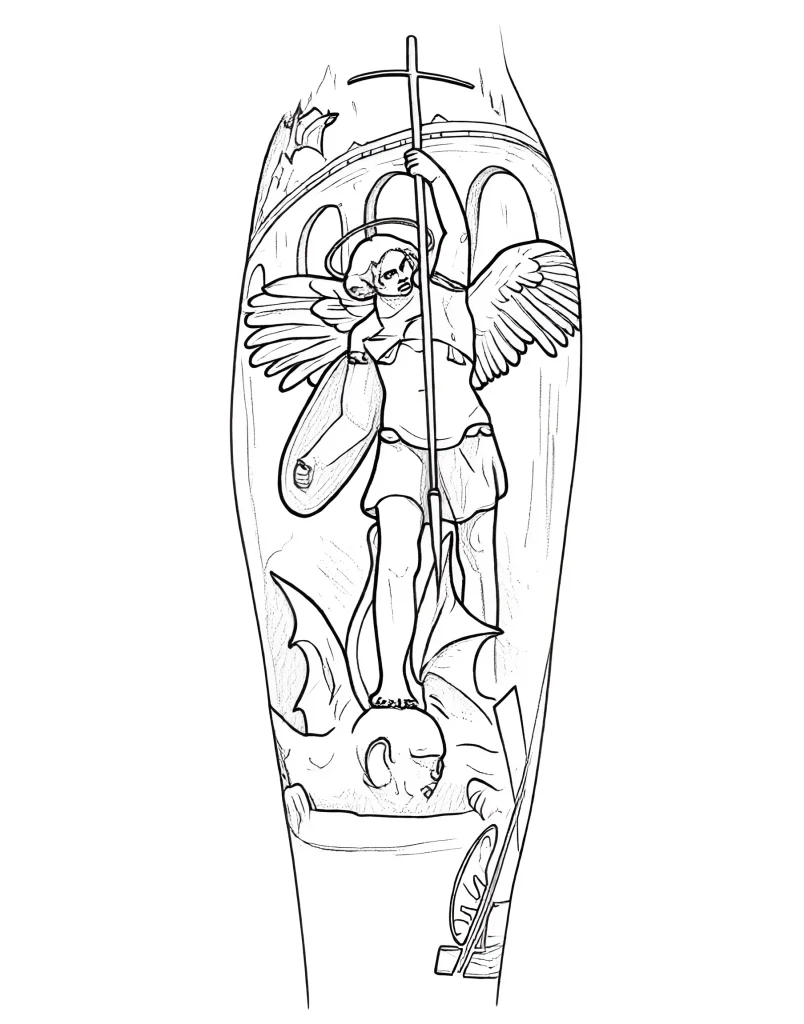
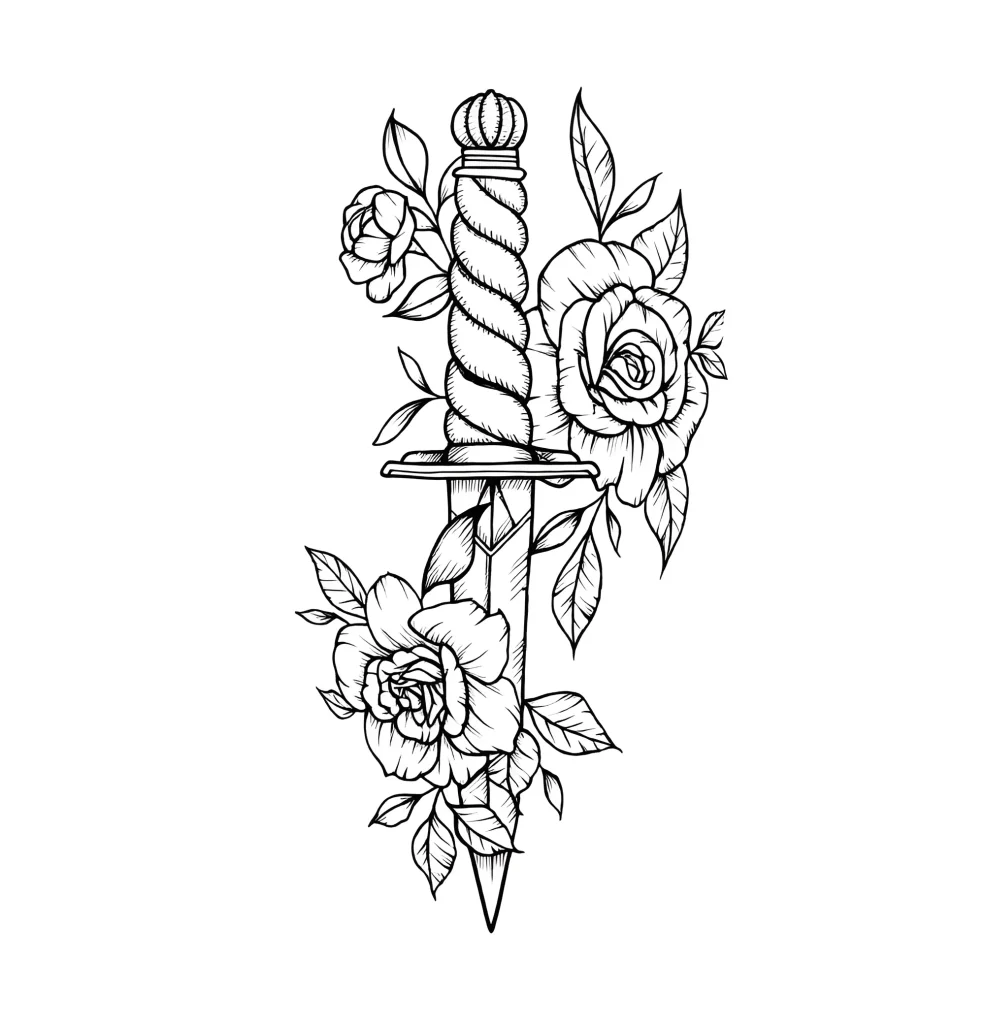
- Swords, Daggers, Spears: These elements naturally follow the vertical axis of the leg, emphasizing its length.
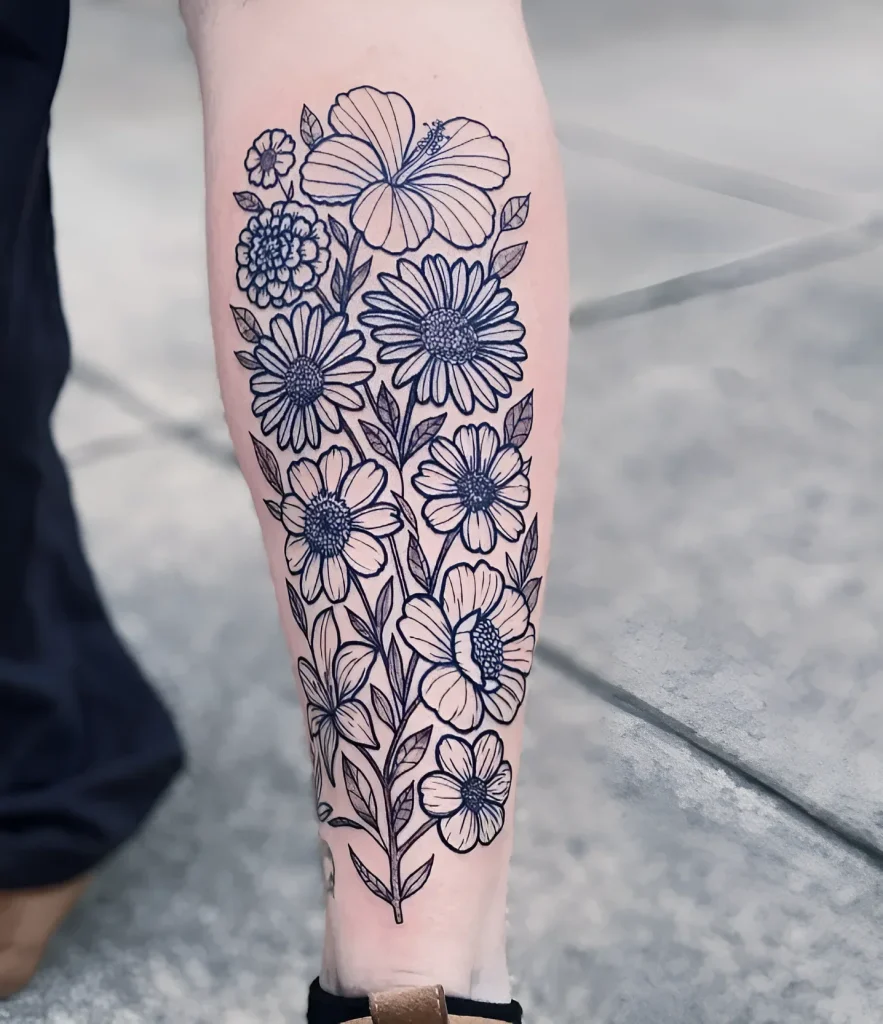
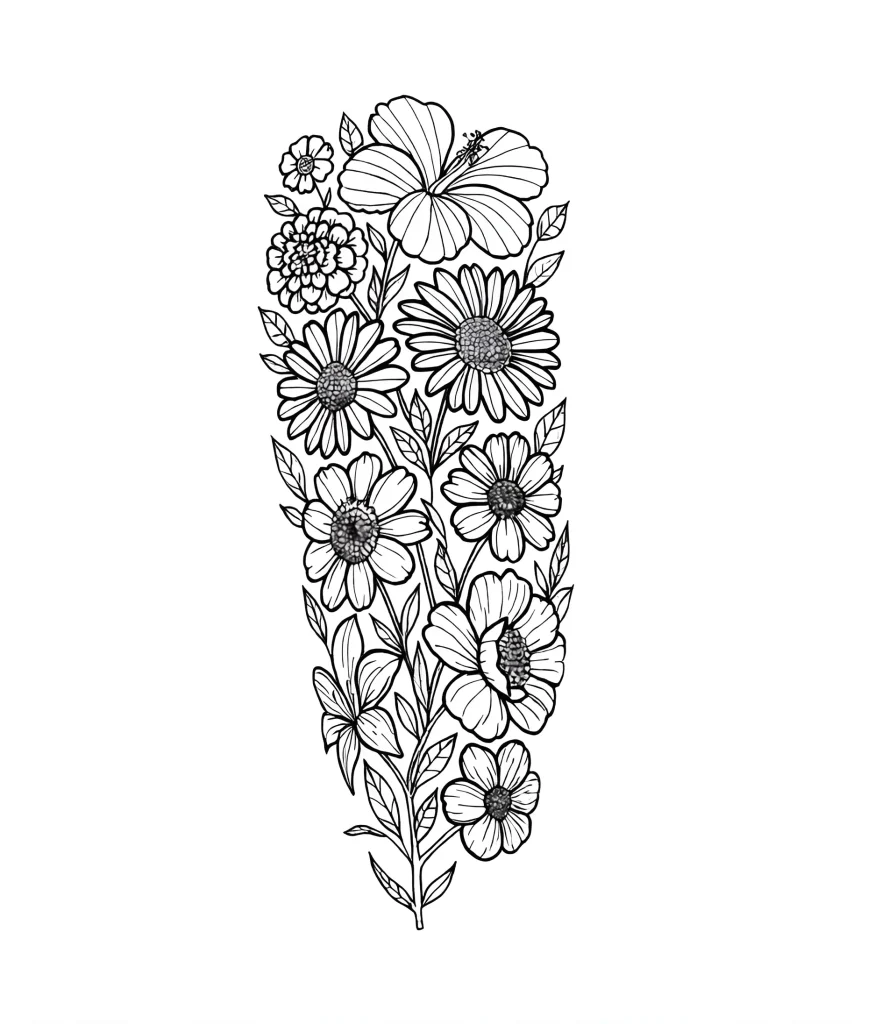
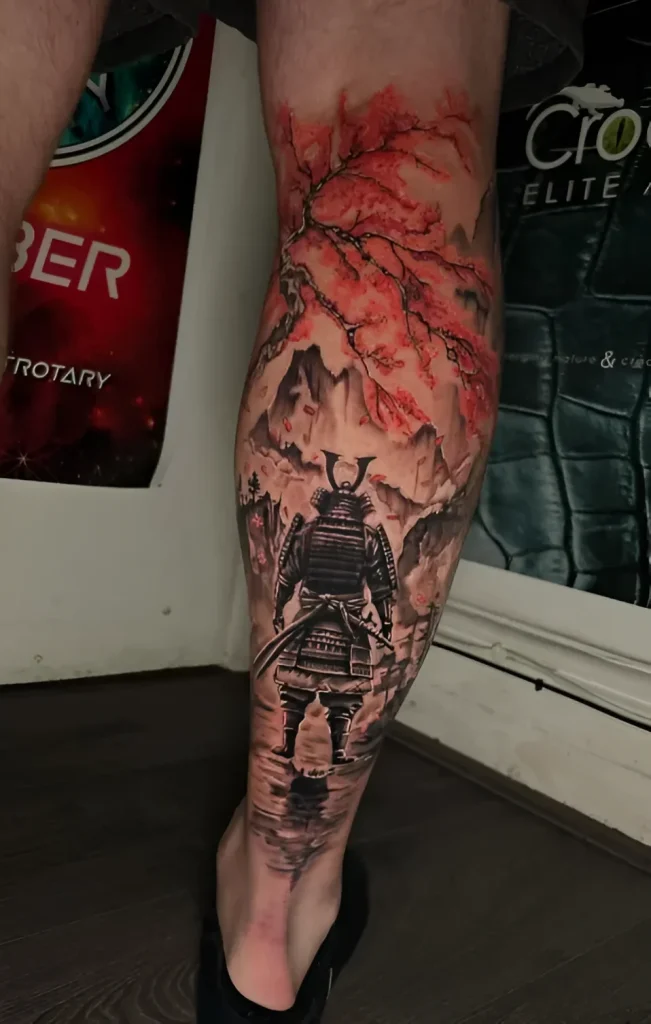
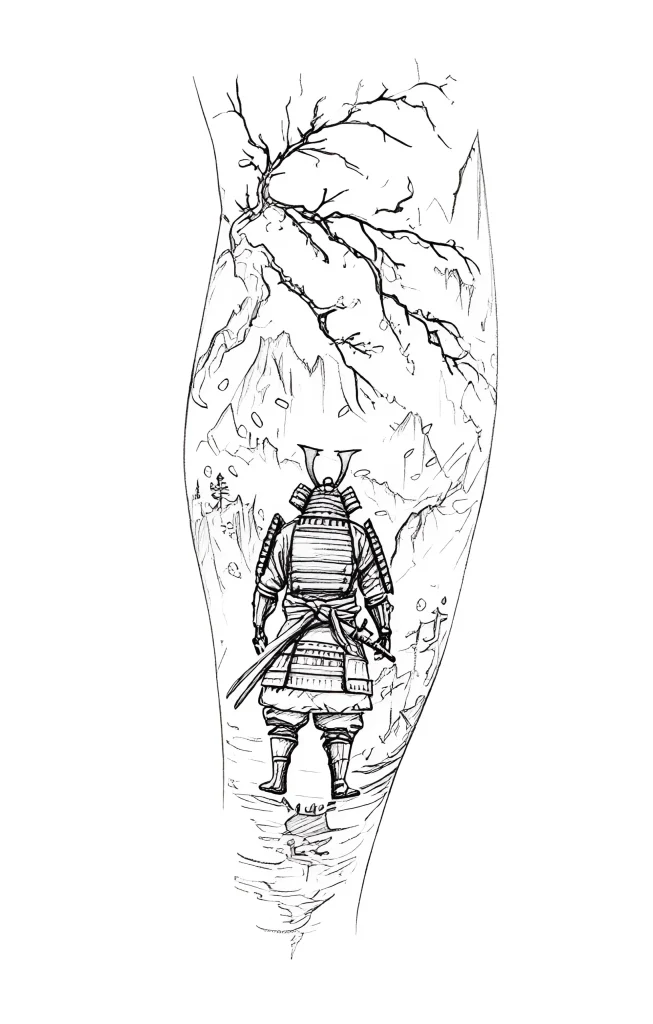
- Trees and Floral Motifs: Roots begin at the ankle, the trunk goes up to the knee, creating an impressive, dynamic pattern.
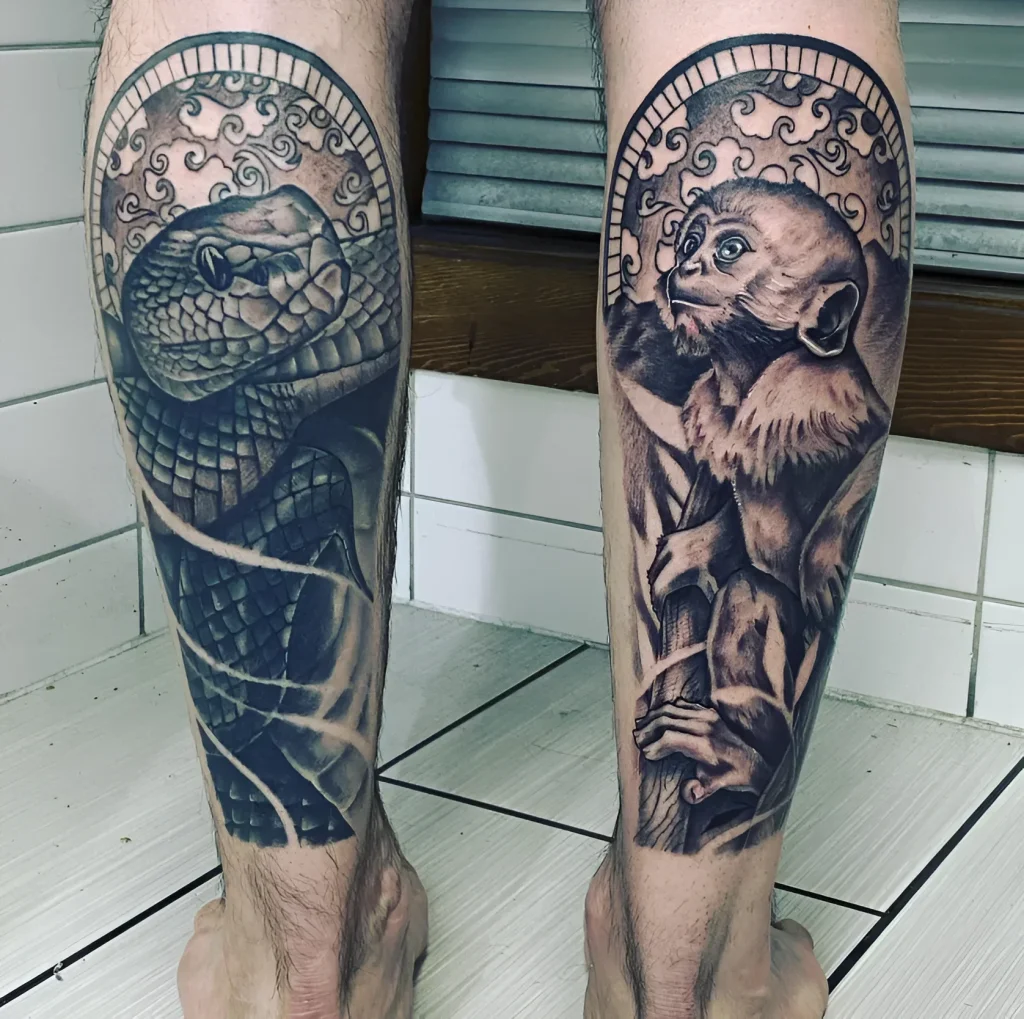
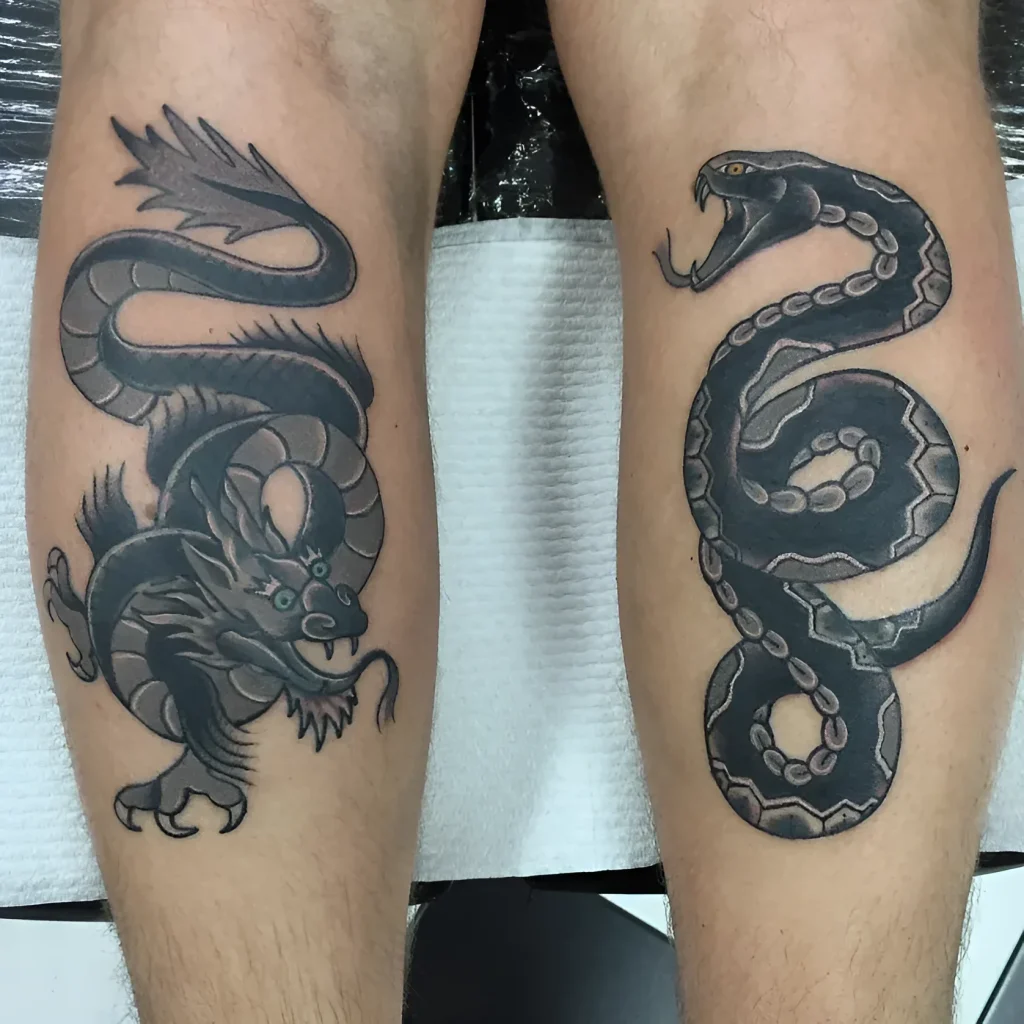
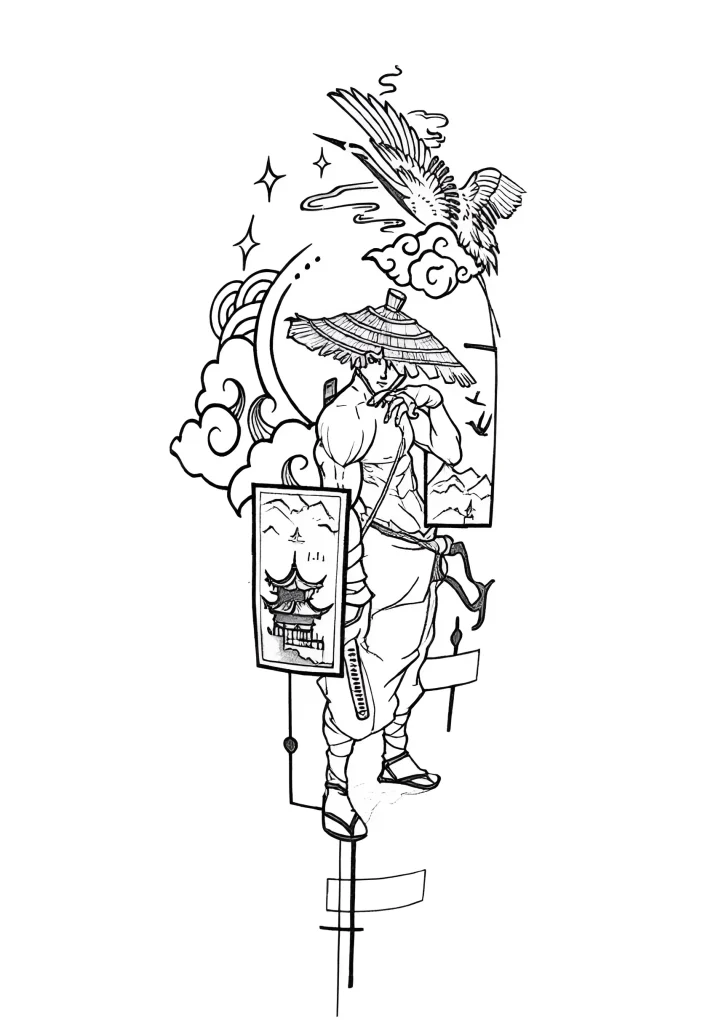
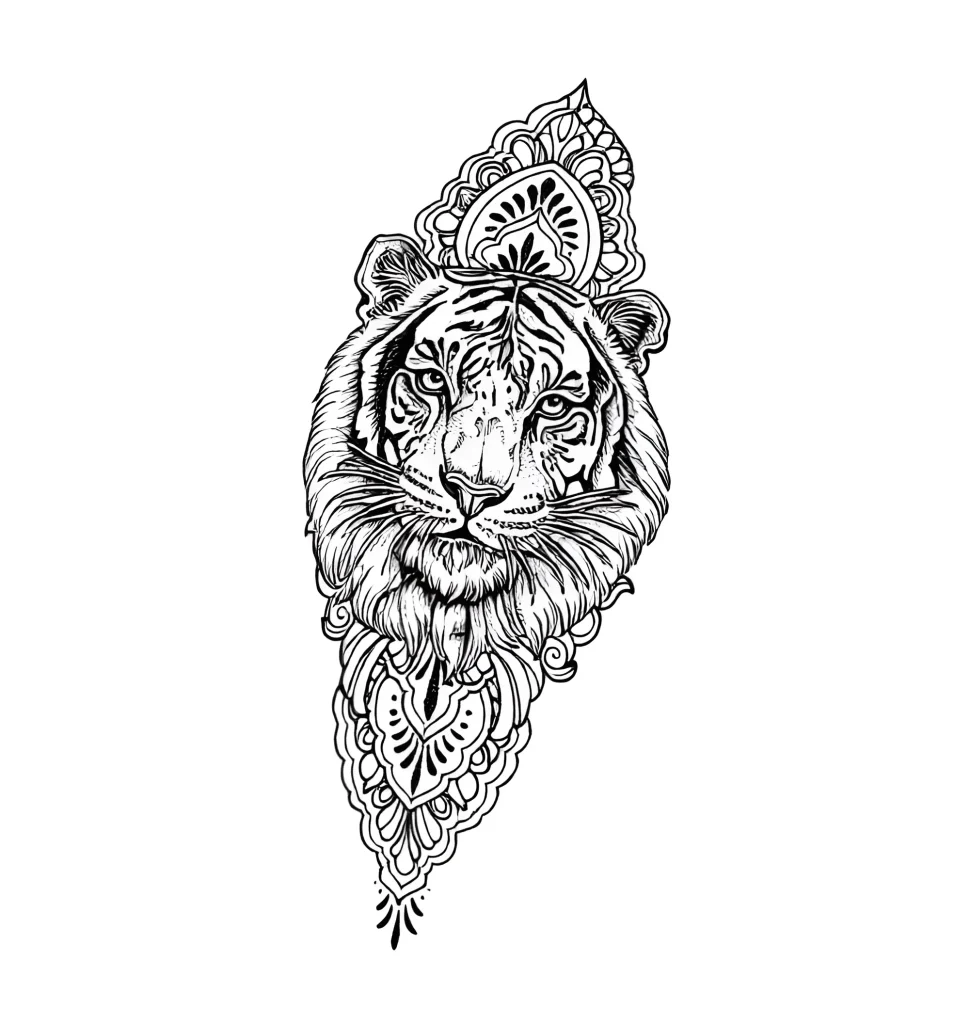
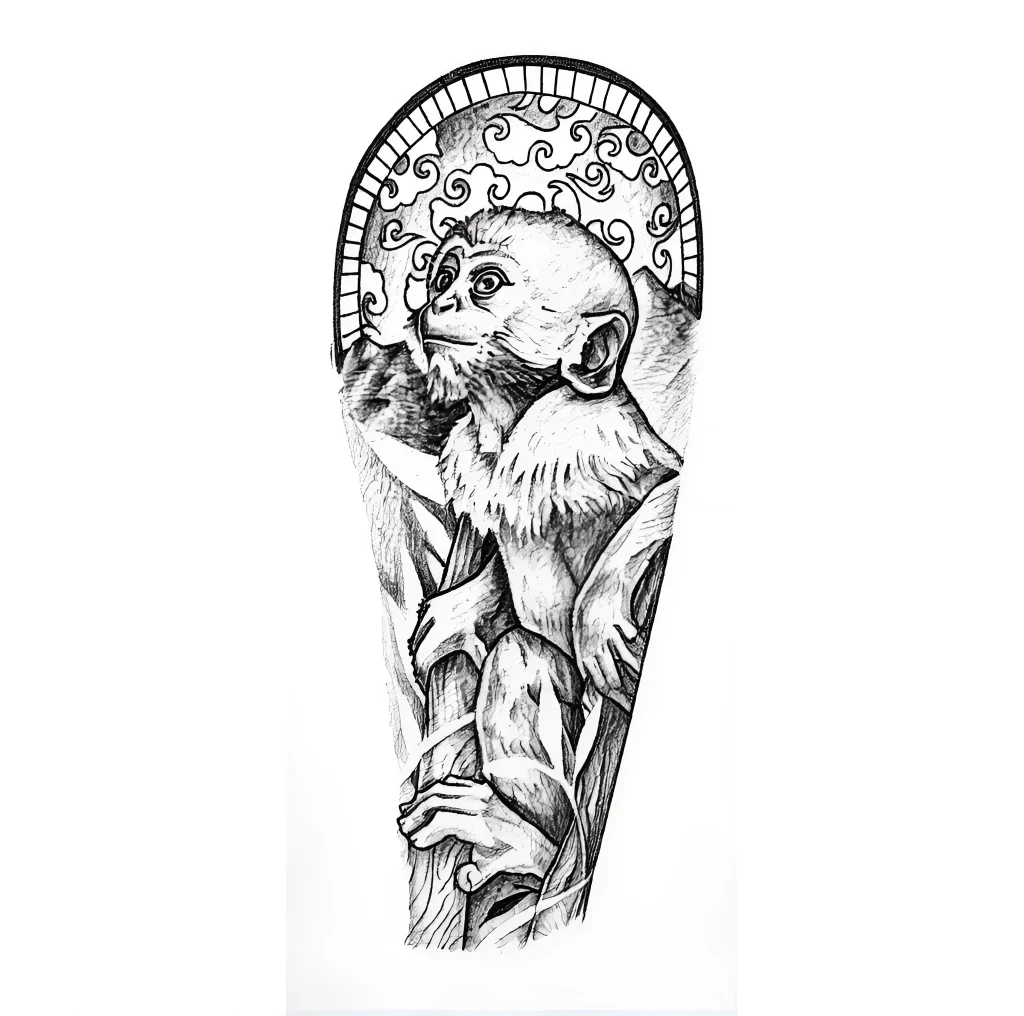
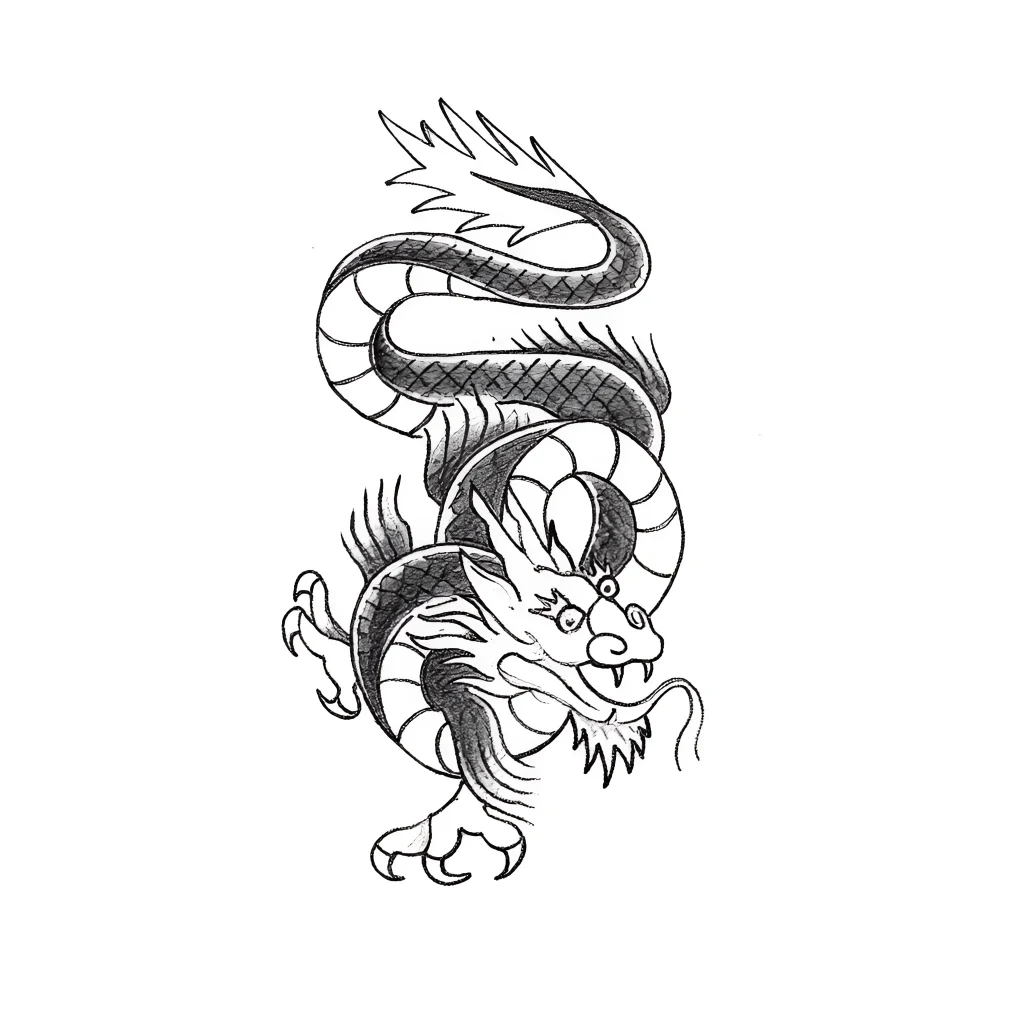
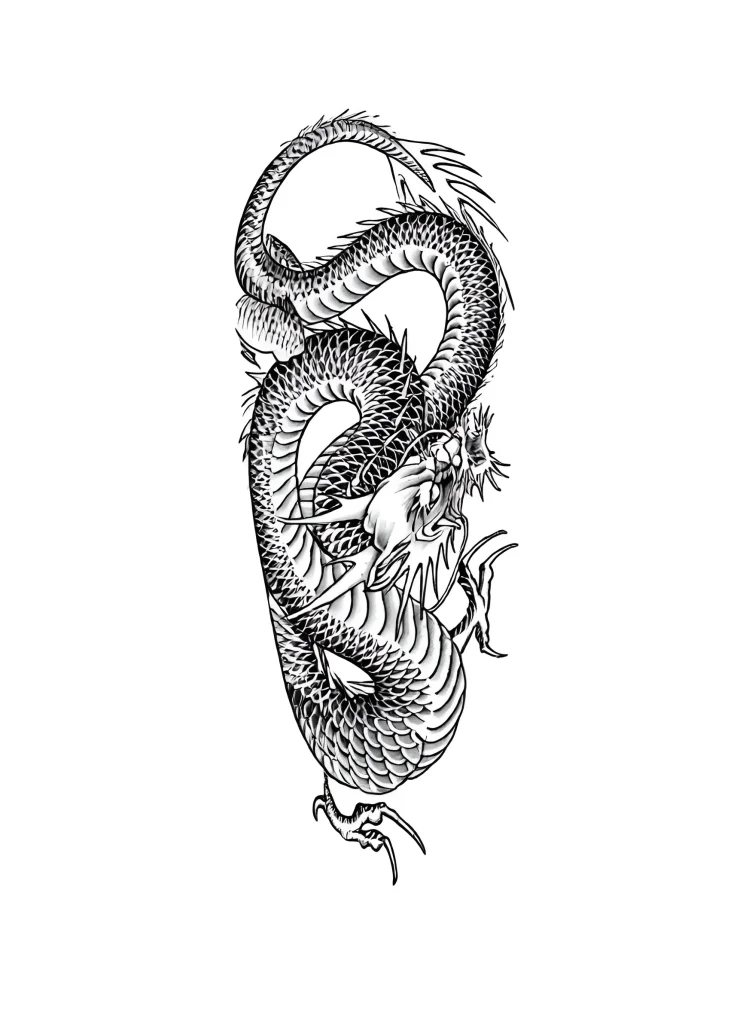
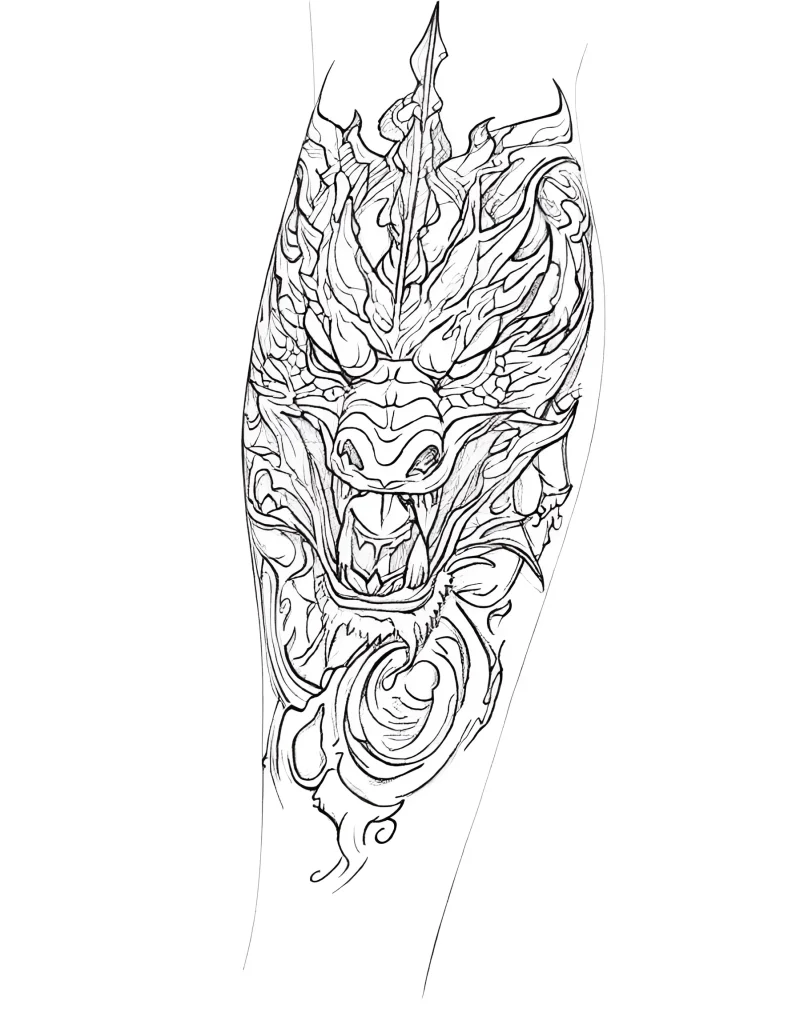
- Animals with Vertical Posture: Snakes, dragons, or predators depicted in a jump or movement that wrap around the leg.
2. Wrap-Around Designs:
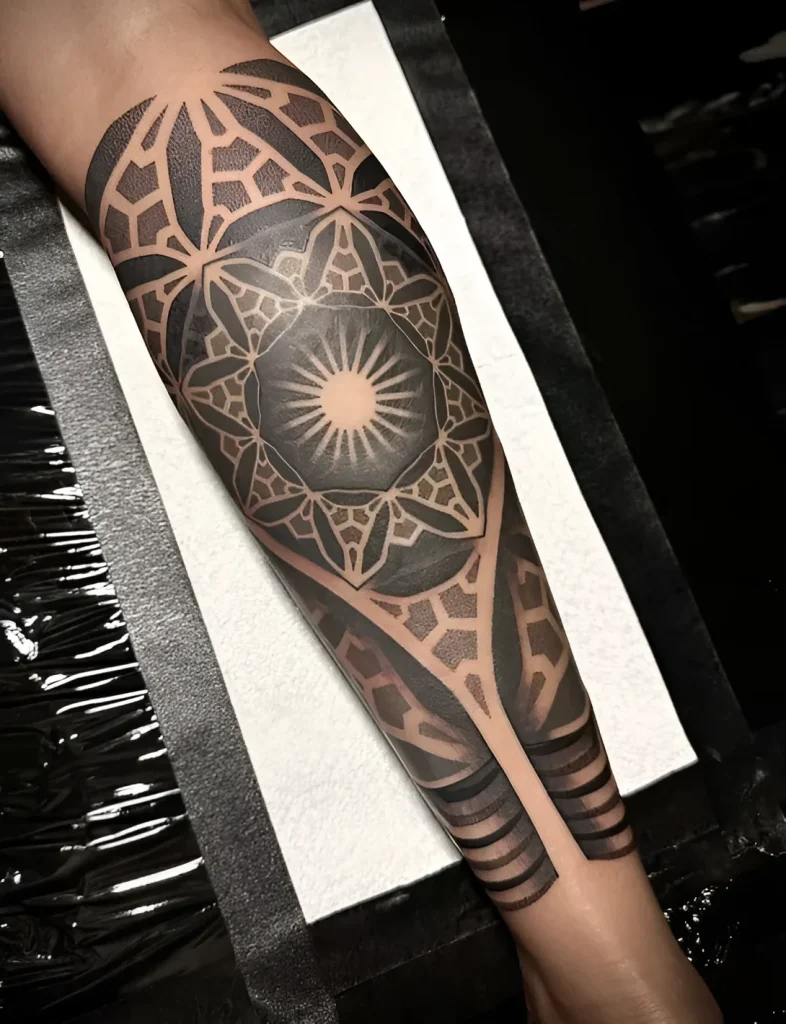
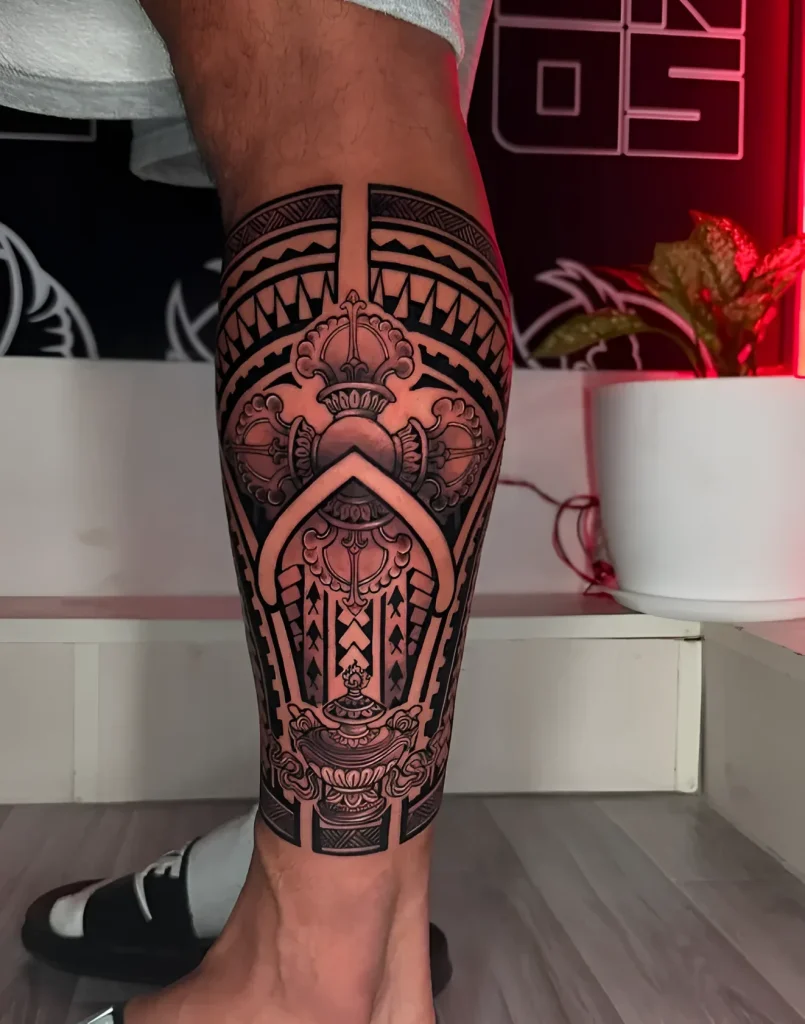
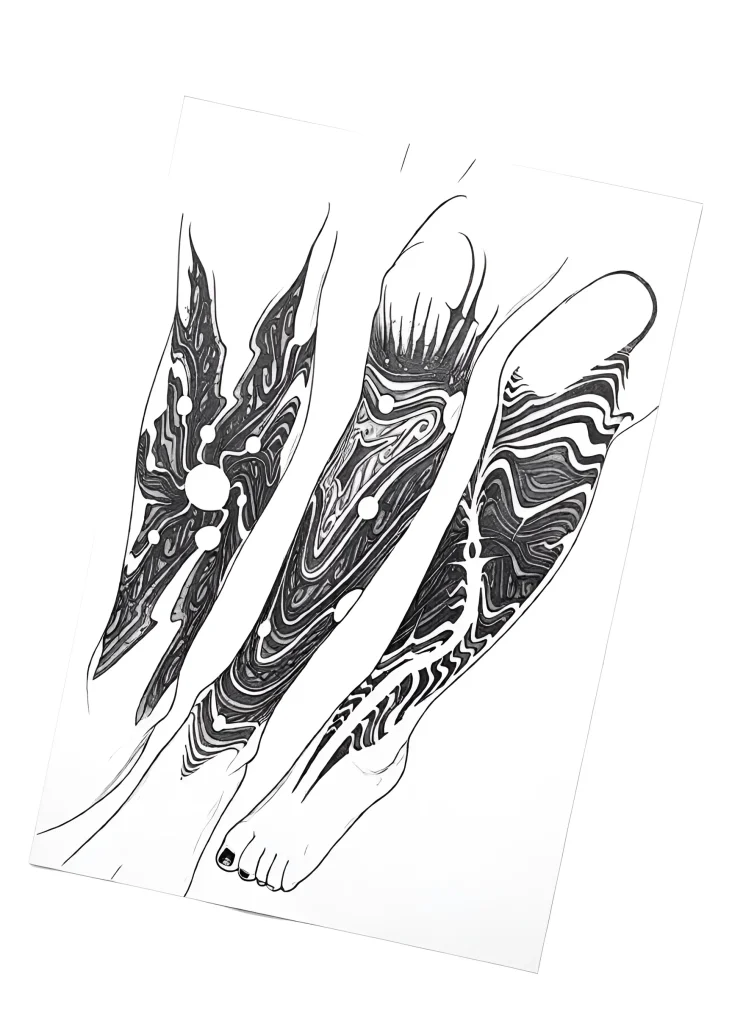
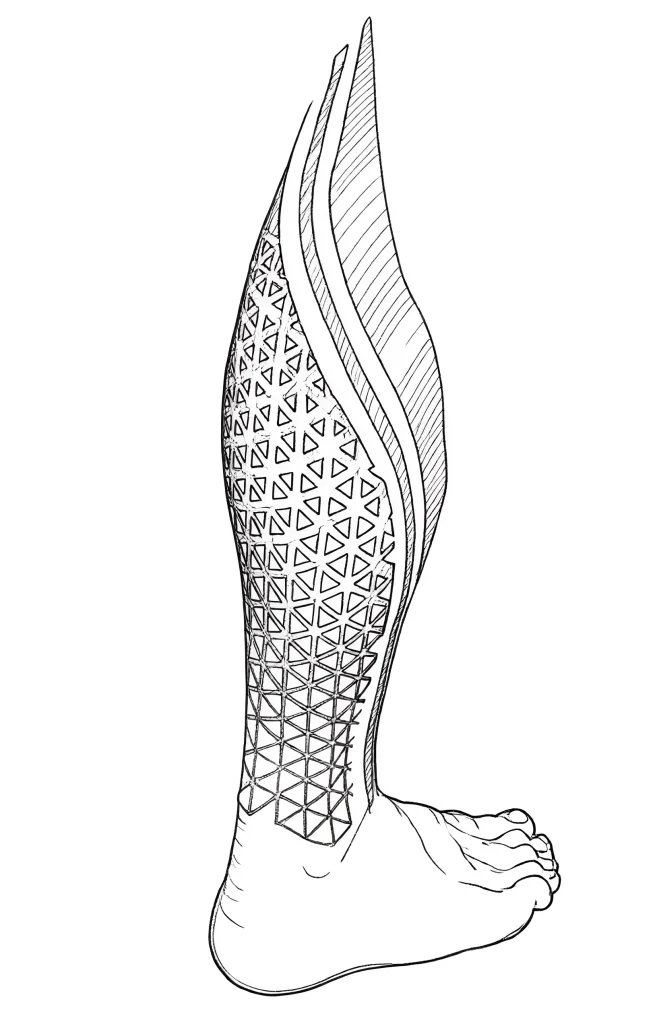
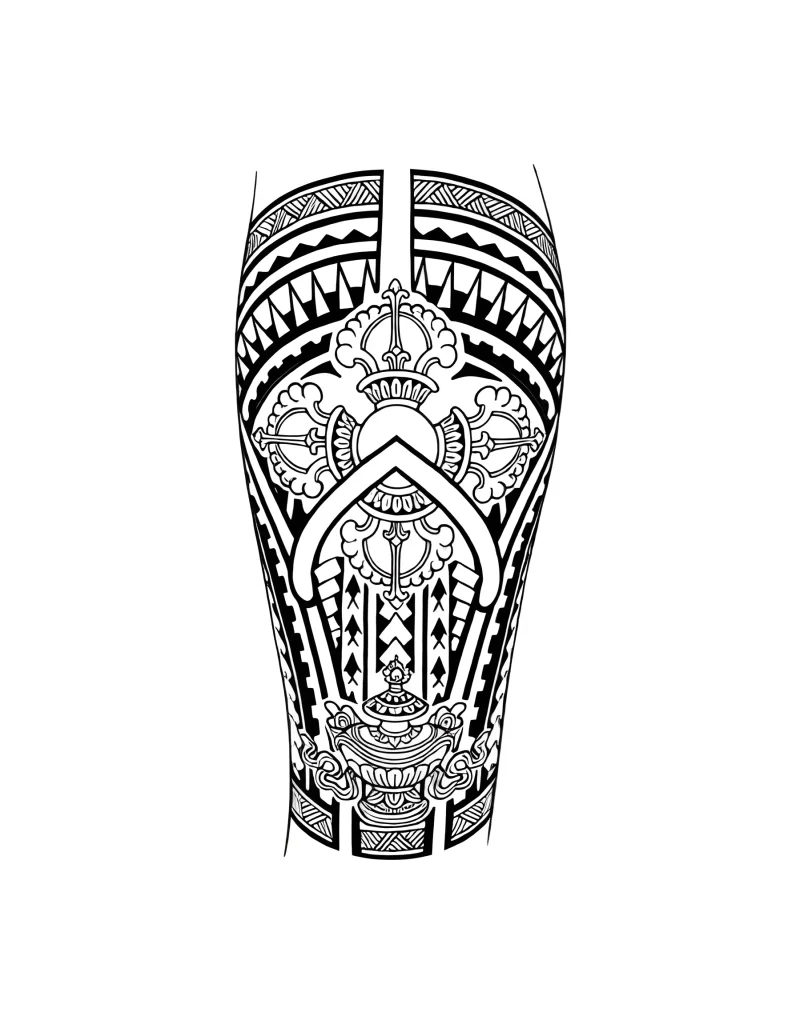
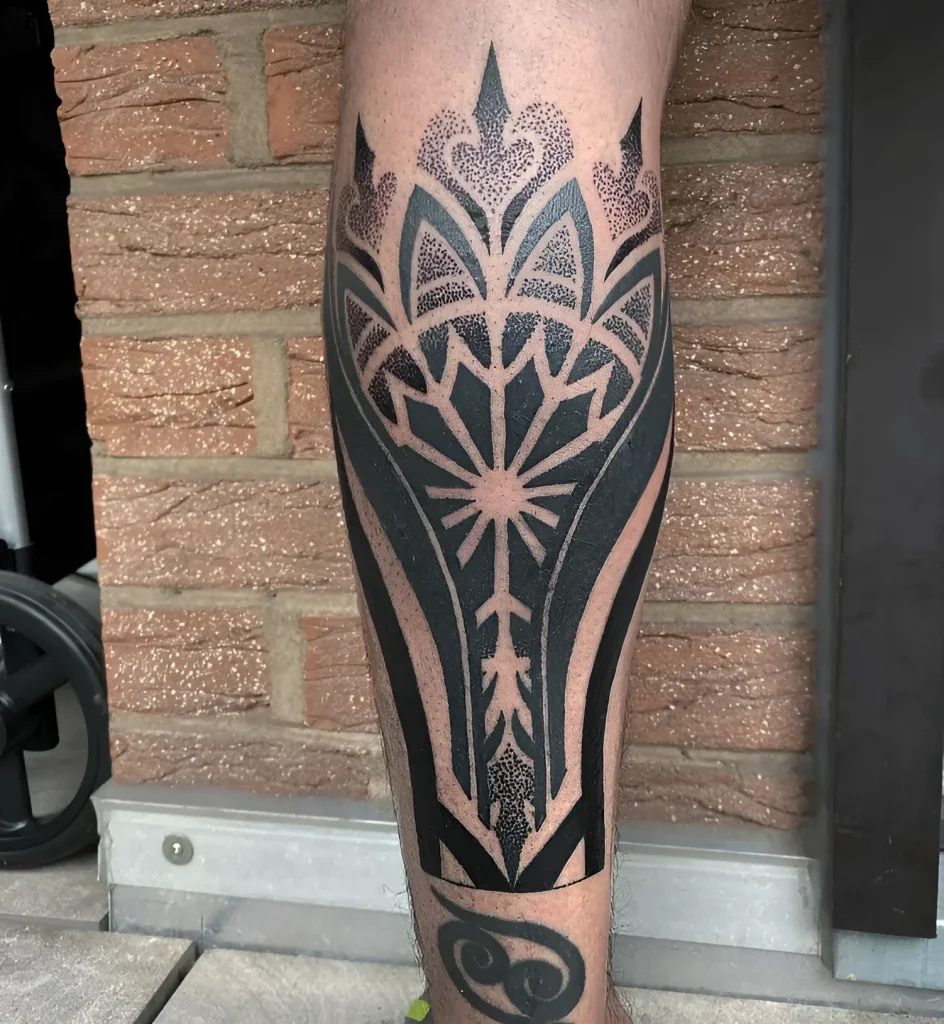
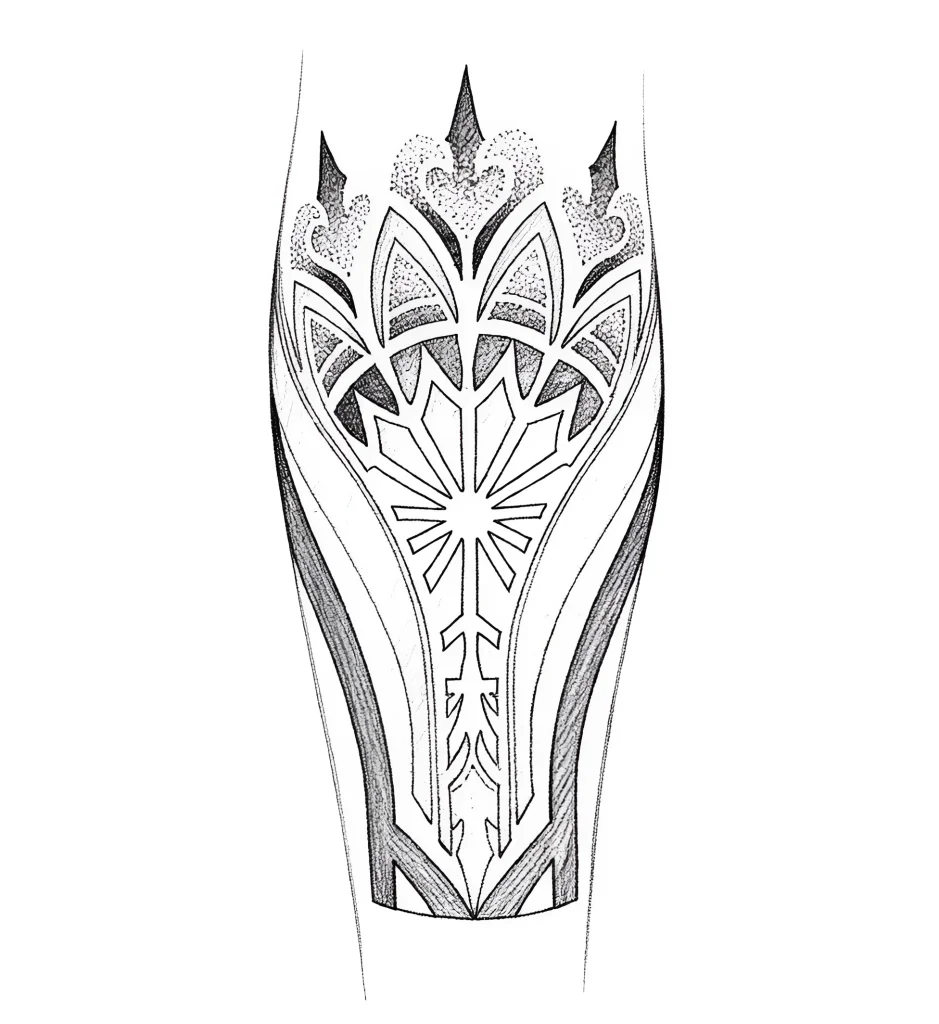
- Ornamental and Tribal Patterns: The calf is ideal for intricate patterns that start at the front and smoothly transition to the back. They utilize the cylindrical shape, creating a sense of movement.
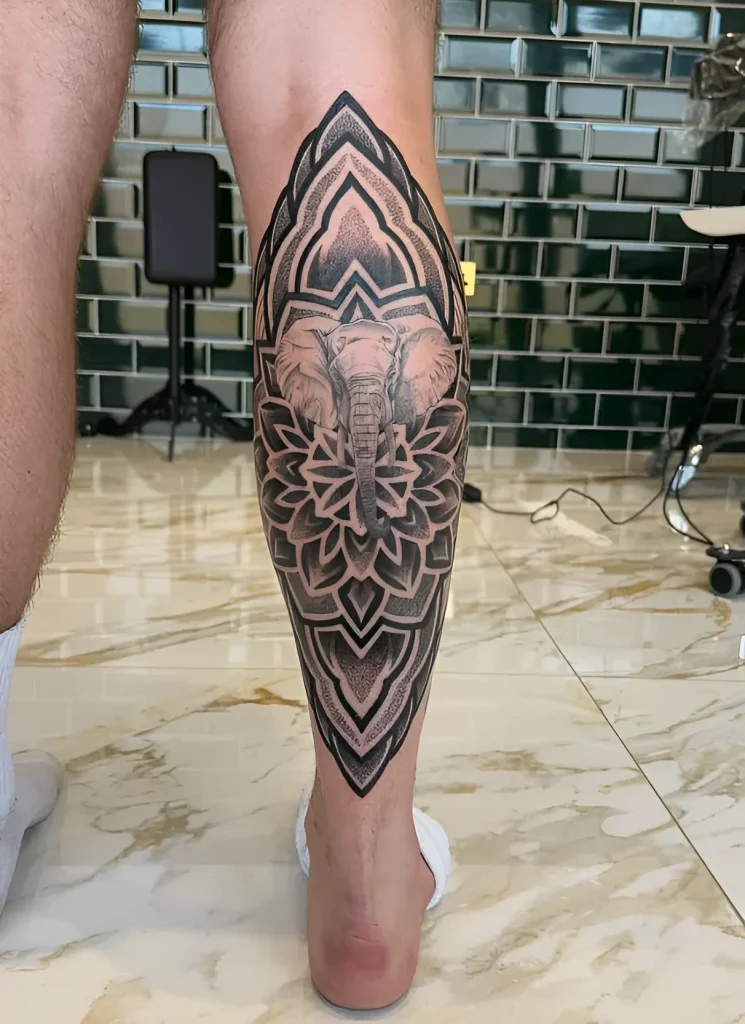
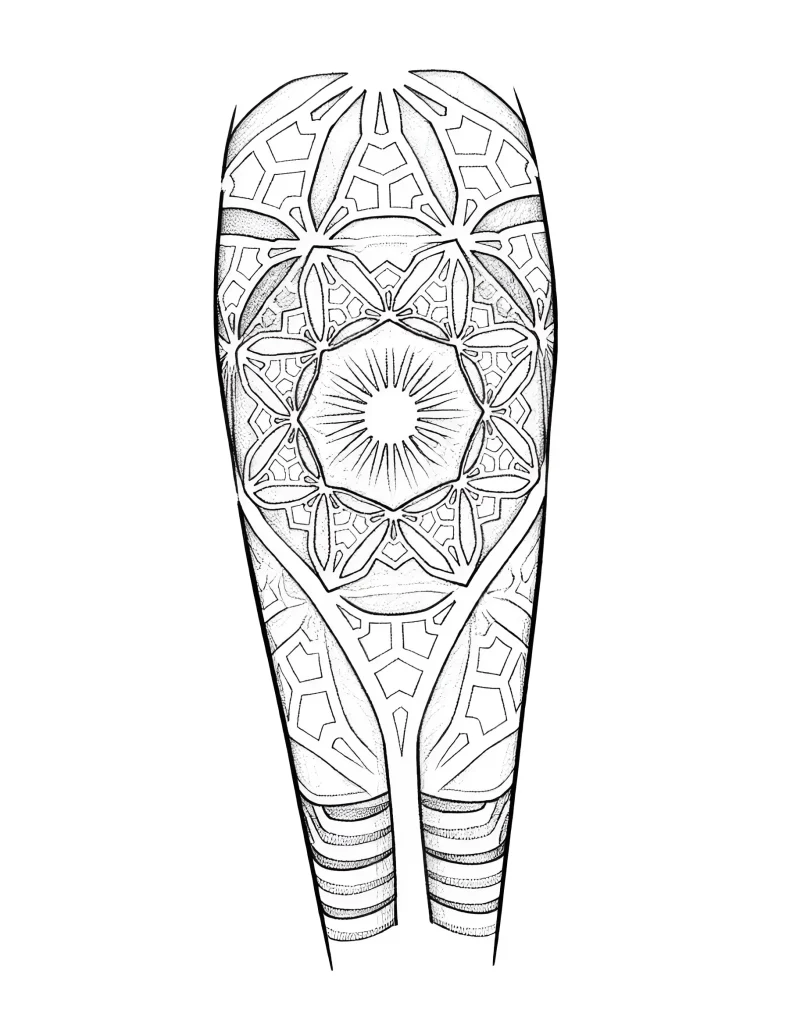
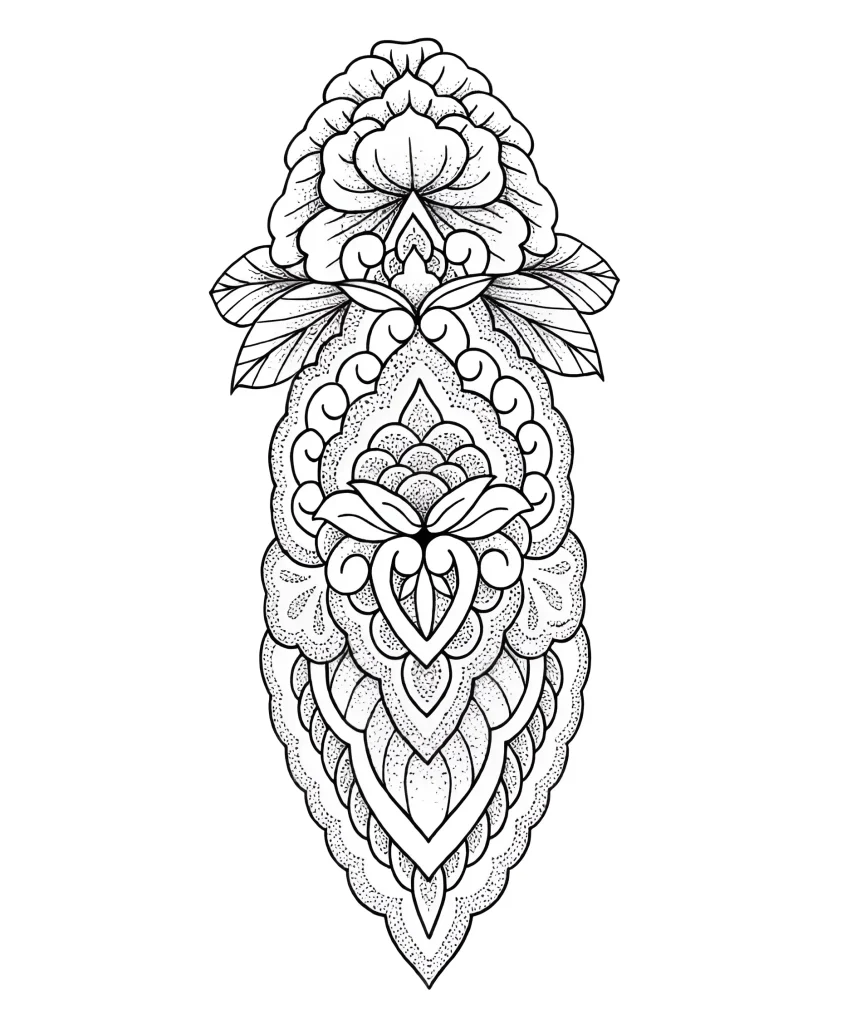
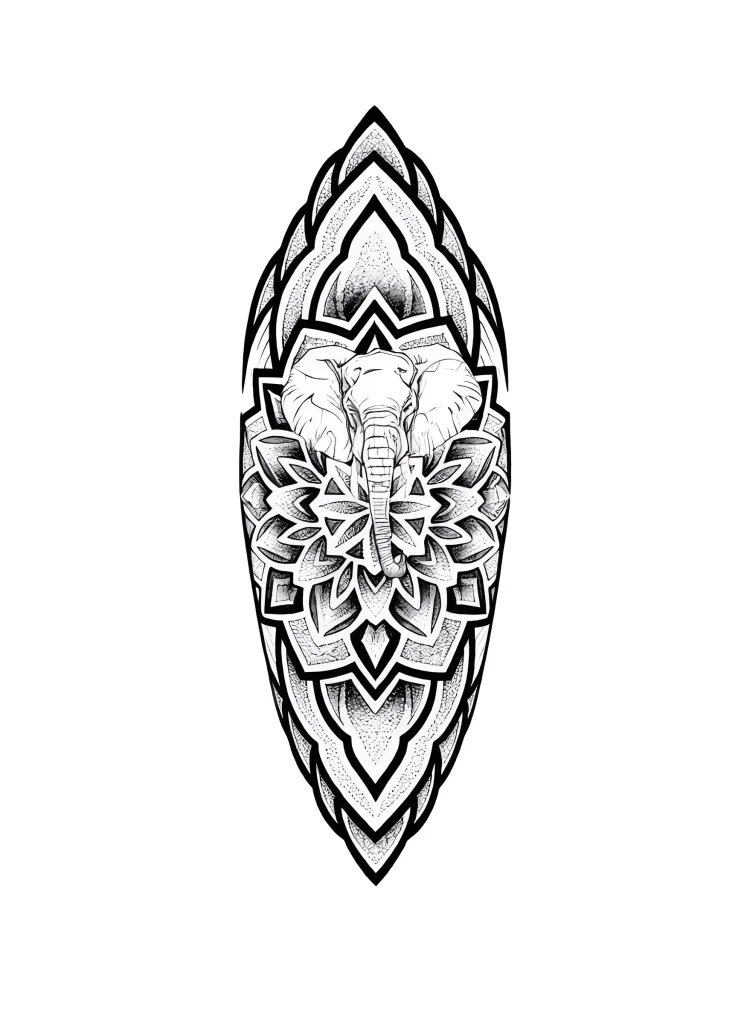
- Mandalas and Geometric Patterns: Often used to create a “leg sleeve.” It’s crucial to ensure perfect symmetry and proper alignment of lines at the transition points.
3. Maximizing the Back of the Calf:
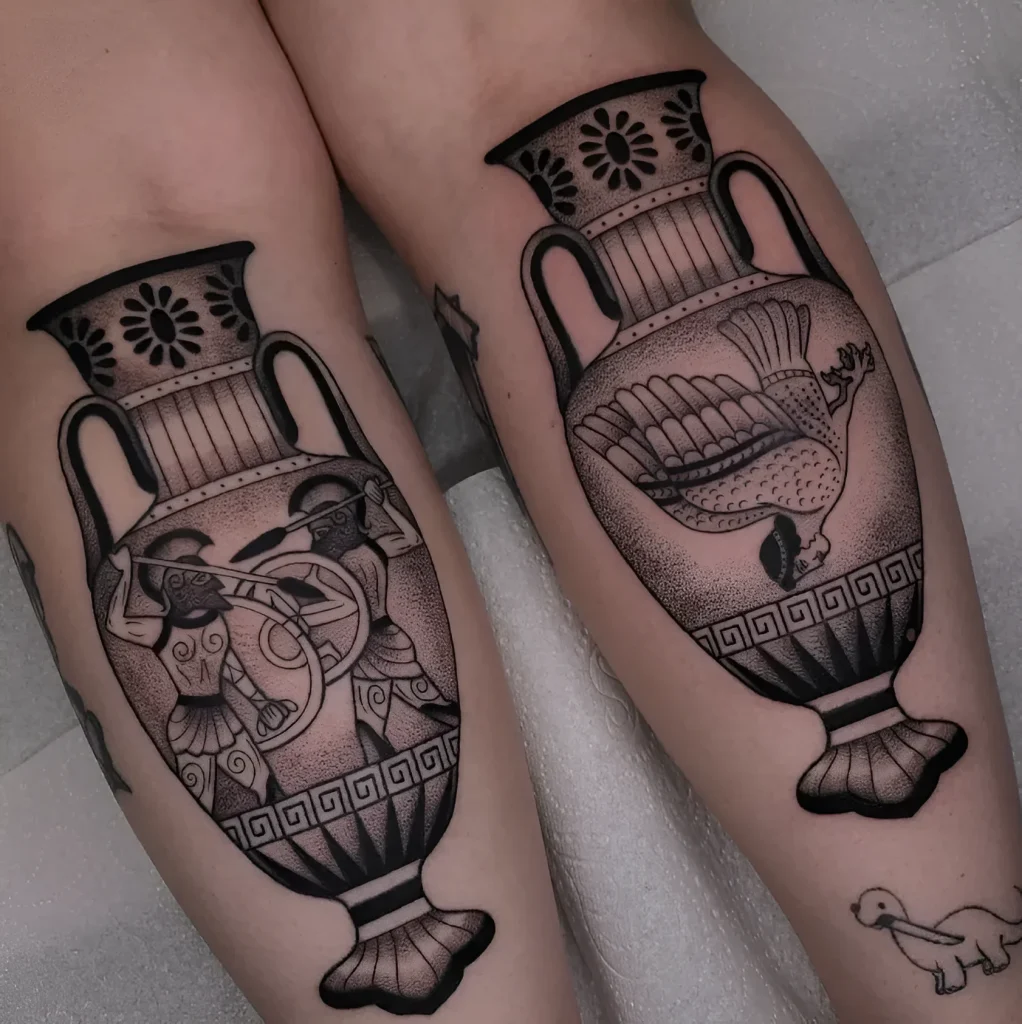
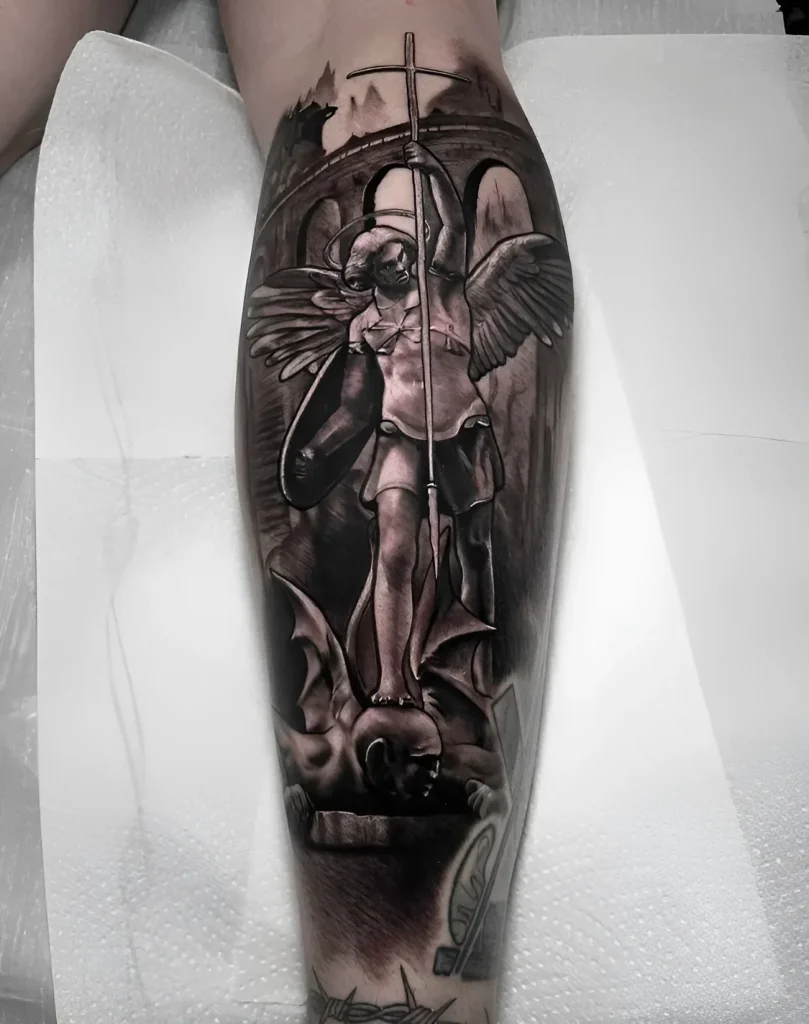
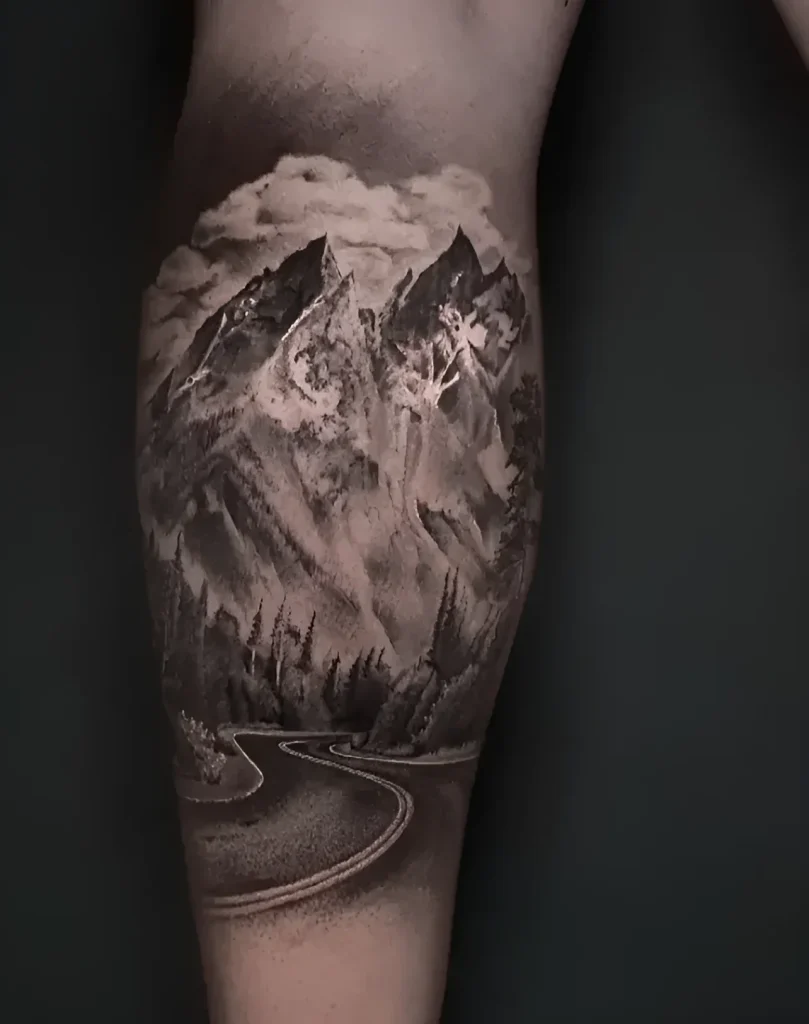
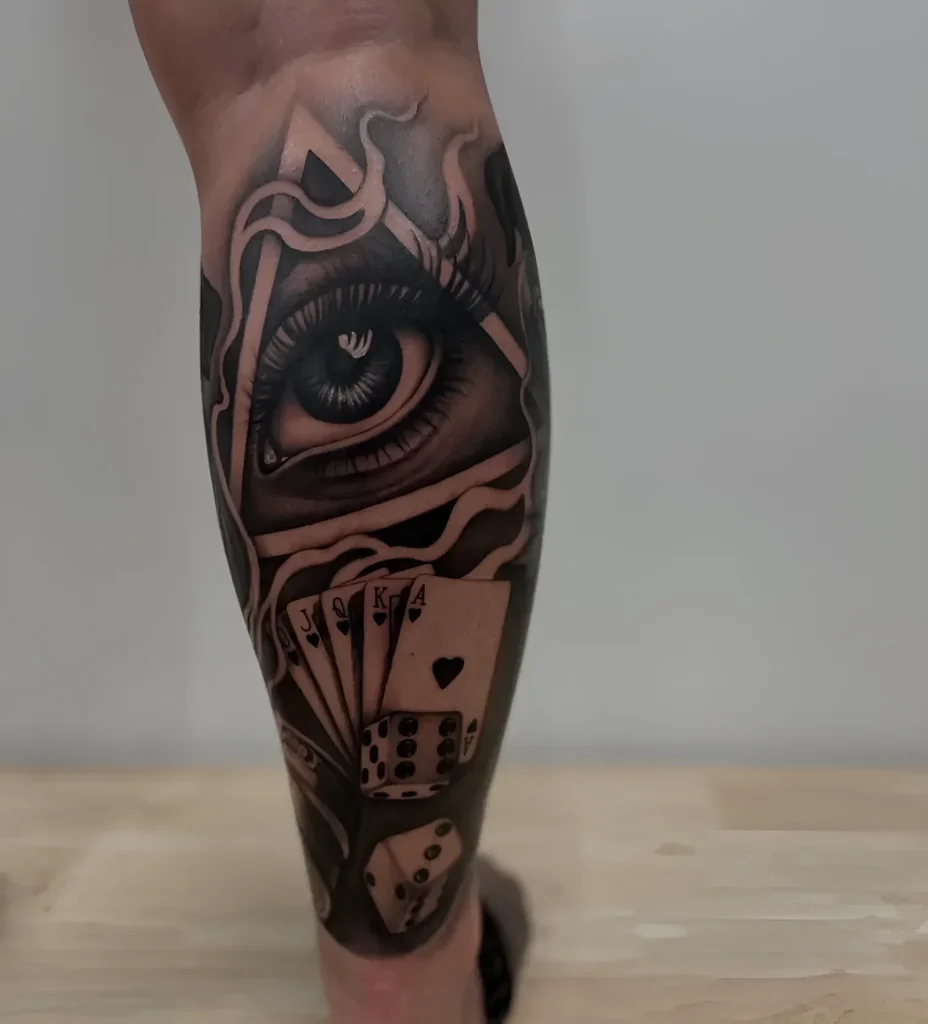
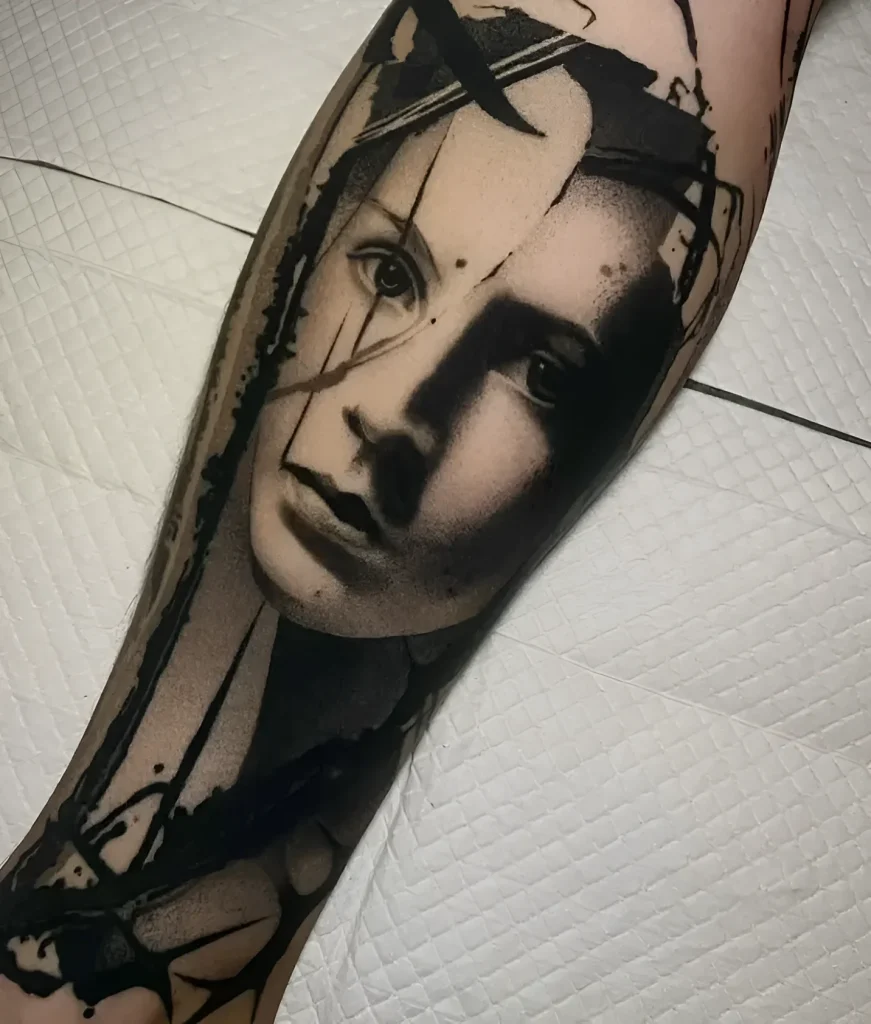
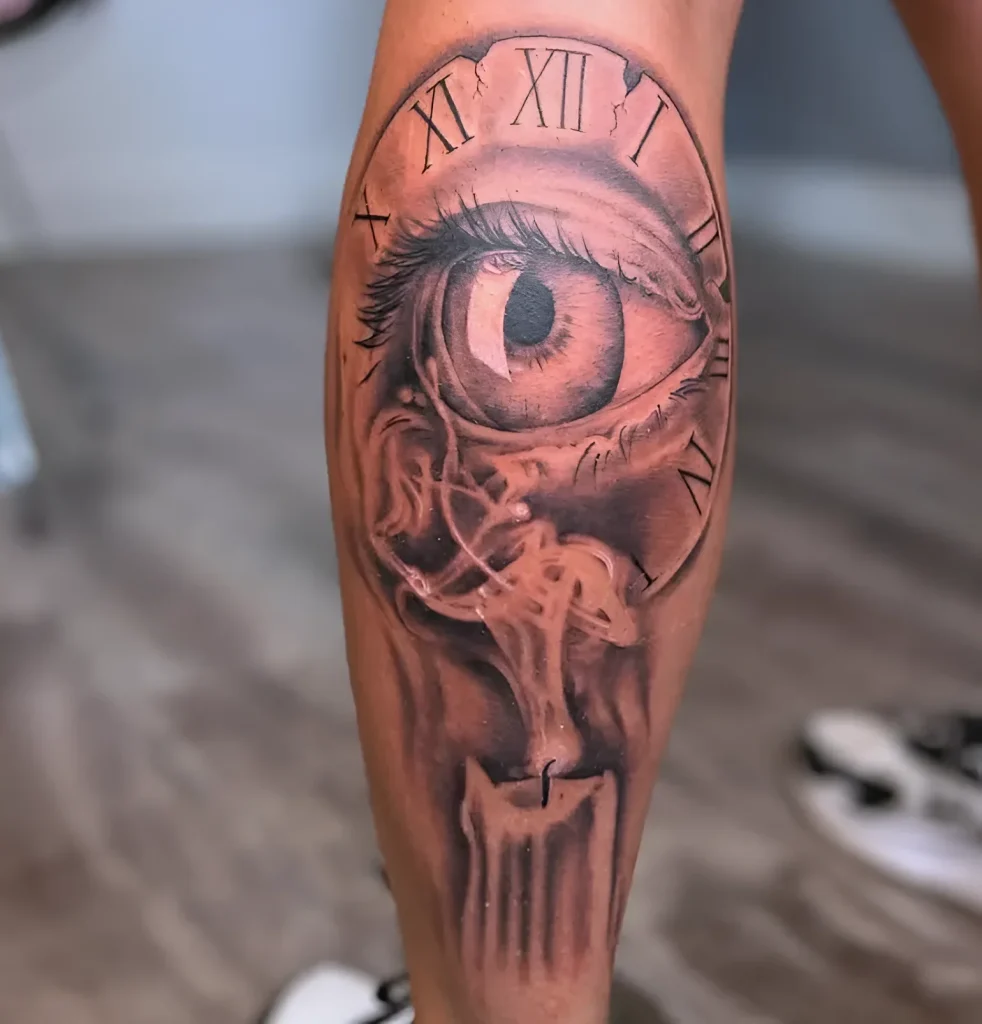
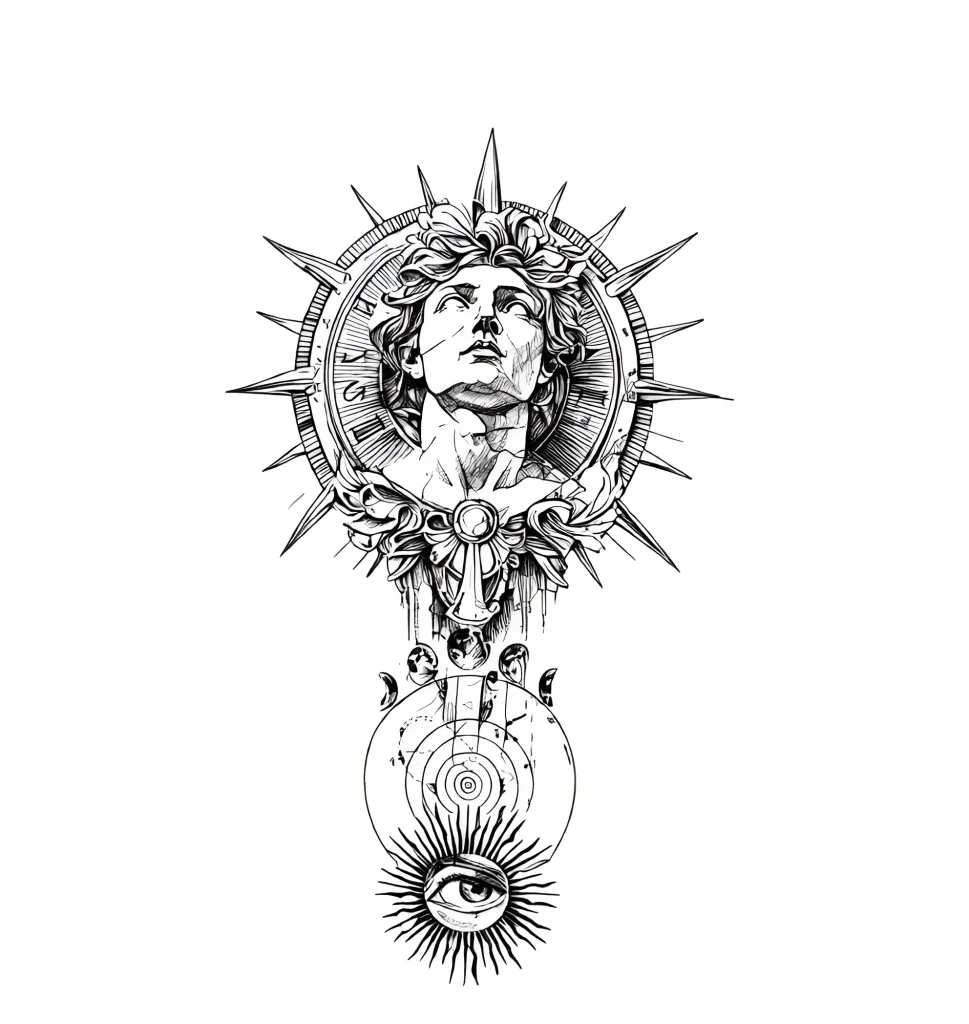
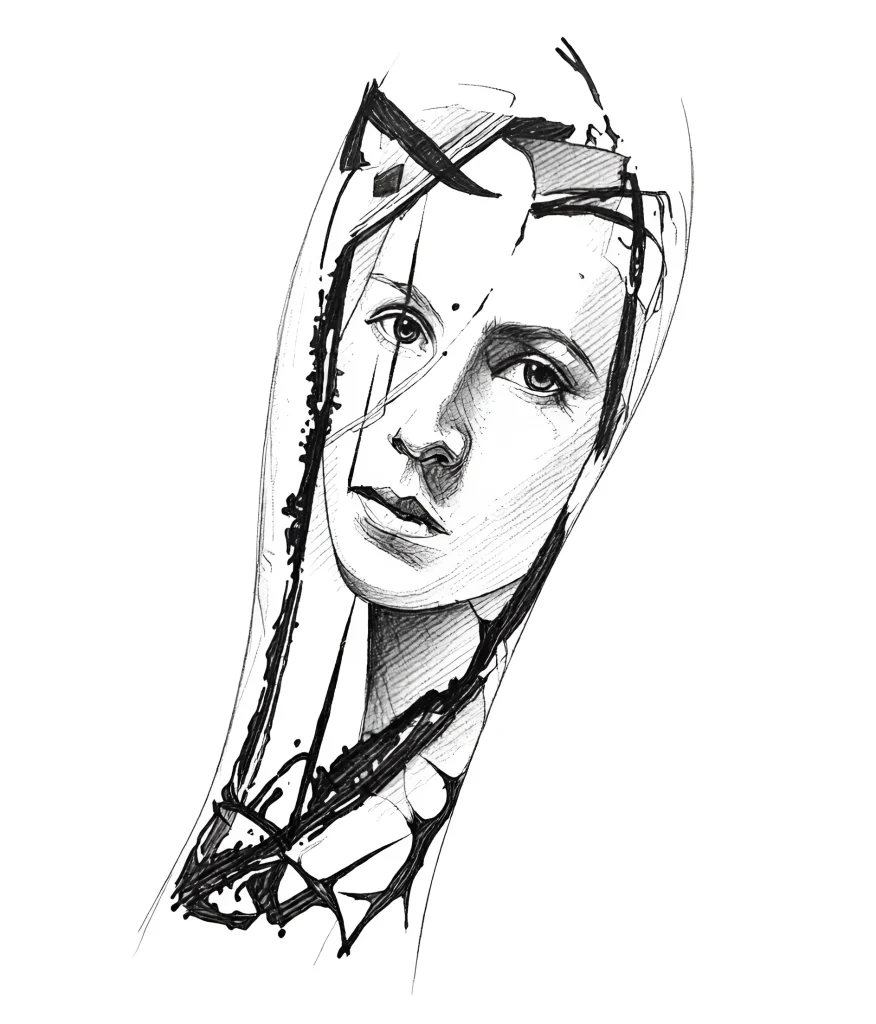
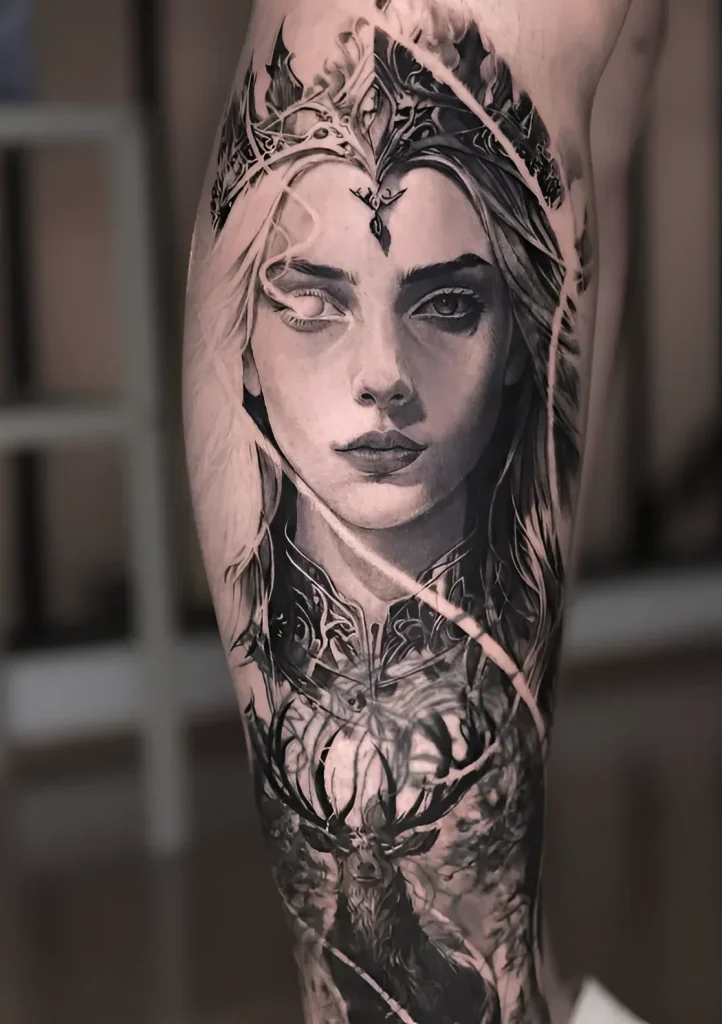
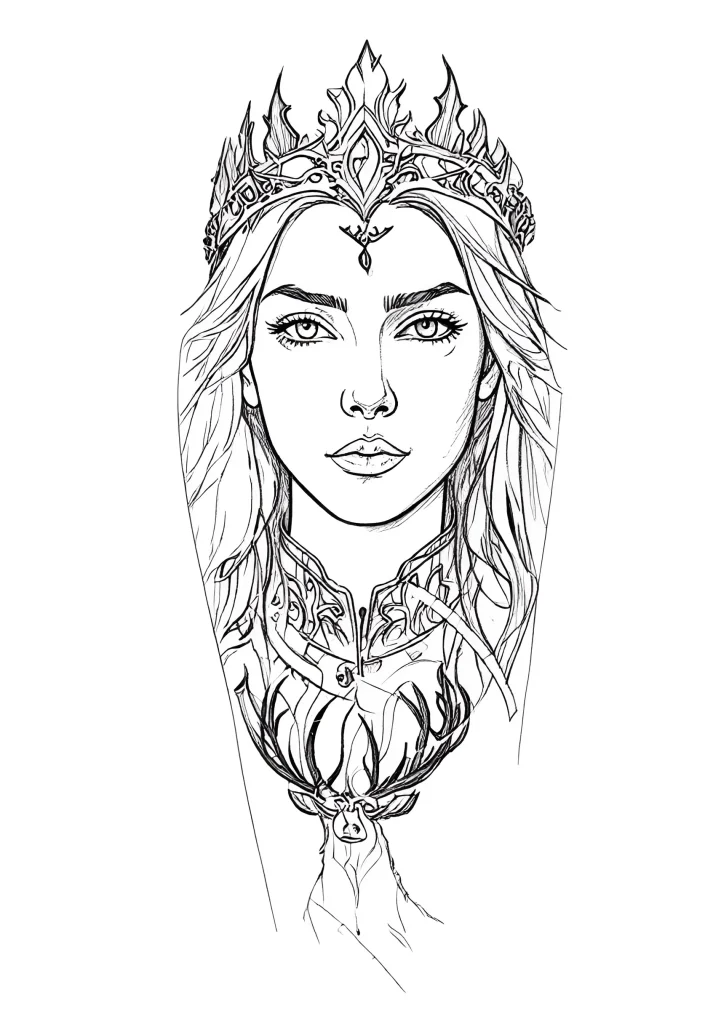
- Portraits and Realism: The back of the calf, when relaxed, is one of the largest “flat” surfaces on the leg, allowing for detailed works such as realistic portraits or large scenes.
Stencil Placement Tip: Always check the stencil when the client is standing. A tattoo that looks perfect when the client is lying down can become distorted or “slide” down when the muscles tense and change position.
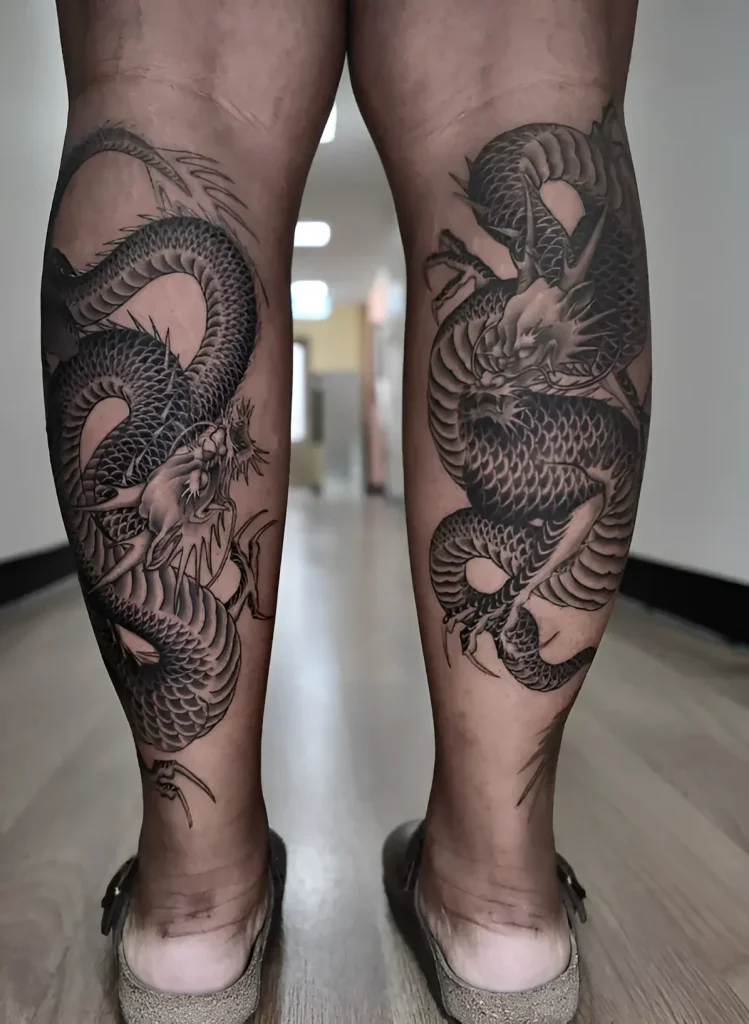
Calf Tattoo Application Techniques: A Step-by-Step Guide for Tattoo Artists
Working on the calf requires specific stretching and depth control techniques that differ from working on the forearm or thigh.
1. Preparation and Stabilization
Position: The client lies on their stomach. For better control and to prevent involuntary movements, stabilize the client’s foot on a roll or special stand. The lower leg should be relaxed.
Skin Stretching: Stretching on the calf is particularly important as the skin here is very mobile. Use the “three-point” technique: one of the artist’s hands stretches the skin from above (closer to the knee), the other from below (closer to the ankle), and the working area is between them. When working on the sides, the stretch should be as strong as possible to avoid “waves” and unevenness.
2. Outline (Lining) Technique
- Depth Control: Start with the central, fleshy part of the calf, where the skin is thicker. Standard working depth can be used here.
- Transition to the Sides: When approaching the side areas and bony prominences (especially closer to the fibula), immediately reduce pressure and needle depth. This minimizes the risk of blowouts.
- Working with Curvature: When tracing the outline along the curve of the calf, the artist must constantly change the angle of the machine so that the needle enters the skin perpendicularly to the surface, not at an angle. This prevents uneven lines.
3. Shading and Packing Technique
Color packing on the calf is usually easier than lining, thanks to the good skin density.
- Pigment Density: The skin in the central part of the calf accepts pigment well. Use circular or “whip shading” motions for smooth transitions.
- Caution with Shading: When working with soft shading, especially on the sides, use smaller magnum needles and work at low voltage to avoid traumatizing the thin skin.
- Swelling: The calf is prone to rapid swelling, especially during long sessions. Swelling can distort the design and make packing difficult. Take short breaks to allow the client to slightly elevate their leg.
Calf Tattoo Aftercare: Healing Tips and Problem Prevention
Healing a calf tattoo has its peculiarities, primarily due to gravity, which promotes swelling, and the constant movement of the leg.
Specific Calf Tattoo Healing Issues:
1. Persistent Swelling (Edema):
The calf is the lowest point of the body, which is constantly in a vertical position throughout the day. This leads to the accumulation of lymph and blood, causing significant swelling, which can be more pronounced than on other parts of the body.
- Tips: For the first 3-5 days, the client should keep their leg elevated as much as possible (above heart level), especially when resting. This is critically important for reducing swelling and improving circulation.
2. Friction Damage:
A calf tattoo is constantly subjected to friction from trousers, jeans, socks, or shoes (especially high boots). This can cause irritation and pigment loss.
- Tips: Advise the client to wear loose-fitting clothing (wide pants, shorts) and avoid socks that end directly on the tattoo. Using healing film (e.g., Suprasorb F) in the first few days can be an ideal solution for protection against friction.
3. Hygiene:
Since the calf is closer to the ground and often comes into contact with shoes, the risk of contamination is higher.
- Tips: Emphasize the need for thorough washing of the tattoo twice a day with mild antibacterial soap.
Common Calf Tattoo Mistakes: How to Avoid Them and What to Do
Beginner artists often encounter the same problems when working on the calf. Knowing these mistakes will help you avoid them.
1. Incorrect Stencil Placement and Distortion
Mistake: Placing the stencil when the client is only lying down, without checking in a standing position. The design may look crooked or too low when the client stands up.
Solution: Always check the stencil in three positions: lying down, sitting (with a bent leg), and standing. Ensure the main lines of the composition follow the natural flow of the muscle, not just the vertical line.
2. Insufficient or Excessive Stretching
Mistake: Insufficient stretching leads to “torn” lines and uneven packing due to skin mobility. Excessive stretching on thin areas (especially on the sides) can cause blowouts.
Solution: When working on the central part of the calf, use moderate but firm stretching. On the side areas, stretch the skin as much as possible, but reduce the needle depth to avoid pigment penetration into deeper dermal layers.
3. Ignoring Muscle Movement
Mistake: Placing thin, detailed elements directly over the center of the calf muscle, where movement is most pronounced. Over time, this can lead to distortion of fine details.
Solution: Large, massive elements or background fills are best suited for the central area. Details and thin lines are better placed in less mobile zones – closer to the ankle or the popliteal fossa (but not in the fossa itself).
4. Healing Problems Due to Swelling
Mistake: Ignoring the risk of significant post-session swelling, which leads to skin stretching and potentially partial pigment loss (especially in areas with dense black fill).
Solution: Be sure to instruct the client on the importance of rest and elevating the leg. Remind them that if swelling does not subside within 48 hours, it is a cause for concern and consultation.
Calf Tattoos: Frequently Asked Questions (FAQ)
1. How Painful is it to Get a Tattoo on the Calf?
The pain level on the calf is considered moderate compared to the ribs or knees. The central posterior part is one of the least painful areas due to the thick layer of muscle. The most sensitive areas are the sides, where the skin is thin and bones are close, as well as the area above the Achilles tendon.
2. How Long Does it Take for a Calf Tattoo to Heal?
Initial healing takes 10-14 days. However, due to the high risk of swelling and constant leg movement, complete skin recovery to a stable state can take up to 4-6 weeks. The client needs to be especially attentive to swelling in the first week.
3. Is the Calf Suitable for Color Tattoos?
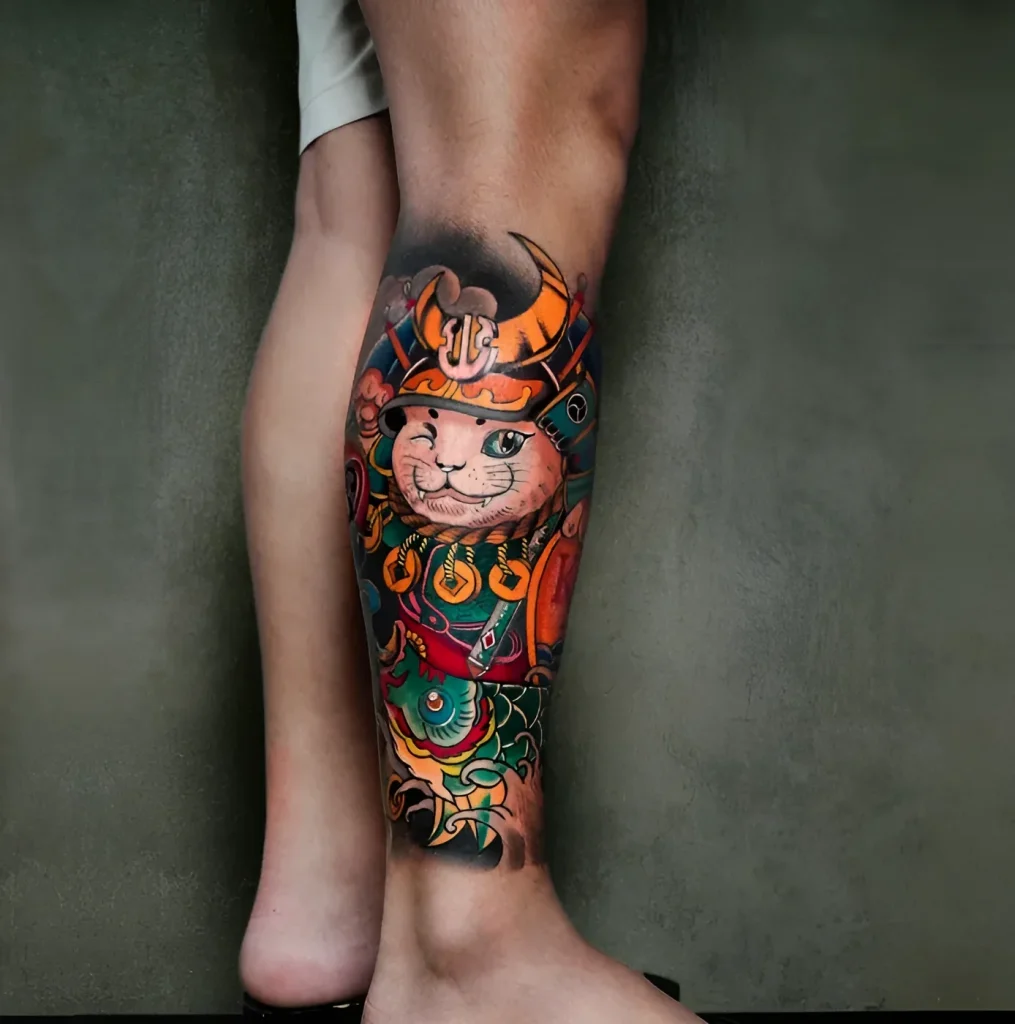
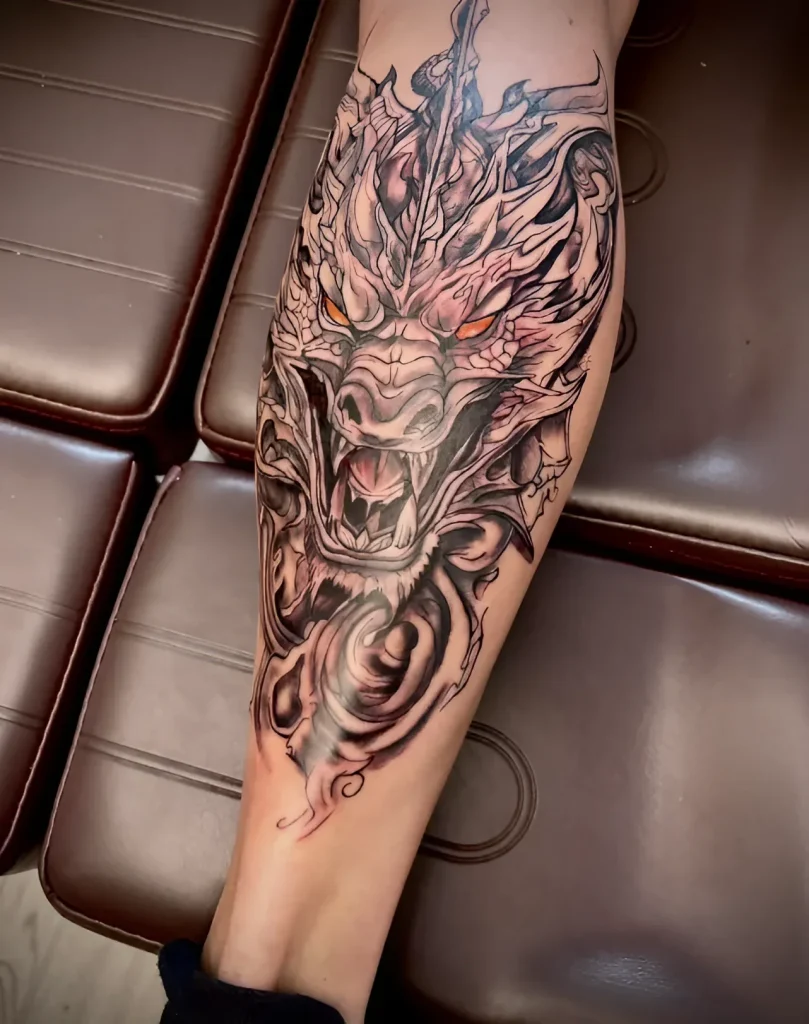
Yes, the calf is an excellent canvas for color. The skin here is quite dense and holds pigment well. However, as with any leg tattoo, if it is frequently exposed to the sun (especially in summer), the color may fade faster. Strict UV protection is required.
4. Does a Calf Tattoo Distort Significantly Over Time (e.g., with Muscle Gain)?
If the tattoo is done correctly, taking into account the natural flow of the muscles, minor changes in muscle mass (e.g., from sports) will not lead to critical distortion. Problems can arise only with very rapid and significant mass gain or, conversely, with significant weight loss when the skin loses its tone.
Interesting Facts About Calf Tattoos: History and Modern Trends
While calf tattoos do not have the same rich historical symbolism as tattoos on the arms or face, in various cultures, the lower leg has always been considered an important area associated with movement, status, and strength.
Cultural and Historical Context
- Polynesian Culture (Samoa, Marquesas Islands): In traditional Tatau, leg and calf tattoos were an essential part of male ritual and symbolized movement, travel, and warrior status. These patterns often consisted of complex geometric patterns that emphasized musculature.
- Ancient Egypt: Although not as common as on the arms, symbols of protection related to the journey to the afterlife were sometimes depicted on the legs.
Modern Trends and Symbolism
In modern tattoo culture, the calf has gained popularity as an ideal location for the following styles:
1. Blackwork and Dotwork: The cylindrical shape of the calf is perfect for creating dense, wrap-around blackwork designs or geometric patterns done in dotwork.
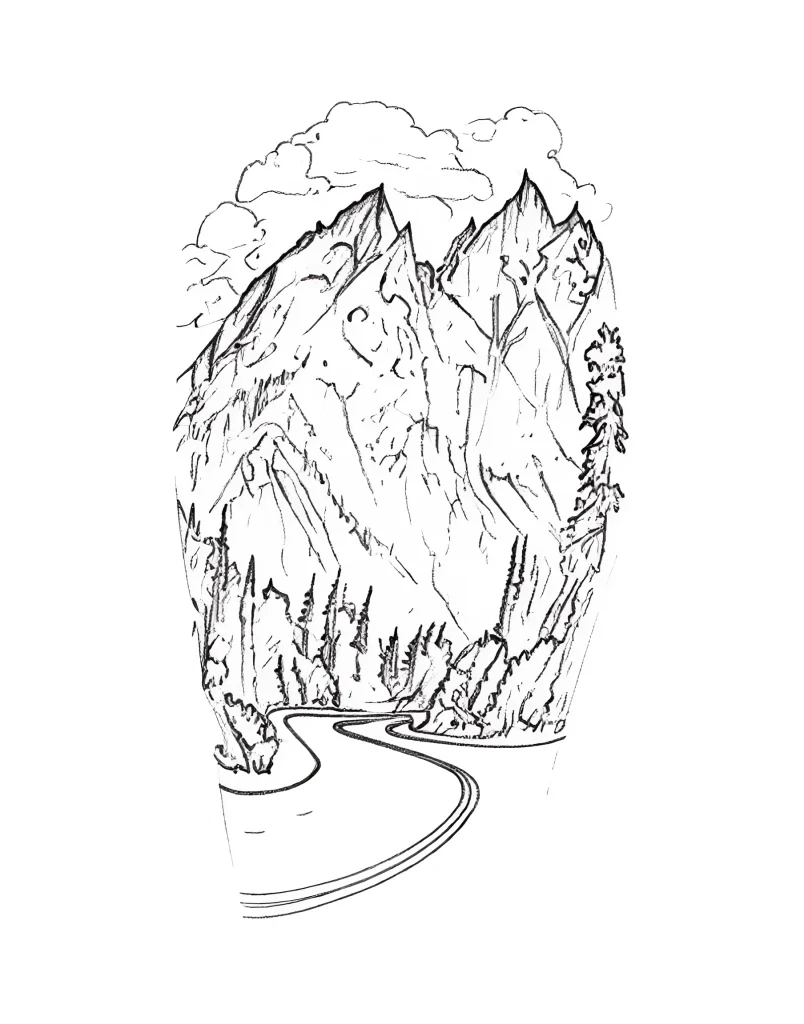
2. Symbolism of Travel: Calf tattoos are often associated with moving forward, overcoming obstacles, and personal journeys. These can include compasses, maps, arrows, or symbols representing the distance traveled.
3. Using the Back of the Calf as a “Hidden” Canvas: For many clients, a tattoo on the back of the calf is more personal or less formal, as it is easily concealed by clothing, yet large enough for detailed work. This makes it a popular choice for those seeking a balance between self-expression and professional dress codes.
Mastering calf tattooing is an important step in the development of any tattoo artist. Remember that the key to success lies in thorough anatomical analysis, proper stretching techniques, and providing clients with comprehensive aftercare instructions in the context of increased swelling. We wish you professional success and impressive works on this dynamic area of the body!
Additional Images
Gallery of remaining images (click to view):