
Eyelid tattooing is one of the most complex, risky, and least common areas in modern tattoo art. This zone requires the artist not just a high level of professionalism, but also a deep understanding of anatomy, dermatological features, and principles of minimizing trauma. If you are a beginner tattoo artist looking to expand your skills, this guide, developed by tatufoto.com experts, will provide you with all the necessary knowledge about the symbolism, techniques, and, most importantly, safety of working with this delicate area.

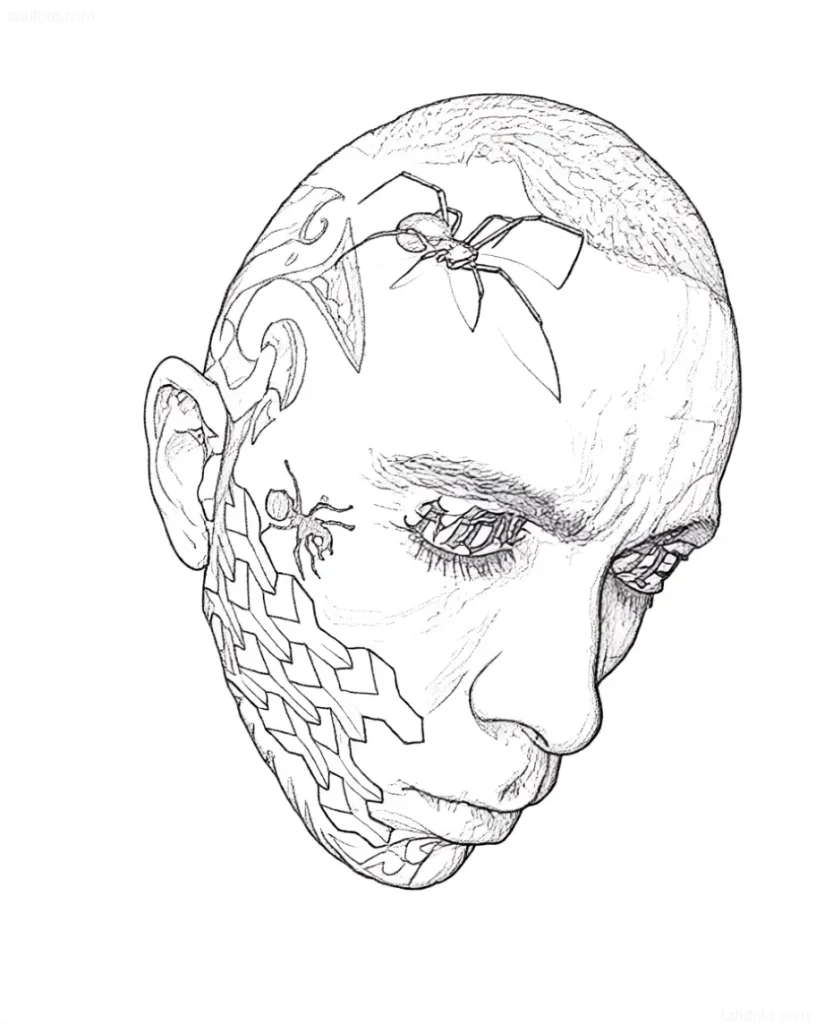
Eyelid Tattoos: A Complete Guide for Beginner Tattoo Artists – Introduction and Overview
Working on eyelid skin is fundamentally different from working on any other part of the body. The skin here is extremely thin (the thinnest on the body), it is constantly in motion, and its proximity to the mucous membrane and eyeball makes any mistake potentially critical. Our goal is not only to explain how to apply a tattoo to the eyelid but also to help you understand when it is safe to do so, and when you should absolutely refuse the procedure.
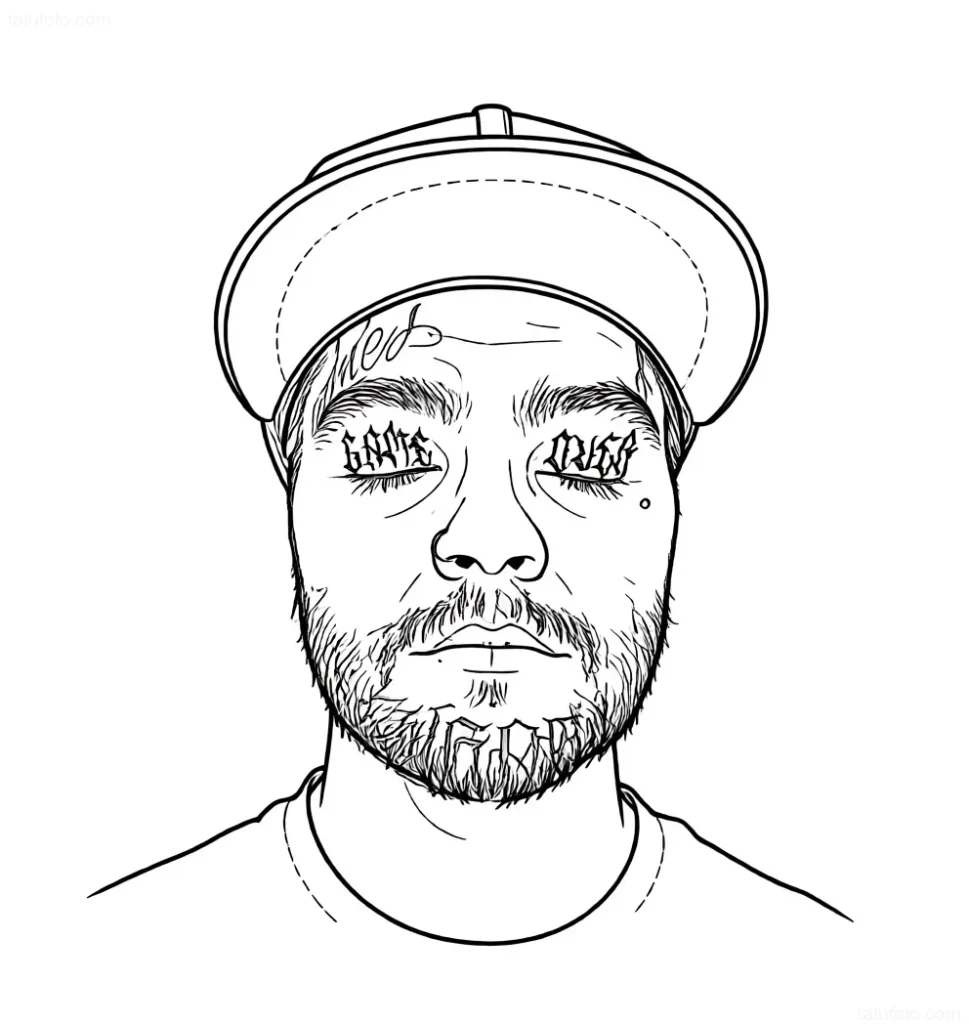
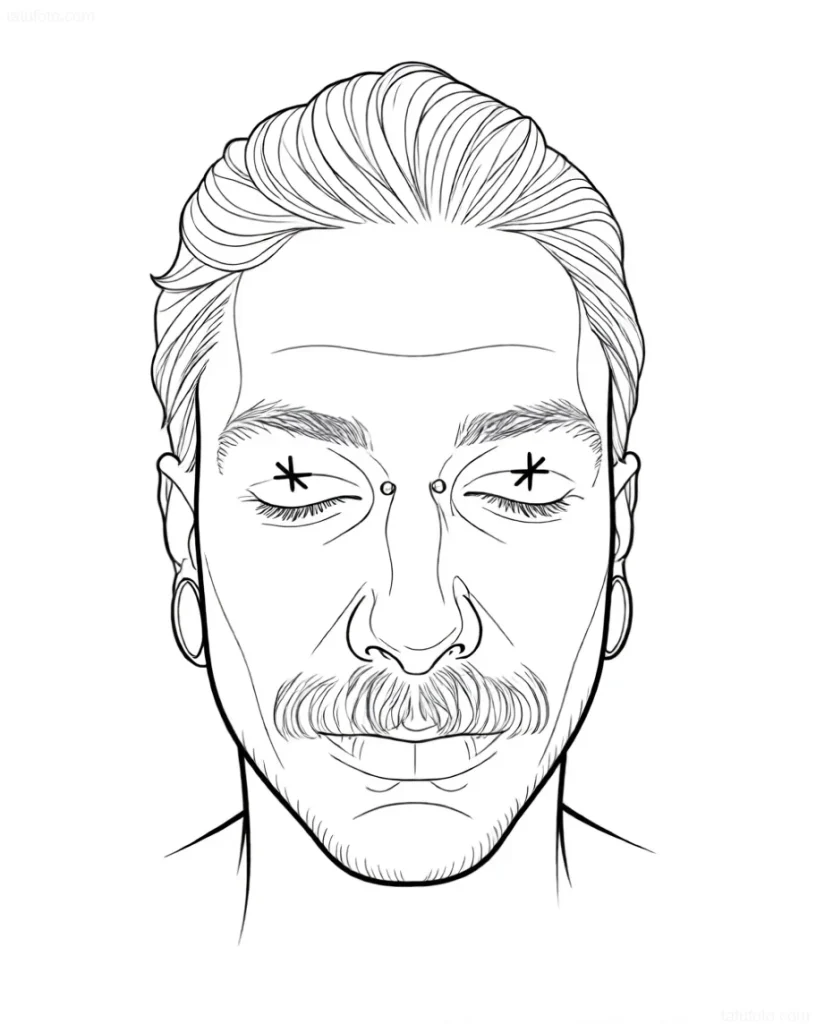


Key challenges for the artist:
- Skin Thickness: Minimal penetration depth (depth control is key to success).
- Mobility: The need for perfect skin fixation and stretching.
- Risk of Pigment Migration (Blowout): High risk of ink spreading due to the loose structure of subcutaneous tissue.
- Consultation: Mandatory detailed discussion of risks with the client.
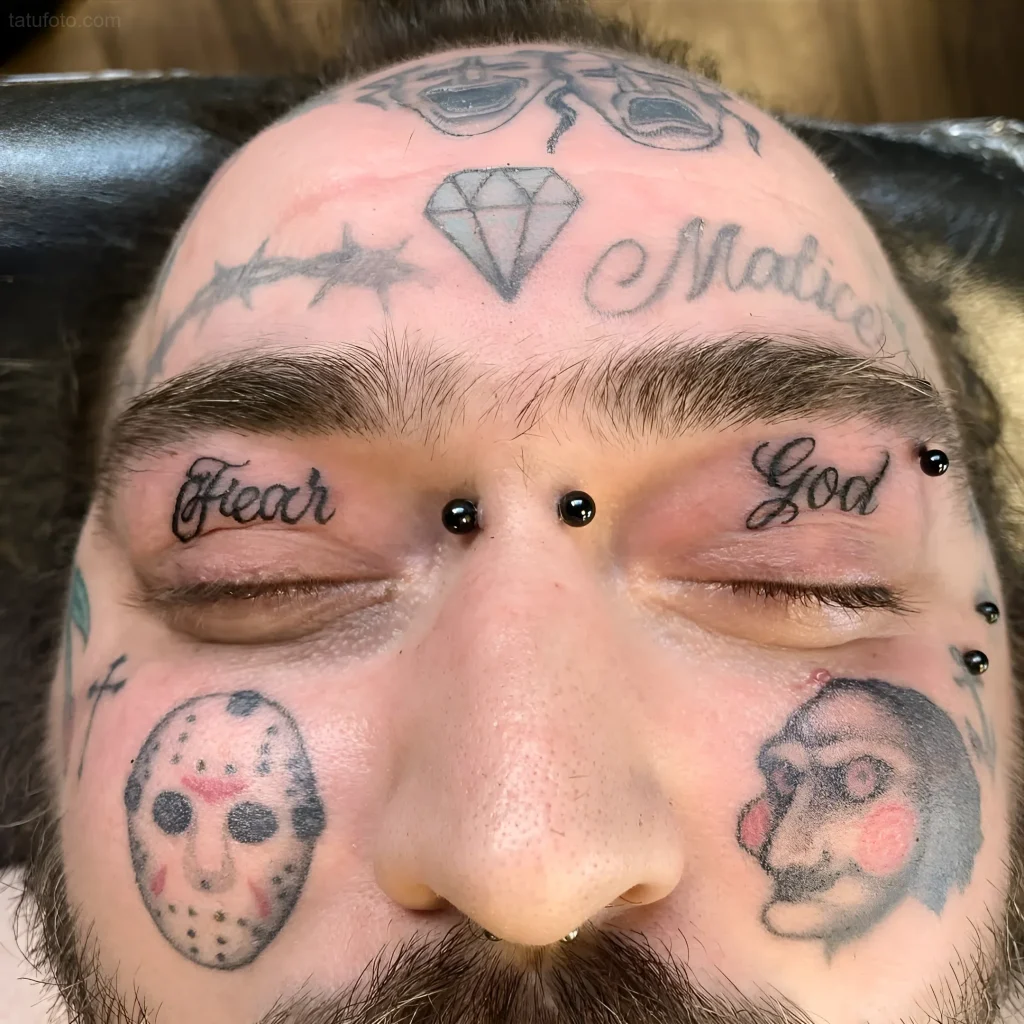

History of Eyelid Tattoos: From Ancient Rituals to Modern Practice
While facial tattoos have deep roots in cultures worldwide – from the Maori (Moko) to the ancient Egyptians – eyelid tattoos have historically been a rare phenomenon, often associated with extreme rituals, punishments, or highly specialized symbolism.
In traditional practices, especially in Polynesia and among some Siberian peoples, facial tattoos signified social status and maturity. Tattoos located near the eyes could symbolize vigilance, spiritual vision, or protection from evil spirits. However, direct tattooing of the mobile eyelid, as we know it today, only became popular in the late 20th and early 21st centuries, largely due to the development of permanent makeup (PMU).
Cultural Context for the Artist:
A modern artist must understand that a client choosing an eyelid tattoo is often consciously opting for an extreme form of self-expression. It’s not just adornment; it’s either: 1) an extension of PMU aesthetics (a thin eyeliner) or 2) a powerful statement, visible only when the eyes are closed (words, symbols).
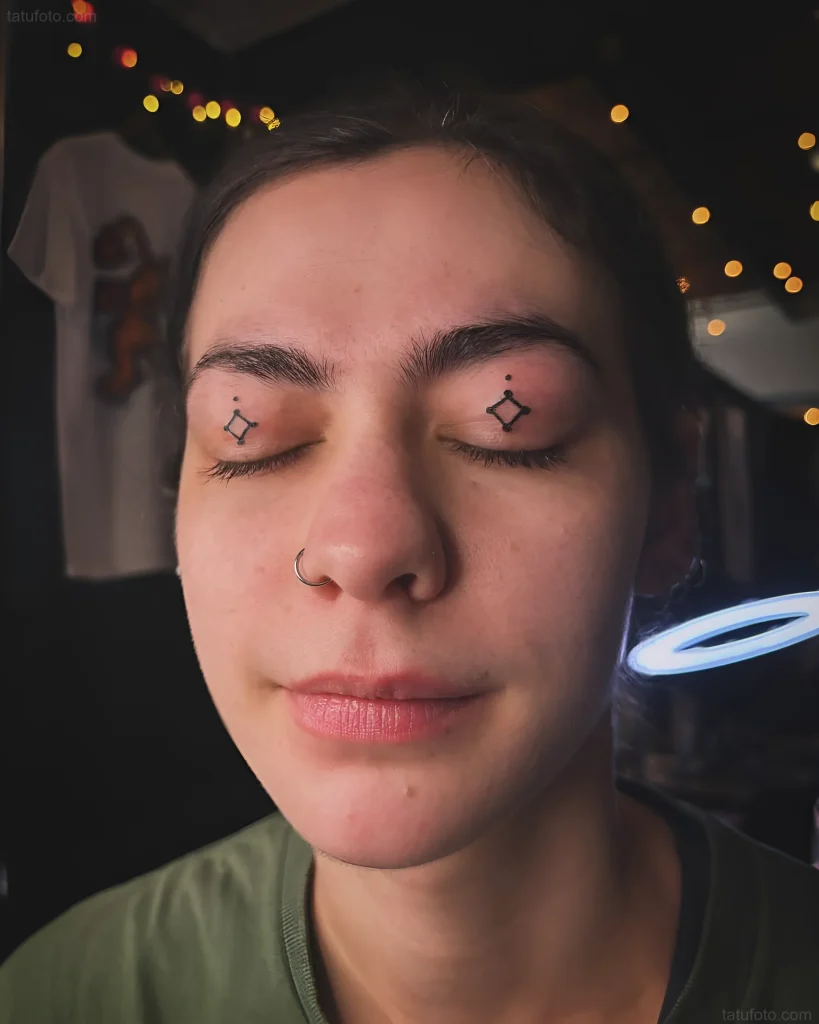
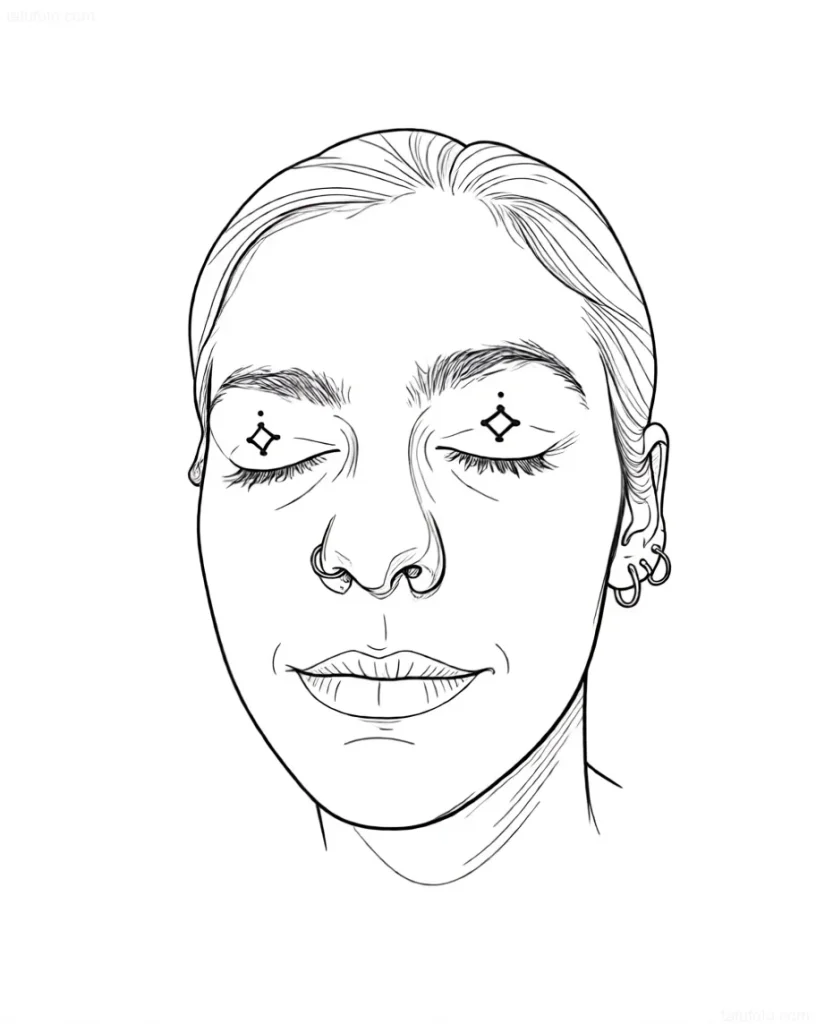
Eyelid Tattoo Meanings: Symbolism and Personal Motives
Due to the extremely limited area of the eyelid, designs are typically very concise. The symbolism here carries a maximum concentration of meaning, often hidden from the public eye until the client closes them.
1. Symbols related to sleep and wakefulness:
- Eye of Horus (Wadjet): A classic symbol of protection, health, and vigilance. Often used on the lower eyelid or in the corners.
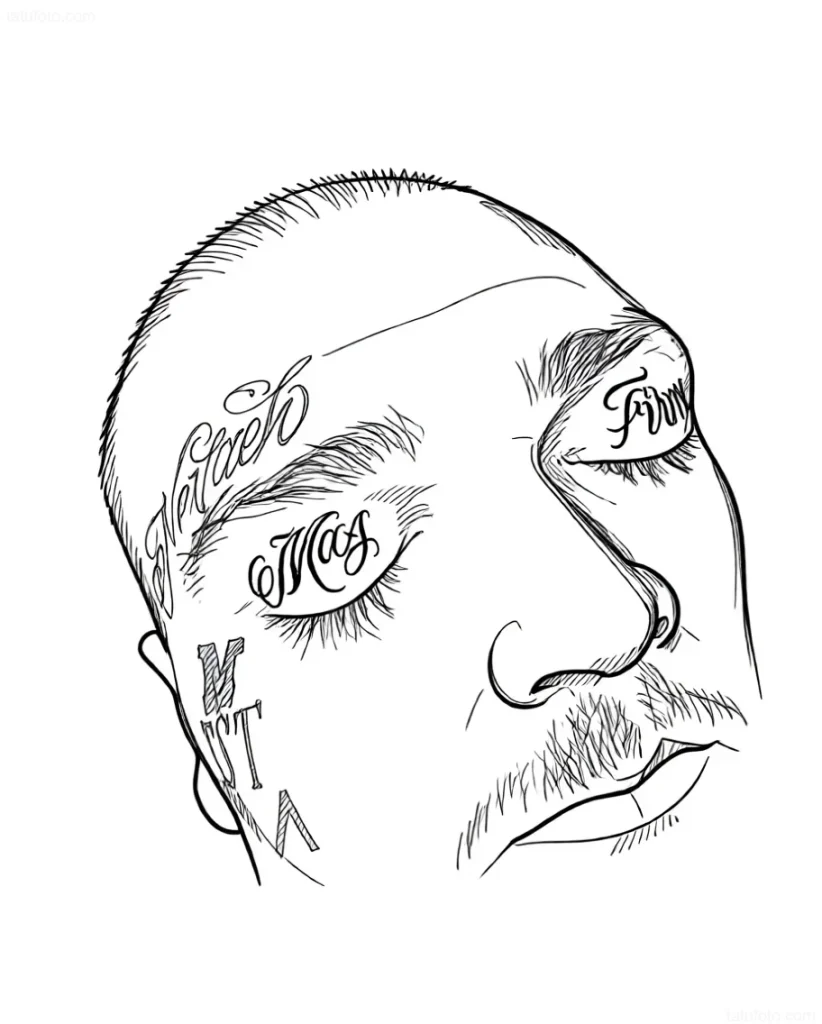
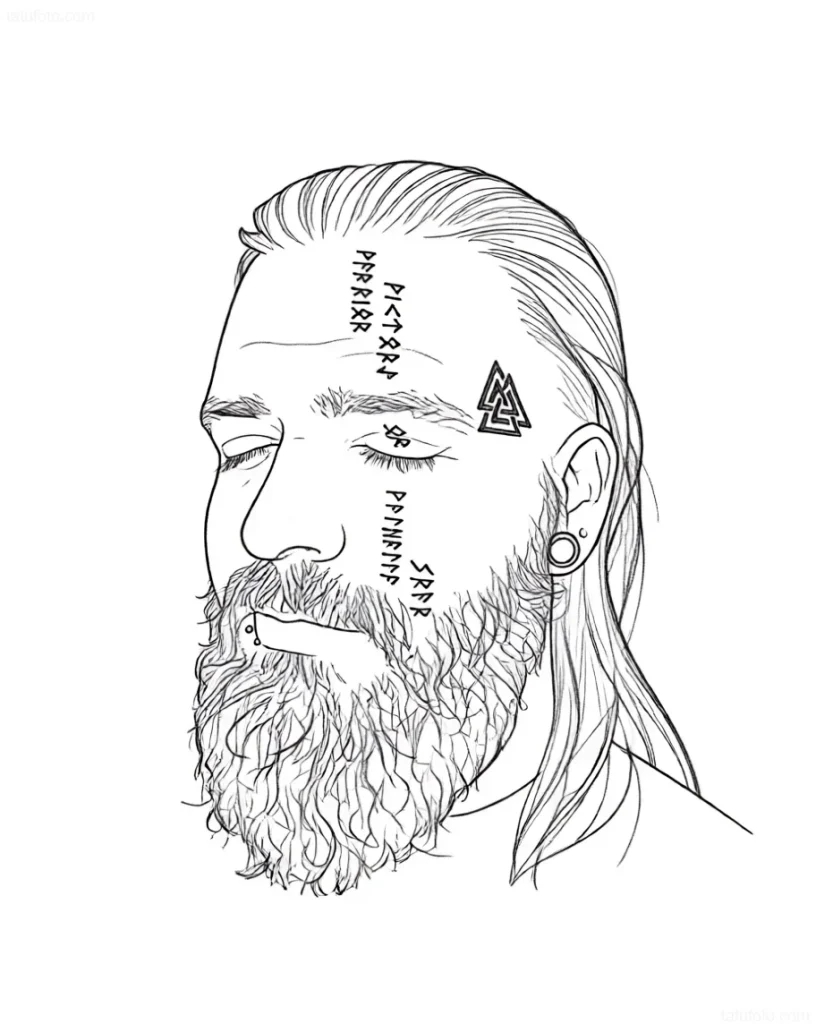
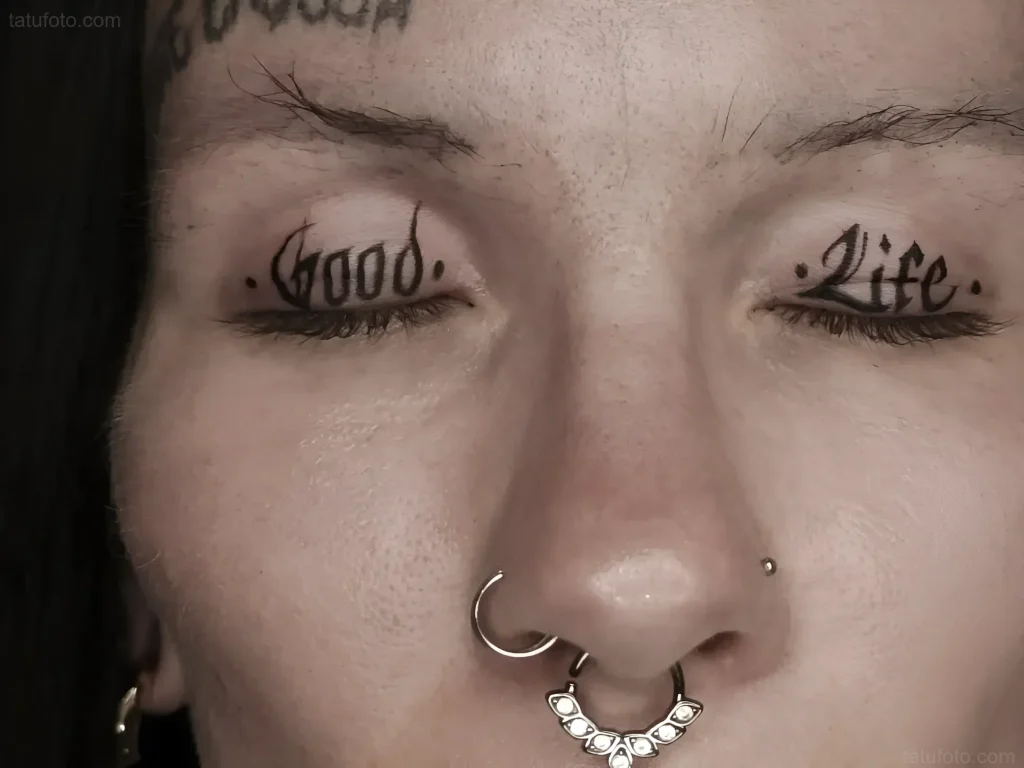
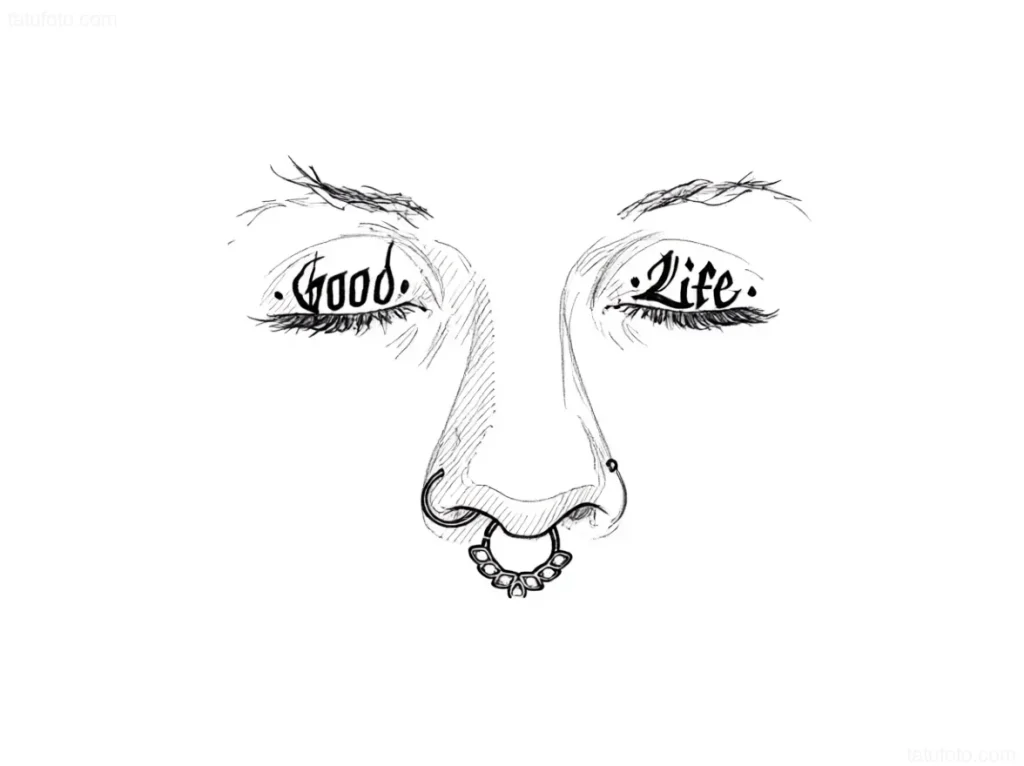
- Words and phrases: Due to limited space, short words (e.g., ‘Stay’, ‘Dream’, ‘Sleep’) or initials are used. These words often serve as mantras, reminding the client of the need for rest or, conversely, the need to be alert.
- Crescents or stars: Symbolism of the night, dreams, mystery, or hidden knowledge.
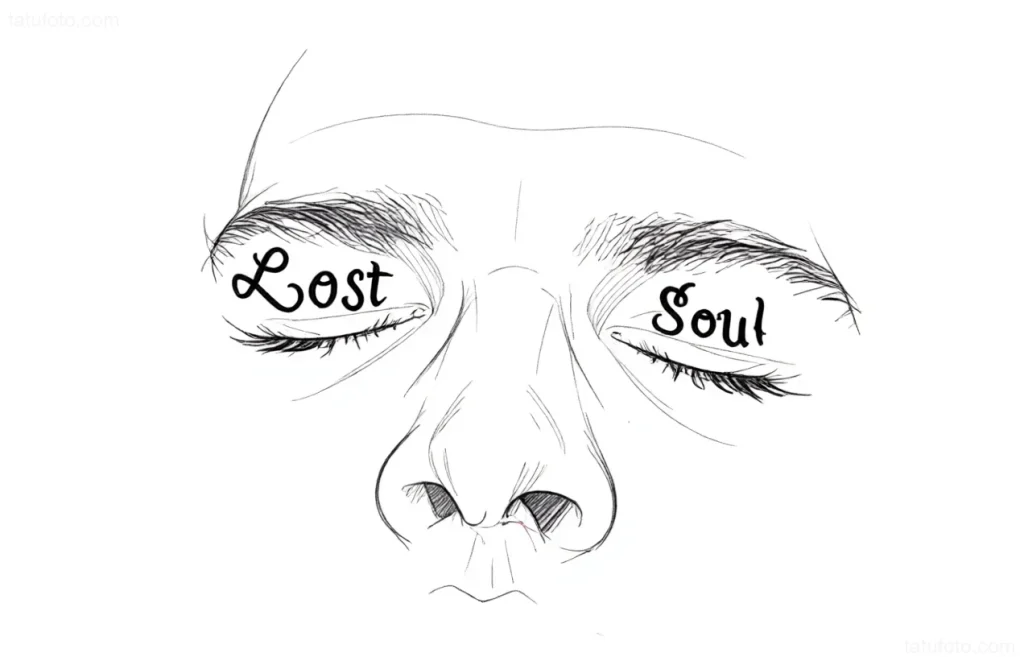
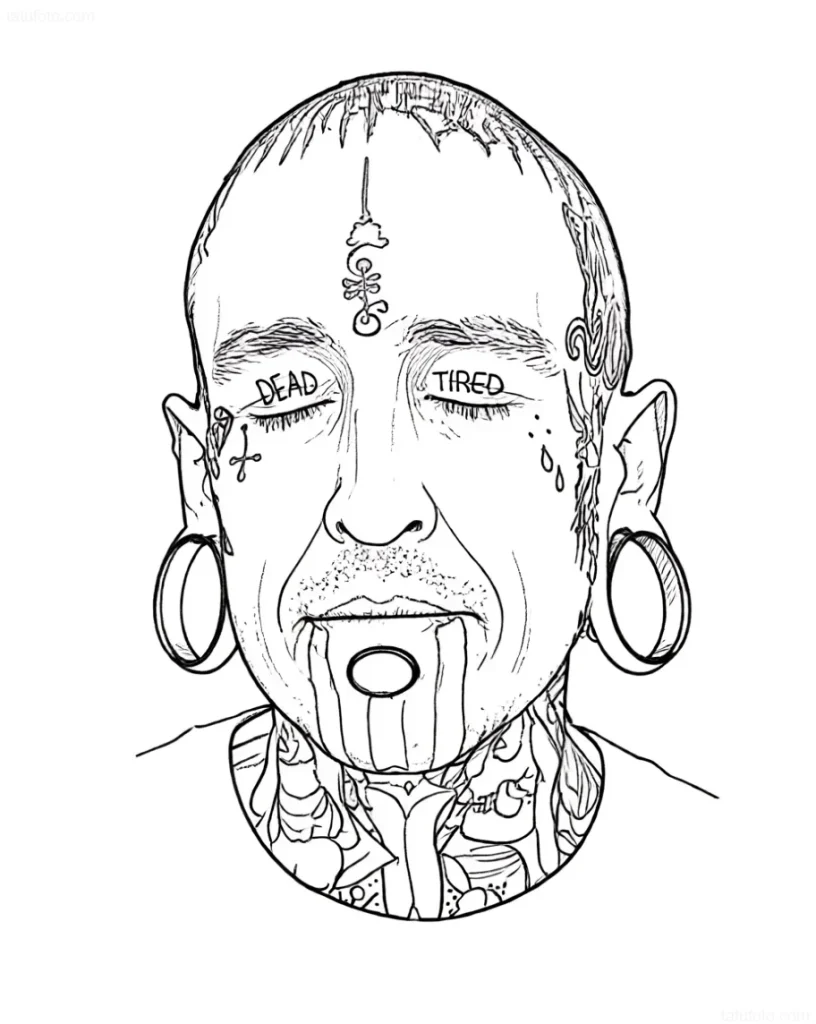

2. Aesthetics and defiance:
Many eyelid tattoos are done as part of an extreme or avant-garde style, challenging social norms. This placement, especially if it includes graphic elements or solid black fill, is often part of a larger facial tattoo project.
What the artist should pay attention to: Always clarify with the client what the chosen symbol means. If it’s text, ensure its correctness and minimal length to avoid the need for very thin and short-lived lines.
Eyelid Tattoo Styles: From Fine Lines to Graphic Designs – Choosing the Right One
Not all styles are suitable for eyelid tattoos. Priority is given to directions that minimize trauma and account for the high probability of pigment migration.
Styles Recommended for Eyelids:
- Fineline: Ideal for creating inscriptions and minimalist symbols. Requires maximum precision and minimal pressure.
- Minimalism: Simple geometric shapes (dots, lines, triangles). These designs are easily corrected and look natural even with slight pigment spread.
- Dotwork: Used for creating soft shading or small symbols. Dotwork allows for better control of penetration depth than solid lining and minimizes trauma.
Styles to Avoid:
- Color Realism: Extremely difficult for this area. Color pigment requires denser application, increasing the risk of trauma and migration. Furthermore, bright colors on eyelids can look unnatural and fade faster.
- Traditional: Thick outlines and solid fills are not suitable for the thin eyelid skin. This will almost certainly lead to severe swelling and rapid “blurring” of the outlines.
Artist’s tip: Always use black or dark gray pigment. Avoid white or bright colors, as they can cause a stronger reaction in the mucous membrane area.
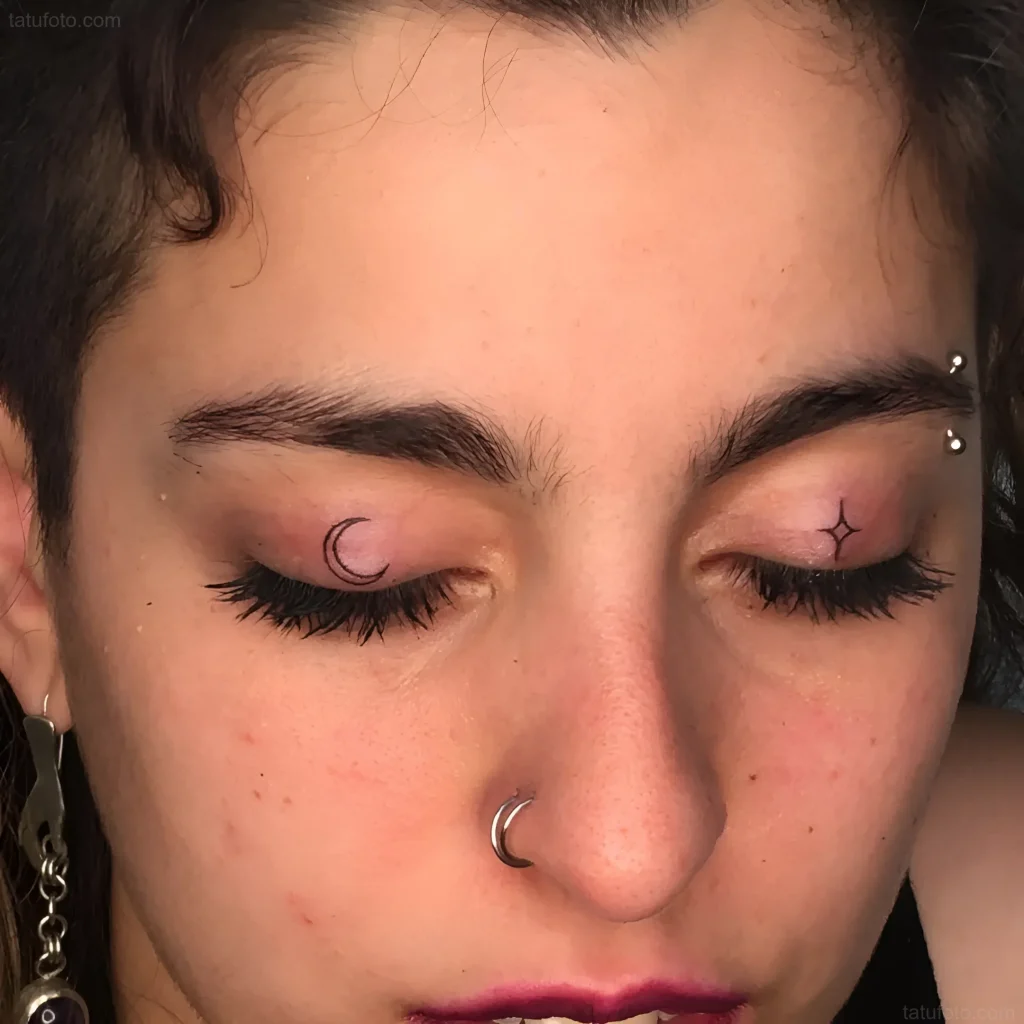

Eyelid Tattoo Application Technique: A Step-by-Step Guide for Beginner Artists
This is the most critical section. A beginner artist must realize that working on eyelids requires not only sterility but also specific preparation of the workspace and the client.
Step 1: Preparation and Anesthesia
1. Consultation and Consent: Obtain written informed consent from the client, detailing the risks of migration, infection, and the need for subsequent touch-ups. Ensure the client has no contraindications (conjunctivitis, blepharitis, glaucoma, keloid tendency).
2. Anesthesia: Use only local anesthetics approved for facial and permanent makeup application (creams or gels). Never allow anesthetic to enter the eyeball.
3. Eye Protection: Critically important. Use special protective caps or shields for the eyes that are placed under the eyelid. This ensures the safety of the eyeball in case of accidental deep needle penetration. If the client refuses or you do not have such equipment, do not proceed with the work.
Step 2: Needlework Technique
1. Equipment Selection:
- Machine: Rotary machine with a soft stroke. Set a low speed (RPM) and a short needle stroke to minimize trauma.
- Needles: Strictly use the thinnest liners (1RL or 3RL). Shader or Magnum needles are strictly prohibited.
2. Skin Tension:
Eyelid skin is extremely elastic and loose. Maximum careful but effective stretching is required. The client should close their eye (but not squint tightly). The artist must use two hands: one to hold and stretch the skin upwards (over the upper eyelid) or downwards (under the lower eyelid), and the other for the machine. Stretch the skin very carefully to avoid causing discomfort or trembling.
3. Depth Control:
This is the most challenging aspect. The dermal layer on the eyelids is very thin. The penetration depth must be minimal – the pigment should remain in the uppermost layer of the dermis. If you work too deep, the pigment will inevitably migrate, creating a “bruise” effect (Blowout) that cannot be corrected.
Practical tip: Work with a very light, almost “airy” touch. If you see the pigment starting to spread instantly under the skin, stop immediately and re-evaluate the depth.
4. Application Technique:
Use short, quick movements (Whip Shading or Pointillism) instead of long, continuous lines. This allows for better control of pigment introduction. Be sure to wipe the area regularly to ensure clean lines.
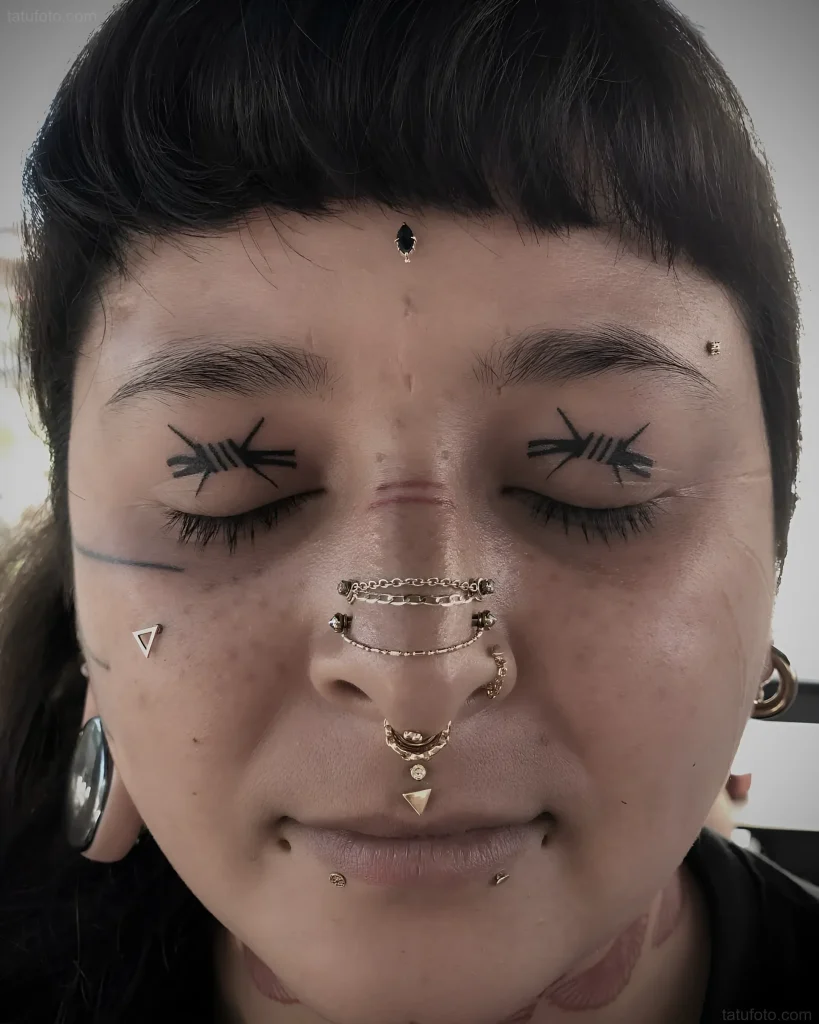
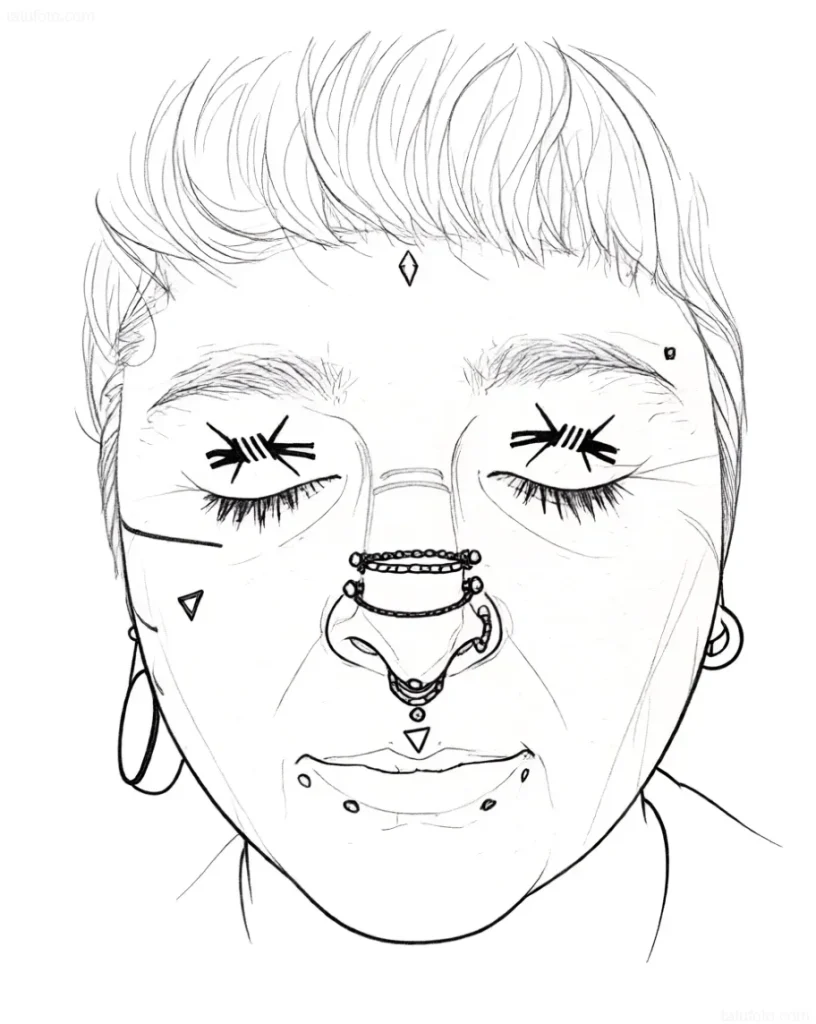
Eyelid Tattoo Aftercare: Minimizing Risks and Ensuring Fast Healing
Aftercare for eyelid tattoos is critical, as this area is prone to significant swelling and a high risk of secondary infection due to its proximity to the mucous membrane.
Instructions for the Client in the First 72 Hours:
1. Swelling and Bruising: Significant swelling is normal. Advise the client to apply dry, cold compresses (not ice directly!) for the first 24 hours. Sleep with the head elevated to reduce fluid buildup.
2. Cleaning: The use of water and soap is highly limited. In the first few days, clean the area with sterile saline solution or special PMU aftercare solutions (e.g., chlorhexidine, but alcohol-free). Wiping should be gentle, without rubbing.
3. Moisturizing: Forget about a thick layer of regular tattoo ointments. On eyelids, specialized, light, non-greasy ointments or creams recommended for permanent makeup are used, applied in a very thin layer. Important: ensure the ointment does not get into the eye.
4. Prohibitions:
- Rubbing the eyes is strictly forbidden.
- Avoid contact with decorative cosmetics for at least 10–14 days.
- Avoid saunas, swimming pools, and tanning beds for 3 weeks.
- Avoid prolonged eye strain (reading, computer work) in the first few days.
Healing Time: Initial healing takes 5–7 days, full healing up to 4 weeks. Due to the thinness of the skin and constant movement, touch-ups are almost always necessary.
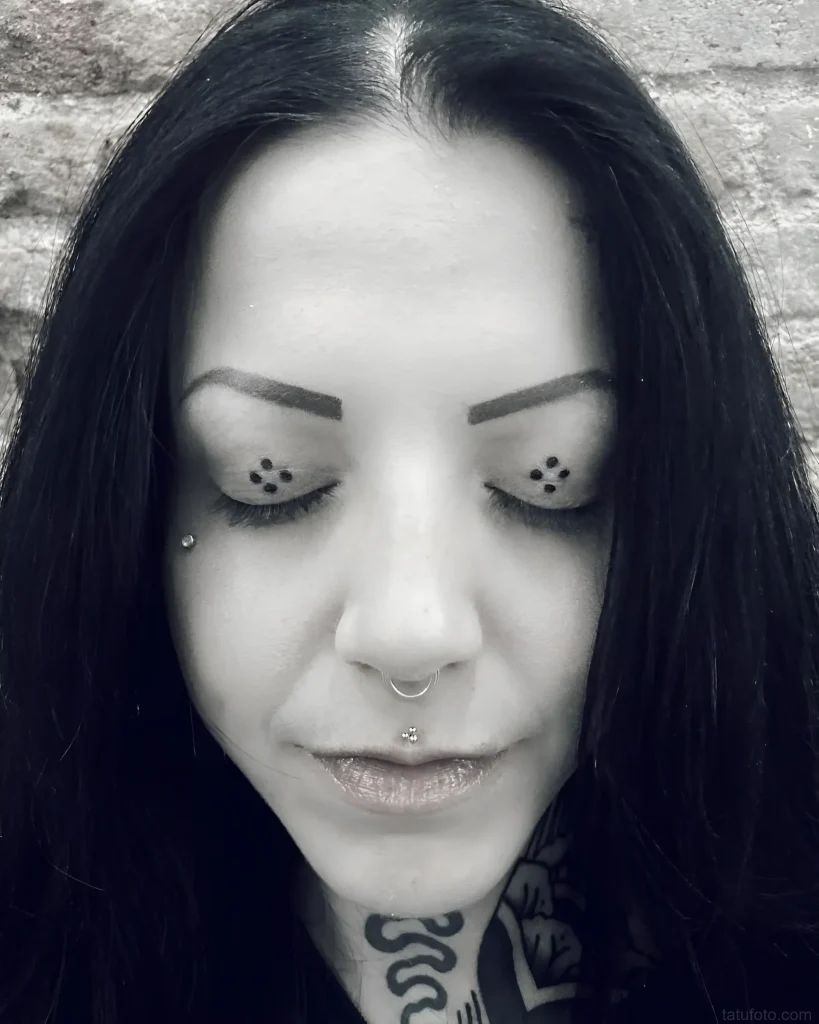
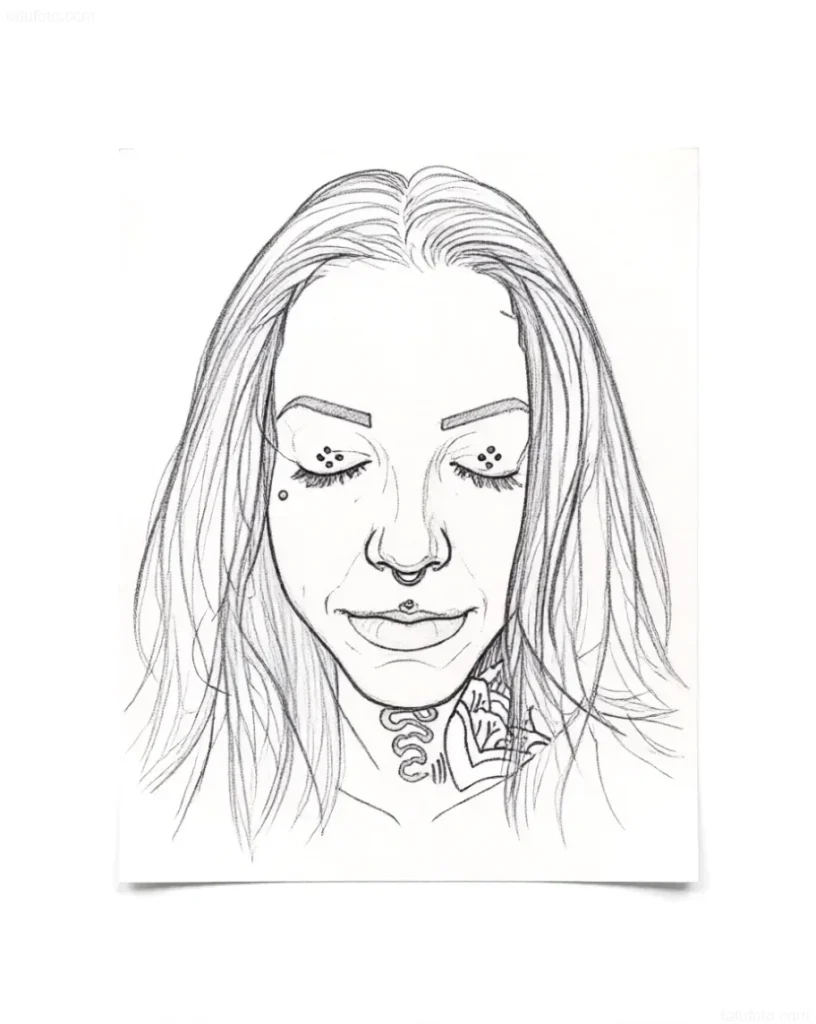
Eyelid Tattoo Placement: Upper, Lower, Inner Side – Pros and Cons of Each Option
Choosing the specific eyelid area determines the working technique and potential outcome. The artist must clearly understand the anatomical features of each section.
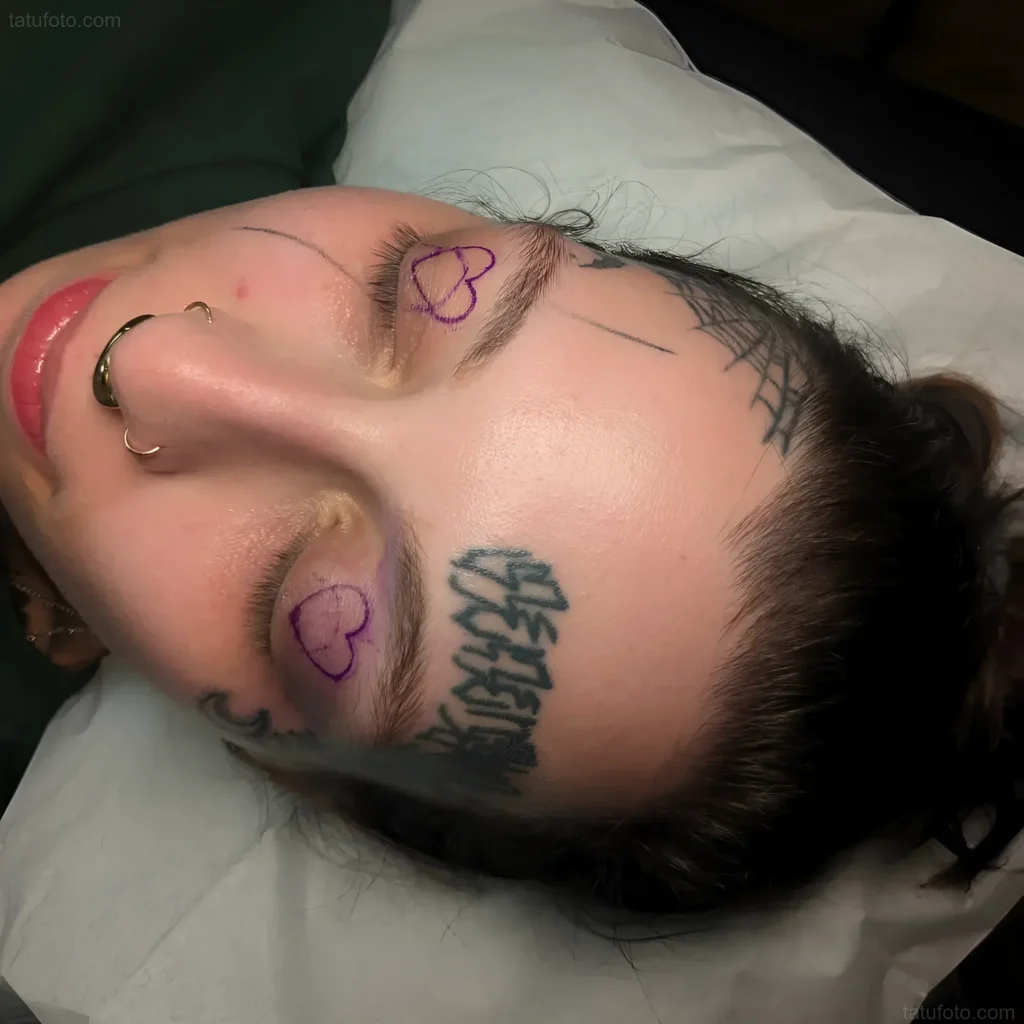
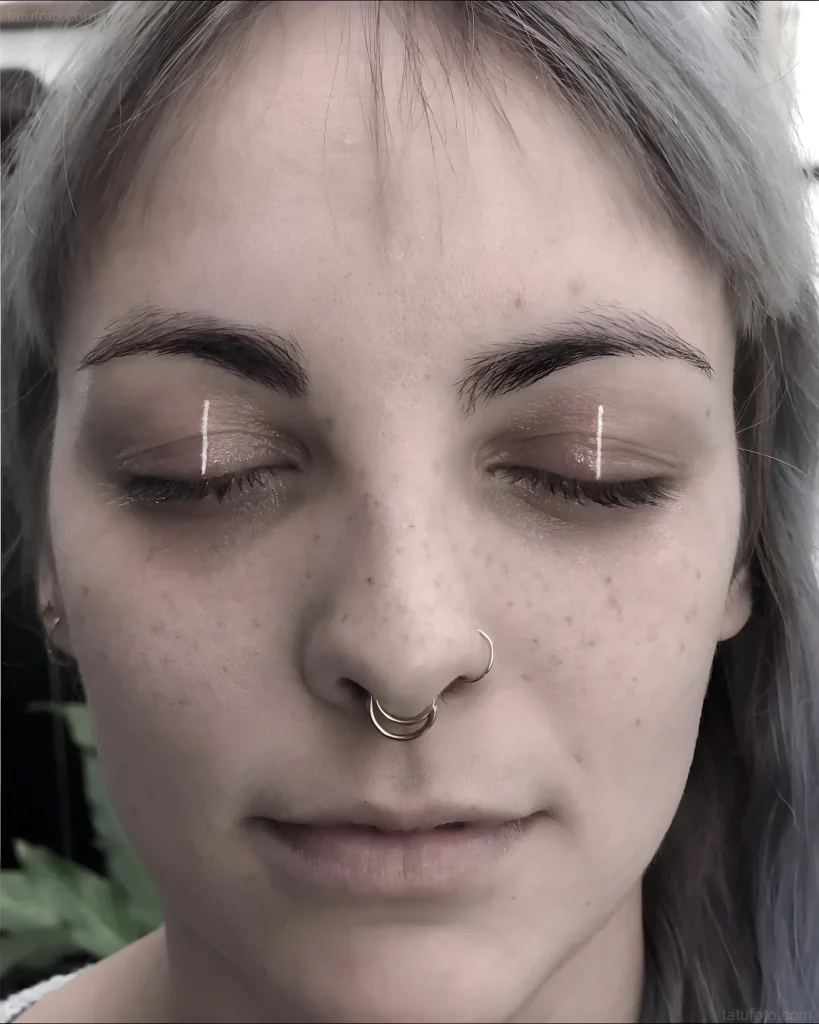
1. Upper Mobile Eyelid (Above the Lash Line)
- Pros: Visible only when the eyes are closed. Maximum space for inscriptions or large symbols.
- Cons: The thinnest and most mobile skin. Highest risk of pigment migration and severe swelling. Requires the highest level of depth control.
- Artist Recommendations: Use minimalist designs.
2. Lower Eyelid (Below the Lash Line)
- Pros: Slightly less mobile area than the upper eyelid.
- Cons: Proximity to tear ducts and looser subcutaneous fat, which increases the risk of rapid pigment spread downwards, creating a “dark circles” or “bruise” effect.
- Artist Recommendations: Suitable for small, dotwork, or geometric symbols.
3. Inner Eyelid (Waterline / Mucous Membrane)
Attention: Tattooing the waterline is technically considered permanent makeup or body modification, not classic tattooing. Beginner artists are strictly advised against working in this area.
- Features: Pigment in the waterline lasts very briefly (a few months) due to constant cell turnover and washing away by tears. The risk of eyeball infection is maximal.
- Conclusion: If you are not a certified permanent makeup specialist with experience working on the waterline, refuse this service to the client.
Eyelid Tattoos: Frequently Asked Questions (FAQ) and Interesting Facts
As a professional tattoo encyclopedist, you should be prepared to answer the most tricky client questions. Here are the key points to discuss before the session begins.
FAQ for the Client (from the Artist)
1. How painful is it?
Artist’s answer: “The pain level is individual, but due to the thinness of the skin and the proximity of nerve endings, this is one of the most sensitive areas. We use effective local anesthetics, but you should be prepared for discomfort. The session is usually very short (15–30 minutes), which helps to endure the pain.”