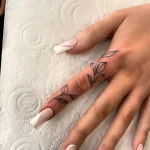
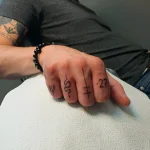
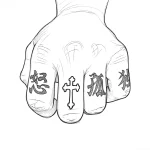
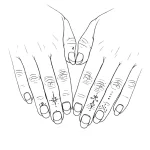
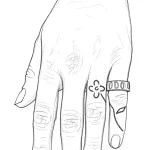
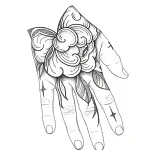
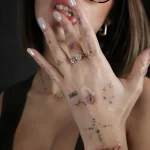
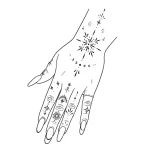
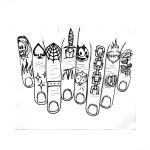
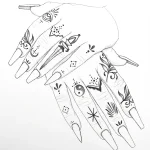
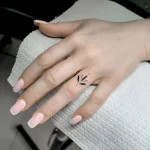
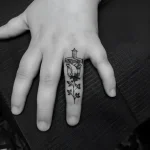
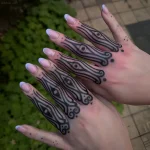
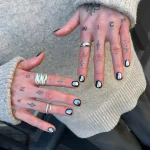
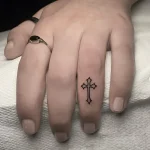
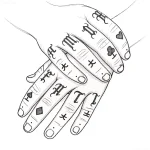
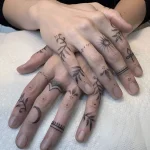
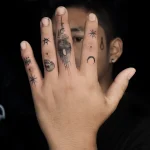
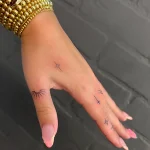
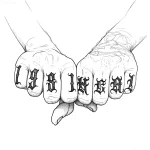
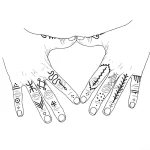
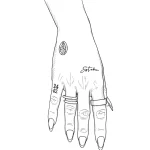
Finger tattoos are one of the most challenging, yet incredibly sought-after requests in modern tattoo art. For a beginner artist, working on this area is a serious test, requiring a deep understanding of anatomy, skin specifics, and high precision. Fingers have a unique structure that makes them a real “minefield” for pigment: thin epidermis, high mobility, constant friction, and rapid regeneration. By studying this material, you will receive a comprehensive expert guide that will help you avoid common mistakes and ensure the client receives the highest quality and most durable result.
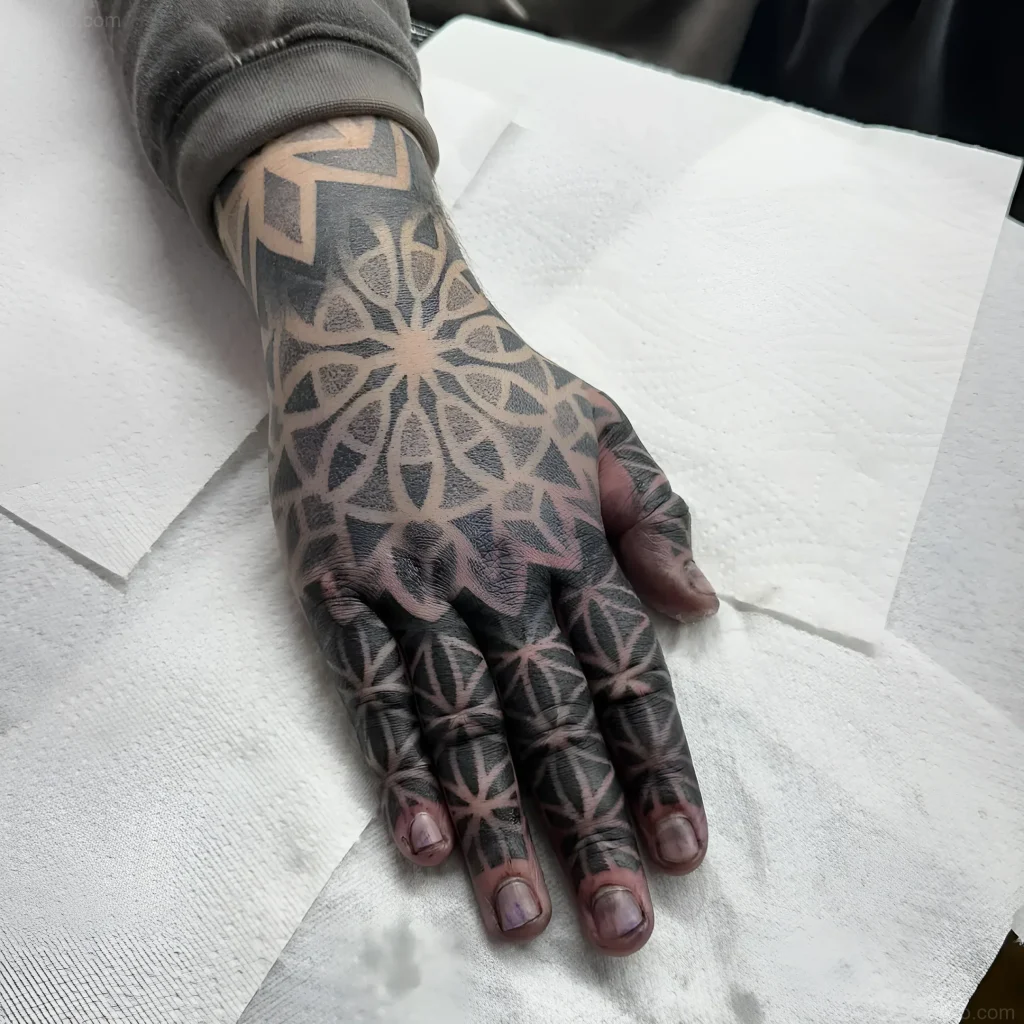
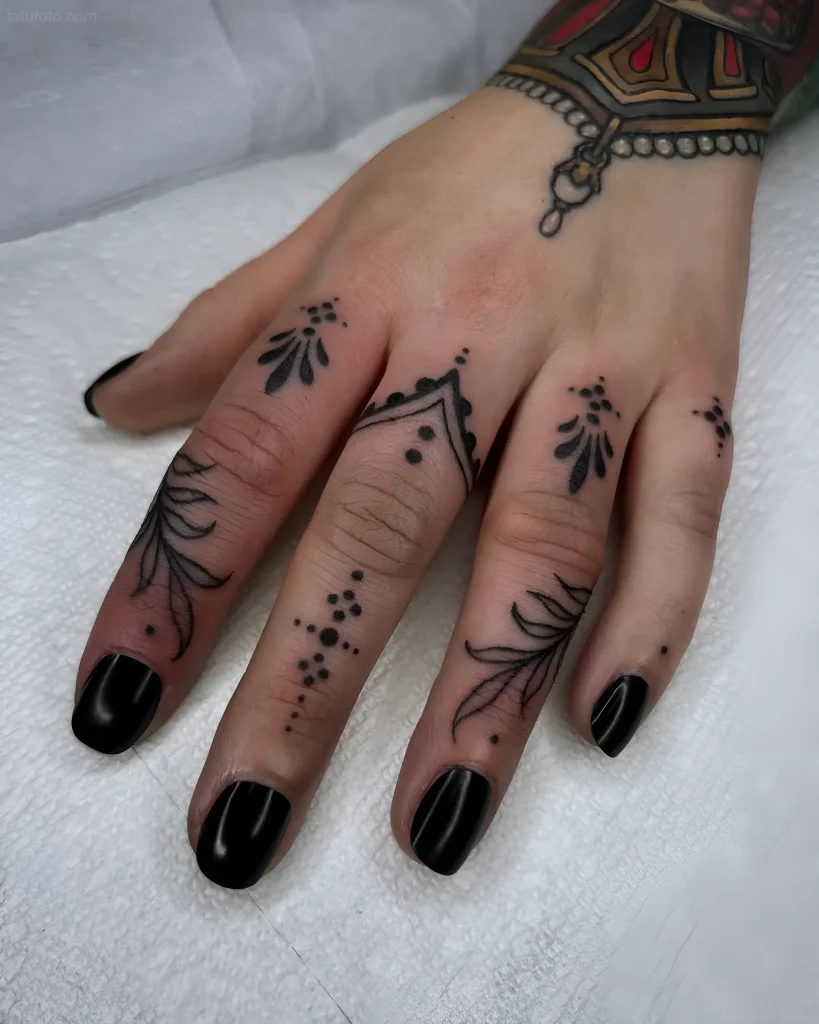
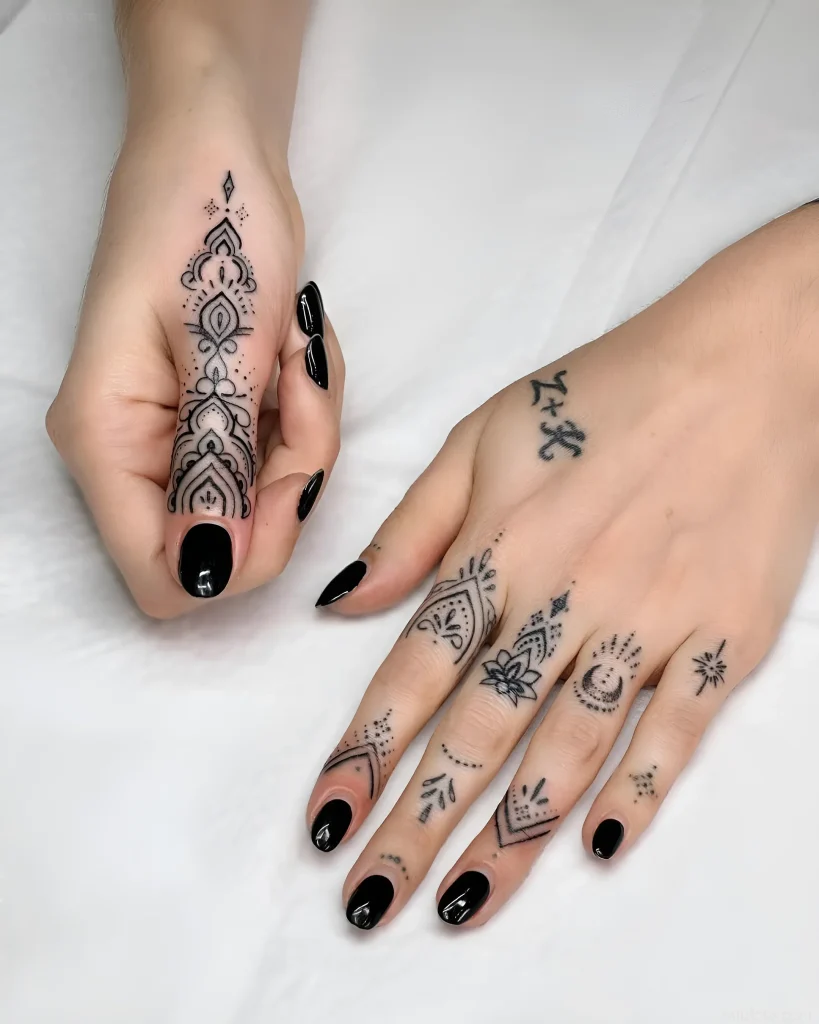
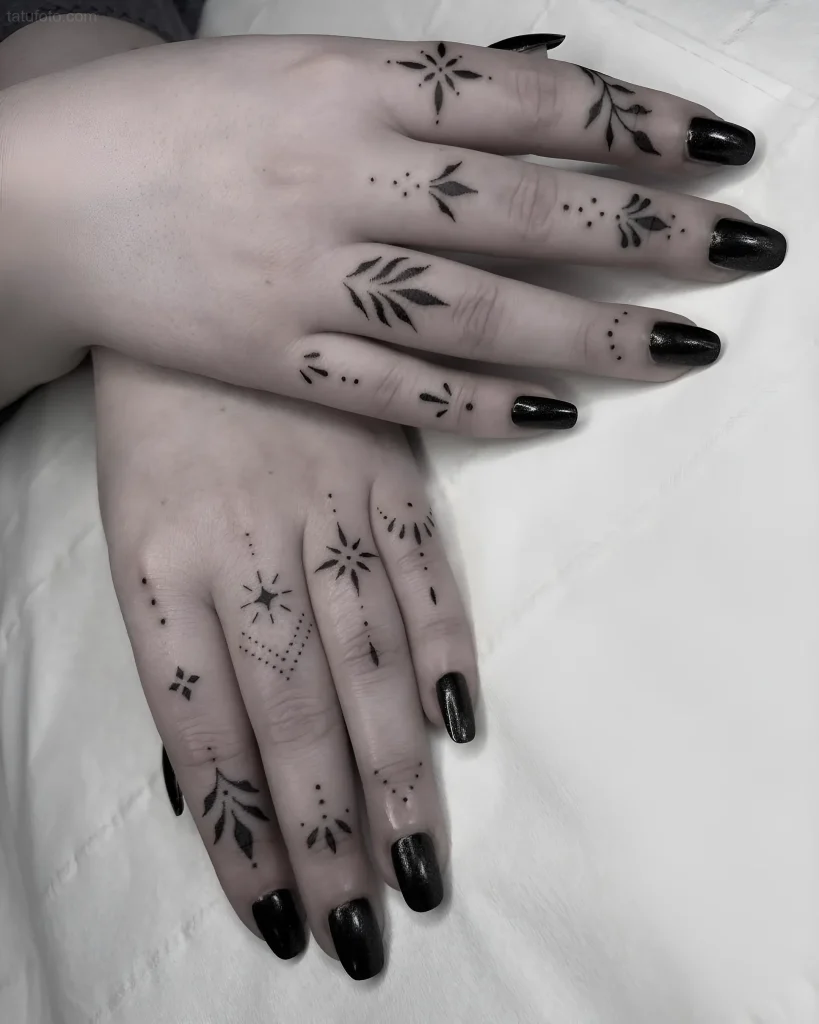
Finger Tattoos: A Complete Guide for Beginner Tattoo Artists – Where to Start
Before you pick up your machine and start working on hands and fingers, you must understand and accept the key difference of this area from all other parts of the body: unpredictability and the need for touch-ups.
Your task as a professional is not just to apply the design, but also to conduct a competent consultation, managing the client’s expectations. Start by clearly explaining the following points:
- High risk of pigment “fallout”: Due to constant contact with water, detergents, and friction (clothing, work), the skin on the fingers regenerates faster, leading to rapid color fading, especially on the sides and creases.
- Need for touch-ups: Almost 100% of finger tattoos require at least one, and sometimes two, touch-ups to ensure the pigment settles evenly. This should be included in the total cost or agreed upon in advance.
- Limitations in detail: Fingers are not a place for realism or complex ornamentation. You must guide the client towards styles that work with minimalist, clean lines and sufficient spacing between elements.
Practical advice for the artist: If you are just starting out, practice fine line techniques and minimal depth on artificial skin or less mobile areas of the body. Fingers are a difficulty level of 8 out of 10.
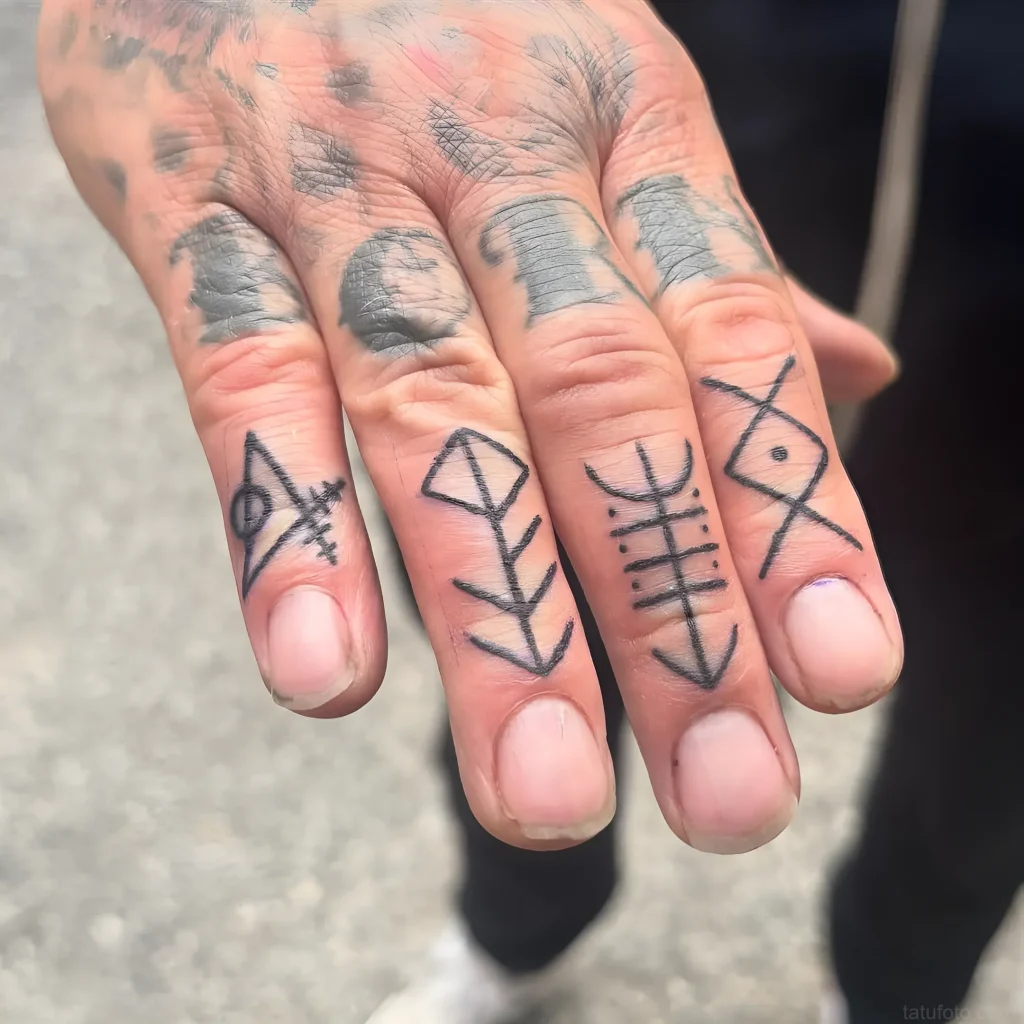
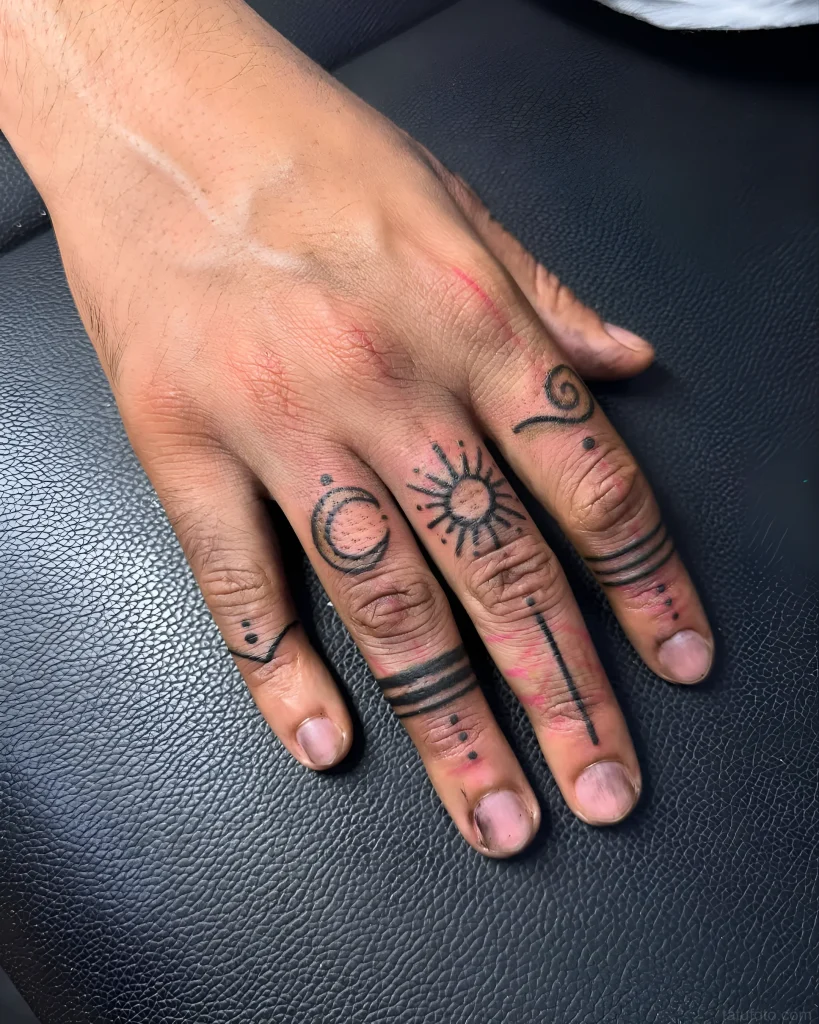
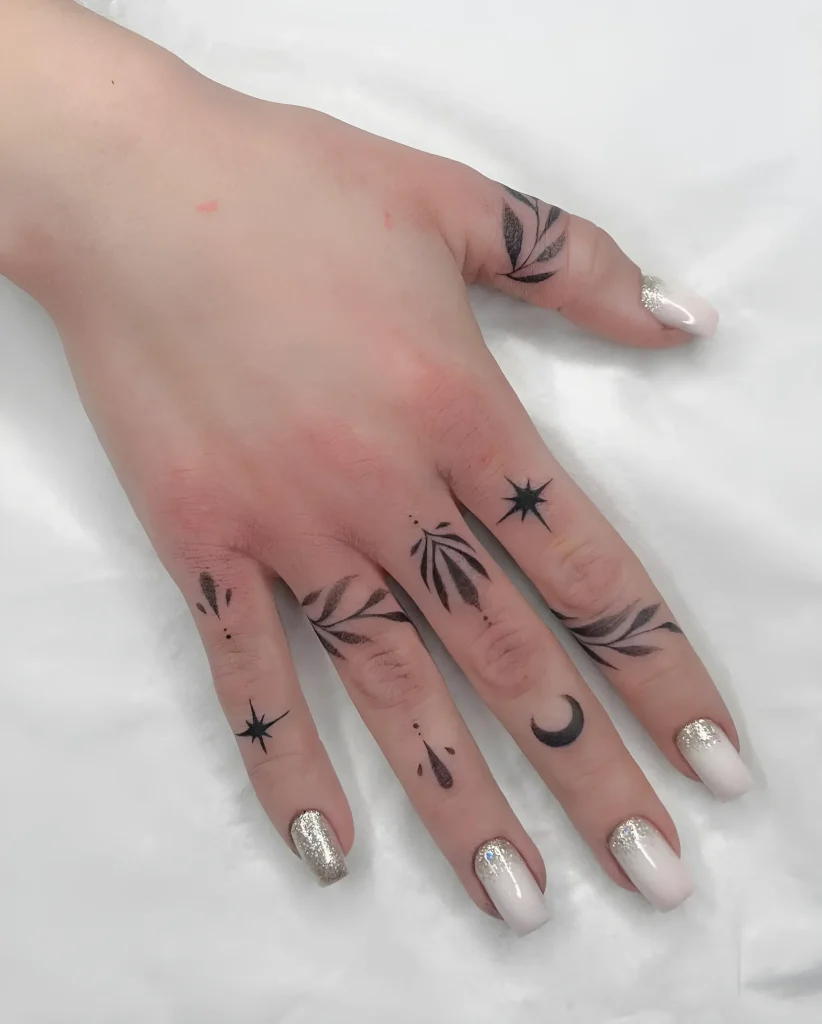
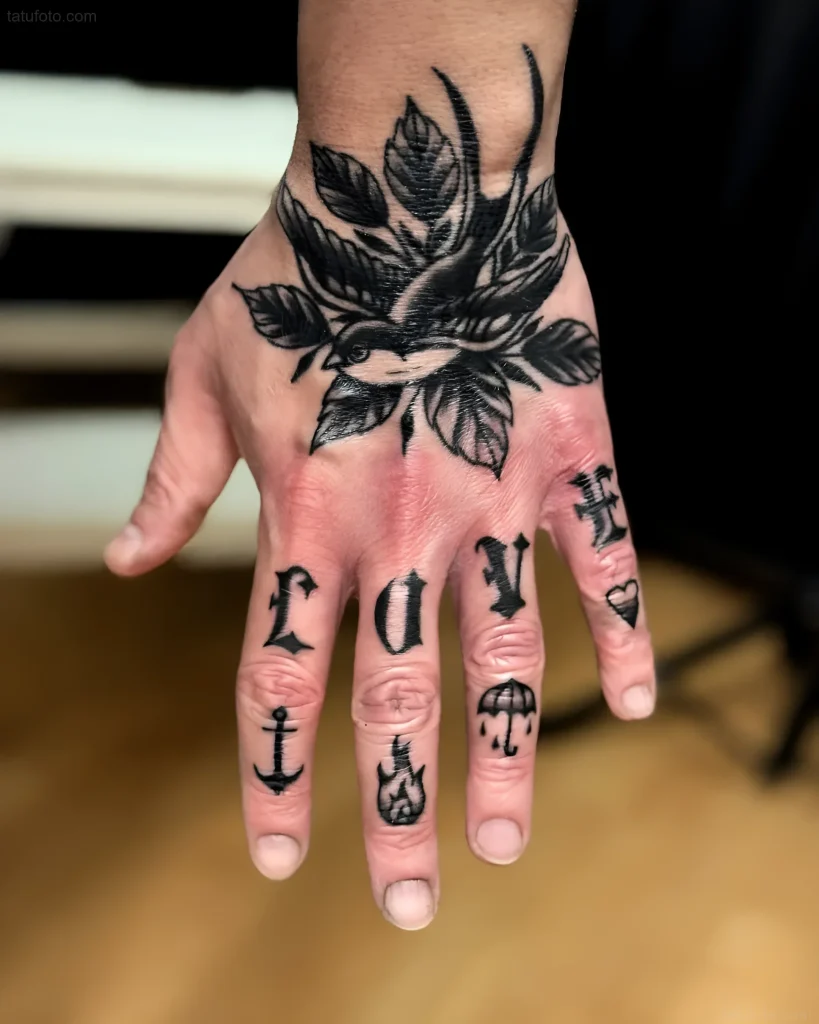
History of Finger Tattoos: From Ancient Traditions to Modern Popularity
The history of finger tattoos is inextricably linked with symbolism, which was often more important than aesthetics. Understanding the cultural context helps the artist better understand the motivation of a modern client.
In ancient cultures (e.g., in some tribes of North Africa or India), tattoos on fingers and hands often served as amulets, denoted status, or tribal affiliation. They were highly visible and carried a message to the world.
- Henna Tradition (Mehndi): Although not a permanent tattoo, Mehndi has been used for centuries to decorate hands and fingers for ritual purposes (weddings, holidays). This has shaped a cultural demand for decorating this area.
- Criminal Symbolism: In the 20th century, in Western and Russian prison culture, tattoos on fingers (rings) became a key marker of status, committed crimes, and position in the hierarchy. These signs were concise and highly informative.
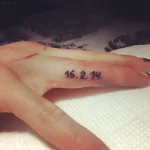
- Modern Fashion: In recent decades, thanks to celebrities and the development of Fine Line aesthetics, finger tattoos have ceased to be taboo and have become a popular way to express personal philosophy, minimalist symbols, or “secret” messages (e.g., letters, dates, or small signs).
Significance for the artist: Knowing this context allows you to have a dialogue with the client about how their choice aligns with their lifestyle and readiness for such a visible, often symbolically charged tattoo.
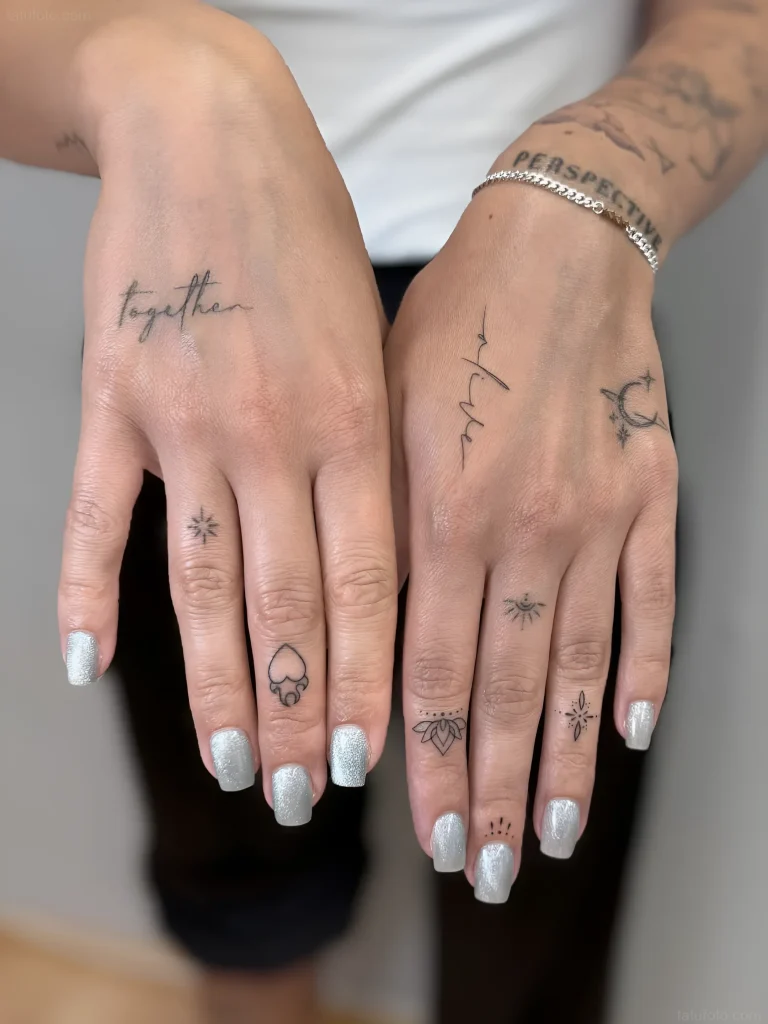
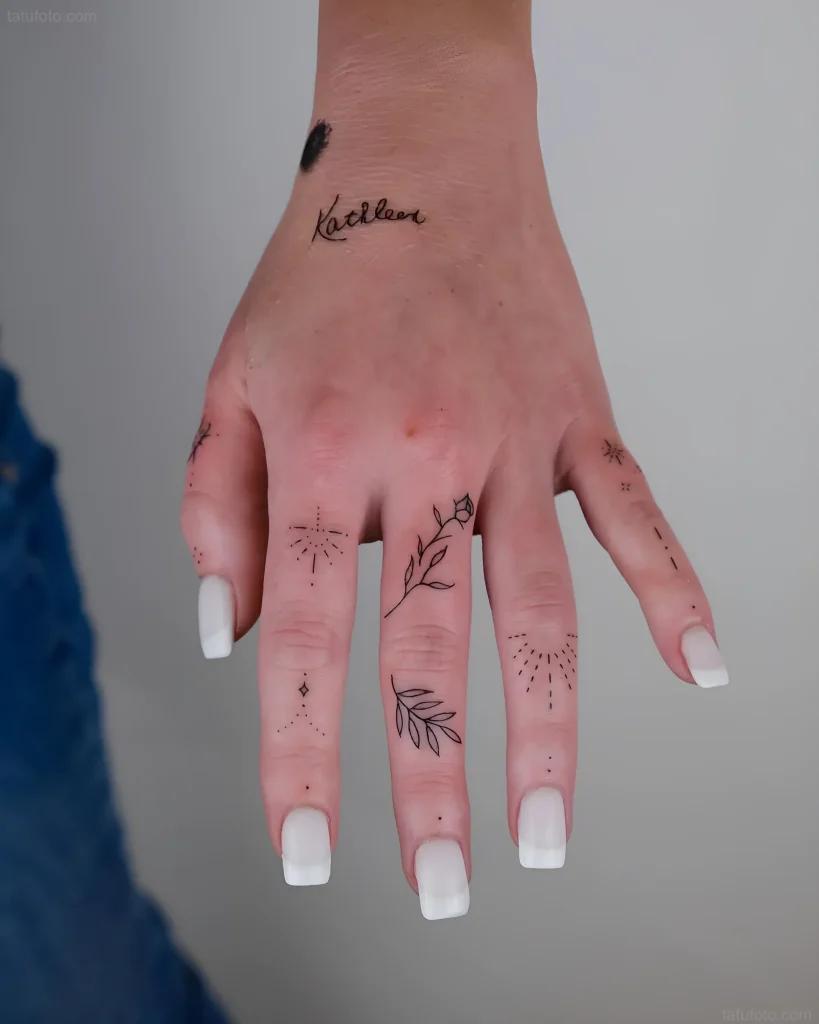
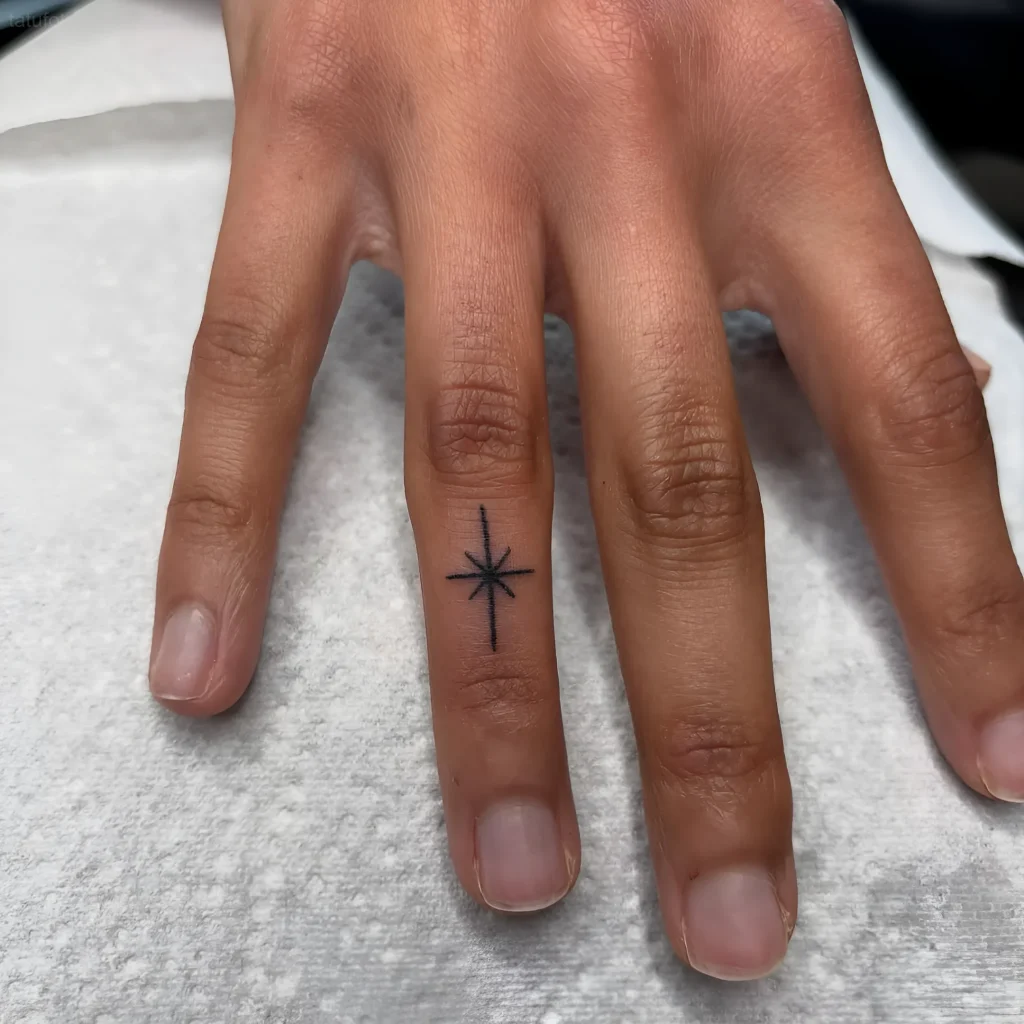
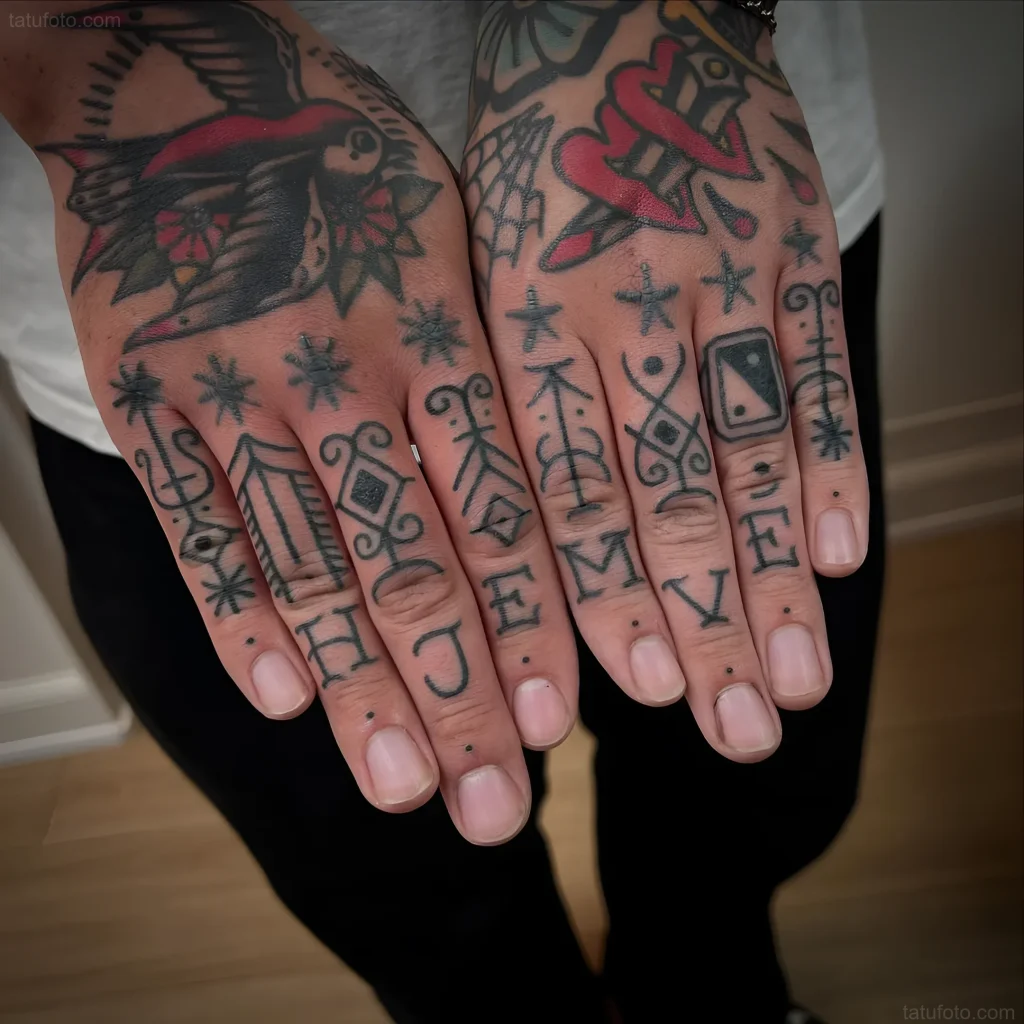
Meanings of Finger Tattoos: Symbolism and Popular Sketches
A finger tattoo, due to its size, must be as concise and clear in meaning as possible. There is no room for ambiguity here. We will look at the most popular categories of symbols you will work with.
Symbolism of Rings and Bands
Bands resembling rings are among the most popular designs on fingers.
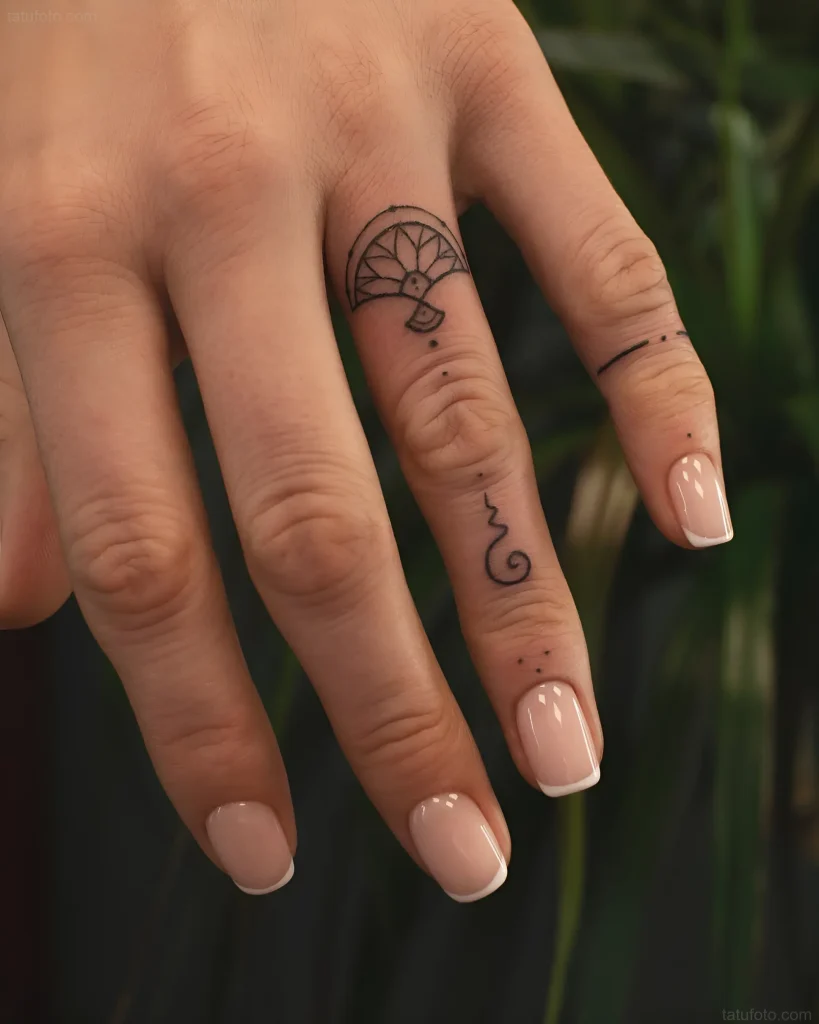
- Solid lines: Often symbolize eternity, infinity, cyclicality. Can be used as an alternative to a wedding ring (ring of fidelity).
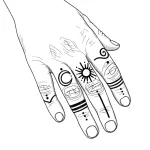
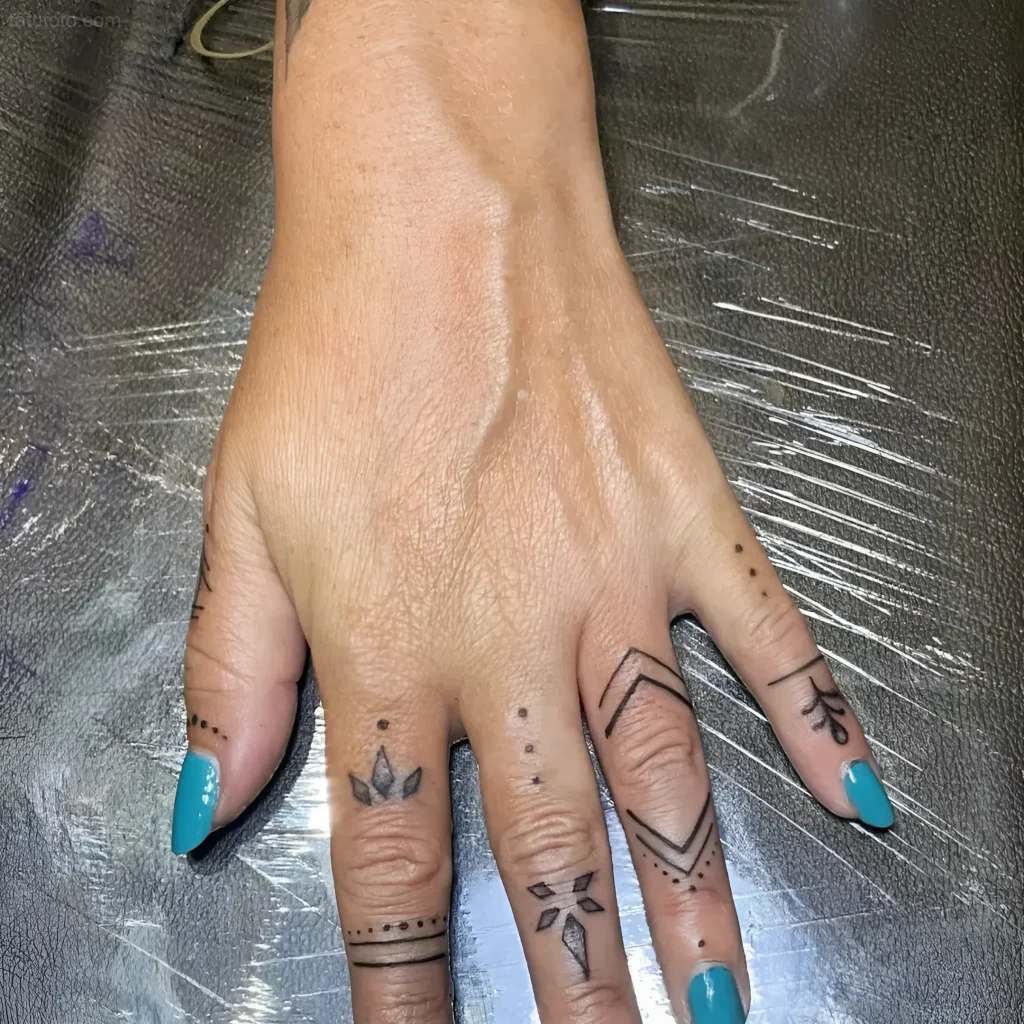
- Double/Triple bands: Can symbolize trinity, balance, or three important life stages. In blackwork style, it’s purely an aesthetic element that emphasizes the geometry of the hand.
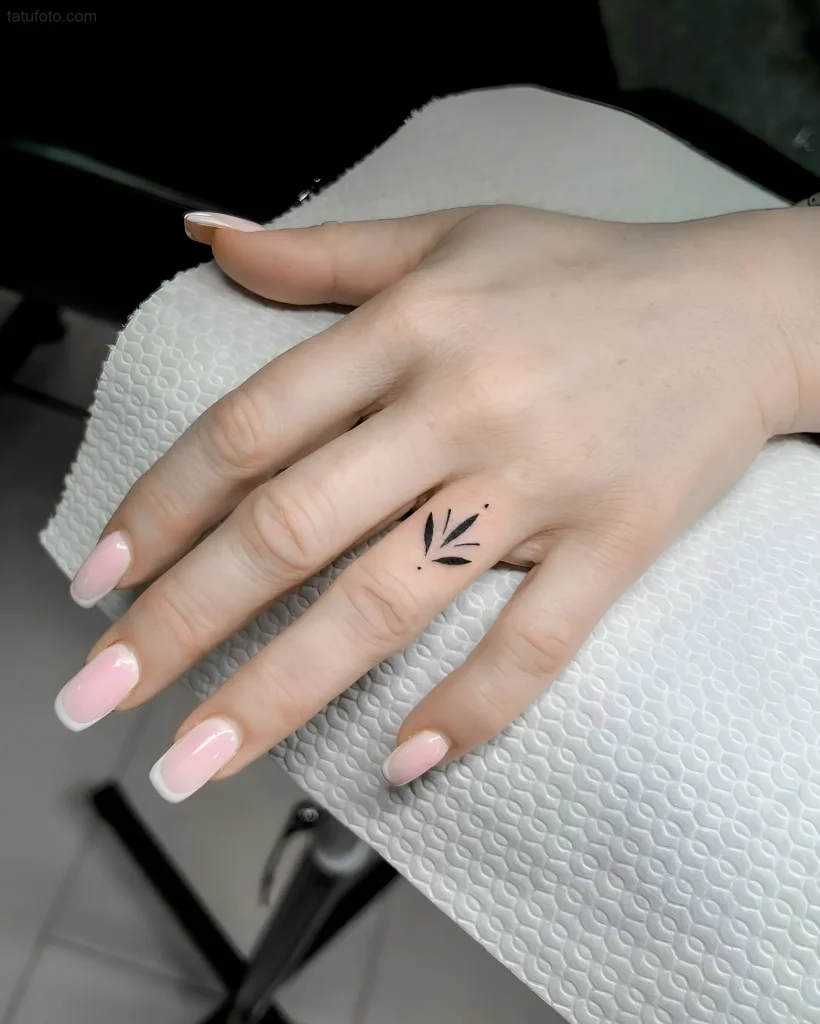
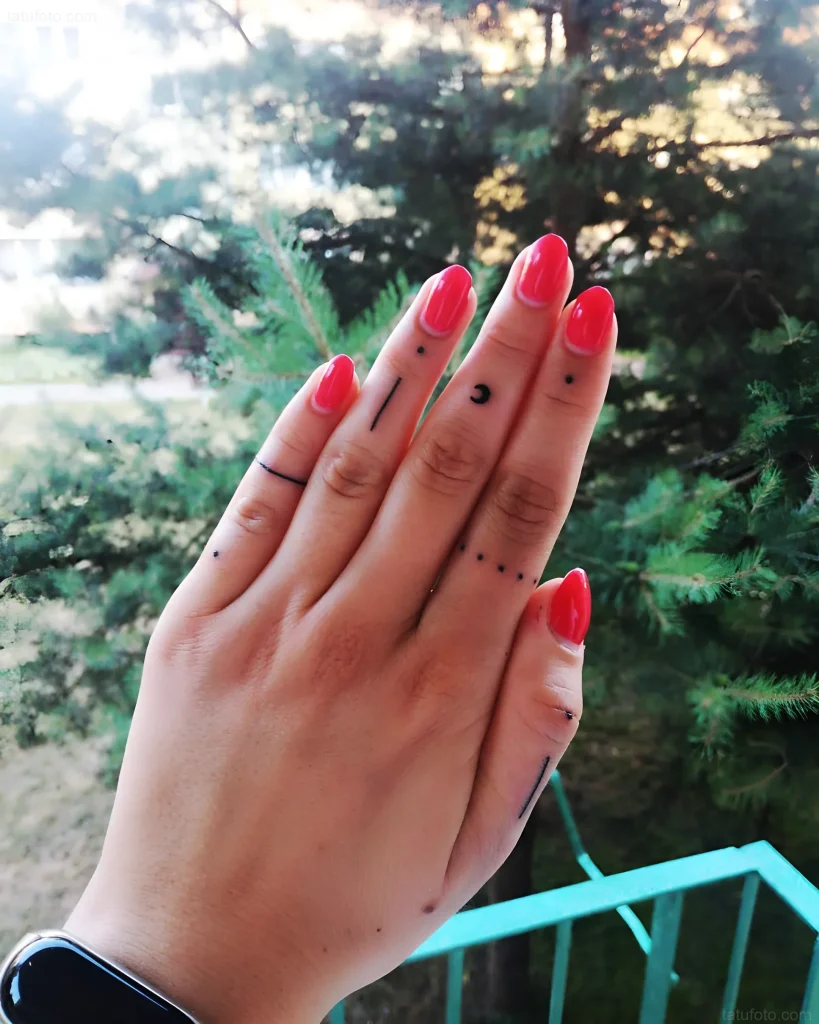
- Dots: Minimalist dots (one or more) can symbolize a journey, the beginning of a path, or simply be a decorative accent. Three dots in a triad can also refer to the idea of “past, present, future.”


Letters and Words
Applying text to the side or top of the fingers requires special precision, as even a slight line expansion (bleeding) can make the font unreadable.
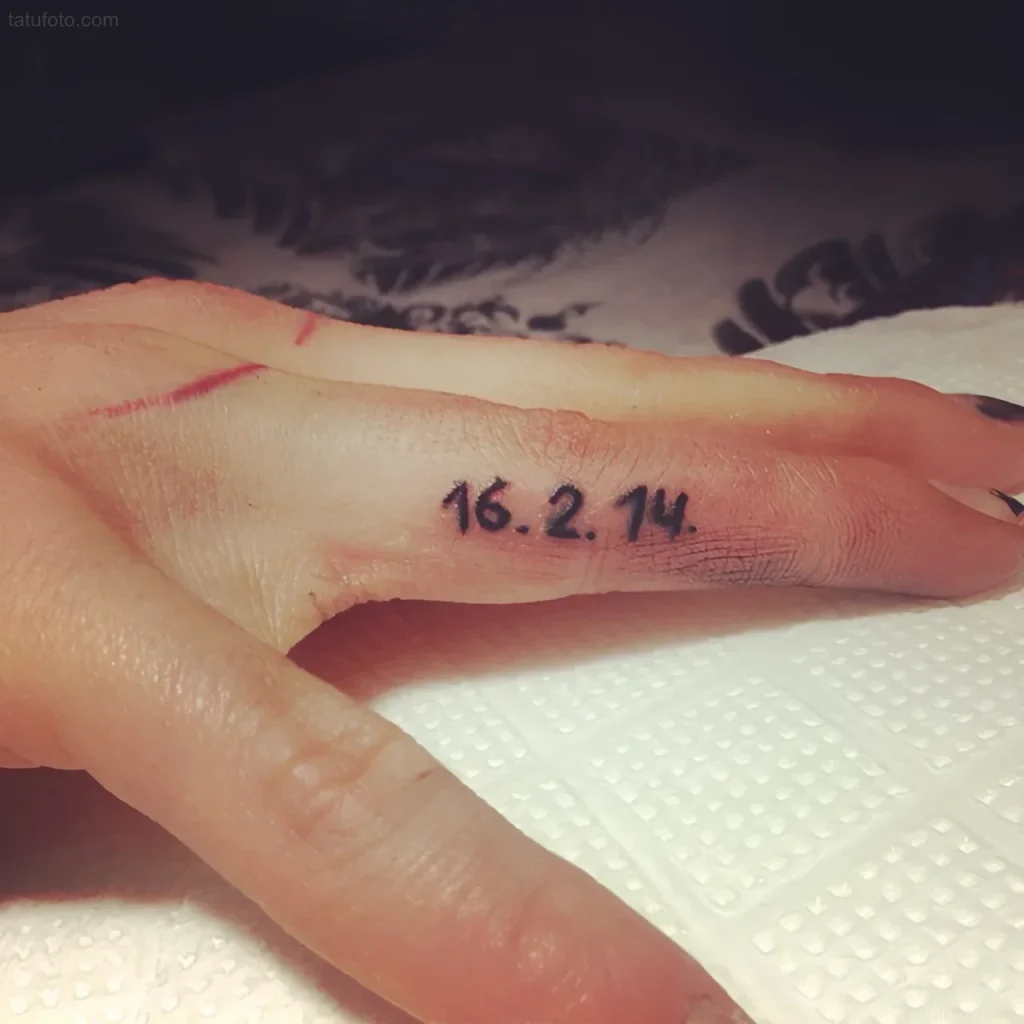
- Initials or names: Often placed on the side of the finger facing the palm. Symbolize closeness and attachment to a specific person.
- Short words (Hope, Love, Free): Placed vertically or horizontally. Chosen by clients as personal affirmations.
Miniature Symbols
These symbols must be simplified to the extreme to avoid blurring.
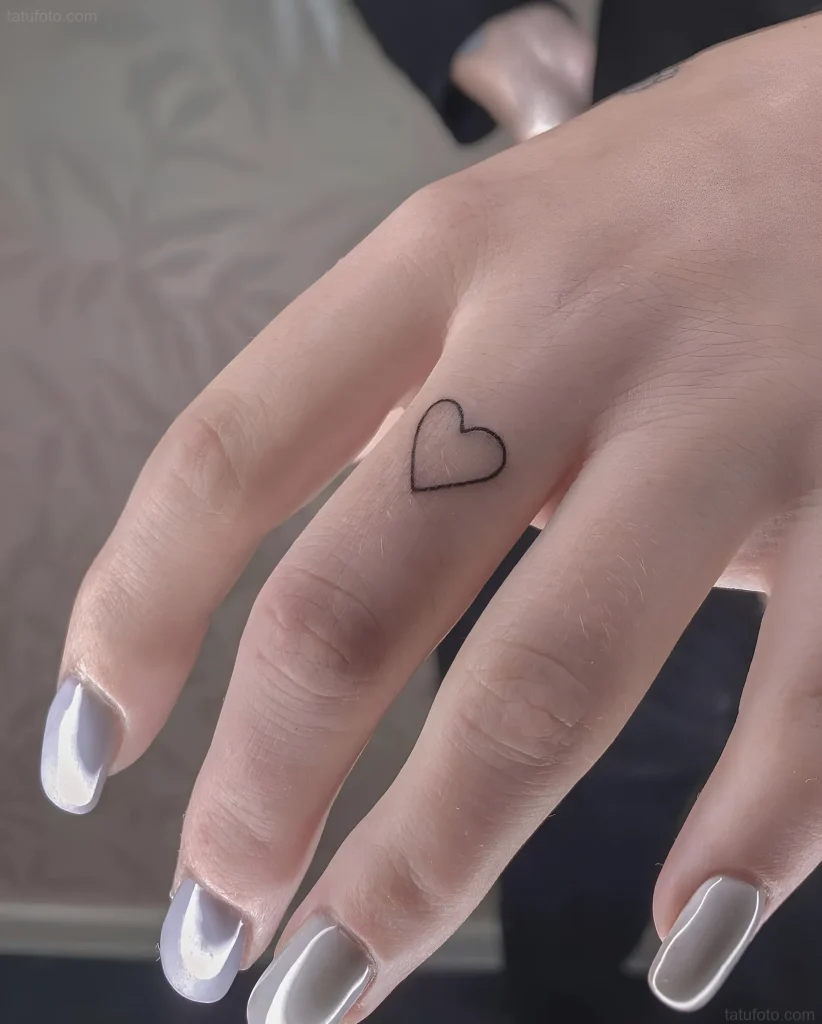
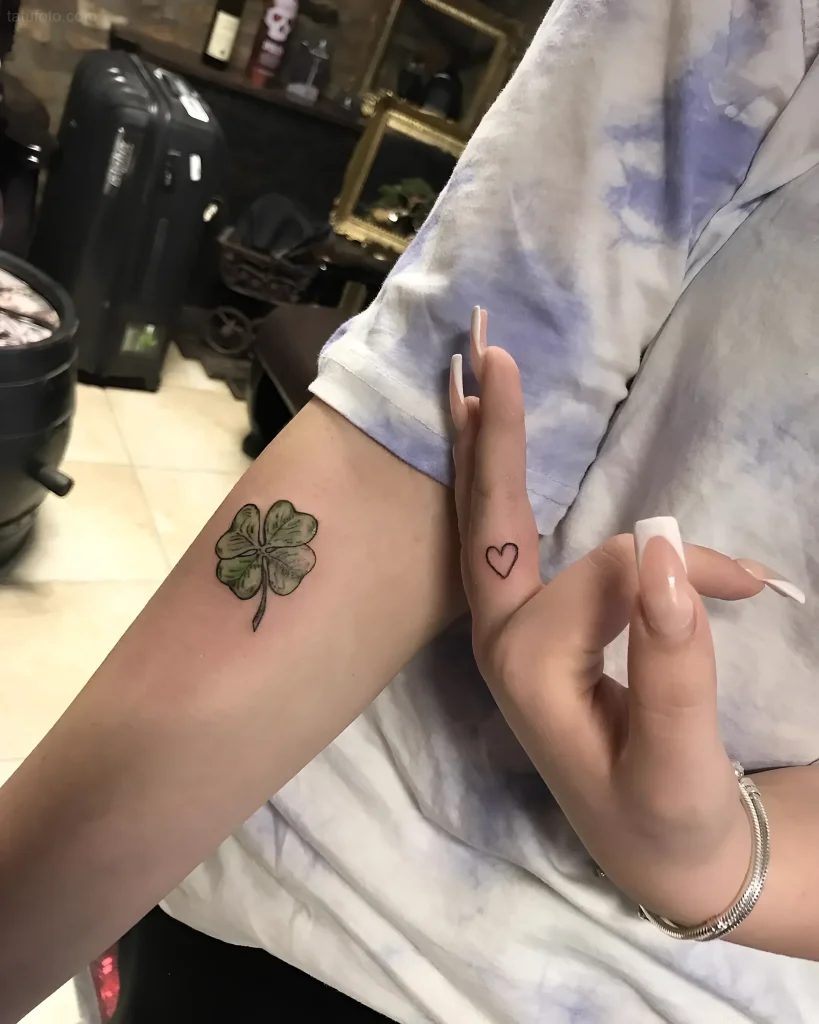
- Heart: A symbol of love, passion, life. On a finger, it is often depicted as a contour.
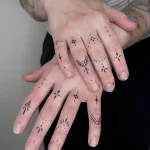
- Crescent moon/Stars: Symbolism of night, protection, mysticism. Stars are often placed on phalanges as a sequence.
- Arrow: Direction, forward movement, purposefulness.
Important tip: Always increase the minimum size of a symbol chosen by the client for the forearm by 20-30% when transferring it to a finger. This is necessary to prevent lines from merging after a year.
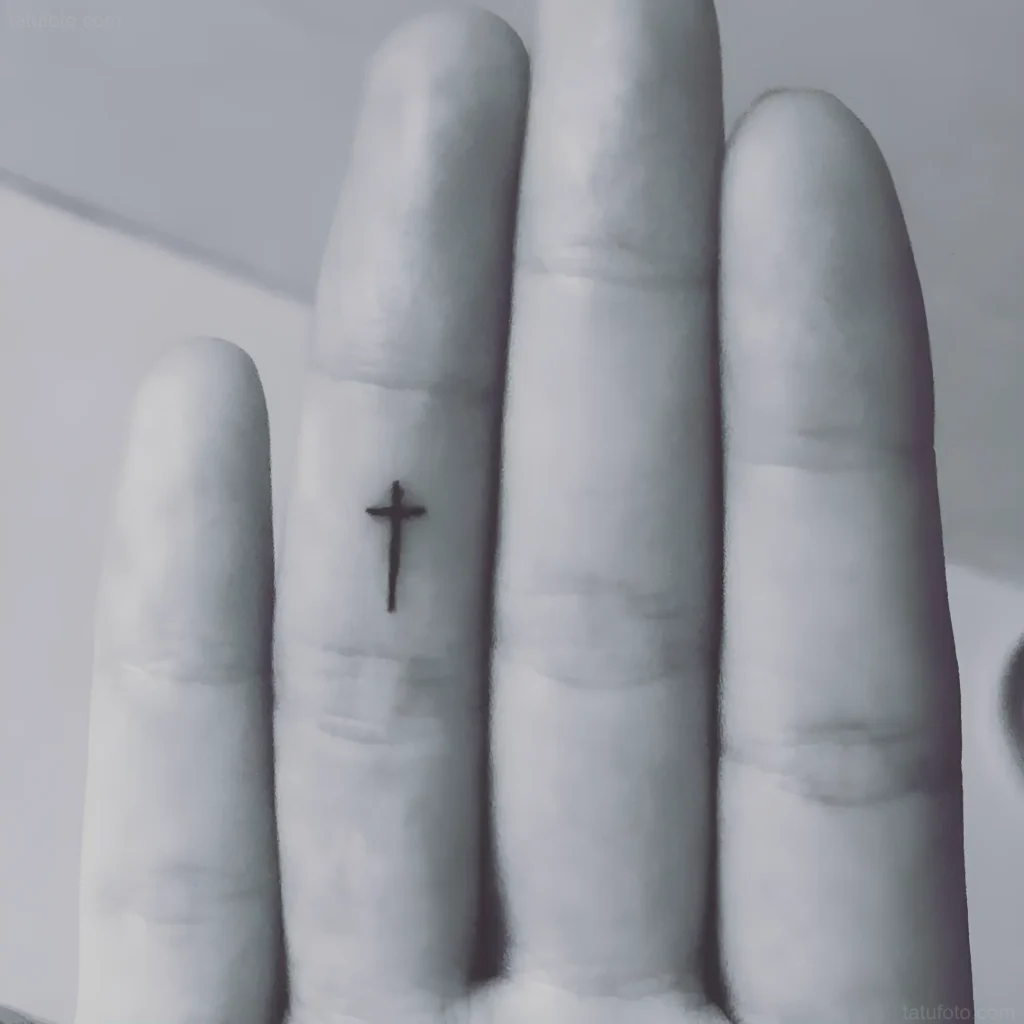
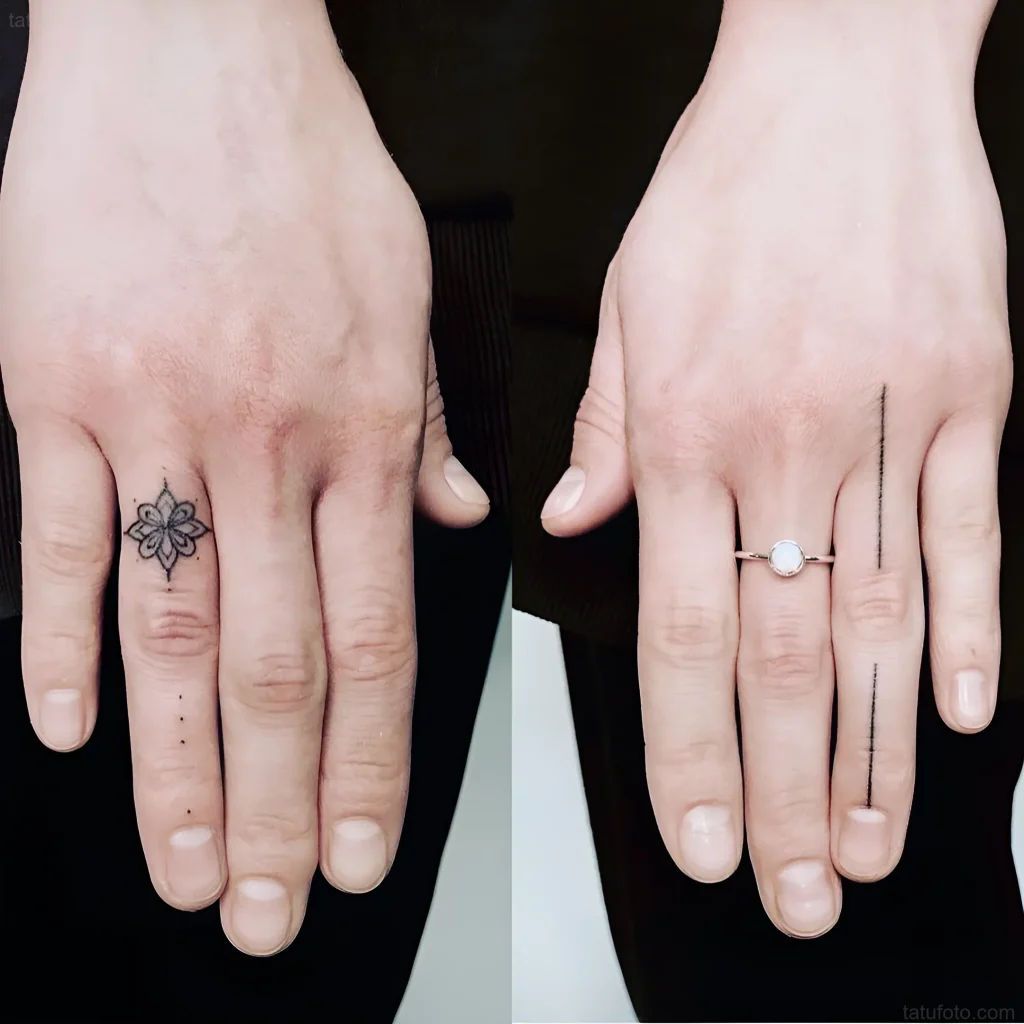
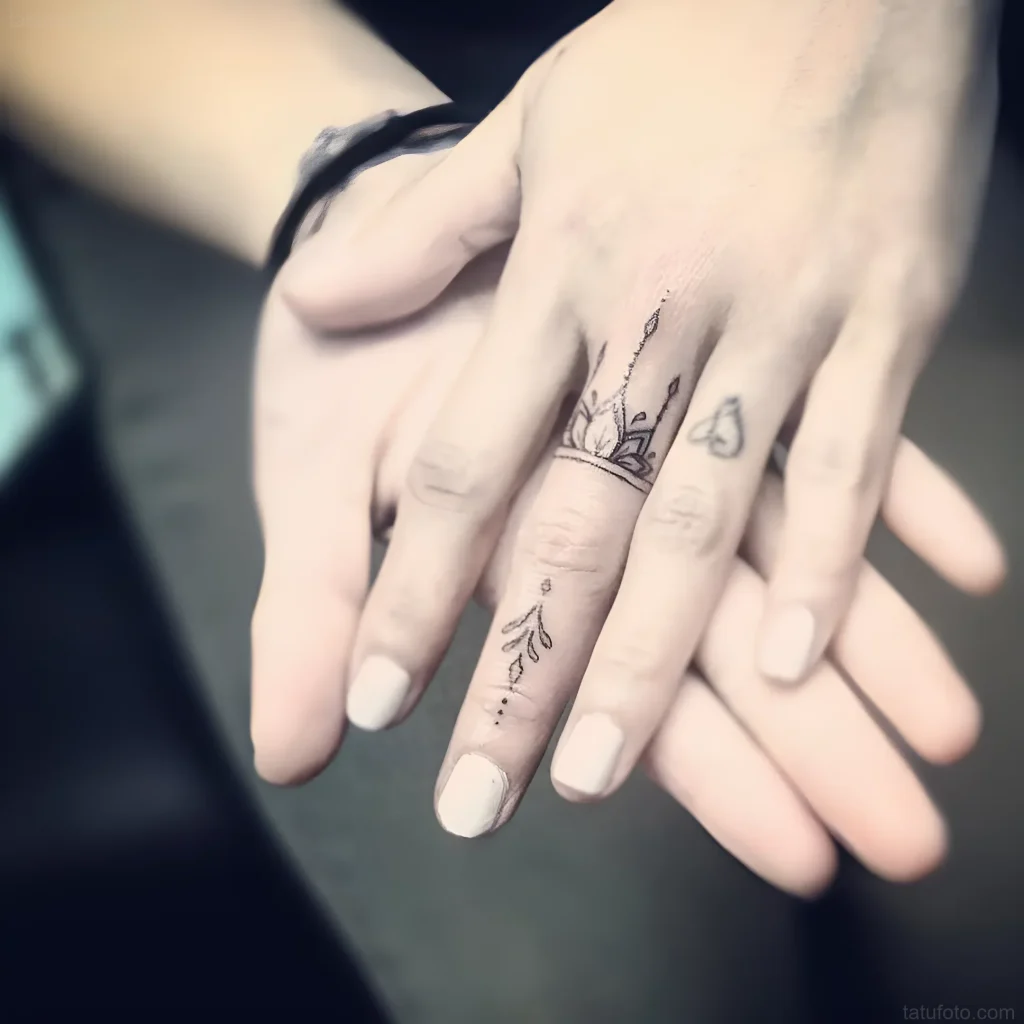
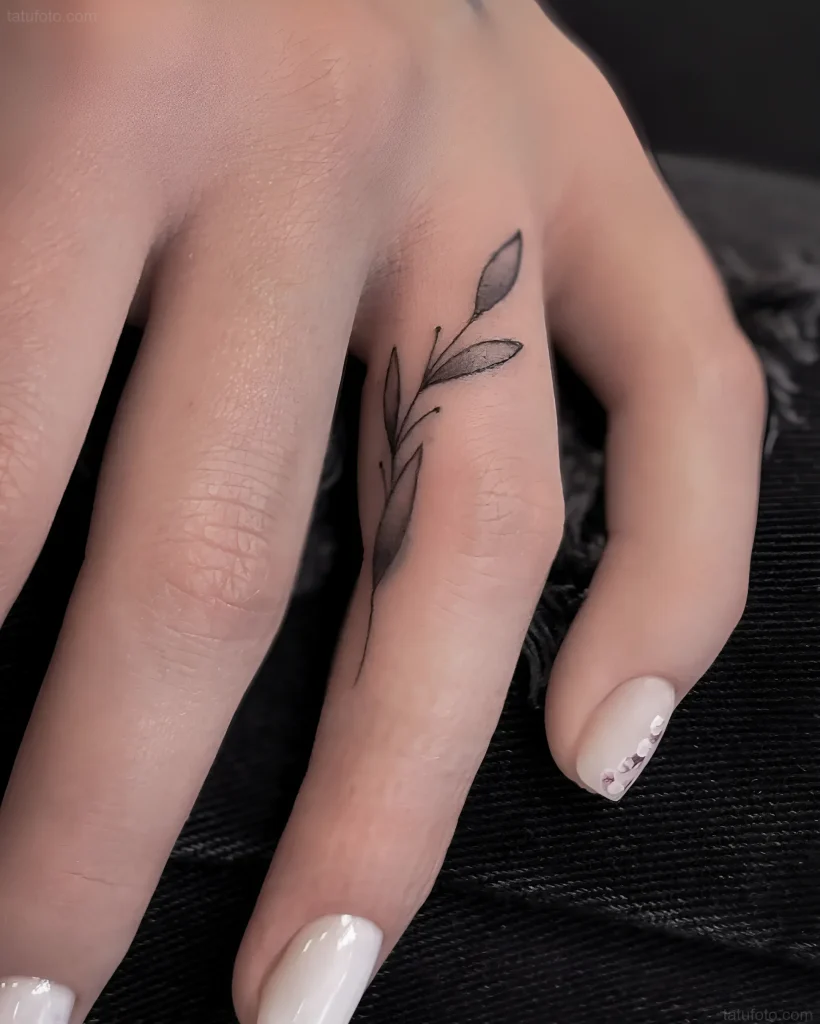
Finger Tattoo Styles: Choosing the Ideal Design for Artist and Client
Not all tattoo styles are suitable for working on fingers. A beginner artist should focus on techniques that minimize the risk of pigment migration and ensure visual clarity.
1. Fine Line
This is the dominant and most suitable style. It uses thin needles (1RL, 3RL) and a minimal amount of ink.
- Advantages: Looks elegant, minimally traumatizes thin skin.
- Nuances for the artist: Requires exceptional hand stability and very precise depth control. Even a slight tremor or depth variation will be visible.
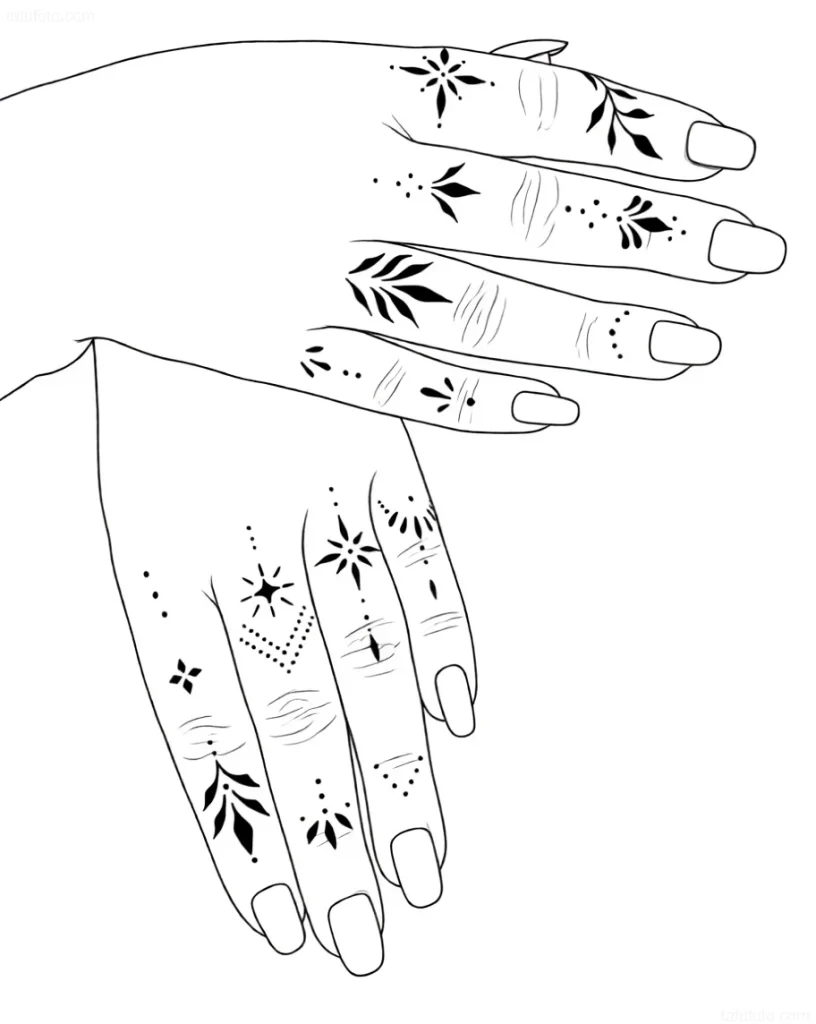
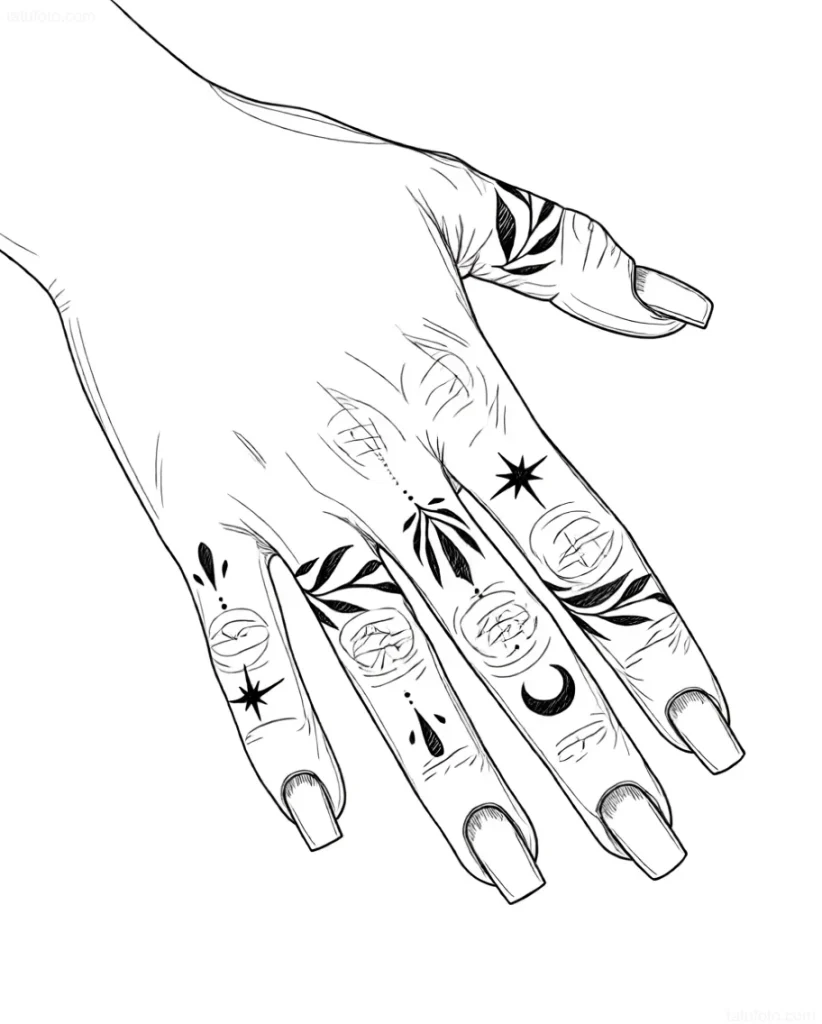
2. Blackwork / Ornamental
Used to create geometric bands, dots, or complex but clear patterns along the phalanges.
- Advantages: Clear, bold lines hold better than thin ones, especially on the upper part of the finger.
- Nuances for the artist: Be careful with solid fills (blackout). Too deep and dense a fill on the side of the finger can lead to severe swelling and “pushing out” of the pigment.


3. Dotwork
Used to create shadows or the images themselves exclusively with dots.
- Advantages: Less traumatic than solid lines, ideal for creating gradients or light, airy images.
- Nuances for the artist: Requires patience. Dots must be evenly distributed to avoid a “muddy” effect after healing.
Styles to Avoid:
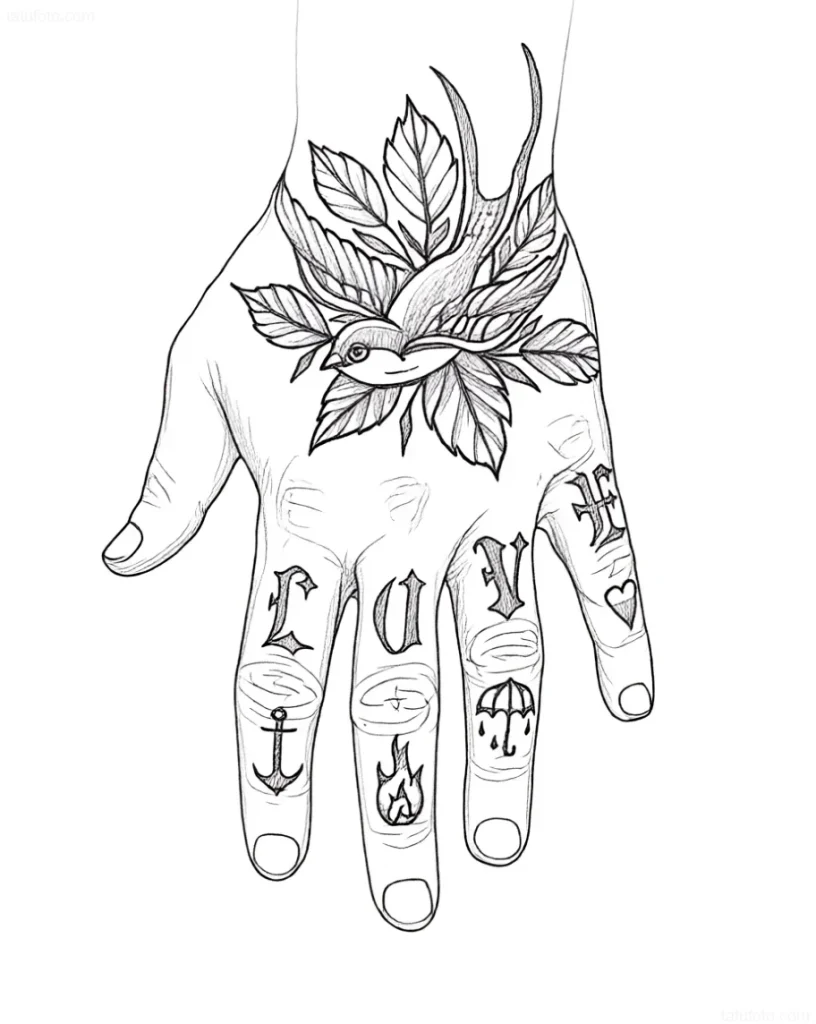
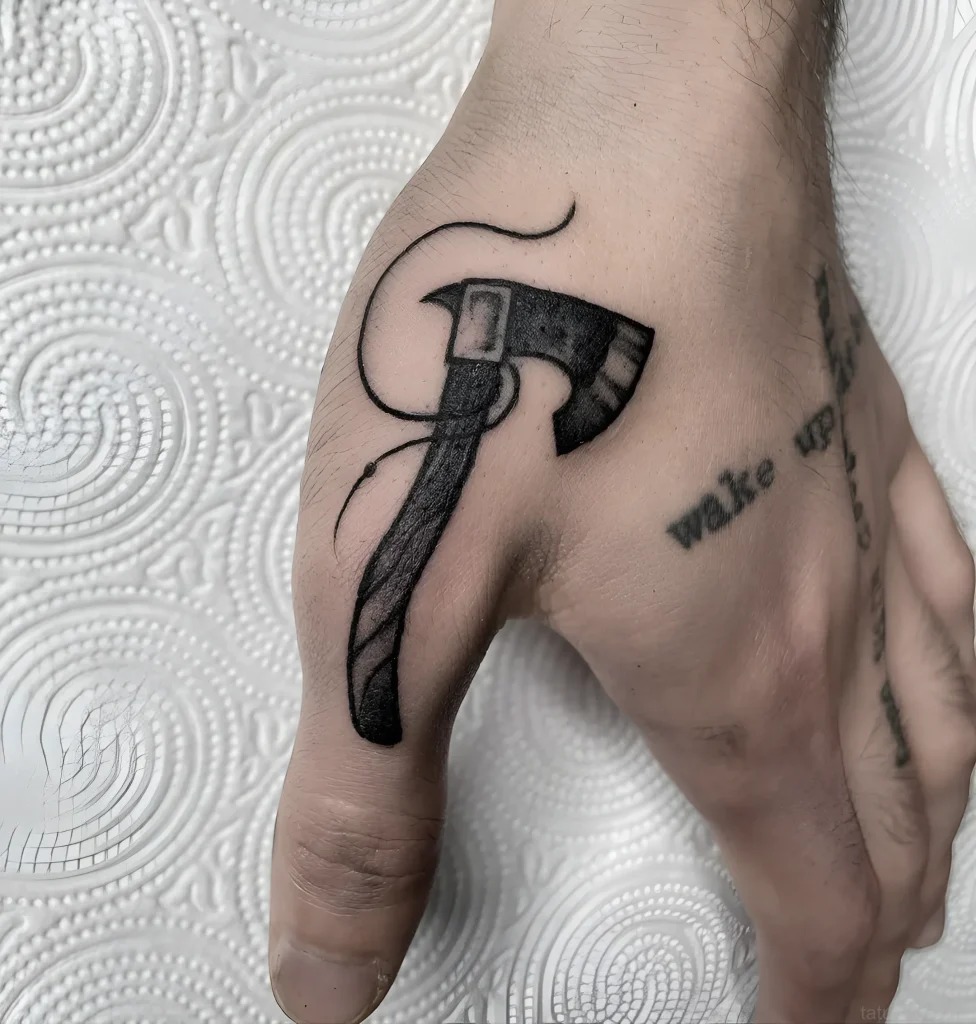
Realism, Watercolor, and Traditional (Old School) with bright colors. The skin on the fingers is not capable of holding dense color pigments or complex gradients characteristic of realism. The result will likely look blurry and indistinct after just a few months.
Finger Tattoo Application Specifics: Anatomy, Tools, and Techniques
The key to success in working with fingers lies in a deep understanding of their anatomy and adapting your technique.
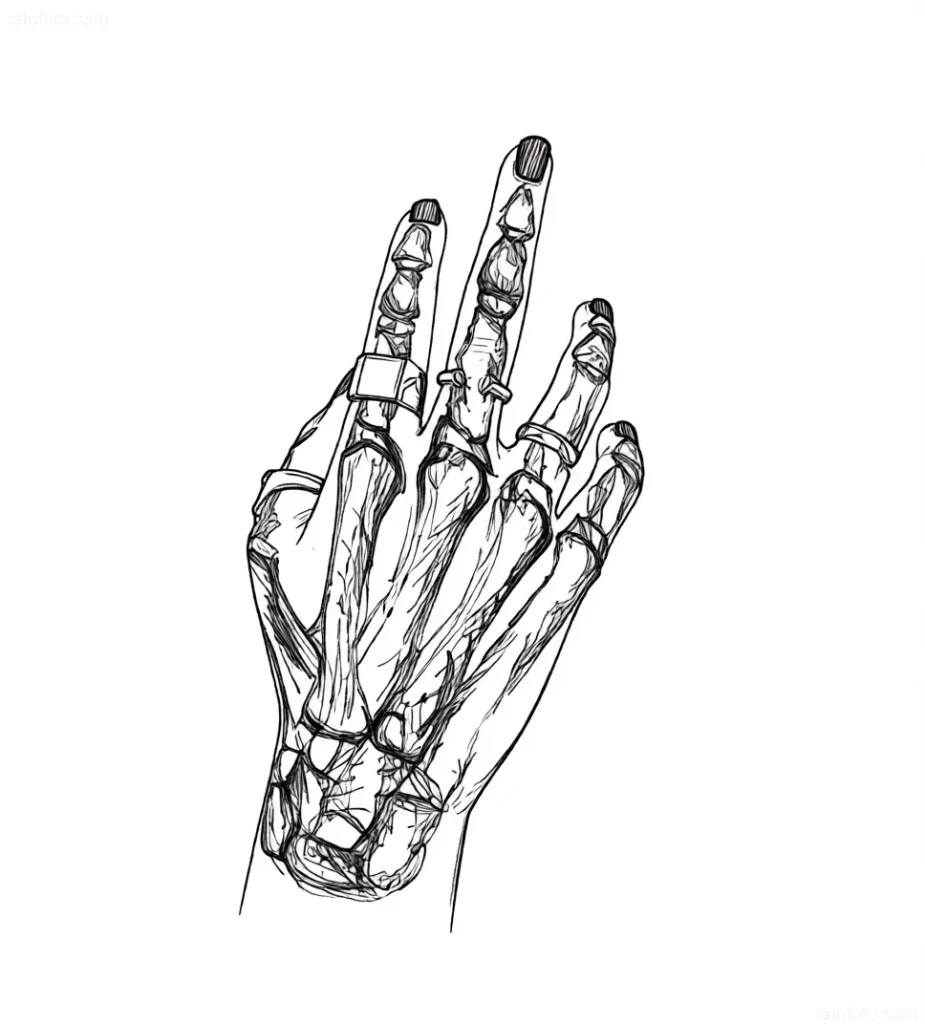
1. Anatomy and Skin
The skin on the fingers has several critical features:
- Thin epidermis: Especially on the sides and between the fingers. This increases the risk of “blowout” – pigment spreading under the skin, which looks like a bruise or a blurry spot.
- Dense ligaments and bones: The skin lies very close to the bone structure. When working on the phalanges (knuckles), pressure must be reduced so that the needle does not hit the bone and does not go too deep.
- High mobility: Fingers are constantly bending. Skin stretching is a critical step.
2. Tools and Settings
- Needles: Almost always use Round Liner (RL) with a minimum number of needles: 1RL, 3RL, or 5RL. 7RL can only be used for very bold lines on the back of the hand.
- Machine: Rotary machines with a soft hit are preferred.
- Needle depth (reach): Keep the needle depth minimal (about 1.5–2 mm) to ensure maximum depth control.
- Voltage: Work at a reduced voltage (0.5–1 Volt lower than when working on the forearm) to reduce the risk of blowout.
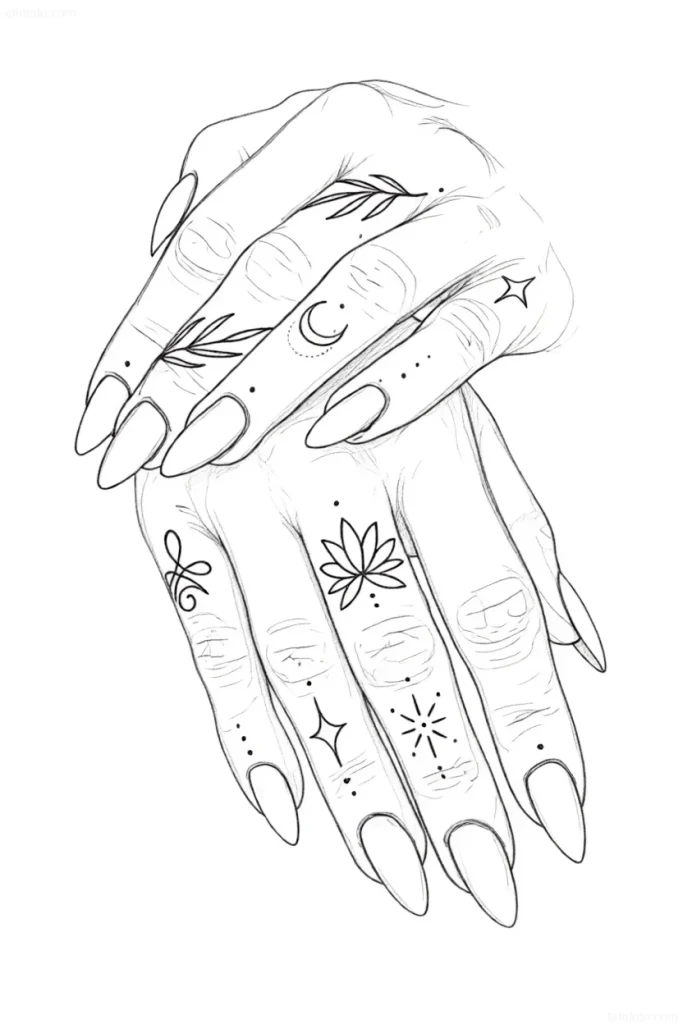
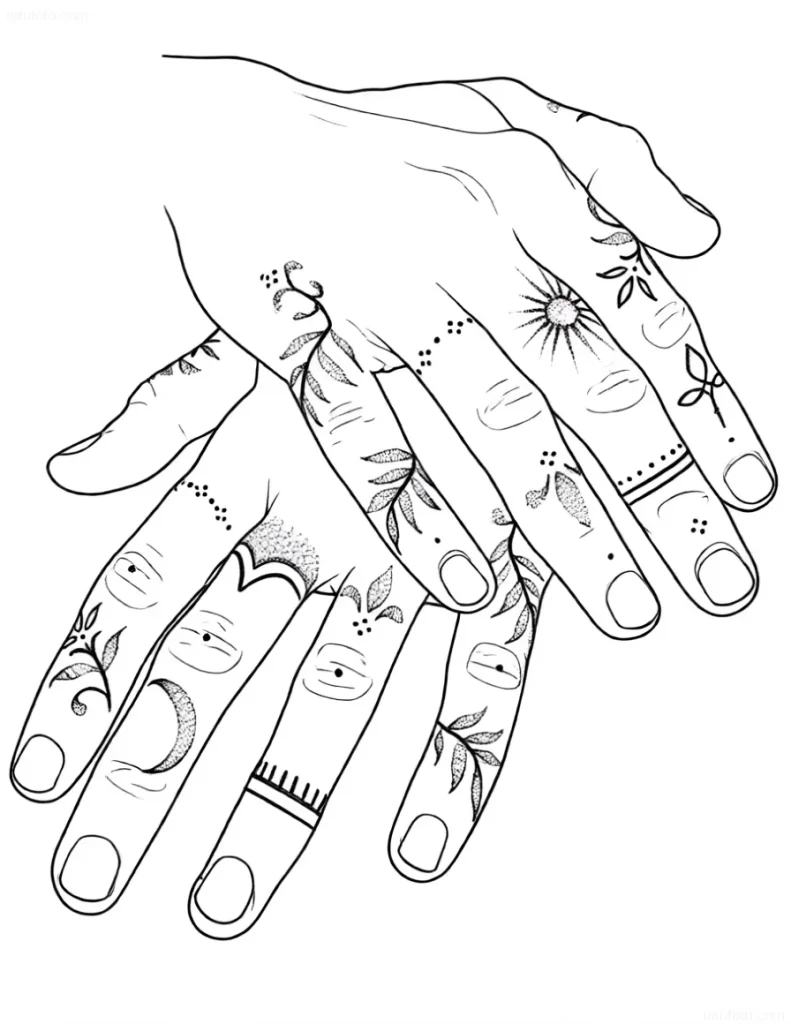

3. Application Technique
Skin Stretching: This is the most important aspect. The skin on the finger is very elastic, and if you don’t stretch it taut like a “drum,” the line will be broken and uneven. Use both hands to hold and stretch, and ask the client to bend or straighten their finger depending on the area.
- Working on creases: Tattoos on finger creases heal the worst. It is recommended to use dotwork or broken lines to allow the skin to bend without excessive trauma.
- Depth: Work as superficially as possible, but deep enough to set the pigment. This requires practice. If you see the pigment starting to “escape” around the needle in a small halo, you are likely working too deep.
- Passes: It is often better to make 3–4 light passes with a fine needle than one deep pass. This reduces trauma and allows the pigment to settle in the upper dermis.
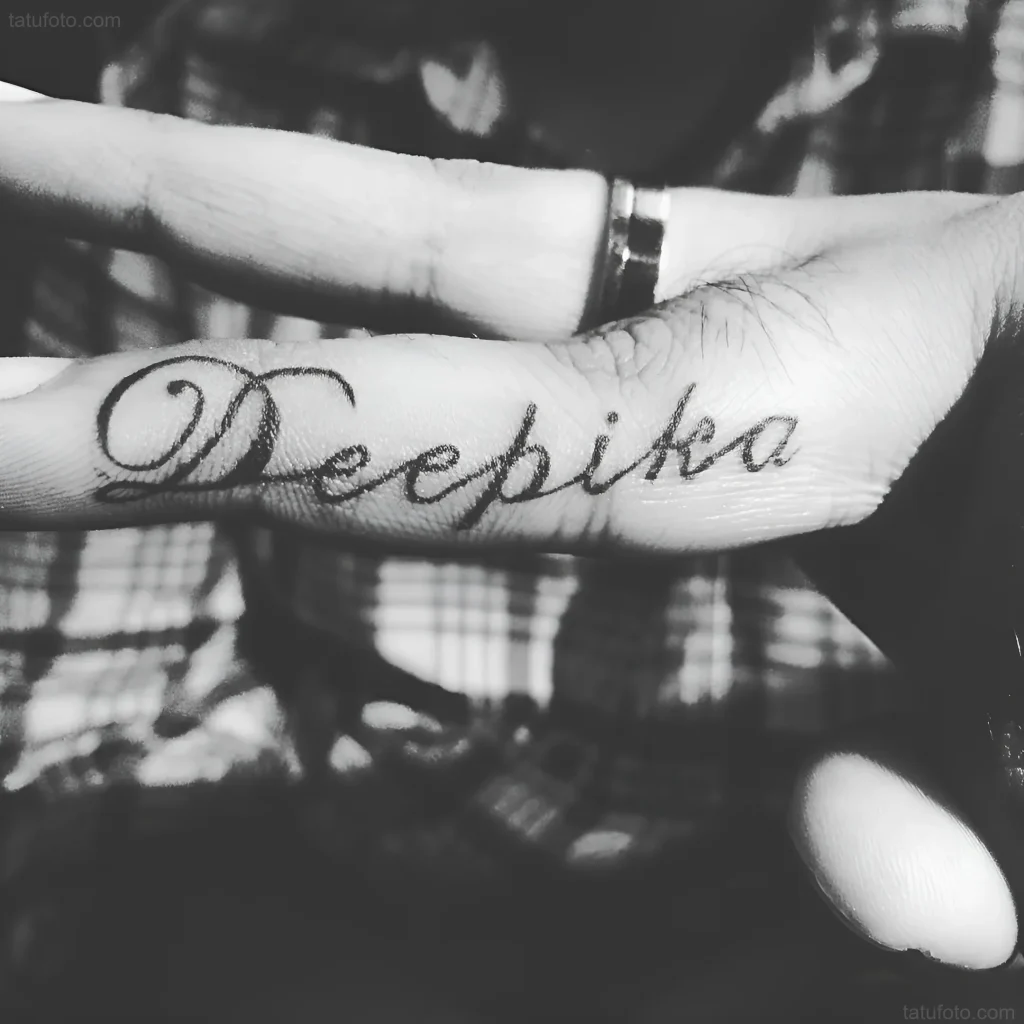
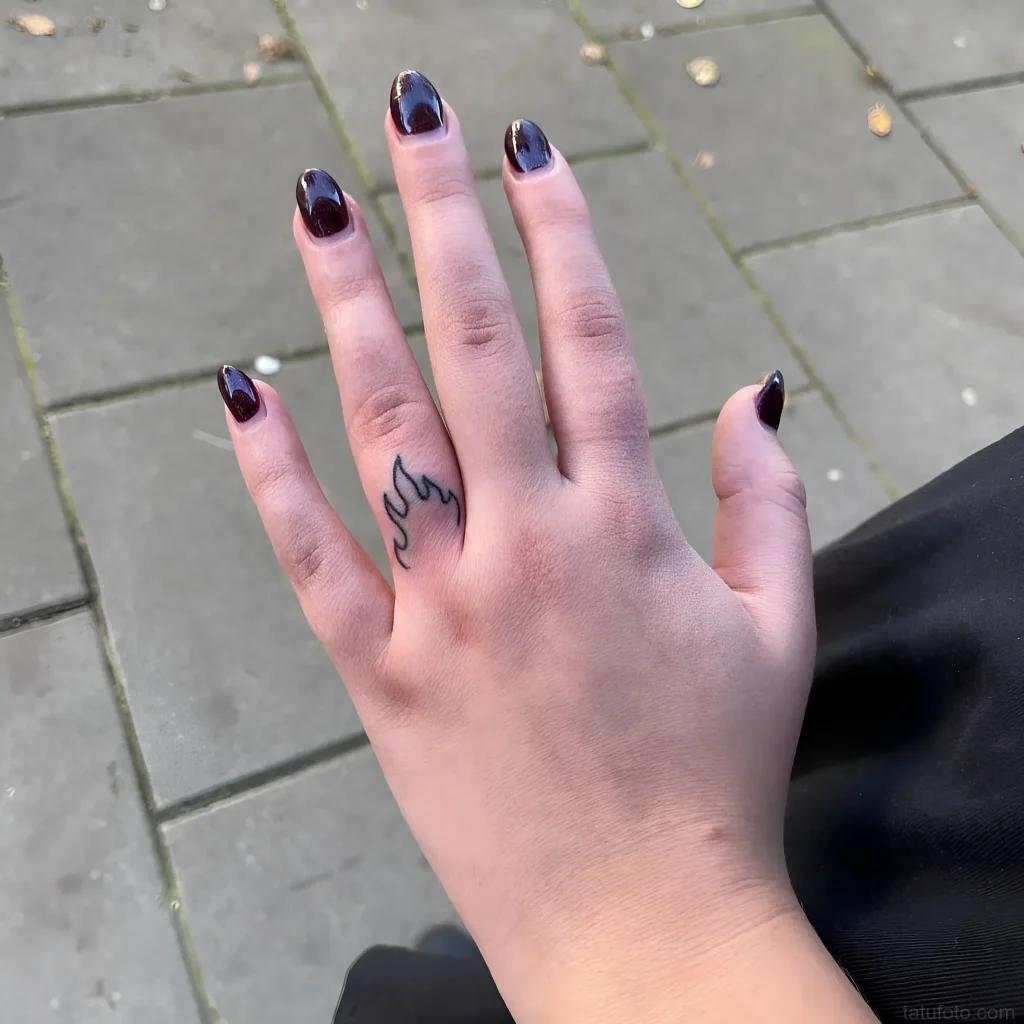
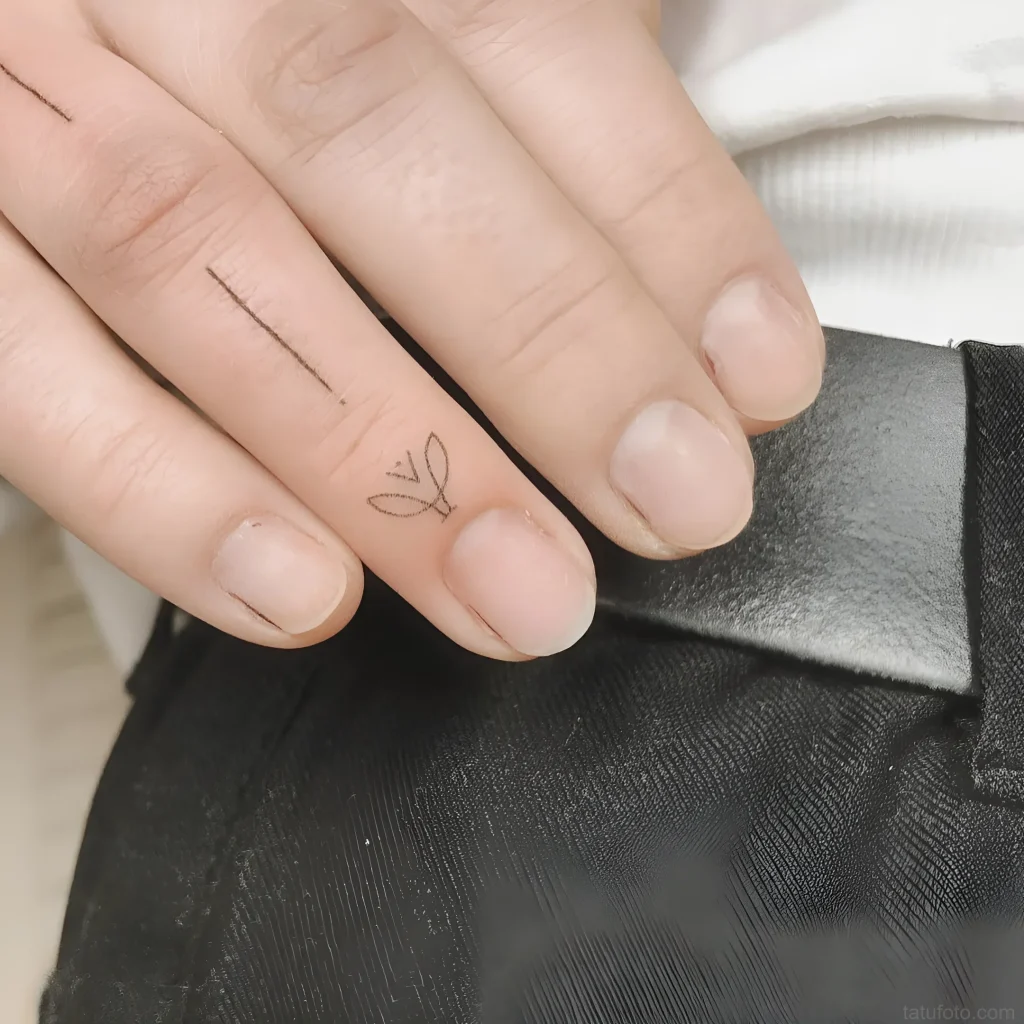
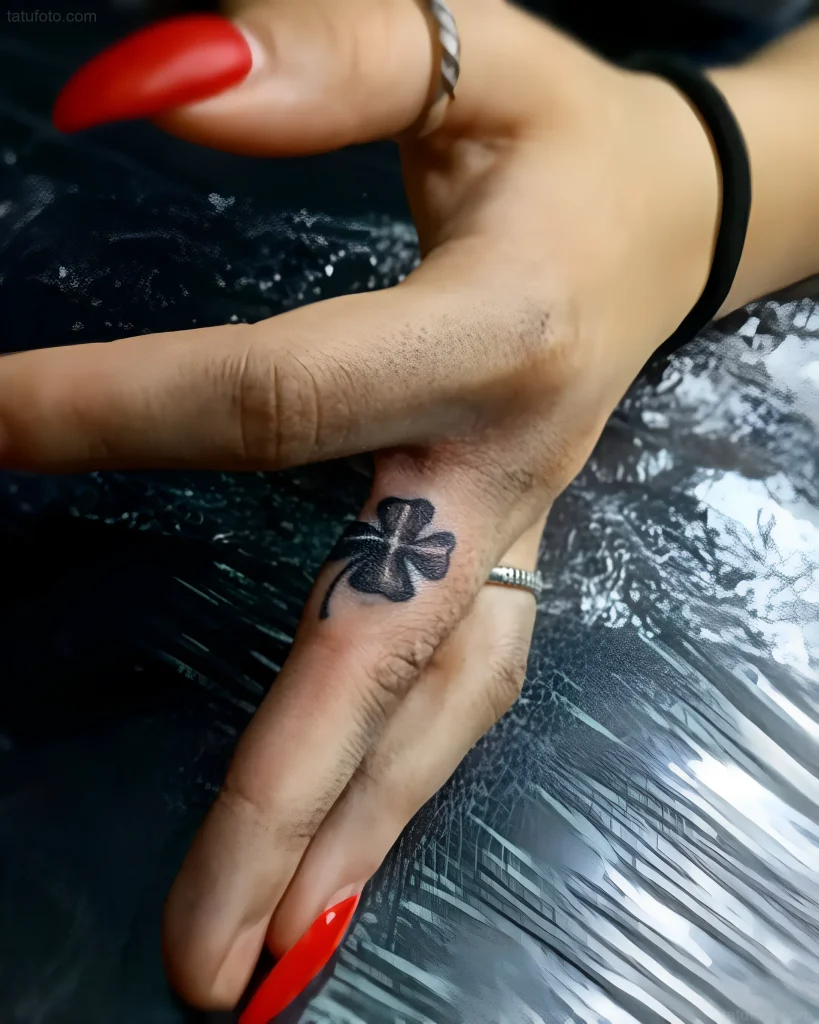
Finger Tattoo Placement: Best Spots and Sketch Examples for Each Finger
Each finger area has its own characteristics in terms of durability and ease of application.
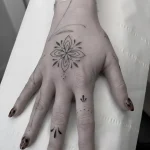
1. Back of the Hand (Phalanges)
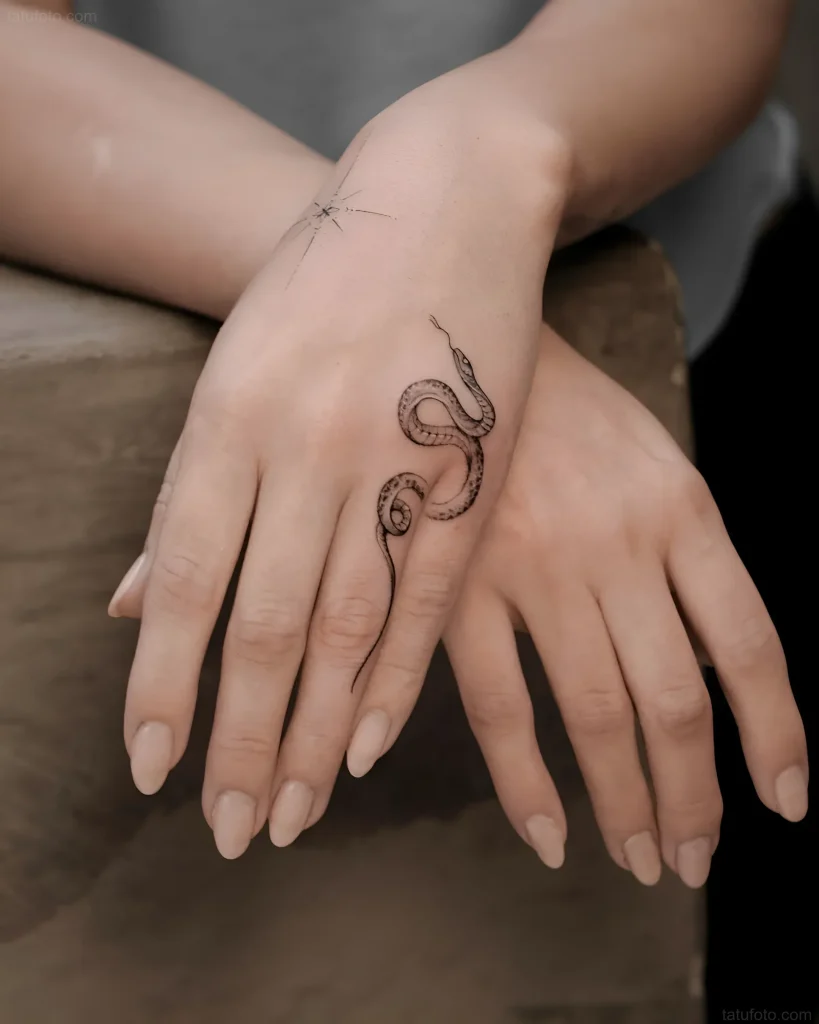
This is the most favorable area for a finger tattoo, as the skin here is thicker, with less friction and fewer creases.
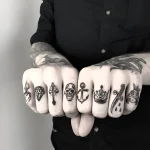
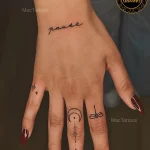
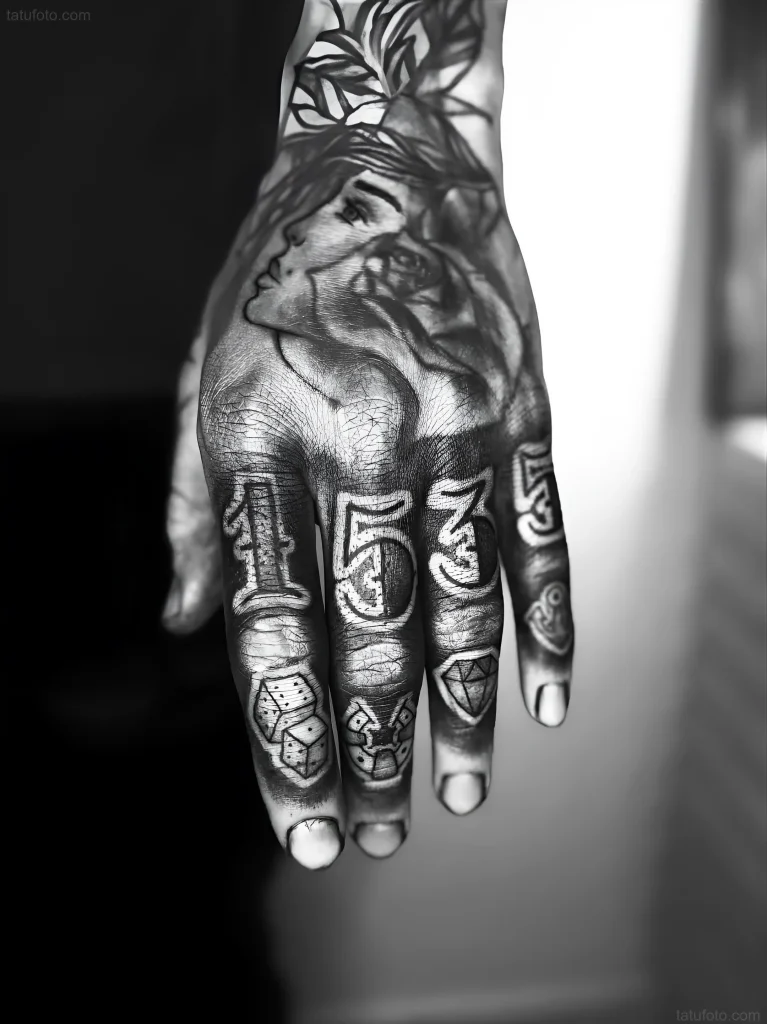
- Features: Holds pigment well. Ideal for sequential symbols (e.g., four symbols on four phalanges) or for letters.
- Sketch example: Minimalist crowns, stars, geometric patterns.
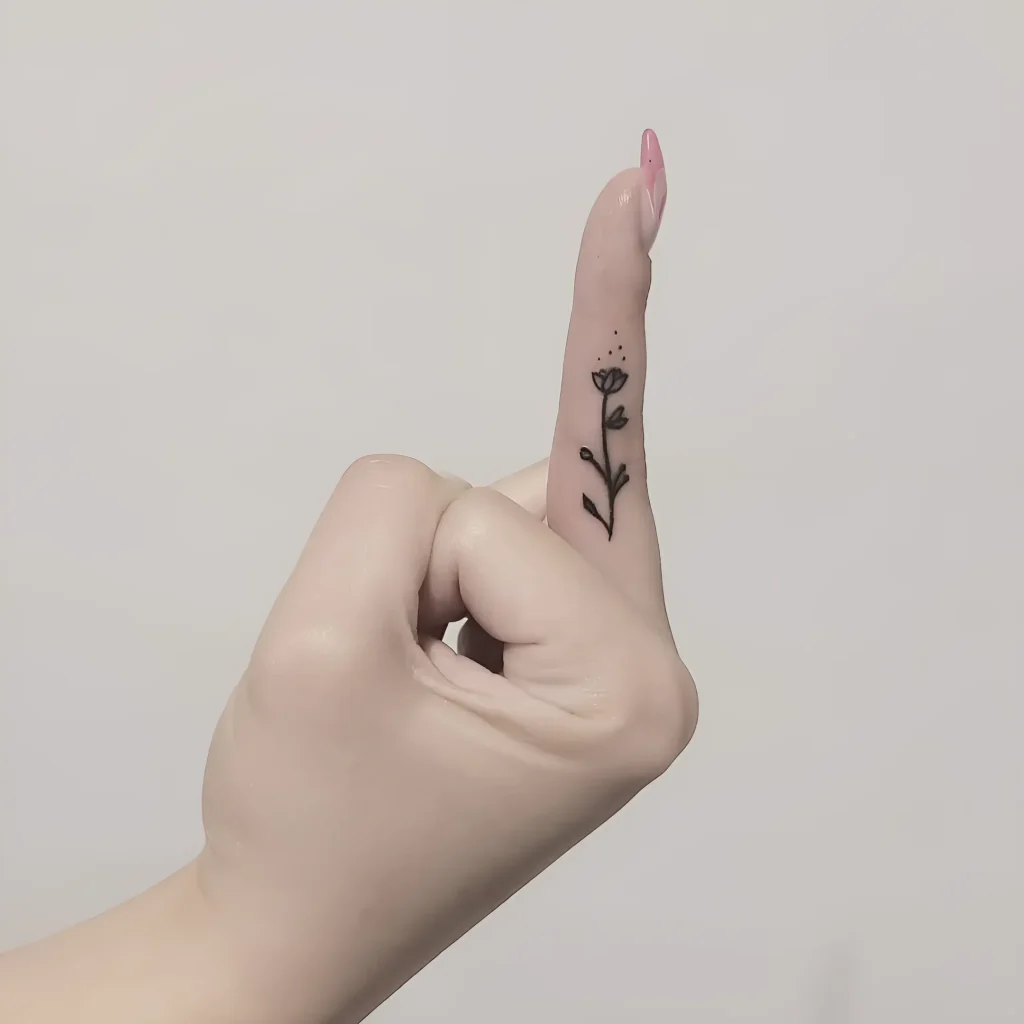
2. Side of the Finger
A very popular area due to its “invisibility,” but extremely difficult in terms of healing.
- Features: Constant friction with the adjacent finger. High risk of pigment “fallout.”
- Sketch example: Short words (e.g., “Stay”), initials, thin arrows. Be sure to warn the client about the need for frequent touch-ups.
3. Inner Side (Palm Surface)
The most difficult area. The skin here is thick but regenerates very quickly, and it constantly comes into contact with objects and moisture.
- Features: Pigment holds the worst (often disappears completely). Working here requires denser application and possibly using the handpoke technique, which allows for better depth control.
- Sketch example: Symbols that are not critical to perfect clarity (e.g., small circles, waves).
4. Webbing Between Fingers
Thin, sensitive skin. Tattoos here stretch and fade quickly.
- Features: Used for maximally hidden symbols. Requires a very soft hit and minimal depth.
- Sketch example: Small dots, crescent moons.
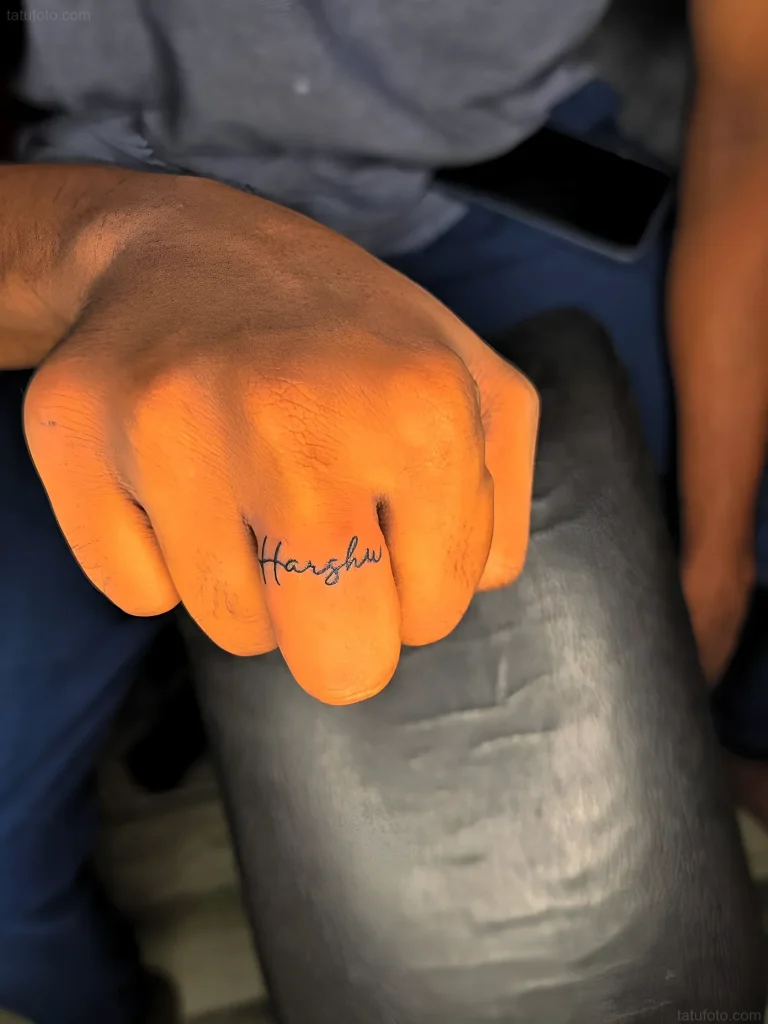
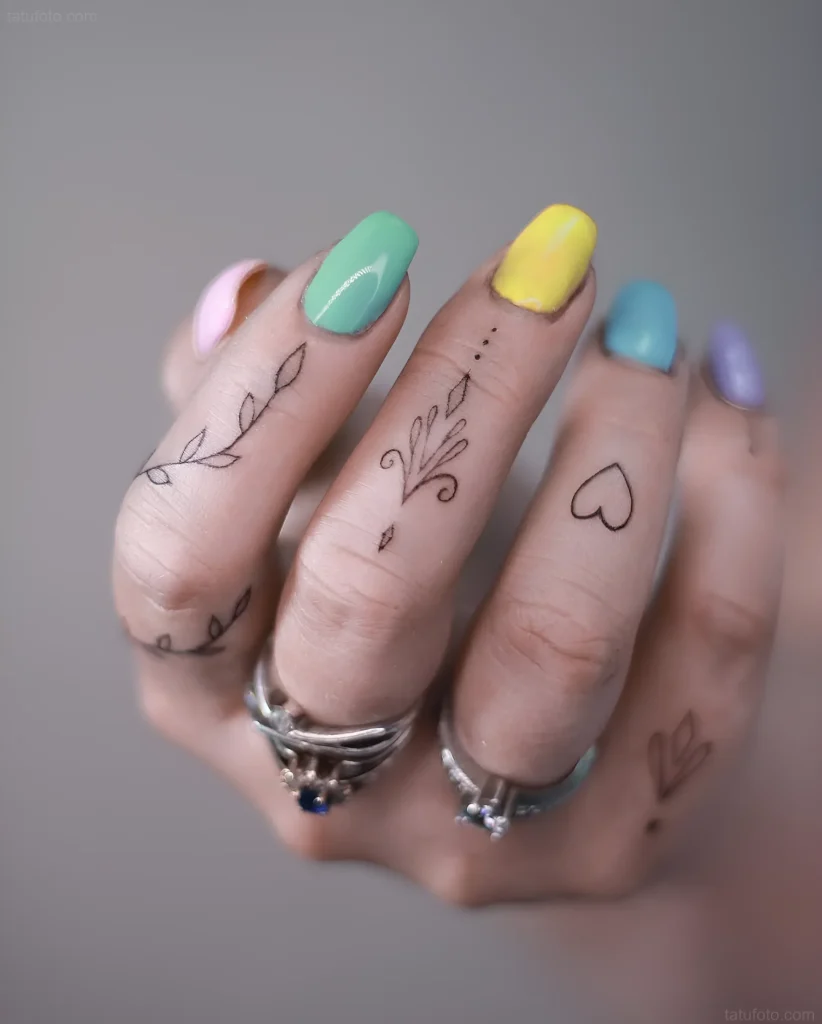
Finger Tattoo Aftercare: Tips for Artist and Client, Infection Prevention, and Healing
Proper aftercare is critical for finger tattoos, as this area is exposed to bacterial contamination and mechanical stress many times more than any other part of the body.
Tips for the Artist During the Session:
- Maximum cleanliness: Before starting work, ensure the client’s hands are perfectly clean. Use antiseptic.
- Minimal trauma: The less you traumatize the skin, the faster it will heal and the better it will retain pigment.
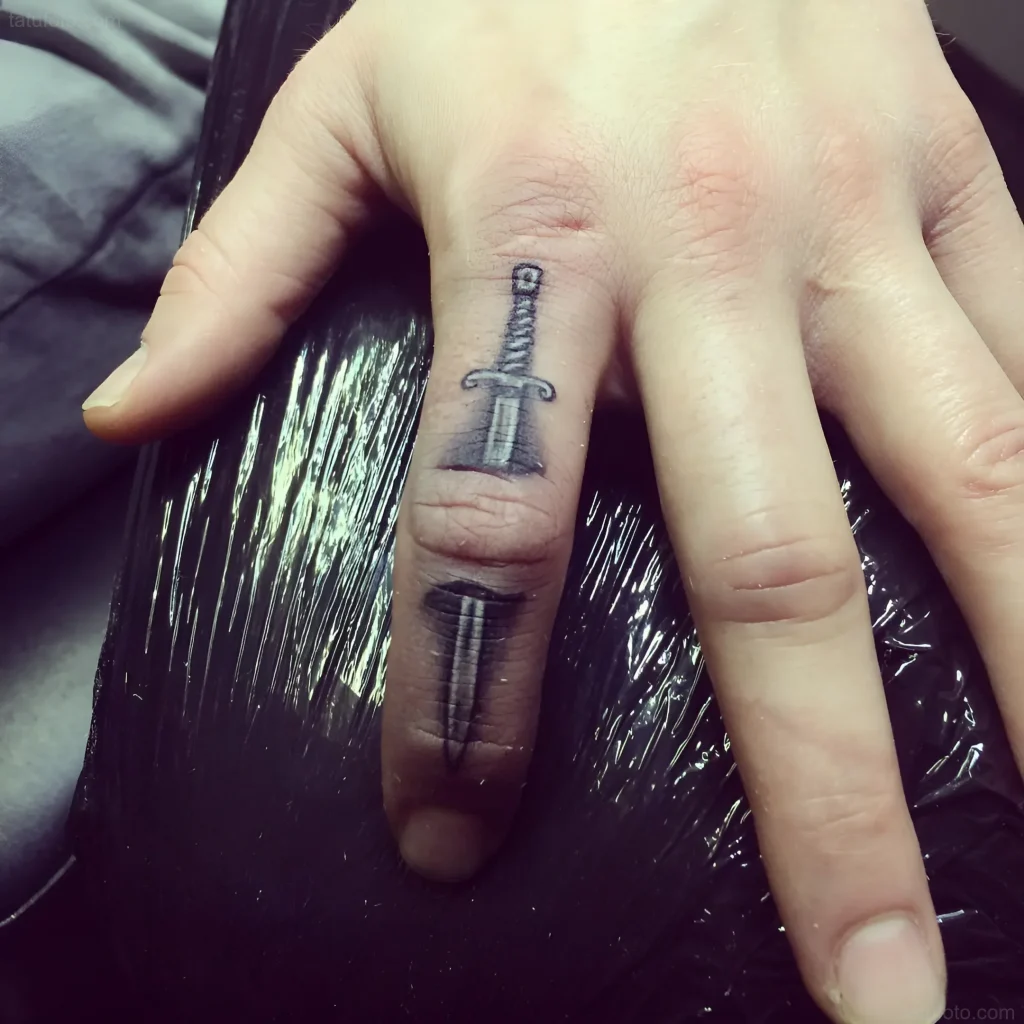
- Initial covering: After finishing the work, apply a thin layer of healing ointment and cover the area with a special breathable film (e.g., Dermalize or Suprasorb F).
Instructions for the Client (Key Differences from Standard Aftercare):
The client must understand that the first two weeks are a battle to preserve the pigment.
- Limit water contact: For the first 48 hours, avoid prolonged contact with water (washing dishes, long showers) as much as possible. If contact is unavoidable, use disposable gloves.
- Cleaning: Wash the tattoo 2–3 times a day with antibacterial soap without harsh additives.
- Moisturizing: Use a healing cream (e.g., D-panthenol) in a very thin layer 3–4 times a day. Important: do not over-moisturize to avoid softening the scab.
- Friction: Absolutely do not rub the tattoo, wear tight rings, gloves, or work with tools that can chafe the area.
- Healing time: Initial healing (scabbing) takes 7–10 days, but complete pigment setting can take up to 4 weeks.
Warning: If the client works with their hands (chef, mechanic, construction worker), a finger tattoo can be an extremely impractical choice. Discuss this in advance.
Frequently Asked Questions About Finger Tattoos (FAQ)
Can finger tattoos disappear completely?
Yes, especially on the palm surface and sides. Due to rapid cell regeneration and constant friction, the pigment can “fall out” completely. As an artist, you must ensure the pigment is set, but you cannot guarantee its perfect preservation without touch-ups.
How painful is the procedure?
Fingers are one of the most sensitive areas, as the skin is thin and nerve endings are close to the surface. Most clients describe the process as highly sensitive but short-lived, as the work area is small.
What is the minimum cost of a finger tattoo?
Although the tattoo size is small, its complexity and the need for touch-ups make it expensive. Never set a minimum price that does not cover your work and at least one touch-up. Often, a finger tattoo costs as much as a forearm tattoo, which is three times larger in area.
Can colored inks be used on fingers?
Highly not recommended. Colored pigments, especially light ones (red, yellow), require deeper and denser filling. This increases the risk of blowout, and the color fades faster and looks “muddy” on thin skin.
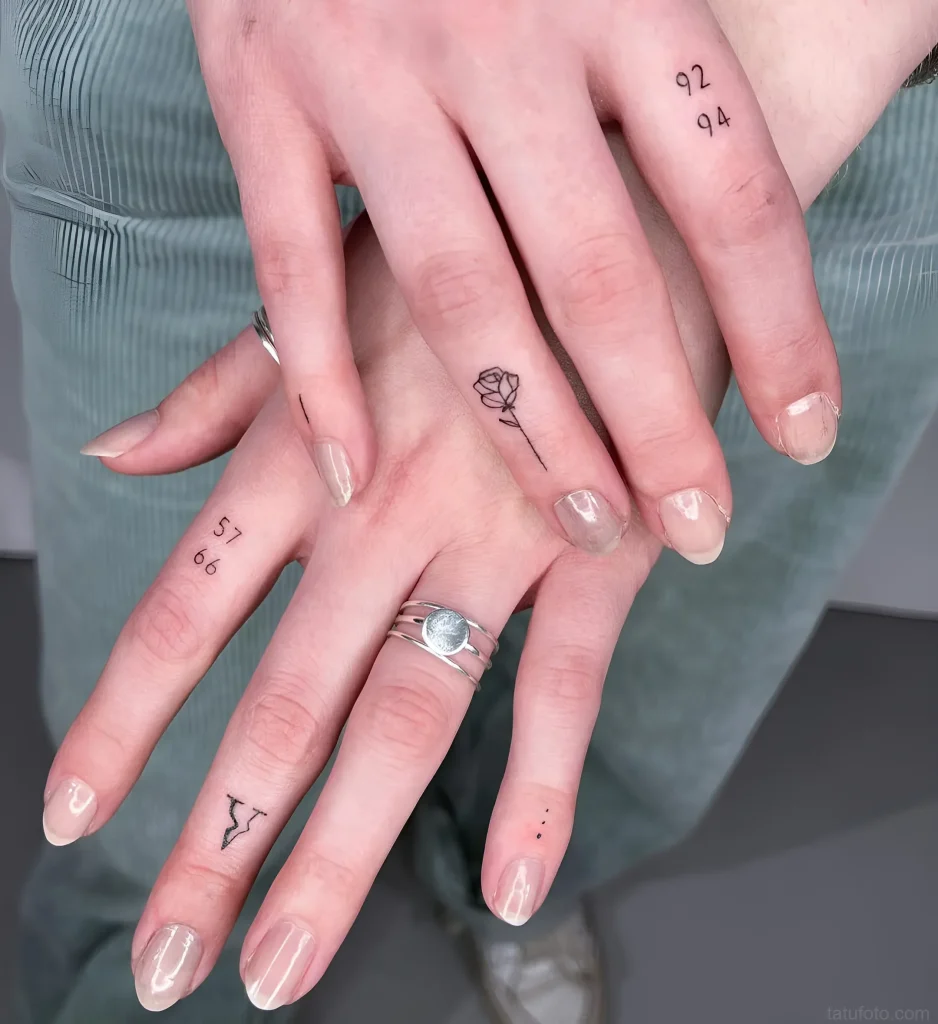

Interesting Facts About Finger Tattoos: Myths and Reality
Myth: Finger tattoos always blur.
Reality: Blurring (blowout) only occurs with incorrect technique (needle inserted too deep). If the artist uses fine needles, minimal depth, and works with anatomy in mind, the tattoo will remain sharp. The problem with fingers is not blurring, but pigment loss.
Myth: A finger tattoo signifies a criminal past.
Reality: While historically this was the case, in the modern world, finger tattoos are completely decriminalized and are part of the Fine Line and minimalism fashion. However, if a client chooses classic prison symbols (e.g., certain rings or stars), their meaning may be understood by those familiar with that subculture.
Fact: Finger tattoos require more initial aftercare.
This is absolutely true. Since hands are constantly in use, aftercare for a finger tattoo requires maximum discipline and attention from the client to avoid infection and preserve pigment. The artist must be sure that the client is ready for this responsibility.
Mastering finger tattoos is a marker of professional growth. If you learn to work with this complex area, controlling depth, stretching, and managing client expectations, you will establish yourself as a highly skilled and responsible artist. Remember that a perfect finger tattoo is the result of not only your skill but also the client’s strict discipline during the healing process.