
Lower back tattoos, despite their long and sometimes controversial history, remain one of the most sought-after and, simultaneously, technically challenging areas to work on. For a beginner tattoo artist, this zone presents a true test of anatomical knowledge, the ability to work with symmetry, and an understanding of healing specifics. We have prepared a comprehensive expert guide that will help you not only master this area but also avoid common mistakes, ensuring an ideal result for the client.
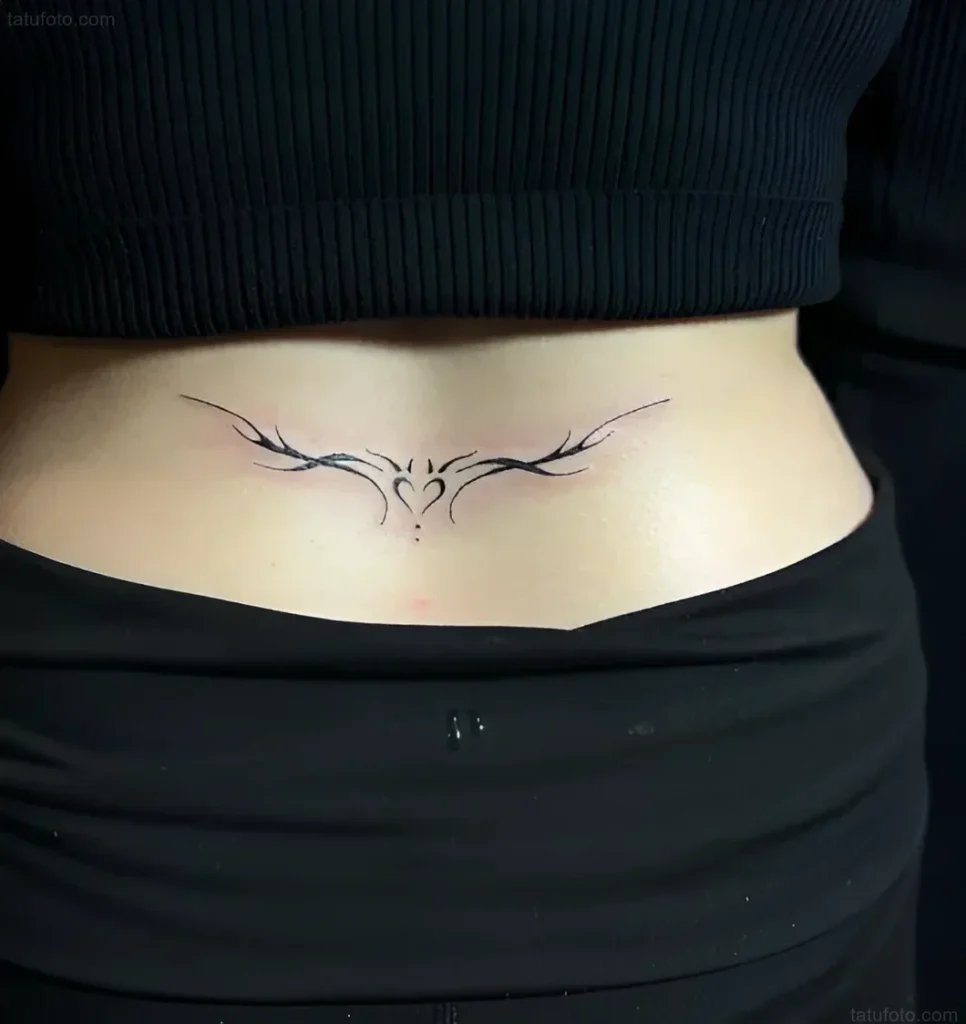
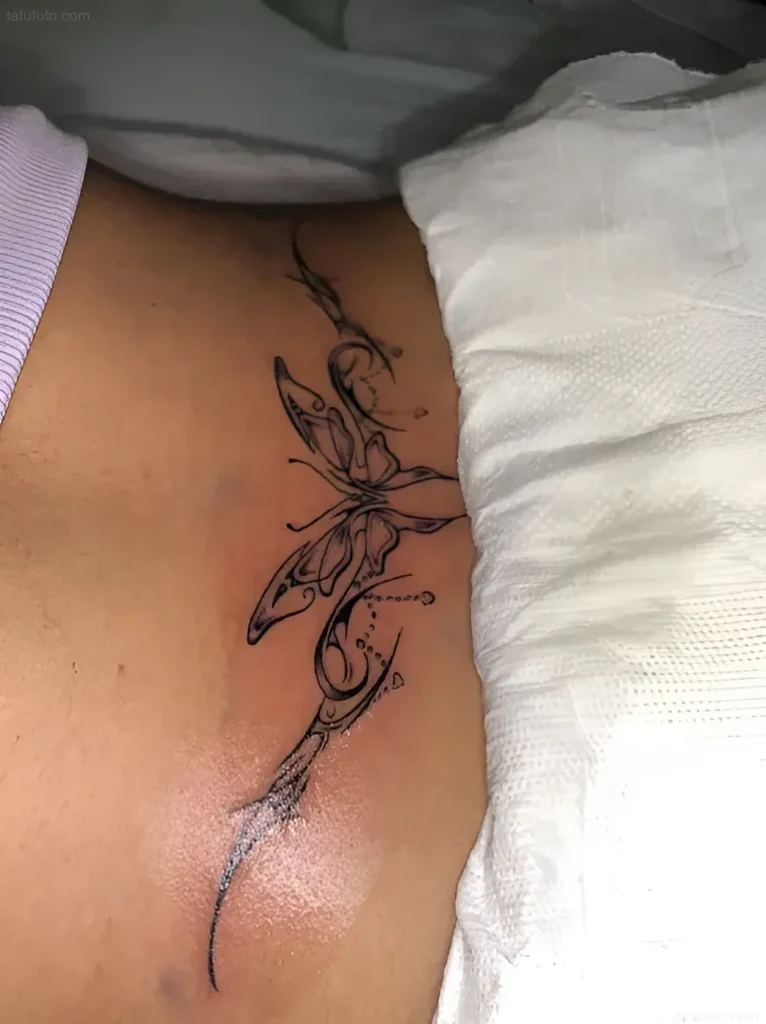
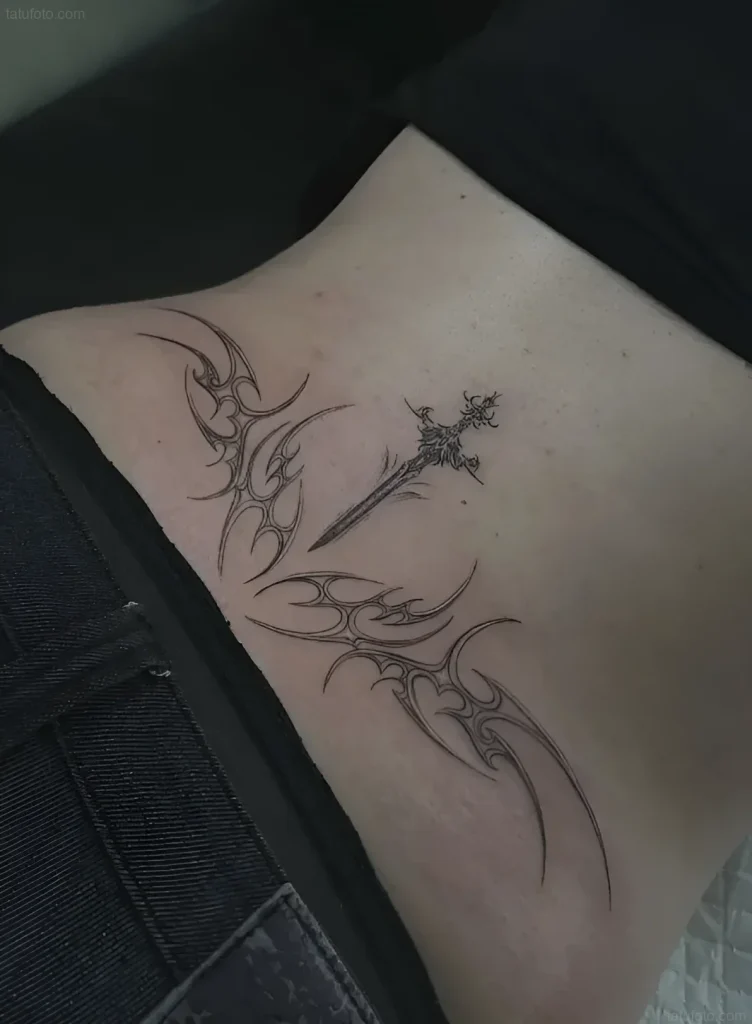

Lower Back Tattoos: A Complete Guide for Beginner Tattoo Artists – Where to Start
Before starting work on the lower back area, a thorough consultation and preparation of the workspace are essential. This area requires special attention to detail, as any errors in symmetry or placement will be immediately noticeable.
Client Consultation: Key Aspects
Working on the lower back begins with a deep understanding of the client’s expectations and the physiological characteristics of this area:
- Symmetry Discussion: The lower back is a central area. Absolute symmetry is critical for ornamental, mandala, and wing designs. Ensure the client understands how body movements (bending, twisting) can temporarily distort the tattoo.
- Anatomical Changes: Be sure to discuss potential body changes with the client, especially for women of childbearing age. Pregnancy, significant weight fluctuations, or muscle gain in the lower back area can stretch or deform the tattoo. This is not a reason to refuse the work, but it is essential to inform about the risks.
- Positioning: Determine how the client will lie during the session. The lower back requires a stable position, most often lying on the stomach, sometimes with a pillow under the abdomen to slightly arch the back and stretch the skin.
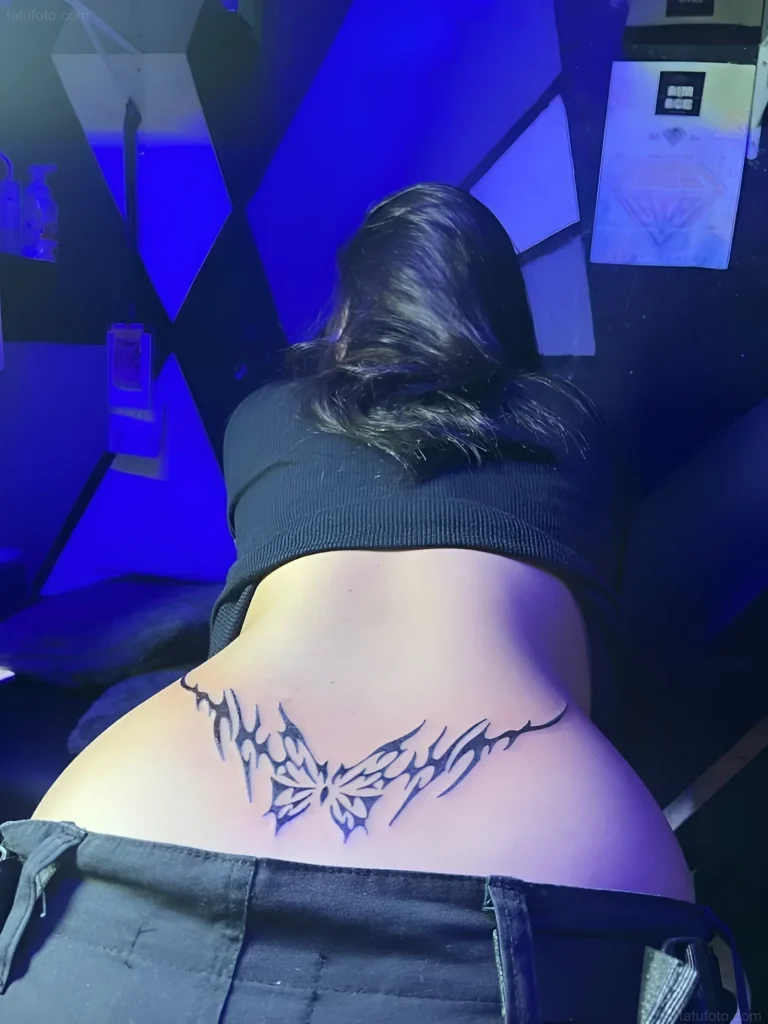
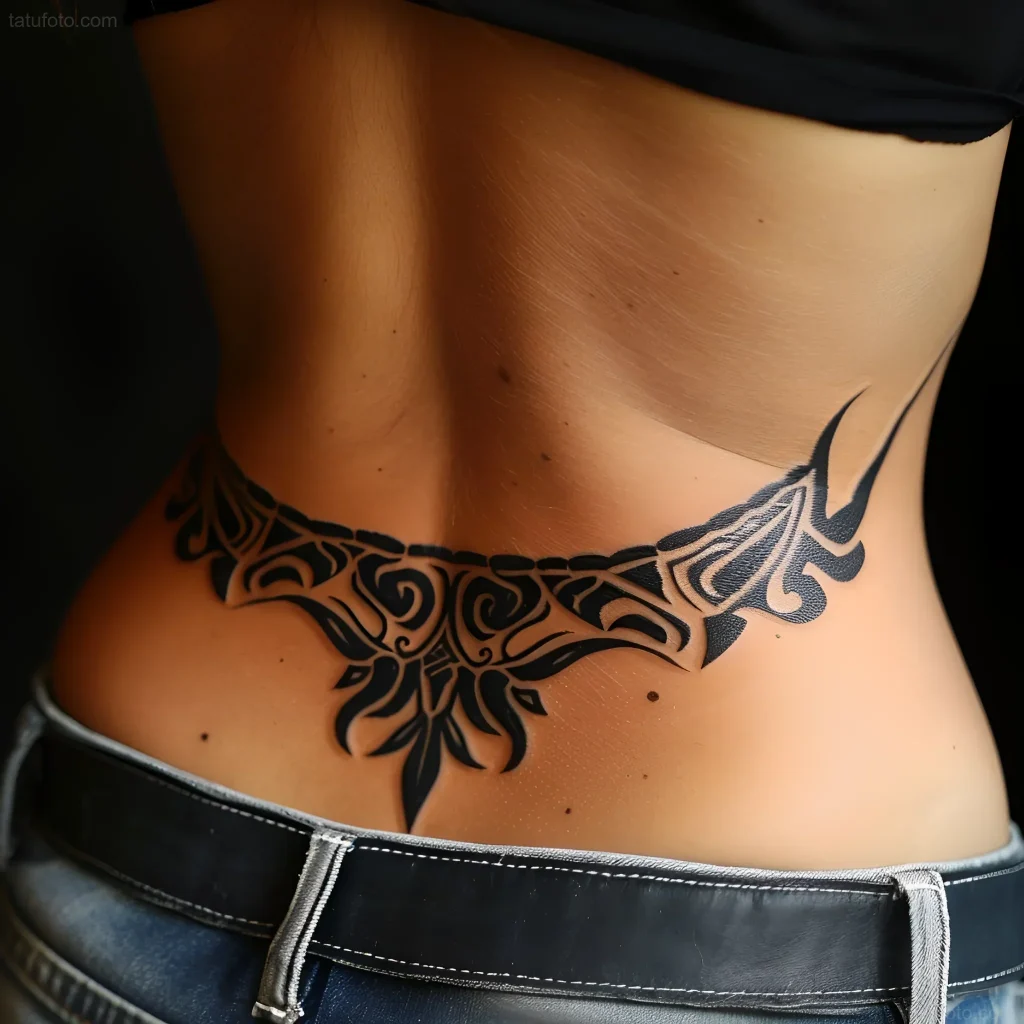
- Design Choice and Flow: The design should consider the natural curve of the lower back (lordosis). Designs that are too vertical or rigidly geometric can look unnatural. Designs that smoothly “flow” with the curve are optimal.
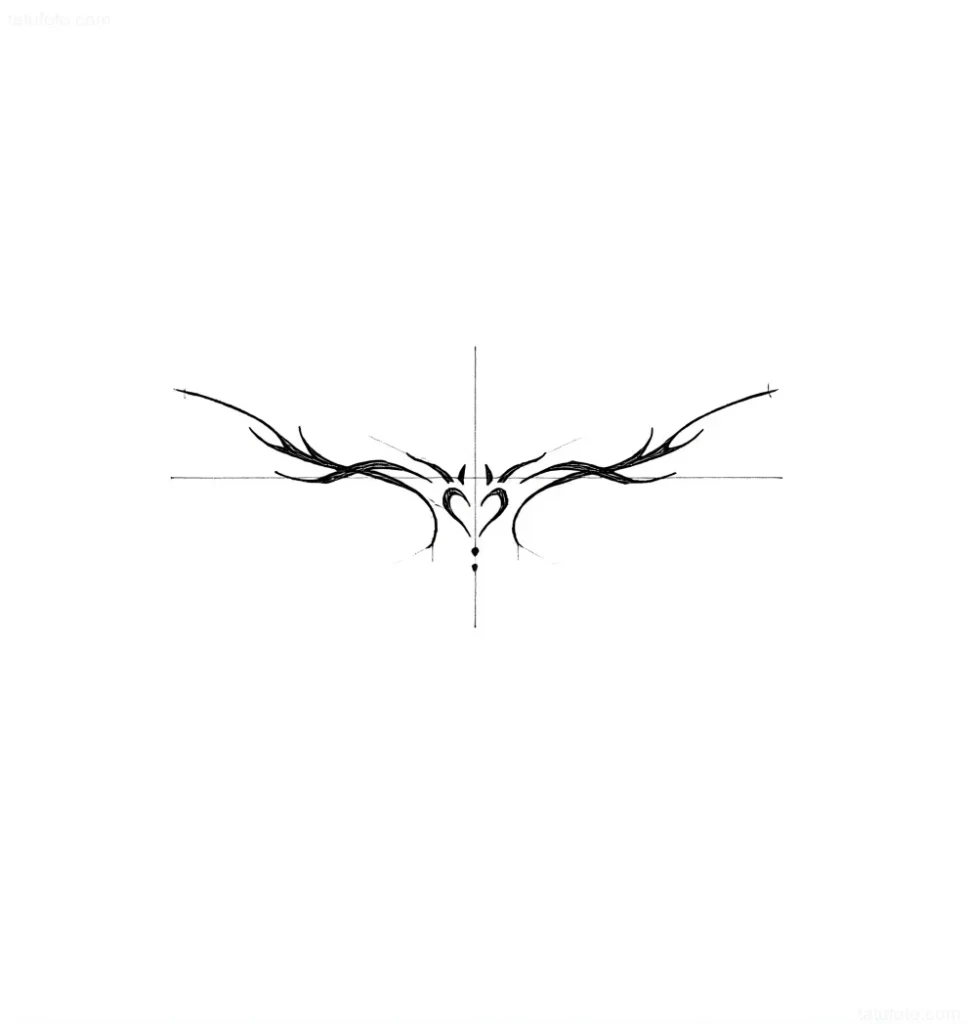
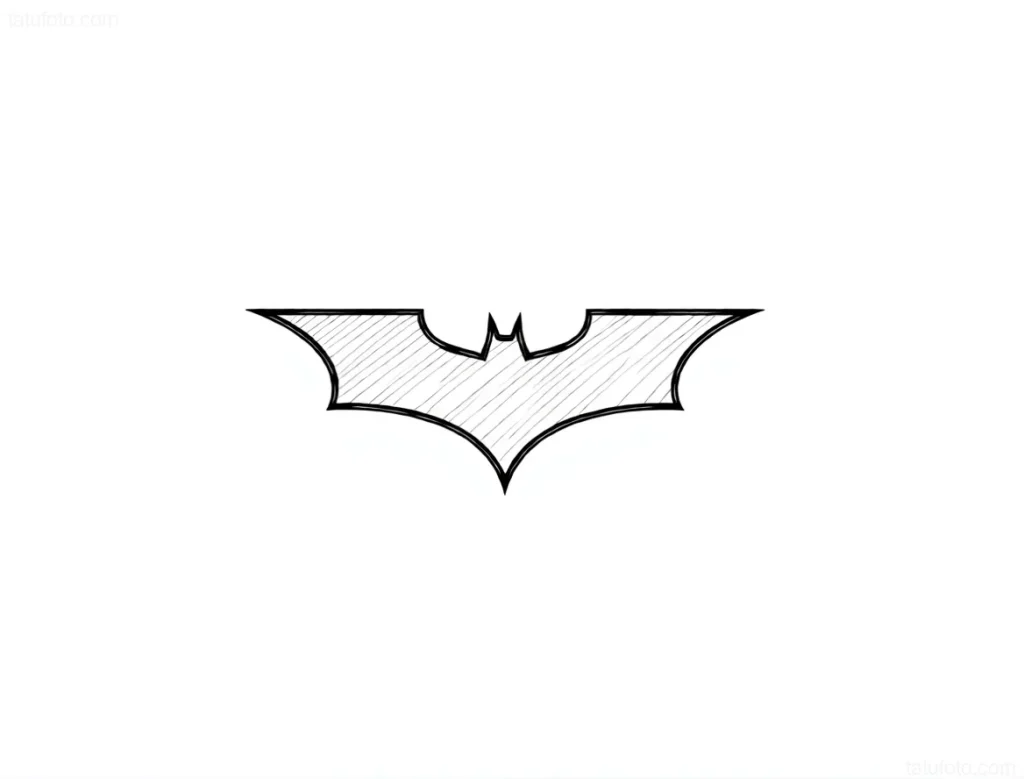
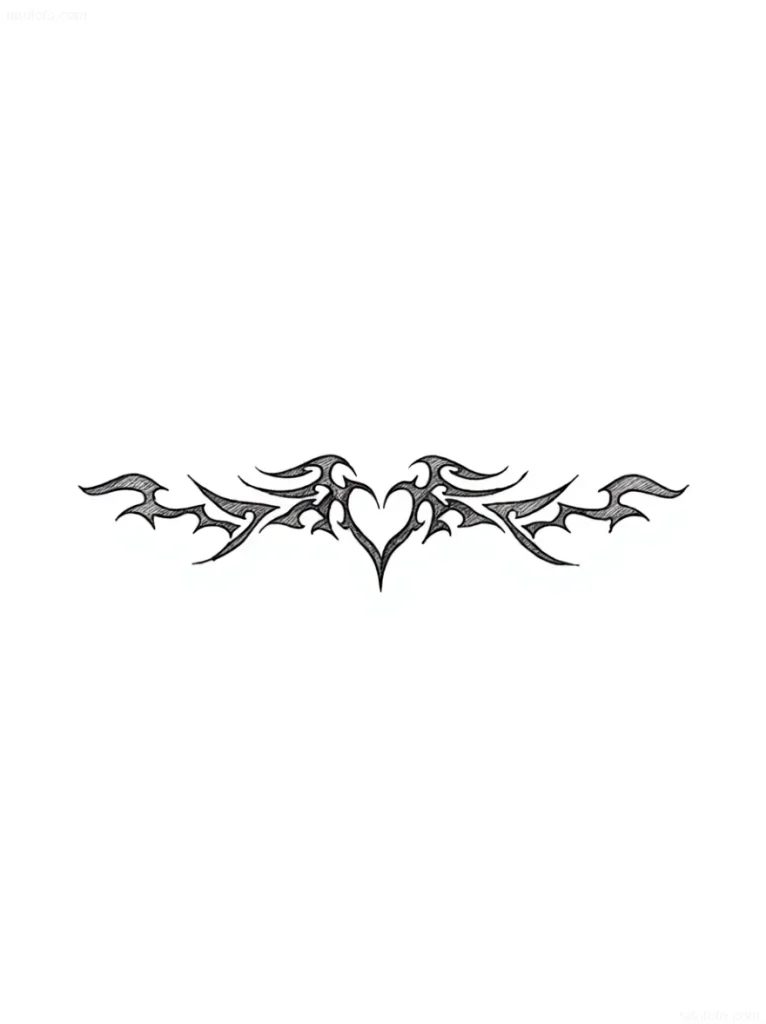
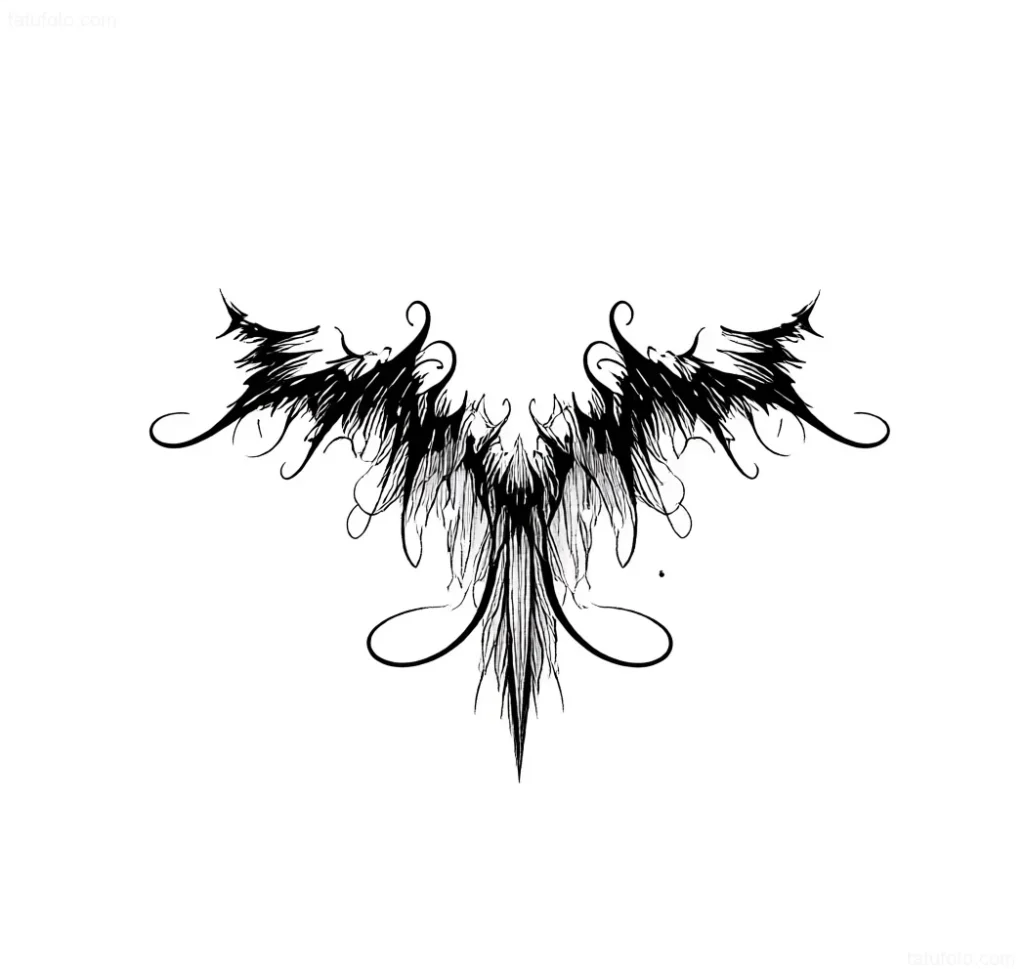
Sketch and Stencil Preparation
Stencil errors are unacceptable on the lower back. Use the following techniques:
- Central Axis: Always find and mark the central axis of the spine. This is your main reference point for symmetry. Even if the design is asymmetrical, the central axis will help you avoid misalignment.
- Working with Movement: Apply the stencil when the client is standing or sitting upright, then check it when the client slightly bends. This allows you to see how the skin will move and stretch.
- Using Markers: For complex, flowing designs (e.g., feathers, dragons wrapping around the sides), first sketch the main outlines with a marker to ensure the “flow” of the design is correct before transferring the entire stencil.
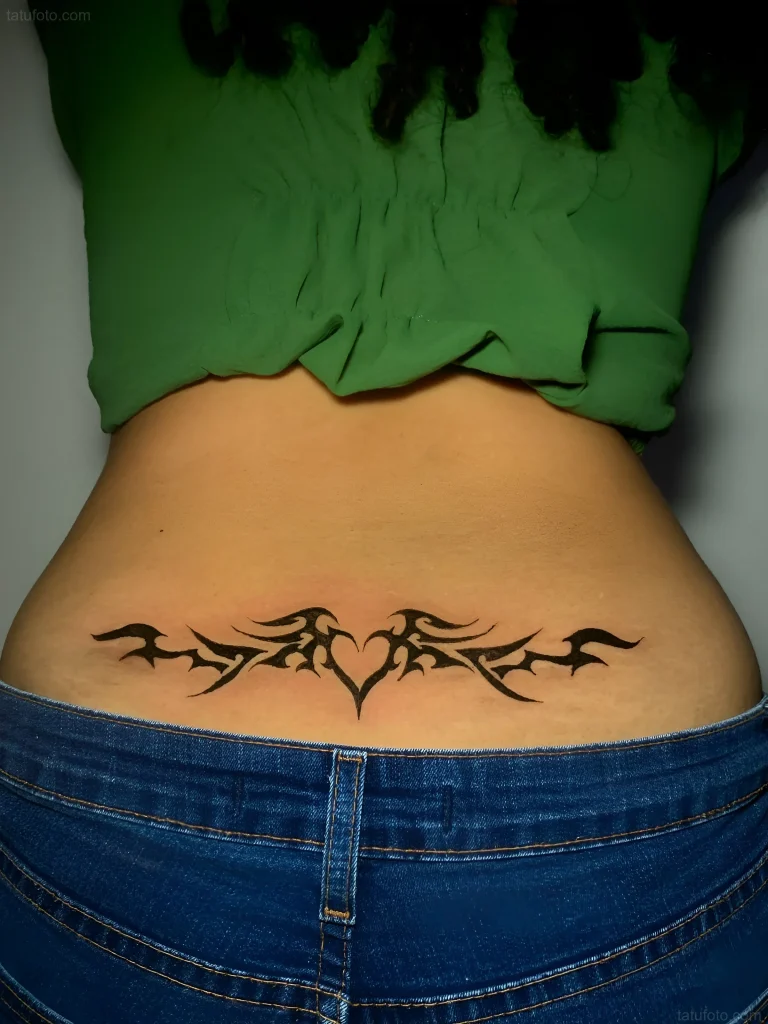
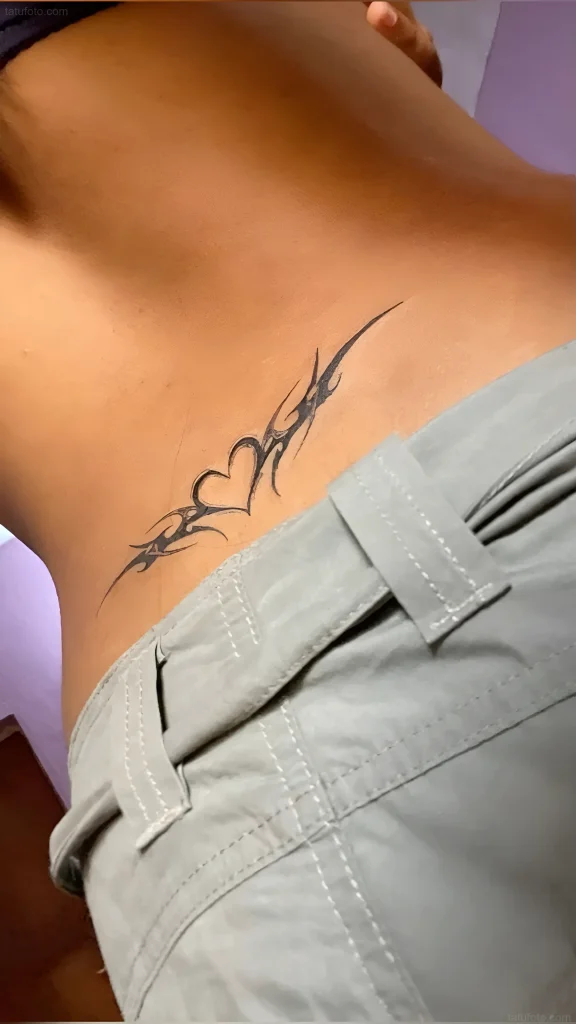
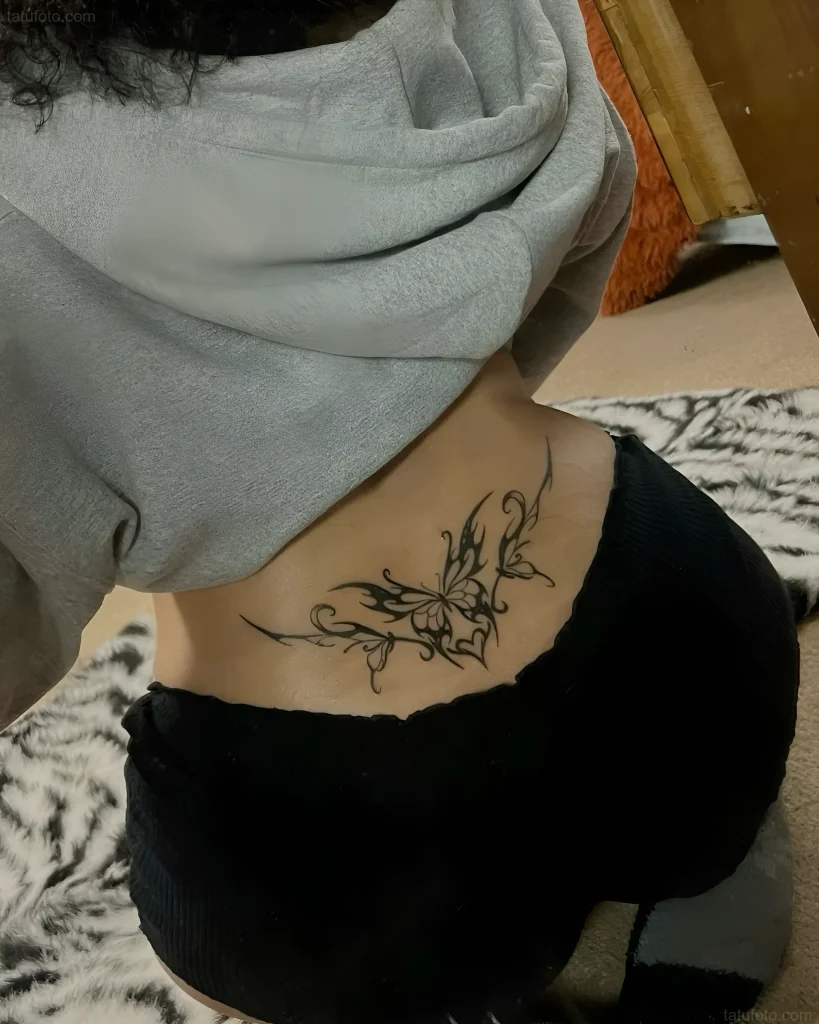
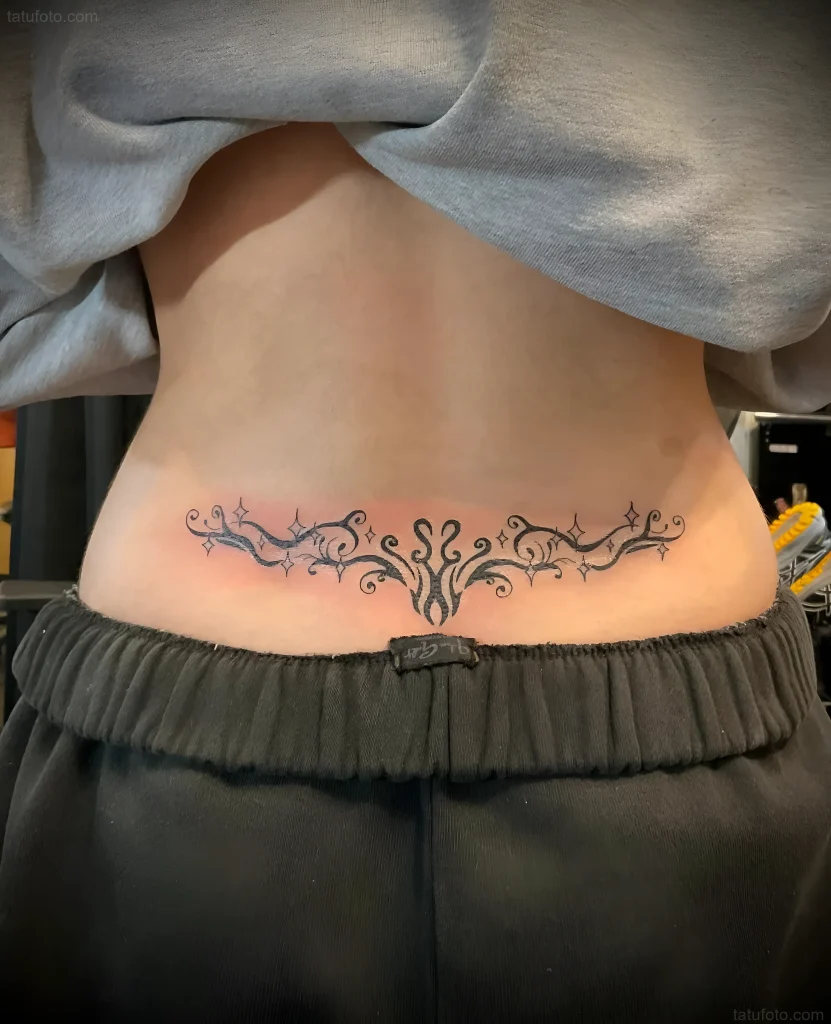
Lower Back Anatomy and Skin Characteristics for Tattoos: Important Nuances
The lower back (lumbar region, L1–L5) is an area where skin, fat layer, and muscle corset vary significantly, directly affecting the pigment application process.
Skeletal Structure and Its Influence
The central part of the lower back consists of the spine and the sacrum. Tattoo artists must remember the following anatomical features:
- Proximity to Bone: In the sacral region (especially on thin clients), the skin can be very thin with minimal fat. This requires caution when working with needle depth. Excessive pressure here can lead to pigment blowout or severe periosteal trauma.
- Lateral Areas: On the sides, above the iliac bones, the skin is denser, often with a good muscle and fat layer. Here, you can work with more confident stretching and stable depth.
- Movement and Flexibility: The lower back is one of the most mobile areas of the body. During a session, even a slight involuntary movement by the client can affect line quality. The artist must constantly control tension and needle angle.
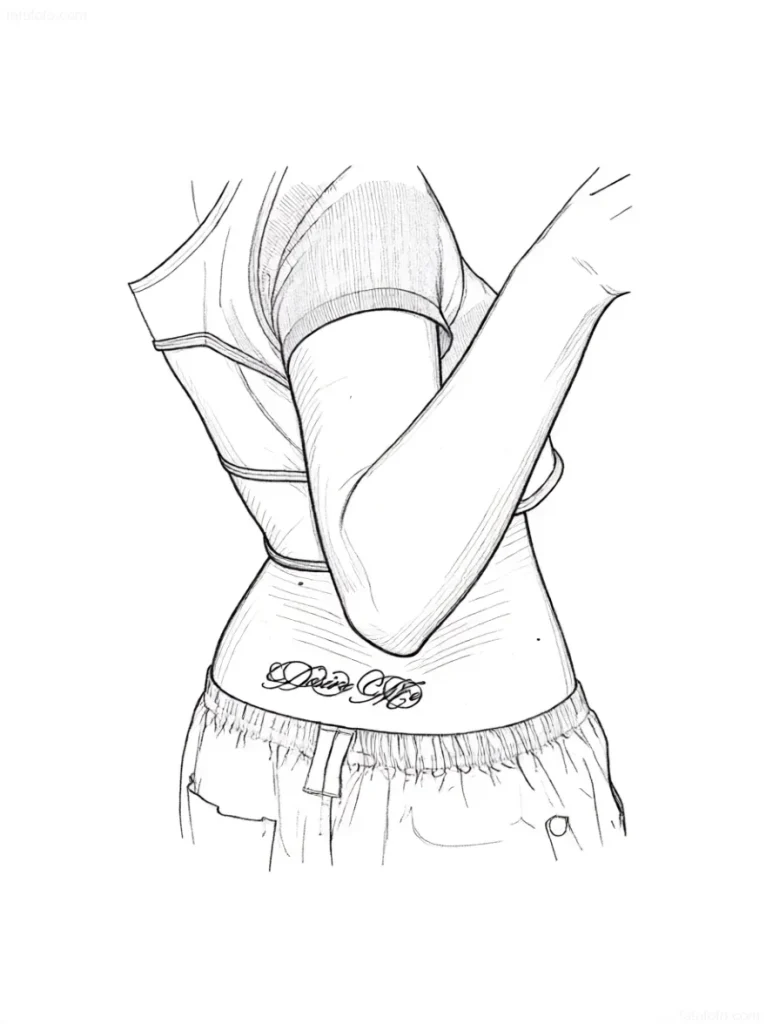
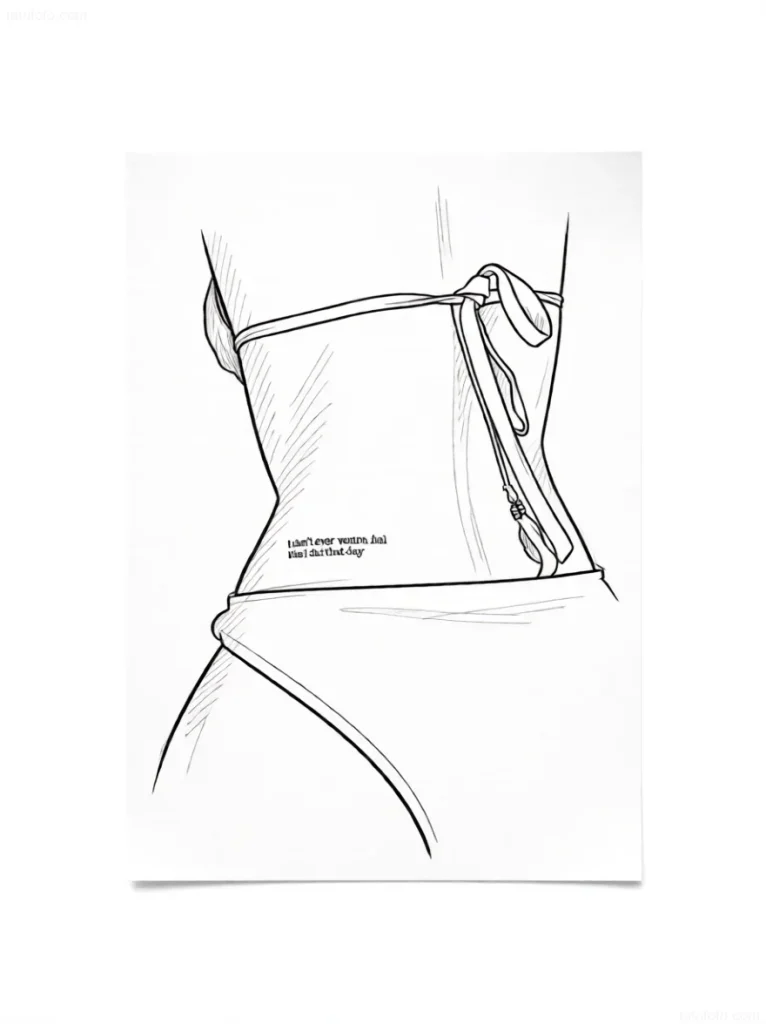
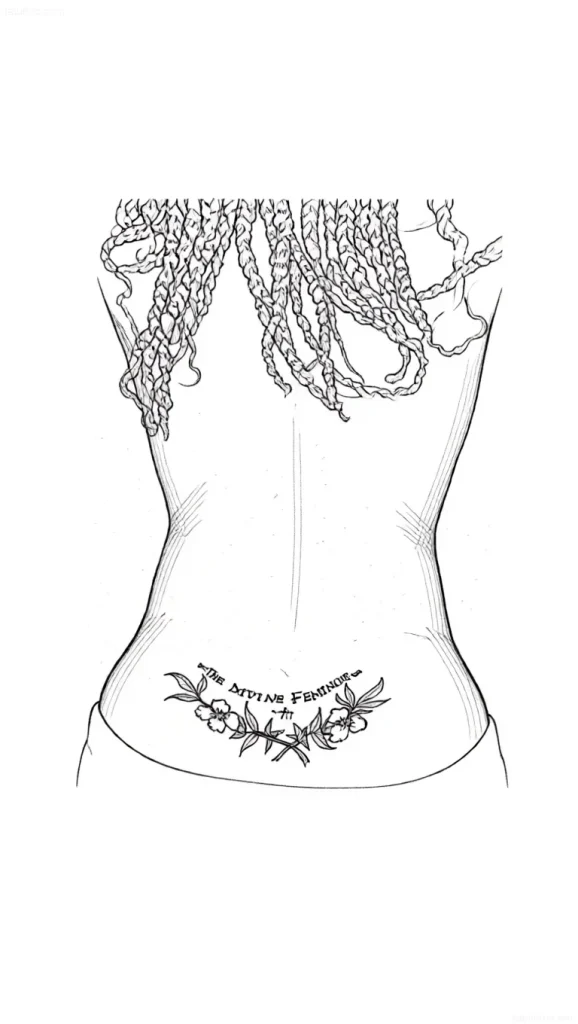
Skin Cover Characteristics
The skin on the lower back is generally not exposed to significant sun exposure (except during beach holidays), so it often retains good elasticity and density. However, there are specific points:
List of Lower Back Skin Characteristics:
- Stretching: The skin here is very elastic, requiring strong and stable stretching. If the stretch is weak, the needle will “jump,” leading to uneven outlines.
- Sweating and Friction: This area is often subject to friction from clothing, belts, or sitting, which is critical to consider during healing. During the session, increased sweating can quickly wash away the stencil, so high-quality stencil fixatives must be used.
- Pain Threshold: The pain threshold is usually moderate. The most sensitive areas are directly over the spine and closer to the sacrum, where nerve endings are closer to the surface.
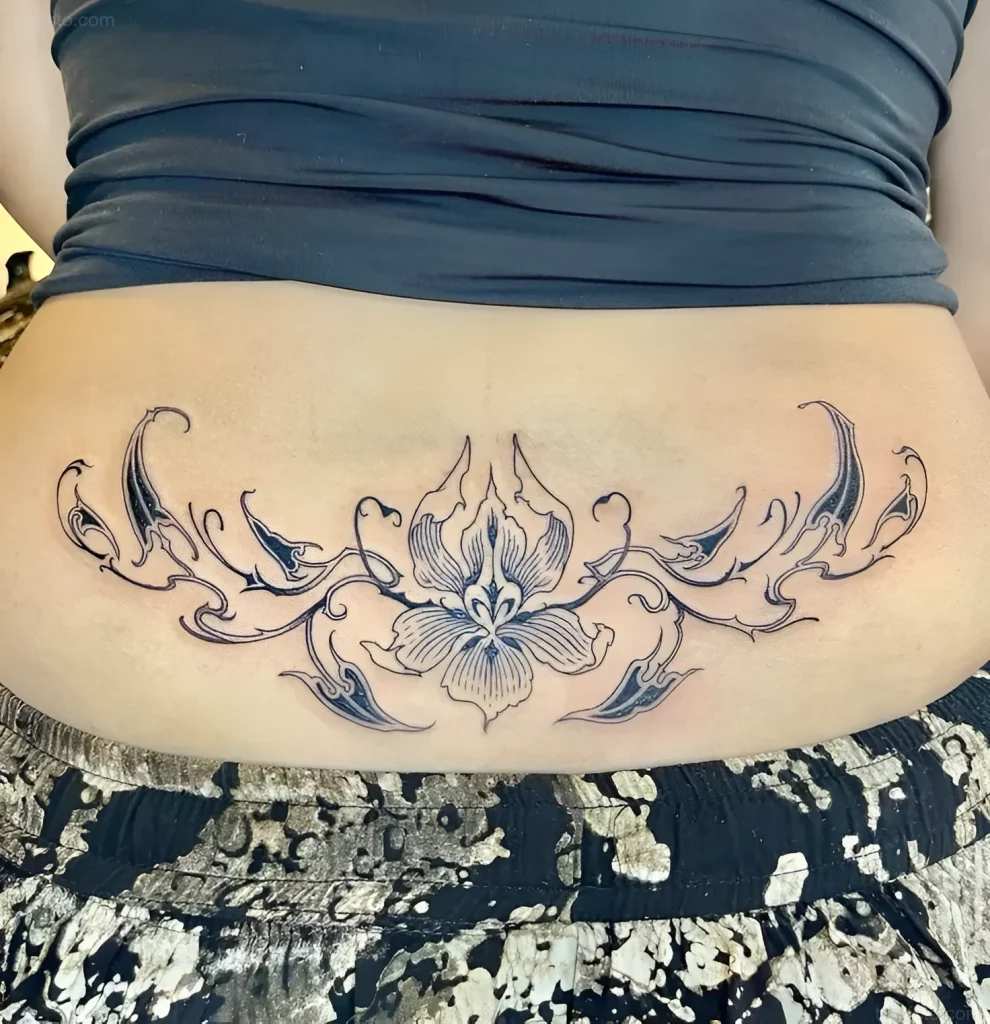
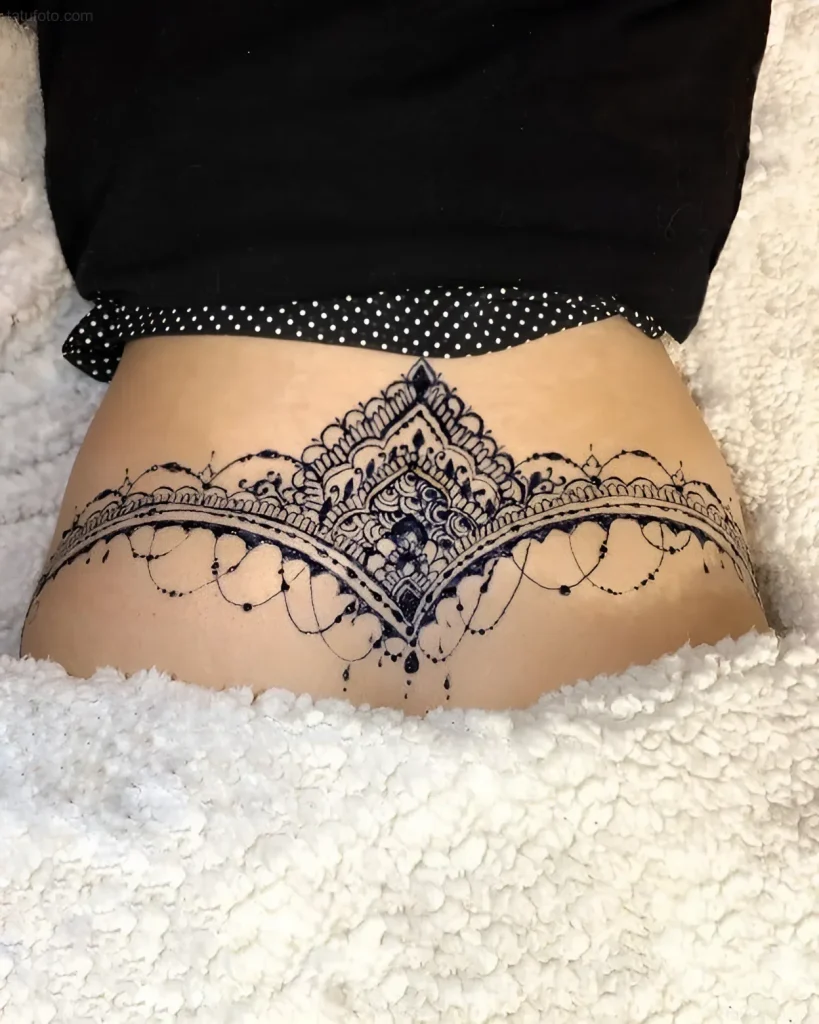
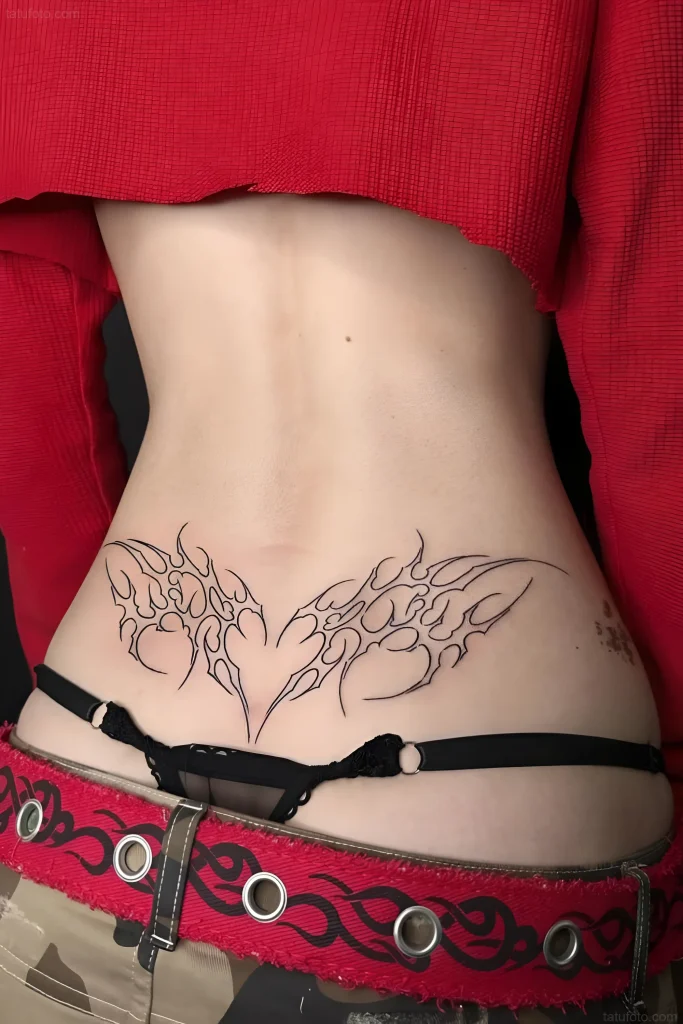
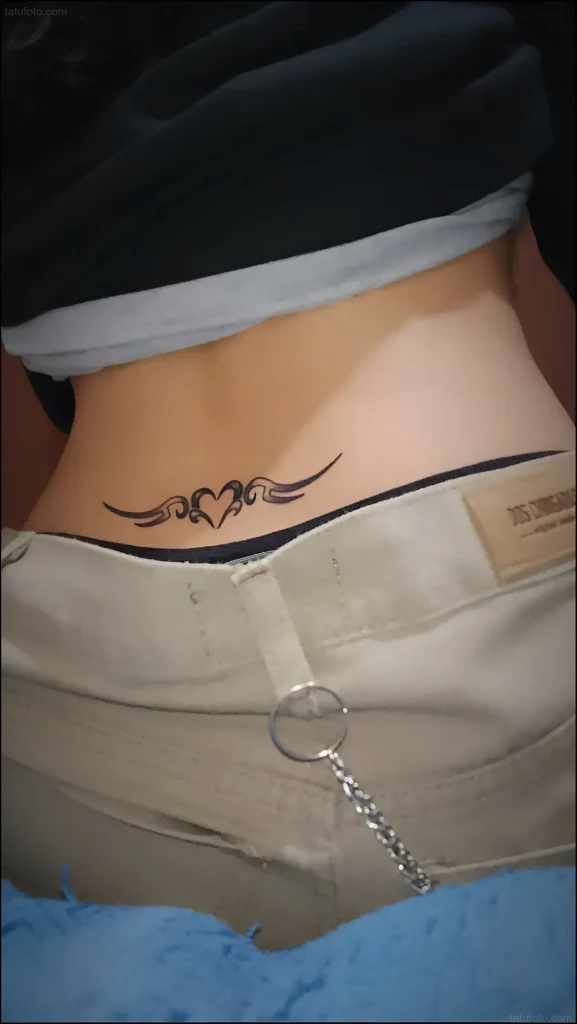
Popular Lower Back Tattoo Designs: Ideas and Inspiration for Artists
It is important for a beginner artist to understand which types of designs are historically and aesthetically best suited for the lower back, considering its shape and symmetry.
Ornamental and Symmetrical Designs
These are classics that make the most of the lower back’s central placement. Such designs require the highest precision in symmetry.
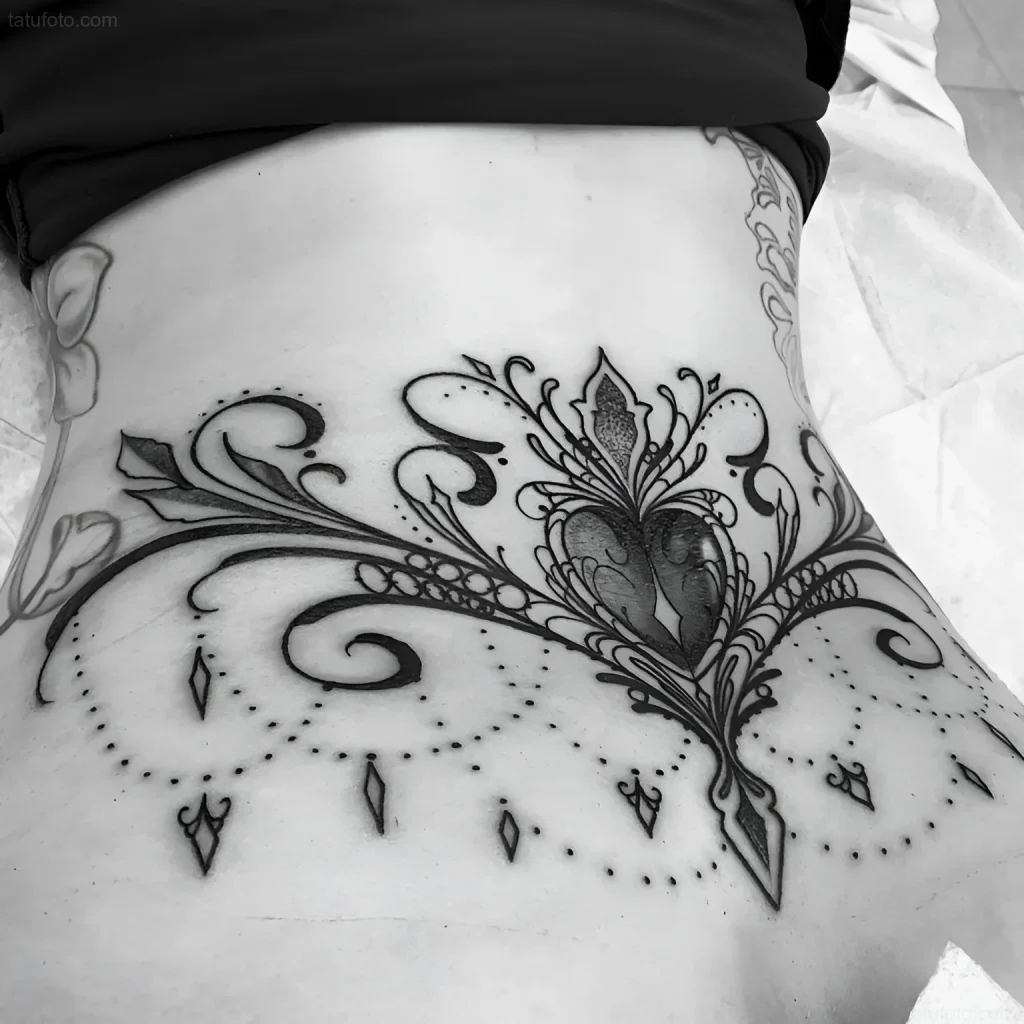
- Mandalas and Patterns: Ideal for central placement, often extending towards the tailbone. They require intricate work with fine lines and dotwork.
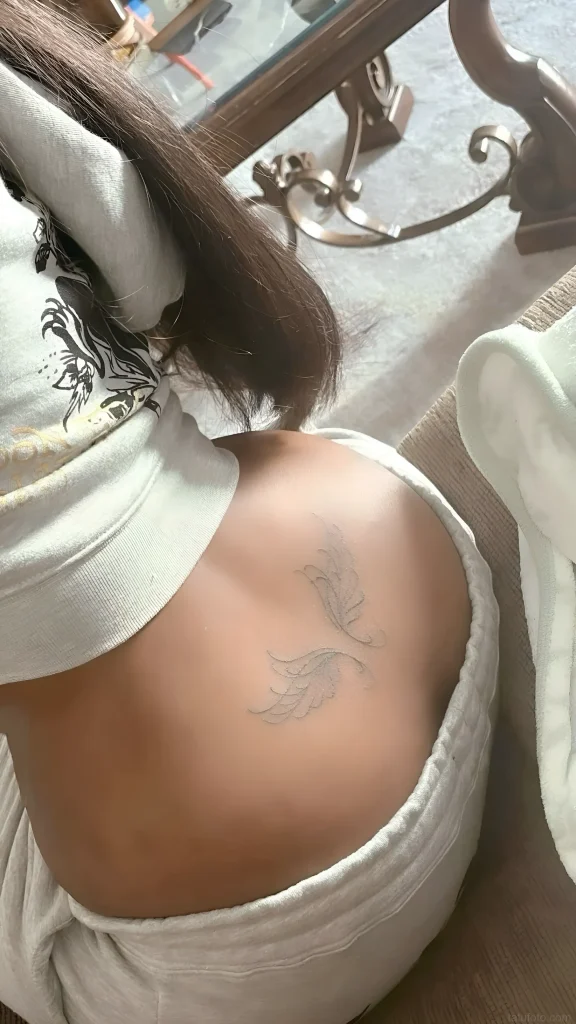
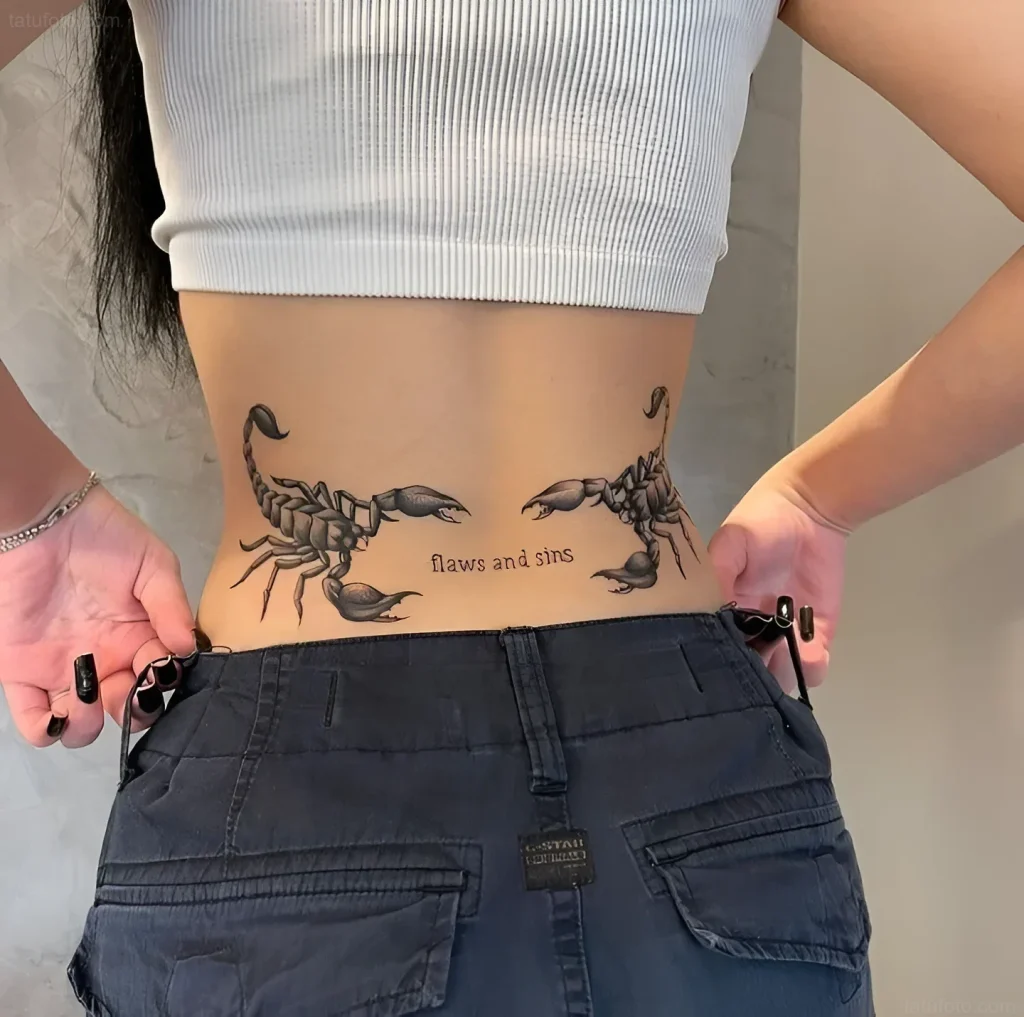
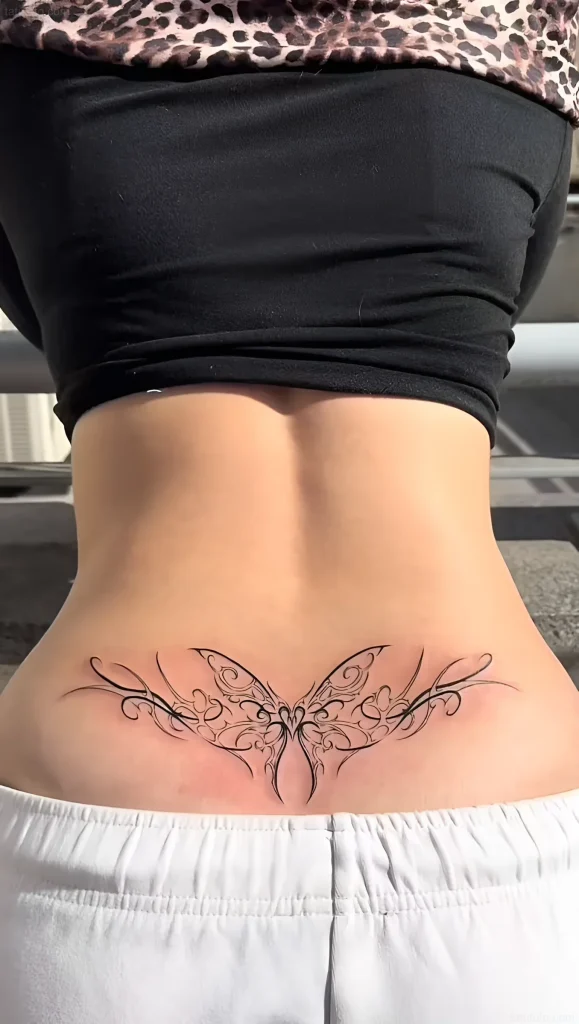
- Wings: A very popular motif. Wings should spread smoothly from the central spine towards the sides, following the body’s curve. It’s important that the transition between the central axis and the side parts is natural, not rigid.
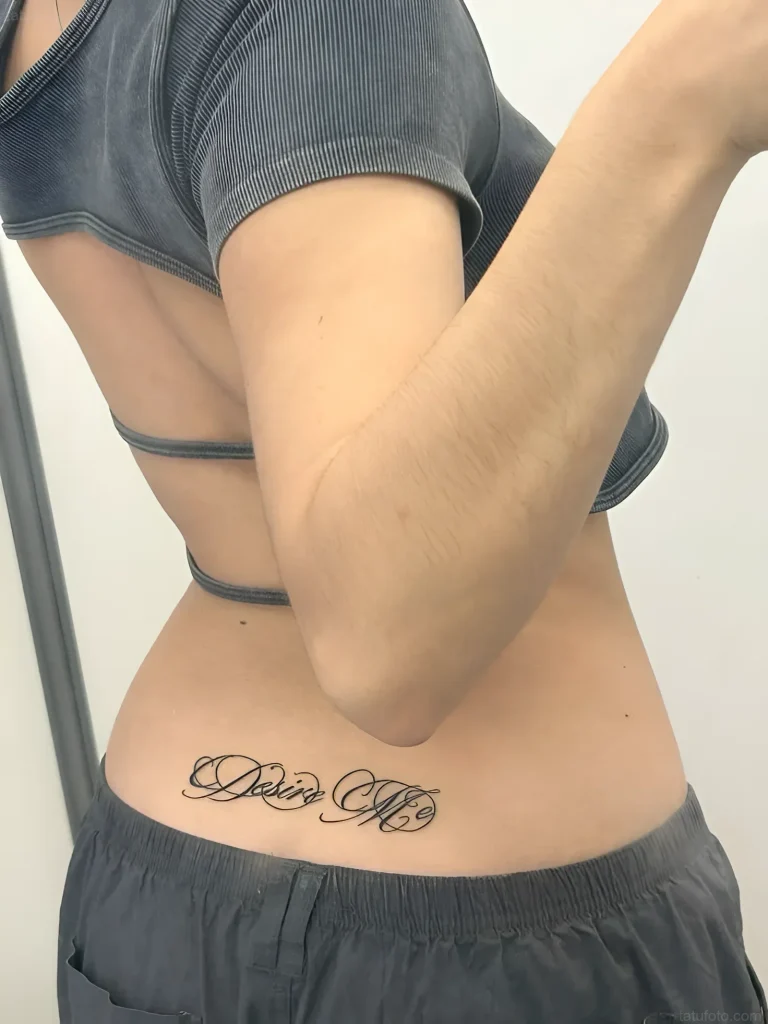
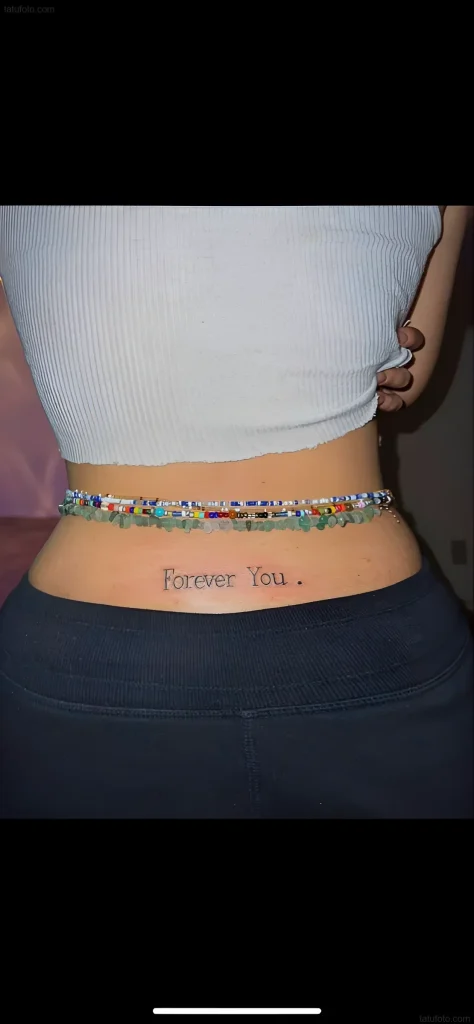
- Banners and Ribbons: Often used for adding text or quotes. Ribbons should have a natural curve, mimicking fabric movement, to avoid a visual flatness.
Floral and Animalistic Motifs
These motifs allow the artist to work more freely, using asymmetry while maintaining balance.
Examples and Their Symbolism:
| Motif | Placement Features | Cultural/Aesthetic Context |
|---|---|---|
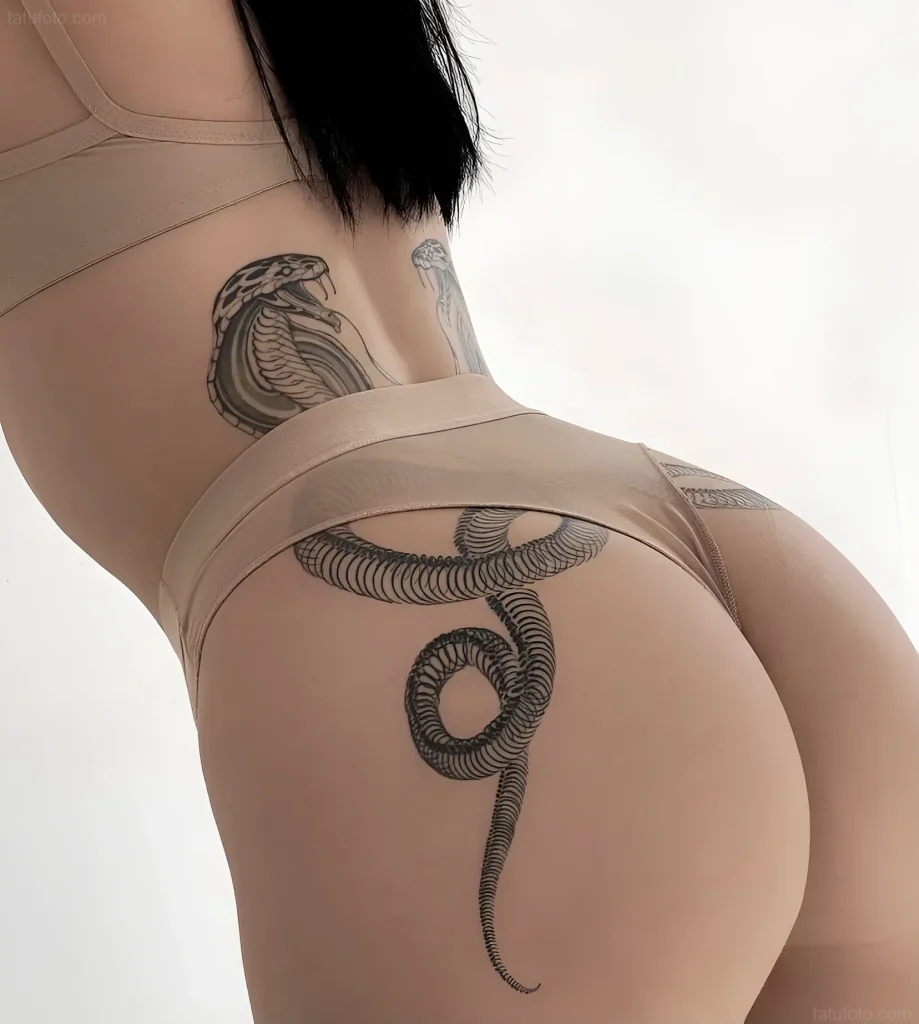
| Snakes and Dragons | Wrap around the lower back, often with the head and tail symmetrically placed on the sides. | Symbol of wisdom, power, and protection. The long body perfectly follows the curve. |
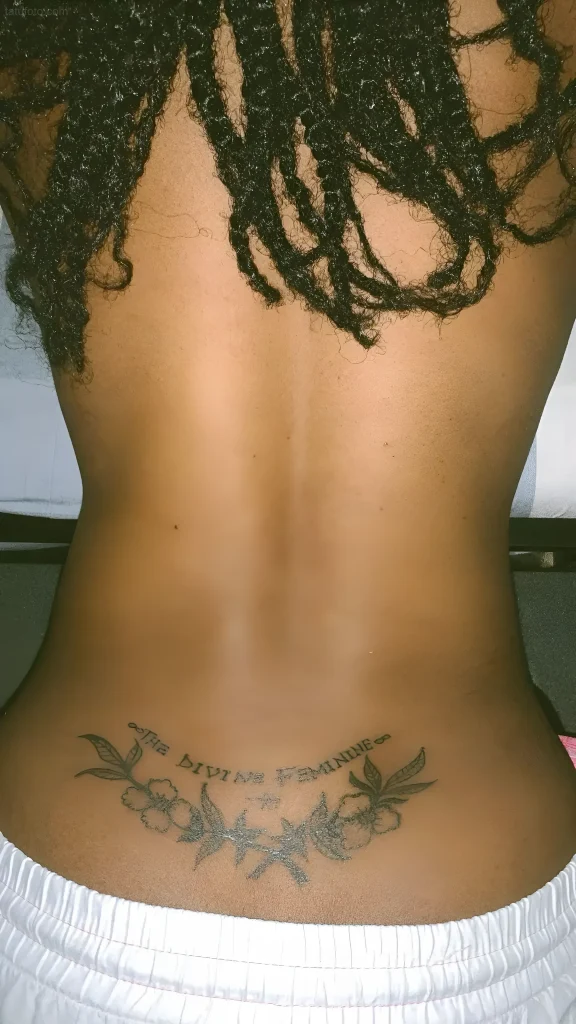
| Flowers (Lilies, Lotuses) | Central flower placement, with stems and leaves extending to the sides. | Symbol of purity, rebirth. Often executed in Blackwork or Fine Line style. |
| Birds (Swallows, Phoenixes) | Used to create a sense of flight, often in pairs, symmetrically or asymmetrically. | Freedom, hope, overcoming difficulties. Requires attention to dynamics. |
Modern Trends: Minimalism and Geometry
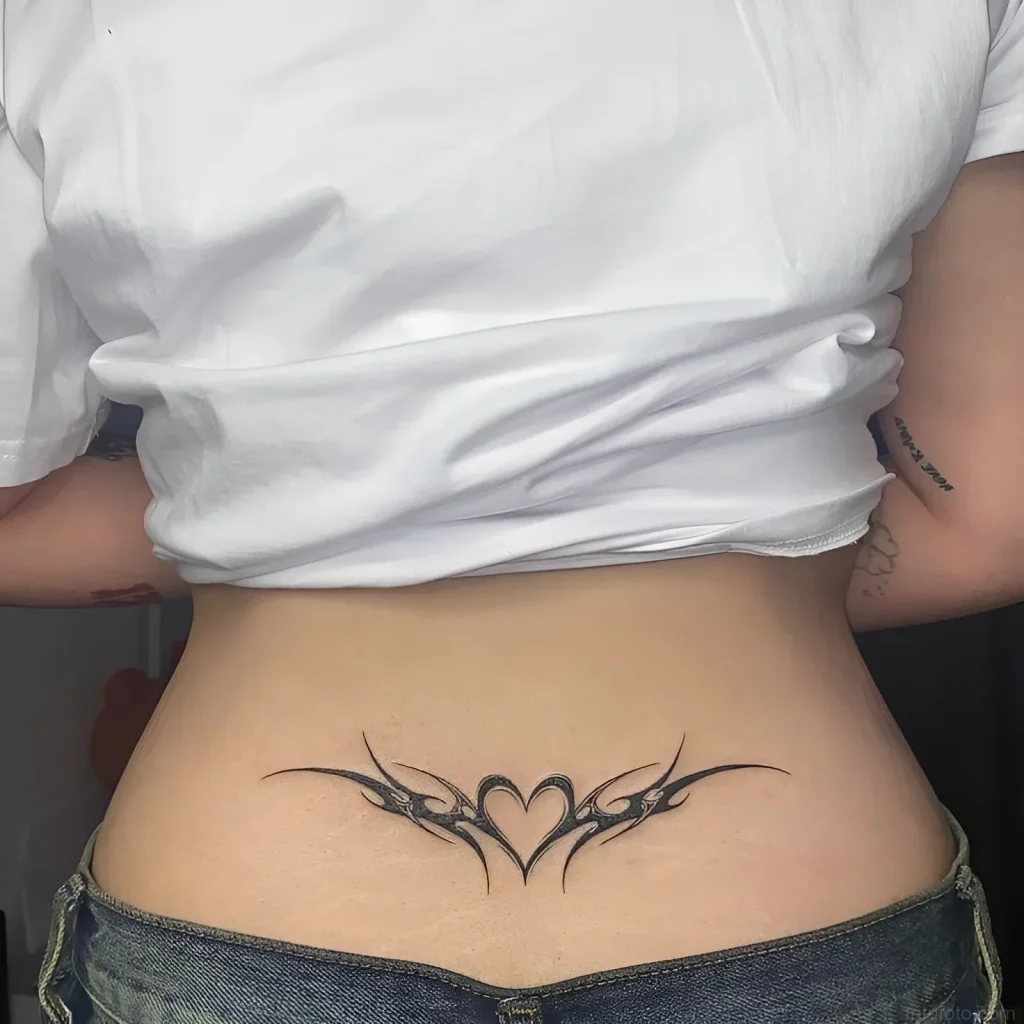
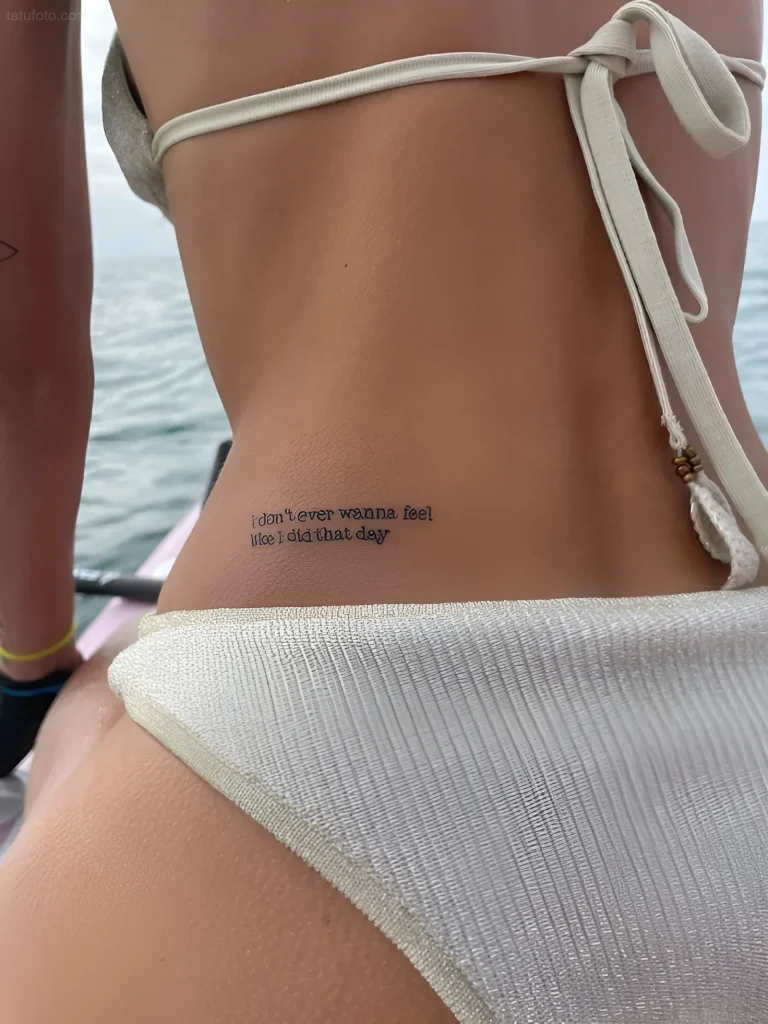
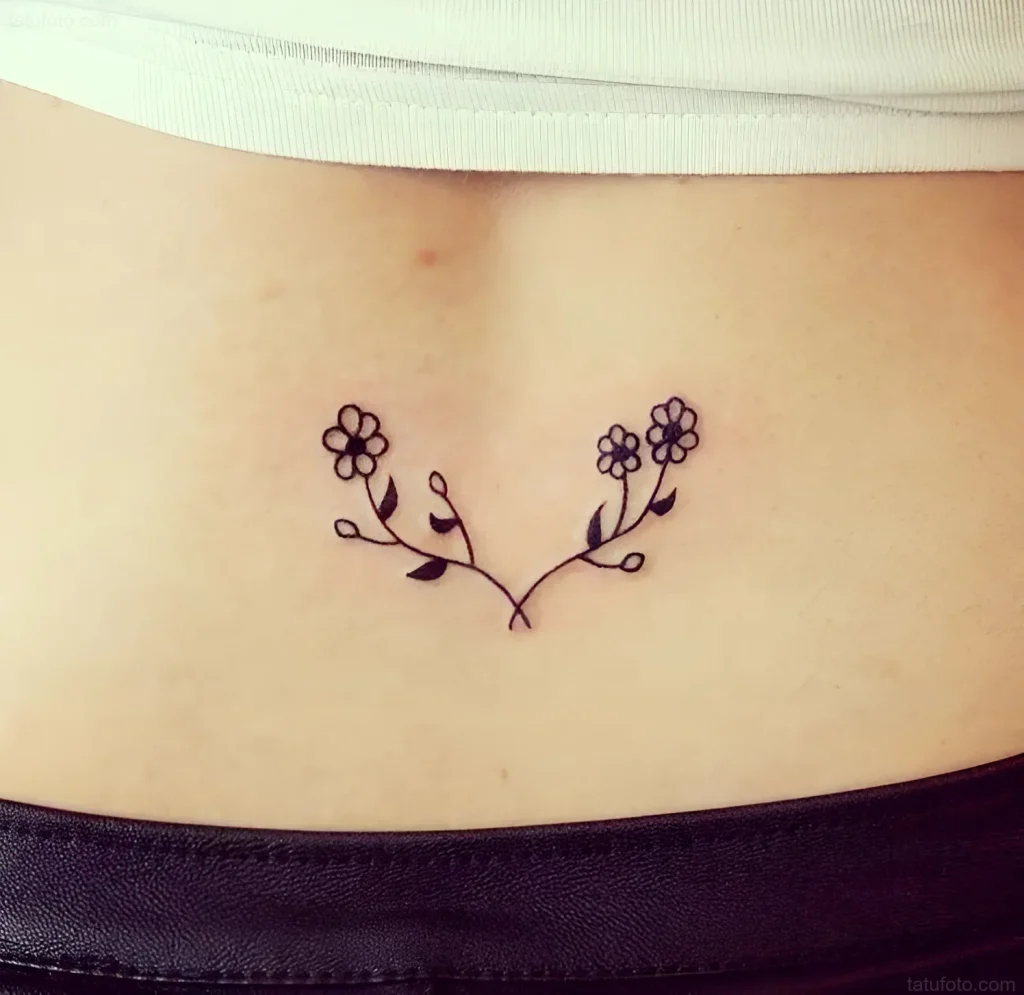
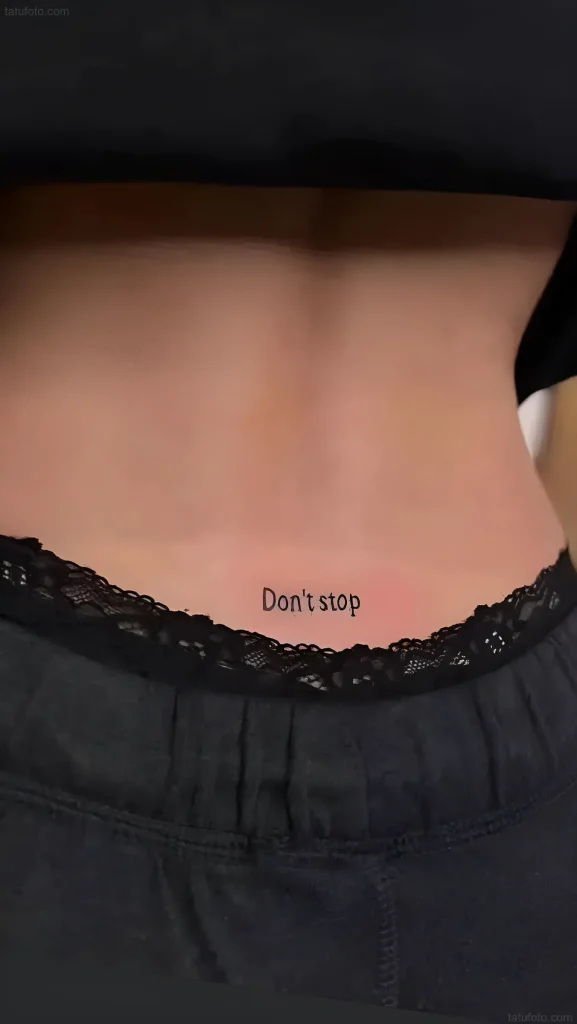
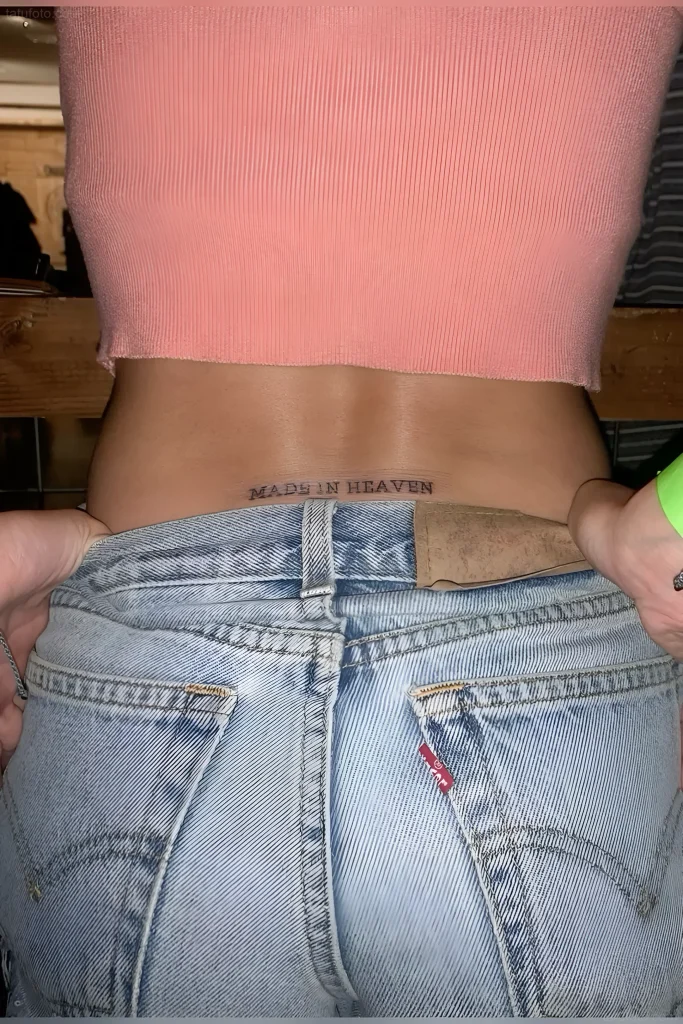
Modern lower back tattoos often move away from ornate “traditional” designs. Thin, graphic lines and minimalist patterns that subtly emphasize the body’s curve are popular. Such works require exceptional skill in linework and minimal needle depth.

Lower Back Tattoo Application Techniques: From Preparation to Final Stage
Technical work on the lower back has specific requirements that differ from working on flat or muscular surfaces.
Client Positioning and Artist Ergonomics
The optimal client position is lying on the stomach (prone position), with arms along the body or under the head. Sometimes, for better skin tension in the sacral area, you can ask the client to place a thin pillow under their stomach. This slightly arches the lower back, making the skin more accessible.
Artist Ergonomics: Lower back sessions can be lengthy. Ensure your working height allows you to work without excessive bending to avoid straining your own back. Use an adjustable height chair and avoid working “over” the client.
Critically Important Skin Stretching
Due to the high elasticity of the lower back skin, stable stretching is 90% of success. Use the “three-point” technique:
- Point 1 (Main Hand): Holds the machine and works.
- Point 2 (Upper Stretch): Stretches the skin upwards (towards the head).
- Point 3 (Lower Stretch): Stretches the skin downwards (towards the buttocks).
When working in the central area (over the spine), use the pelvic bones (iliac crests) as natural “anchors” for maximum stretching. The stretch should be so strong that the skin appears almost flat and does not move when punctured.
Working with Depth and Outlines
As mentioned, the skin in the sacral area is thin. Beginner artists should reduce the needle hang and work with less pressure in this zone. For outlines, use machines with a softer hit (e.g., rotary machines with a light stroke) to avoid excessive trauma.
Shading Specifics:
- Solid Packing: For solid black or color areas, use a circular or “sweeping” motion. Avoid keeping the needle in one spot for too long, especially over bone.
- Graywash: Shadow transitions on the lower back look very effective. Work with smooth, soft movements to avoid harsh lines that can “break” with body movement.
Lower Back Tattoo Aftercare: Tips for Clients and Recommendations for Artists
Lower back tattoo aftercare has its complexities related to constant friction and body movements. The artist must provide clear, specific instructions to the client.
The Problem of Friction and Clothing
The lower back is an area that constantly comes into contact with clothing, belts, chair backs, and bedding. This is the main enemy of healing.
Recommendations for the Client:
- Loose Clothing: For the first two weeks, wear only loose, natural clothing that does not press on the tattoo (e.g., loose sweatpants or low-waisted dresses). Strictly avoid tight belts.
- Bedding: It is best to sleep on your stomach to minimize contact with the fresh tattoo. If this is not possible, use clean, cotton sheets.
- Sitting Position: When sitting for extended periods (office work, driving), take breaks to allow the skin to “breathe.” Pressure on the lower back impairs blood circulation and slows regeneration.
Difficulties with Self-Monitoring and Hygiene
It is difficult for the client to independently inspect and care for a lower back tattoo.
Artist’s Advice:
- Mirror or Assistance: Warn the client that for adequate care, they will need a large mirror or the help of a partner/friend to ensure the entire tattoo surface is cleaned and evenly moisturized.
- Healing Film (Dermal Film): The use of modern healing films (e.g., Suprasorb F, Dermalize) can be particularly beneficial for the lower back, as they protect against friction and block bacteria, significantly simplifying the first few days of care. Explain how to properly apply and remove the film in this hard-to-reach area.
- Moisturizing: Due to constant friction, the skin can dry out faster. Recommend frequent, but thin, application of healing cream to avoid forming too thick a scab.
Safety and Hygiene During Lower Back Tattoo Application: Preventing Complications
Hygiene standards do not change, but the specifics of the lower back area require increased attention to certain aspects, especially regarding infection prevention and client comfort.
Workspace Preparation
The lower back is in close proximity to the gluteal area, which requires extra vigilance regarding sterility.
- Maximum Coverage: Use the largest possible disposable sheets and barrier protection. Ensure the client’s underwear does not come into contact with the work area or instruments.
- Shaving: Shaving should be done carefully and extensively, extending 5–10 cm beyond the intended design area. This helps prevent hair from entering the wound and ensures better stencil adhesion.
- Disinfection: Thorough skin disinfection with an antiseptic before starting work is mandatory.
Managing Pain and Discomfort
Lying on the stomach for extended periods can be tiring. This can lead to involuntary client movements, which are dangerous for the quality of work.
How to Ensure Comfort:
- Body Support: Use rolls or pillows to support the ankles and abdomen. This will relieve tension in the lower back and allow the client to lie down longer without discomfort.
- Short Sessions: If it’s a large project, it’s better to break it down into several shorter sessions (2–3 hours) than to try to do it all in one marathon session when the client gets tired and starts to move.
- Breathing Control: Ask the client to breathe deeply and evenly, especially when working on sensitive areas (over the spine).
Frequently Asked Questions About Lower Back Tattoos (FAQ)
It is useful for a beginner artist to know the answers to the most common questions that clients have when deciding on a tattoo in this area.
“Does it hurt?”
Artist’s Answer: “Pain sensation on the lower back is generally moderate. The most sensitive area is directly over the vertebrae and sacrum, where the bones are close to the surface. On the sides, where there is more muscle, the pain is felt less. We work carefully and take breaks to minimize discomfort.”