
Working with tattoos on the legs is one of the most challenging and rewarding aspects of a tattoo artist’s career. Legs, as a canvas, offer a vast area for large-scale projects, but at the same time, they require the artist to have a deep understanding of anatomy, skin characteristics, and biomechanics of movement. If you are just starting your journey, it is crucial to master the specifics of this area to avoid common mistakes such as blowouts, uneven saturation, or healing problems.
This material is designed specifically for beginner artists and serves as a detailed guide to the technical, anatomical, and stylistic nuances of tattooing the leg.
Tattoo on the Leg: Anatomy and Skin Characteristics for Beginner Artists

The leg is not just a cylinder for applying a design. It is a complex system of muscles, bones, tendons, and nerves, covered by skin that varies significantly in thickness, elasticity, and subcutaneous fat layer depending on the area.
Key anatomical differences every artist should know:
- Shin (front part): Here, the skin is very thin and taut, directly over the tibia. Work here requires extreme caution. The bone transmits strong vibrations, causing discomfort to the client and making it difficult to achieve a straight line. The puncture depth should be minimal to avoid pigment entering the periosteum or causing blowouts.
- Calf muscle (back of the shin): The skin here is thicker, oilier, and more elastic. This allows for deeper and more confident work, especially with solid fills and magnum shaders. However, this area is prone to significant swelling after a session.
- Thigh (outer and front parts): The skin is soft, with a good layer of subcutaneous fat, requiring very strong stretching. If you don’t stretch the skin properly, the needle will “bounce,” leading to uneven saturation.
- Inner thigh: The most sensitive area. The skin is thin, soft, with a high concentration of nerve endings and lymph nodes. It’s easy to get a blowout here due to the loose subcutaneous tissue. It is recommended to use finer needles and lower machine power.
Skin characteristics:
- Vascularization: Legs, especially shins, have a high density of blood vessels. This means there can be more bleeding during the process, obscuring visibility and complicating the work. Always have quality hemostatic agents on hand.
- Stretch marks (striae): Often found on thighs and calves. Tattooing over stretch marks requires technique adjustments. The skin in these areas has a different structure, and pigment may not lay evenly. Avoid overly dense fills on stretch marks, or use them as part of the design’s texture.
Preparing the Leg Skin for Tattooing: Disinfection and Shaving Protocols

Professional preparation is 50% of success. A beginner artist must strictly adhere to protocols, especially considering that legs are often in contact with clothing and shoes, increasing the risk of infection.
1. Proper Shaving:
Legs are often covered with coarse and dense hair. Shaving must be as clean as possible to avoid irritation (folliculitis), which can mimic infection or interfere with stencil transfer.
- Use new, sharp disposable razors. Never use clippers unless you need to remove very long hair first.
- Shave against the direction of hair growth for maximum smoothness, but be cautious in sensitive areas (e.g., the popliteal fossa) where the skin is easily injured.
- Use a special shaving oil or gel to minimize micro-tears. Regular soap can dry out the skin.
2. Disinfection Protocol:
After shaving, thoroughly clean and disinfect the area. Use professional antiseptic solutions (e.g., chlorhexidine or specialized tattoo soaps).
- First step: Remove any residue from shaving gel and oils.
- Second step: Disinfection. Wipe the skin and let it dry completely before applying the stencil. Damp skin will not hold a transfer well.
3. Working with the Stencil:
The leg has a complex, conical shape. Placing the stencil requires skill to avoid design distortion. Always ask the client to stand (if possible) to check how the design looks in its natural position, especially if the tattoo wraps around the knee or ankle. Ensure the stencil lines do not “break” when the joints are flexed.
Specifics of Tattooing Different Leg Areas: Shin, Thigh, Foot

The tattooing technique changes drastically depending on which part of the leg you are working on. A beginner artist must master three main types of stretching and depth.
Tattooing the Shin (front part)
This is an area of high pain and low skin resilience. Your main task here is depth control.
- Stretching: Bilateral, very strong. The skin is thin and slides easily over the bone.
- Depth: Minimal. Work at the tip of the needle. If you feel the needle “sinking” or the machine starting to vibrate heavily, you are working too deep or with insufficient stretching.
- Outlining: Use liners with fewer needles (RL3, RL5) and work quickly. Avoid lingering in one spot for too long.
- Problem: The risk of blowouts is higher because there is bone directly under the skin, with no fatty layer to contain the pigment.
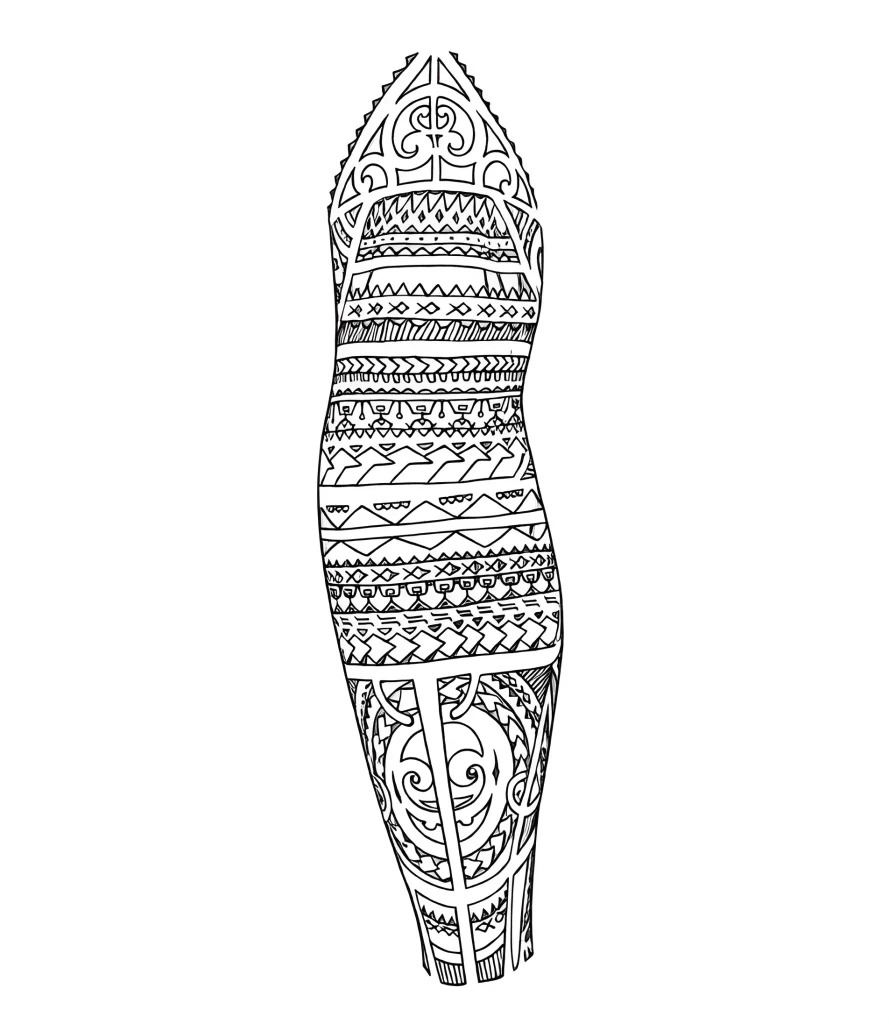
Tattooing the Thigh (outer and back parts)
An ideal canvas for large, detailed works. The skin is thick and accepts pigment well.
- Stretching: Extreme stretching is required, especially if the client has loose skin or is overweight. Thigh skin “moves.” Use three points of tension (top, bottom, and additionally with the edge of your palm).
- Depth: Medium. You can work more confidently, using magnums for solid fills.
- Movement: Work slowly and evenly to ensure full color saturation.
- Problem: Uneven saturation due to the “bouncing” effect of the skin if stretching is weak.
Tattooing the Foot and Ankle
One of the most unpredictable areas. High wear, thin skin, constant friction with shoes.
- Ankle: Very thin skin, directly over the bones. High risk of blowouts and severe pain.
- Top of the foot: Thin skin, many tendons. Pigment lays well, but heals slowly due to movement and swelling.
- Sole: (Not recommended in most cases, but if you do work on it) Very thick, calloused skin. Requires very deep punctures, but the pigment falls out quickly.
- Tip: Avoid very fine details on the foot, as they will blur quickly.
Difficulties and Risks When Tattooing the Leg: Working with Bones, Tendons, and Nerves

A professional artist must be not only an artist but also a bit of an anatomist. Knowing the location of major nerves and tendons is critical for the client’s safety and comfort.
1. Knee Area and the Peroneal Nerve
The most dangerous area is the side of the knee, around the head of the fibula. The peroneal nerve runs here, very close to the surface. Accidental injury to this nerve can lead to temporary or, in the worst case, permanent “foot drop” – the inability to lift the front part of the foot.
- Rule for the artist: Never work deep in this area. Work superficially, as you would on the shin. Avoid strong vibrations and prolonged pressure.
2. Tendons and Ligaments
Tendons (e.g., the Achilles tendon) and ligaments have very little subcutaneous fat. The skin over them is mobile but thin.
- Risk: Excessive pressure or deep punctures can cause tendon inflammation, leading to prolonged and painful healing.
- Technique: Work with maximum stretching and minimal depth, avoiding direct needle contact with the tendon.
3. Varicose Veins
Many adult clients, especially on their shins and the back of their thighs, may have pronounced varicose veins or spider veins. This is an absolute contraindication for working in close proximity to affected areas.
- Protocol: Always inspect the skin for bulging, bluish veins. It is strictly forbidden to work directly on a vein or in an area of severe inflammation. This is not only dangerous for the client’s health but can also lead to unpredictable pigment distribution.
Popular Tattoo Styles for Legs and Their Adaptation to Anatomy: From Traditions to Watercolor

The leg is an ideal place to create “flow” compositions that utilize the natural curves of muscles and bones to give the design dynamism. As an artist, you must be able to adapt the style to the limb’s shape.
1. Traditional and Neotraditional Styles
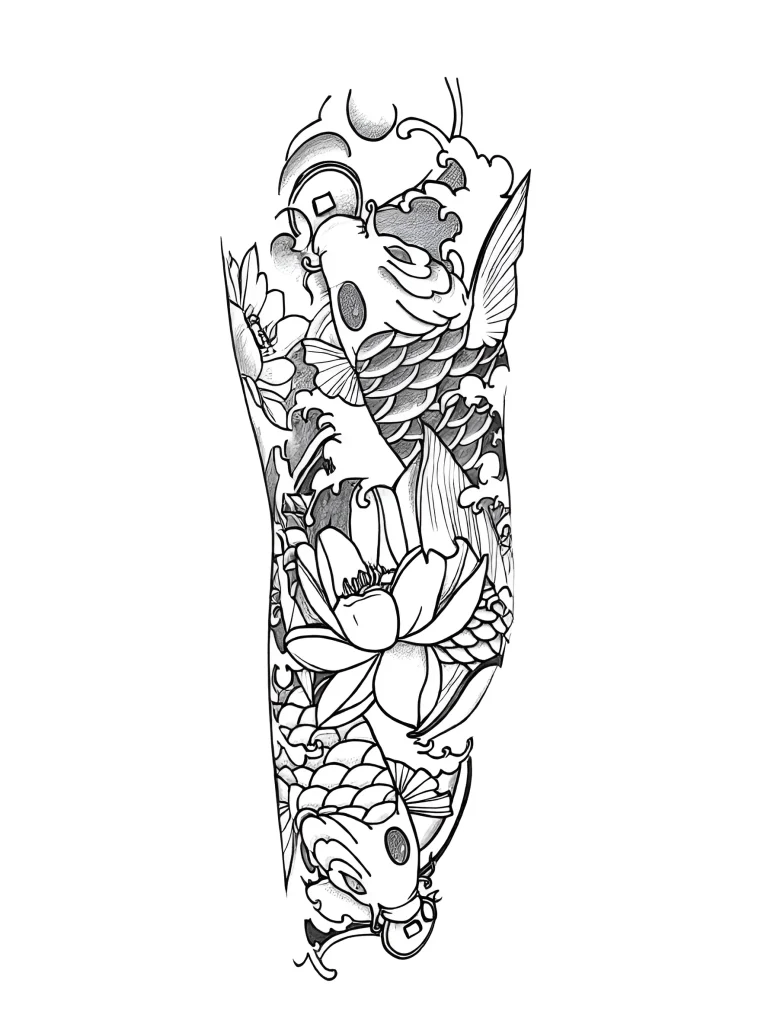
These styles, with their bold outlines and solid fills, are perfectly suited for calves and thighs, where the skin is thick and holds pigment well.
- Adaptation: Use outlines to emphasize muscle shape. For example, large roses or animals placed on the sides of the calf visually increase volume. On the shin (thin skin), use liners with lower needle groupings (RL7-9) for outlines to avoid trauma.
2. Blackwork and Dotwork
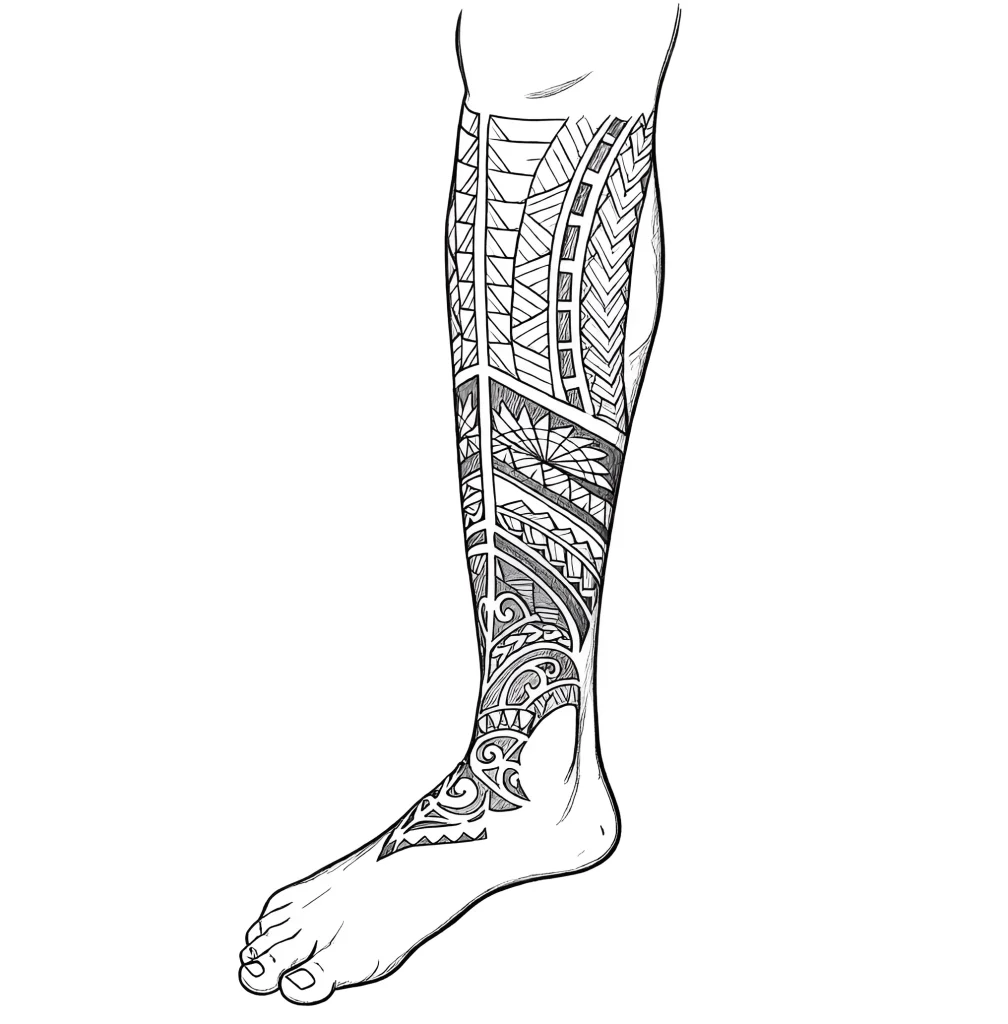
These styles are excellent for creating geometric or ornamental “leg sleeves.” Geometric elements (mandalas, patterns) look great on knees and ankles but require the highest precision.
- Adaptation: When working with dotwork on the thin skin of the shin, use soft machine settings and lower speed so that the dots lay evenly and don’t “bleed.” When creating ornamental bands around the leg (bands), always consider that the design must connect perfectly when the client is standing.
3. Realism
Realistic portraits or large scenes require maximum area and minimal skin movement. The best locations are the outer thigh and calf.
- Adaptation: Avoid placing realism on knees or ankles, as the constant movement of the joints will quickly deform and distort the image. When tattooing thighs, very strong and even stretching is necessary to prevent fine details from “blurring.”
4. Watercolor and Graphic Styles
These styles, often requiring fine lines and soft transitions, can be challenging on legs due to their tendency to swell and experience friction.
- Adaptation: Soft shadows and color transitions require gentle healing. Inform the client that due to swelling on the shin, watercolor effects may take longer to heal, and pale colors might “get lost” if the skin is heavily traumatized.
Leg Tattoo Aftercare: Instructions for Clients and Healing Monitoring

Healing a leg tattoo has its specifics that you must convey to the client. The main enemies here are gravity and movement.
1. Swelling (Edema) Problem
Due to gravity, blood and lymph accumulate in the lower extremities. Tattoos on the shin, ankle, and foot are prone to significant and prolonged swelling (up to 5–7 days).
- Your instructions to the client: For the first 48–72 hours, the client should minimize time spent standing or sitting with their legs down. Recommend lying down with the leg elevated above heart level (propped up on pillows).
2. Clothing and Footwear Requirements
Friction is the main cause of pigment loss and irritation.
- Clothing: Recommend wearing loose, breathable pants (cotton, linen). Strictly avoid tight jeans or leggings that can chafe a fresh tattoo.
- Footwear (for tattoos on the foot/ankle): The client should wear the loosest possible footwear or sandals to avoid pressure and friction. If the tattoo is on the ankle, any high footwear (boots) can cause serious healing problems.
3. Healing Duration
Due to constant movement and increased risk of swelling, primary healing of a tattoo on the shin or foot can take a bit longer than on an arm or torso (on average, 2–3 weeks of active healing).
Use of Protective Films:
For legs, protective film dressings (like Suprasorb F or Dermalize) are particularly useful as they minimize friction from clothing and protect against external contaminants. However, ensure the film is applied without creases and does not constrict the limb, especially around the knee.
Frequently Asked Questions (FAQ) About Leg Tattoos for Tattoo Artists

In this section, we’ve gathered the technical questions that most often arise for beginner artists working on leg areas.
Q. What needle configuration is best for outlining on the shin?
A. For working on the front of the shin, where the skin is thin, it is recommended to use smaller diameter and less dense liners (RL5 or RL7) and work with a shorter needle depth. This reduces trauma and minimizes the risk of blowouts on the bone.
Q. How to deal with a client’s severe pain when working on the knee?
A. The knee (especially the kneecap) is one of the most painful areas. Firstly, work as quickly as possible. Secondly, use local anesthesia (if permitted by your protocols), but remember that anesthetics can temporarily alter skin texture. Thirdly, break the session into short intervals and always start with less painful areas to allow the client to get used to the sensations.
Q. How to properly stretch the skin on the inner thigh?
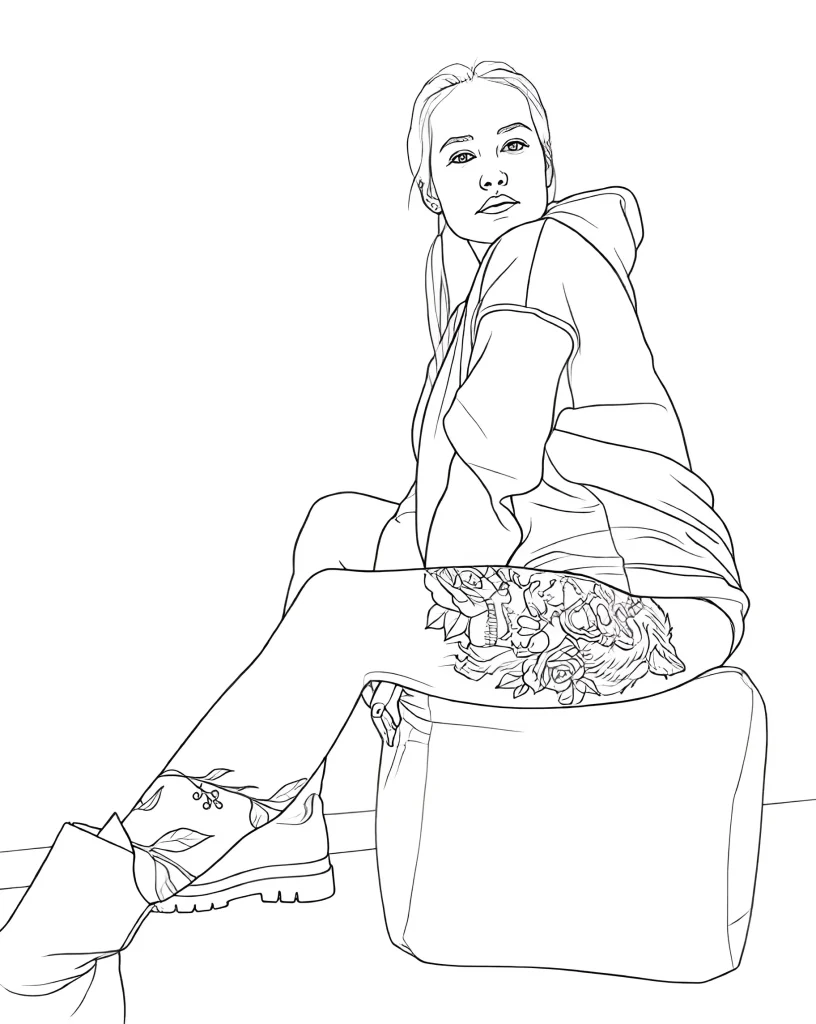
A. The inner thigh requires stretching in three directions. Use one hand to stretch the skin horizontally, and the other (the edge of your palm) to press down vertically and fix the subcutaneous fat. This helps create a maximally flat and stable working surface, which is critical for preventing blowouts.
Q. What to do if there’s significant bleeding on the shin during a session?
A. Heavy bleeding on the shin is often related to increased vascularization or the client having recently consumed alcohol/caffeine. First, ensure you are not working too deep. Use specialized tattoo soaps with hemostatic effects and clean paper towels to gently blot the area. If bleeding doesn’t stop and significantly hinders work, consider rescheduling the session.
Interesting Facts and Trends in Leg Tattoos: What’s Fashionable Now and Why

Understanding current trends helps artists advise clients and offer the most relevant and anatomically suitable designs.
Trend 1: Full Leg Sleeves
In recent years, there has been an explosive growth in the popularity of full leg sleeves. This is due to the fact that the leg allows for the creation of a single, continuous narrative or composition that can be easily hidden or displayed at will.
- Why it’s important for the artist: A “sleeve” requires flow planning. A beginner artist must plan in advance how the design will transition over the knee (where it should be minimally detailed) and how it will “wrap around” the calf muscle.
Trend 2: Ornamental and Geometric Bands
Bands, ornaments, and geometric patterns around the thigh or calf remain in vogue. This is an ideal way to accentuate muscle shape.
- Technical challenge: Creating a perfectly straight and symmetrical “band” in a circle requires meticulous stencil transfer and flawless line work. The slightest error in connection or skin stretching will lead to visible distortion.
Trend 3: Minimalism and “Fine Lines” on Ankles
Thin, delicate tattoos placed above the ankle bone or on the top of the foot are popular for their aesthetic appeal. This requires the highest precision from the artist and the use of the finest needles (Single Needle, RL3).
- Warning: Due to high friction from shoes and the thinness of the lines, these tattoos require frequent touch-ups. Always inform the client about this in advance.
In conclusion, tattooing the leg is a continuous learning process. Mastering anatomy, applying correct stretching protocols, and understanding the unique risks of this area will allow you not only to create impressive works of art but also to ensure the safety and best healing results for your clients.
Additional Images
Gallery of remaining images (click to view):


