
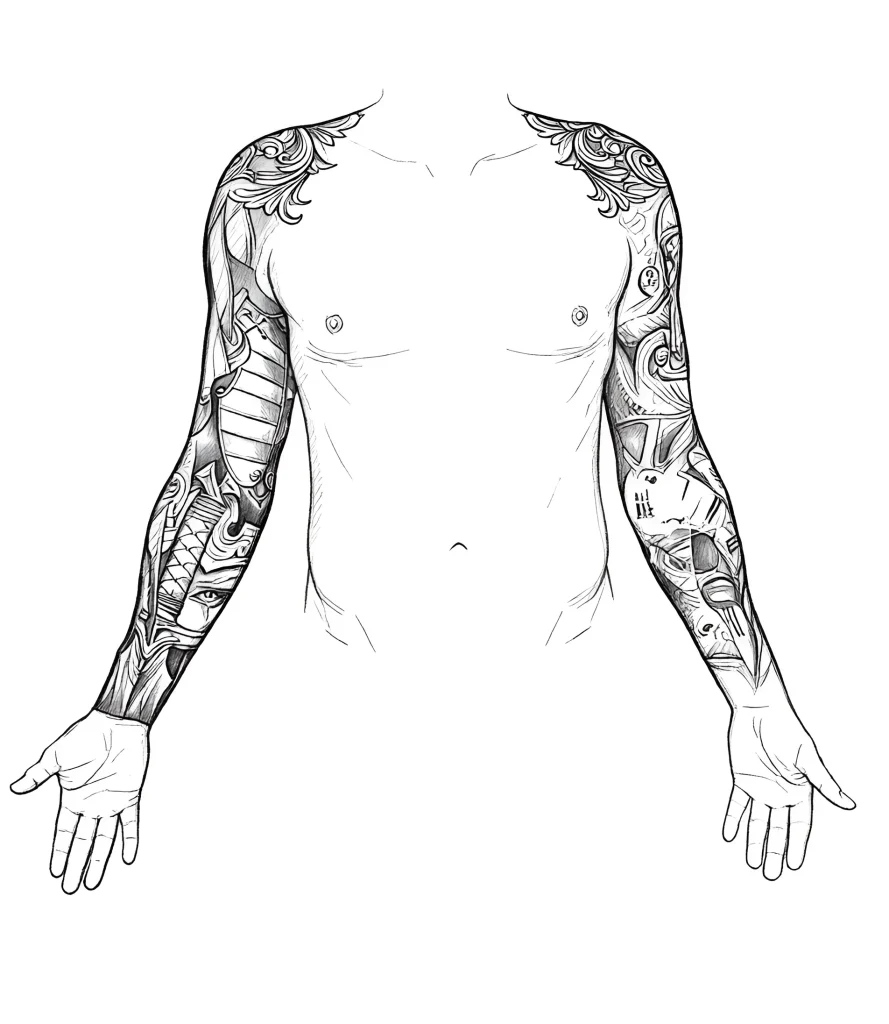
A full arm tattoo, or “sleeve,” is not just a large piece of work; it’s a monumental project that serves as the ultimate test of professionalism and endurance for both the client and the artist. For a beginner tattoo artist, mastering this format is a crucial step towards recognition. It requires not only impeccable technique but also a deep understanding of anatomy, composition, and the psychology of long sessions. In this material, we will focus specifically on the practical aspects that will help you, as a beginner artist, confidently approach the creation of your first large-scale “sleeve.”
Full Sleeve Tattoo: Working with Beginners in Mind

Working on a “sleeve” is fundamentally different from creating small or medium-sized tattoos. It’s a long-term project requiring strategic planning. You must perceive the arm not as a flat canvas but as a three-dimensional cylinder that constantly moves and changes shape.
Key Differences of a “Sleeve” from Localized Tattoos:
- Scale and Time. A “sleeve” typically requires 5 to 15 sessions, depending on the style and detail. Your task is to develop a clear work schedule to avoid burnout and maintain client motivation.
- Compositional Integrity. Each element must be connected to the overall design, ensuring a smooth visual flow that harmoniously wraps around the arm.
- Project Economics. You need to accurately calculate the cost and explain to the client that this is an investment, not a one-time payment. Beginner artists are often advised to set a price per session rather than for the entire project to account for unforeseen complexities.
- Healing Between Sessions. You will be working on areas that have already healed and new ones. It’s crucial to ensure a perfect transition of color and lines between old and new segments.
Session Planning and Logistics
Typically, “sleeve” sessions are scheduled with a 3–4 week interval. This gives the skin enough time to recover. Your task is to break down the work into logical stages that have a complete look, even if the project is not yet finished.
Work Breakdown Strategy:
- Outline and Main Forms. The first, and possibly second, session is dedicated to applying all the main outlines and key design elements.
- Shading (Black & Grey) or Main Colors (Color). Start with the darkest or most saturated color. This will create depth. It’s recommended to work on one segment (e.g., forearm, then bicep) until it’s completely filled.
- Background and Filling. The background (e.g., waves, smoke, clouds, ornament) unifies disparate elements into a cohesive whole. This can be a separate session or part of the detail sessions.
- Detailing, Highlights, and Correction. The final stage where you add small details, correct color transitions, and refine the lightest areas.
Arm Anatomy and Skin Preparation: Key Points for Tattooing

Understanding the anatomical features of the arm is the foundation for safe and high-quality work. The arm is a complex structure with sharp changes in skin thickness, proximity to bones, and nerve endings.
Areas of Increased Difficulty for the Artist
- Elbow Crease (Inner Elbow). The skin here is very thin, elastic, and stretches significantly. This is a high-risk area for “blowouts” as ink can easily penetrate deep layers of the dermis due to the thin skin. Work here must be as superficial as possible with minimal needle depth.
- Elbow and Shoulder Joint. The skin over the bones is thin and prone to rapid pigment rejection. Denser color packing is required, but with caution to avoid traumatizing the periosteum.
- Wrist and Inner Forearm. The proximity of veins and tendons requires care. The inner forearm is very sensitive to pain.
- Armpit Area. High concentration of lymph nodes. Tattoos are rarely done directly in the armpit, but when working on the inner bicep, remember the proximity of this area.
Proper Stencil Placement
Beginner artists often struggle with design distortion when applying it to a curved surface. The sleeve should look harmonious from all angles.
Stencil Application Tips:
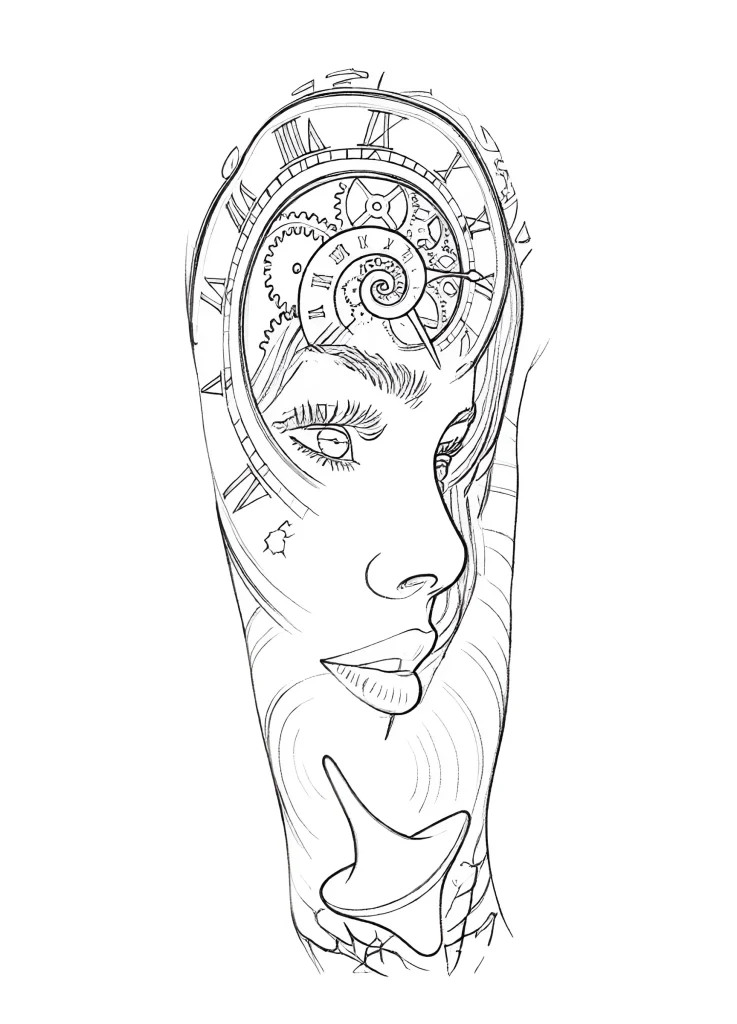
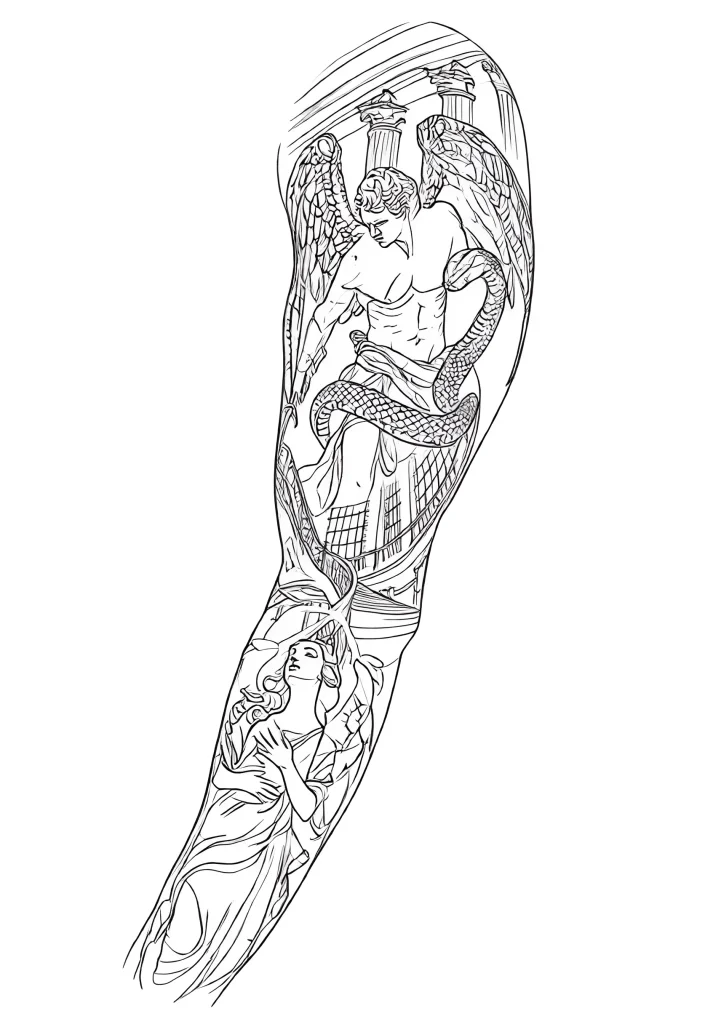
- Sectioning. Do not try to apply the entire stencil at once. Divide it into 2–3 key zones (upper arm, forearm, crease).
- Key Points. Identify the “anchors” of the design – elements that must be perfectly aligned (e.g., the center of an animal’s head or a large flower). Start application from these points.
- Using Markers. After removing the stencil, use a surgical marker to outline the flow lines and areas where the design should “meet” on the back of the arm.
- Movement Check. Ask the client to bend and straighten their arm to ensure the design doesn’t distort critically during movement, especially around the elbow.
Full Sleeve Tattoo Designs: From Concept to Execution

A “sleeve” design is not just a collection of drawings; it’s an architectural plan that considers the shape and movement of the arm. The key word here is flow.
Composition Principles for a “Sleeve”
1. Movement and Direction: The design should follow the natural lines of muscles and bones. Avoid horizontal lines that “cut” the arm. Diagonal, spiral, or vertical elements are preferred, creating a sense of movement from shoulder to wrist.
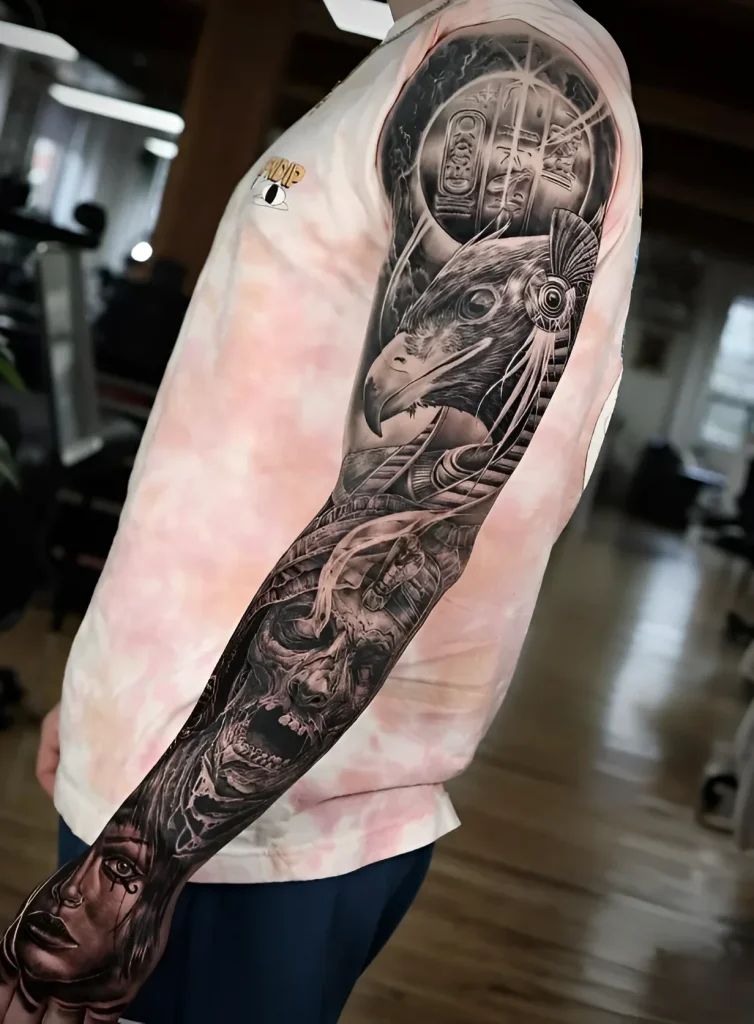
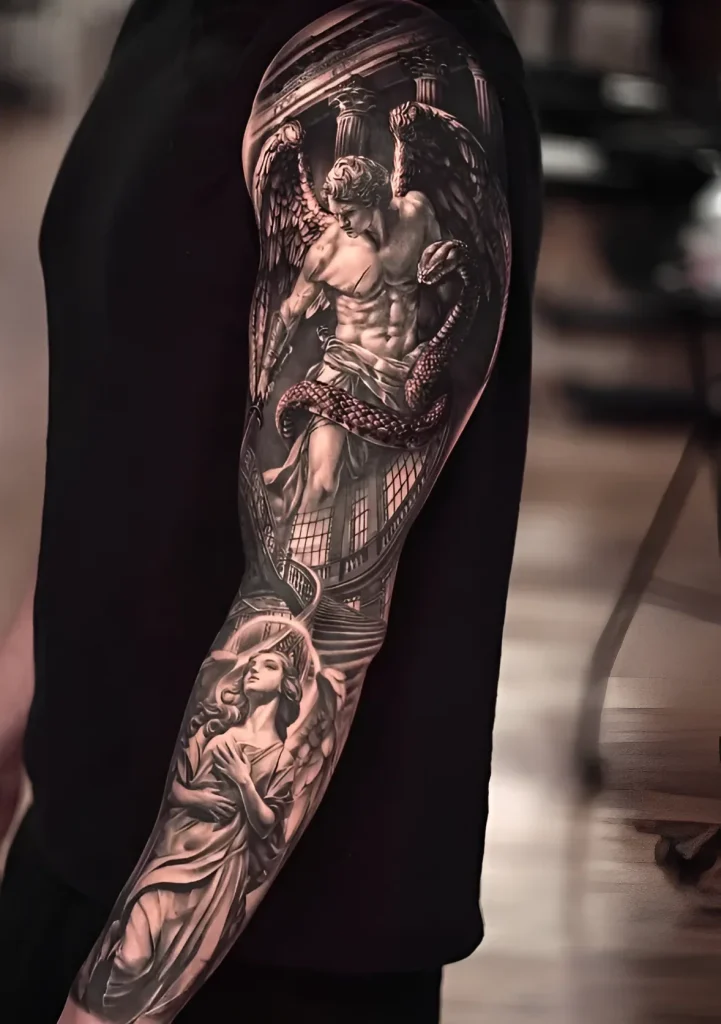
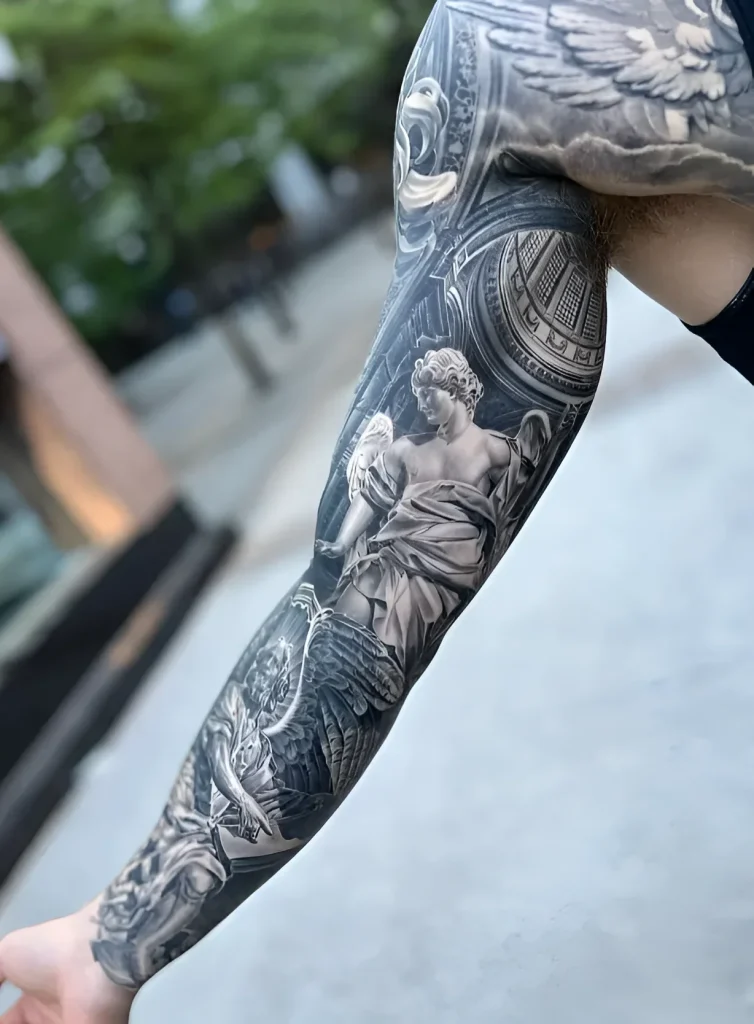
2. Use of Negative Space: Do not try to fill every millimeter of skin. Negative (un-tattooed) space is critical for the “breathing” of the work. It helps highlight key elements and provides necessary contrast, especially in Black & Grey or Fine Line styles.
3. Focal Points: A “sleeve” should have 1–2 main subjects that immediately attract attention (e.g., on the shoulder and forearm). All other elements (background, secondary details) should serve as a frame for these focal points.
Examples of Styles and Their Adaptation to Arm Shape
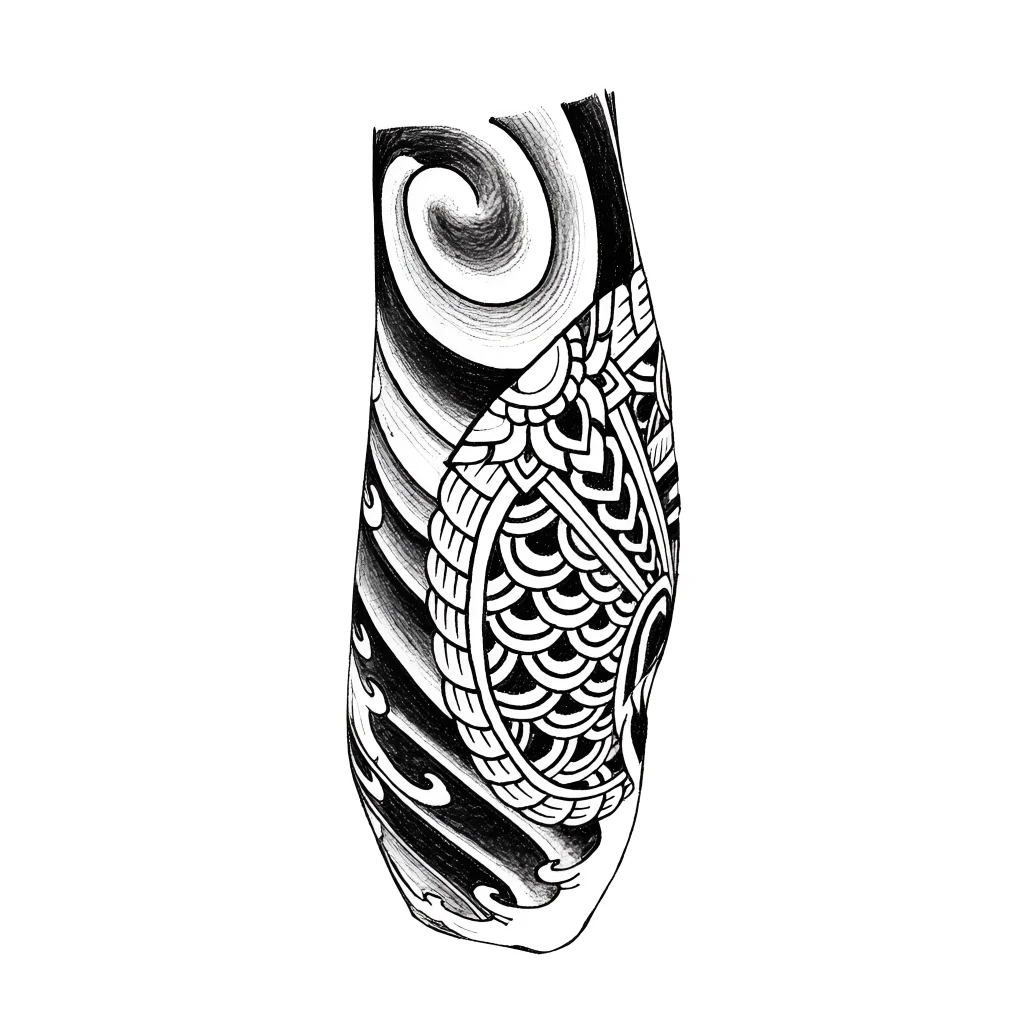
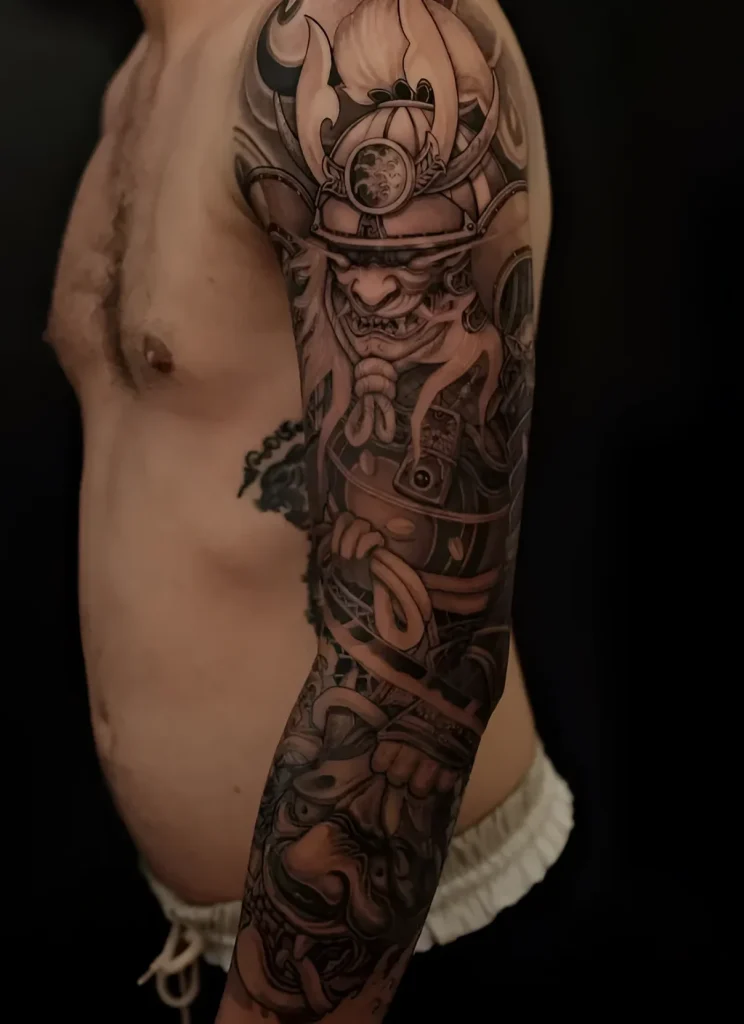
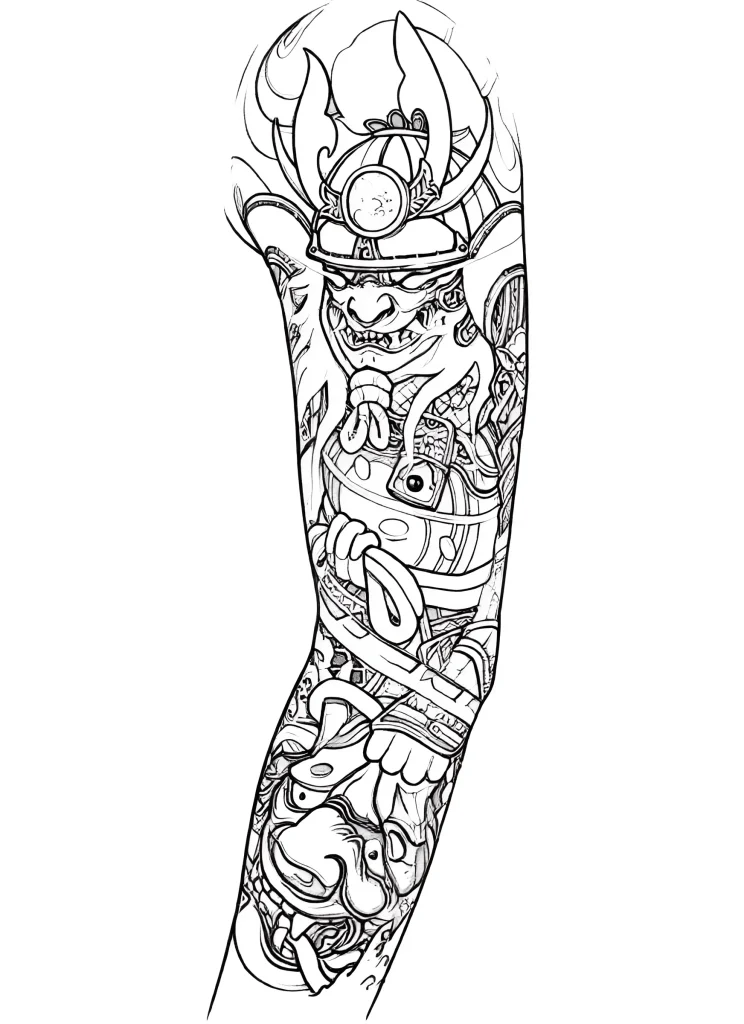
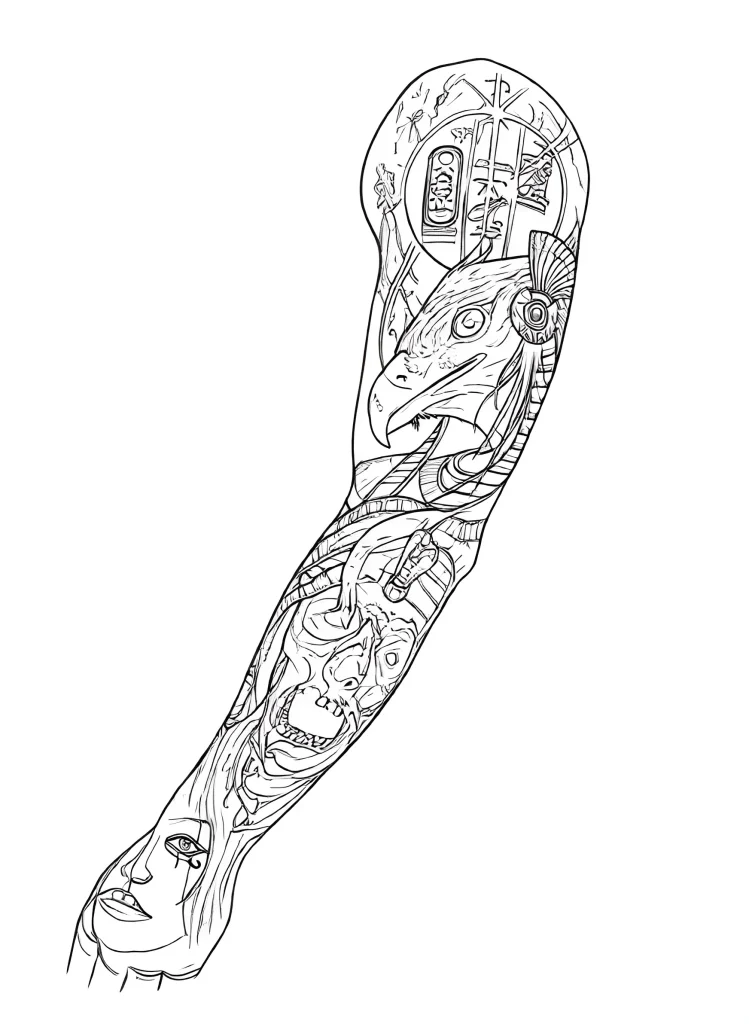
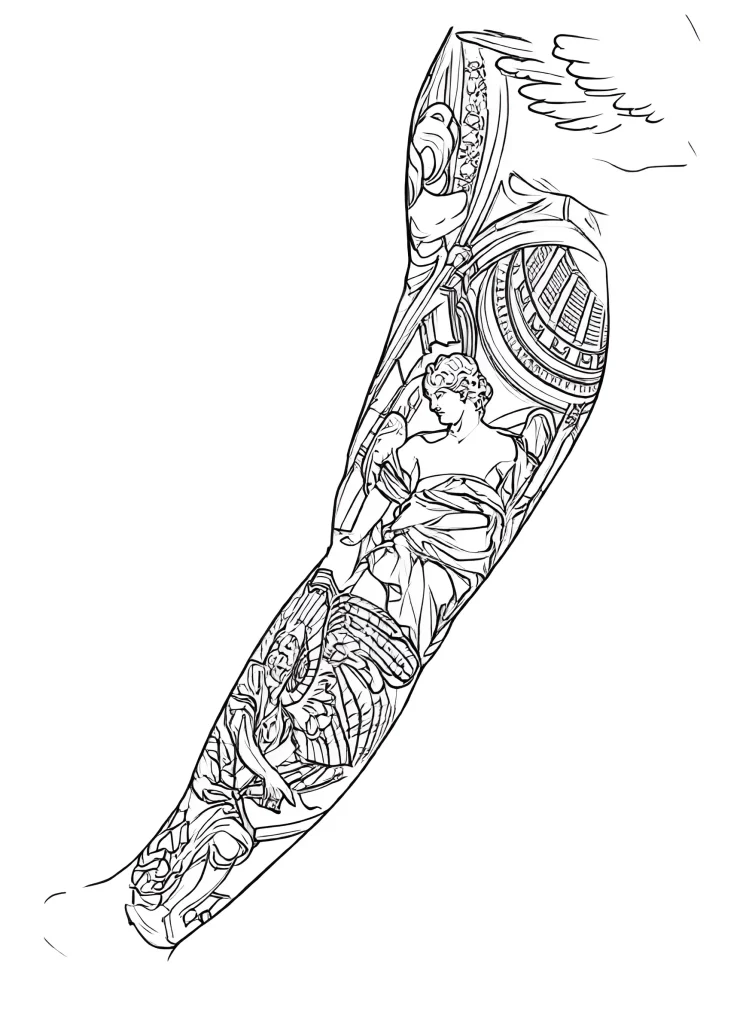
- Japanese (Irezumi): Ideal for “sleeves” due to its built-in compositional rules. Use traditional clouds, water, or wind (Gakubori) for smooth background filling and creating flow. Main elements (dragons, carp, samurai) are placed along the long axes of the arm.
- Biomechanical/Organic: These styles require a deep understanding of anatomy. Elements should look like they are emerging from under the skin, mimicking muscle fibers and tendons. Flow is achieved by imitating curves and connections.
- Traditional (Old School): The challenge is to make many separate, often unrelated, subjects look like a unified whole. Here, the artist must use the same line thickness and a similar palette, and fill the gaps with small “fillers” (stars, dots, spiderwebs).
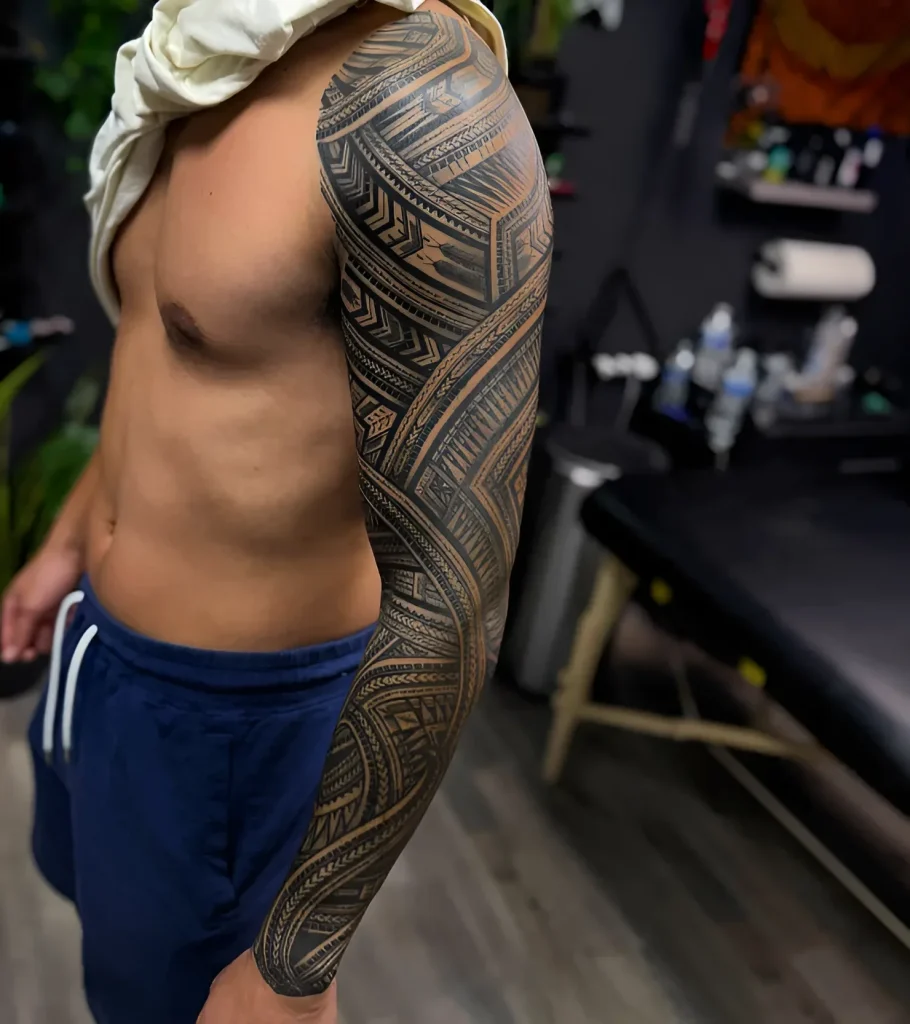
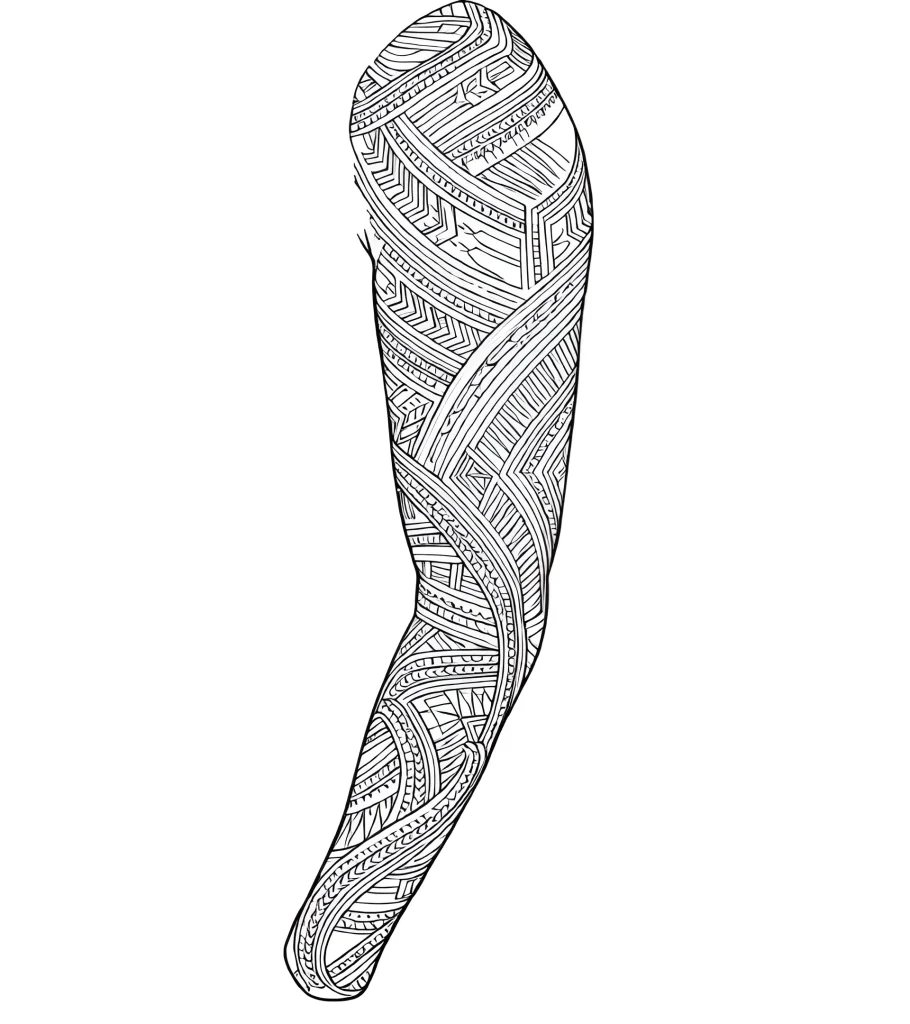
- Blackwork/Dotwork: These styles require impeccable geometry and uniform density. The transition from solid black to skin should be done through dotwork gradients or whip shading to ensure smooth wrapping of the form.
Full Sleeve Tattoo Techniques: Tips for Even Coverage and Pain Minimization

When working on a “sleeve,” the main technical challenge is maintaining consistency – uniform depth, density, and saturation across the entire area, despite differences in skin structure.
Depth and Density Control
It is critically important for a beginner artist to learn to adjust needle depth and hand speed depending on the area:
- Lining: For large “sleeves,” thicker liners (9–14RL) are often used to ensure durability and readability from a distance. In complex areas (creases, elbow), reduce the machine’s speed to avoid excessive trauma.
- Packing (Color Fill): When working with Magnums, ensure that each subsequent pass overlaps the previous one by 50–70%. Use circular or pendulum movements. Start filling from the densest, darkest areas, gradually moving to lighter ones.
- Gradients and Shading: The transition of color or shade on the cylindrical surface of the arm must be smooth to avoid a “blotchy” effect. Use “whip shading” or soft magnums. When working on the inner arm, where the skin is thinner, reduce machine voltage to prevent injury.
Pain Management and Client Comfort
“Sleeve” sessions can last 5–8 hours. Client comfort directly affects the quality of your work, as pain causes involuntary movements.
| Area | Sensitivity Level | Artist Recommendations |
|---|---|---|
| Inner Bicep | High (proximity to nerves) | Work with short, precise passes. Take frequent but short breaks. |
| Elbow Crease | Critically High | This area should be worked on at the beginning of the session while the client is fresh. Do not attempt to fill it completely in one pass. |
| Outer Forearm | Low/Medium | Ideal for long filling and lining work. |
| Wrist (Inner) | High (proximity to bone) | Stretch the skin firmly, use minimal needle depth. |
Important: Always monitor the client’s condition. Signs of shock, trembling, or paleness are reasons to take an immediate break. Offer water and sugar (juice, sweet tea).
Challenges and Common Mistakes in Creating Full Sleeve Tattoos: How to Avoid Them

Beginner artists starting a “sleeve” often make the same mistakes that can ruin a large-scale work.
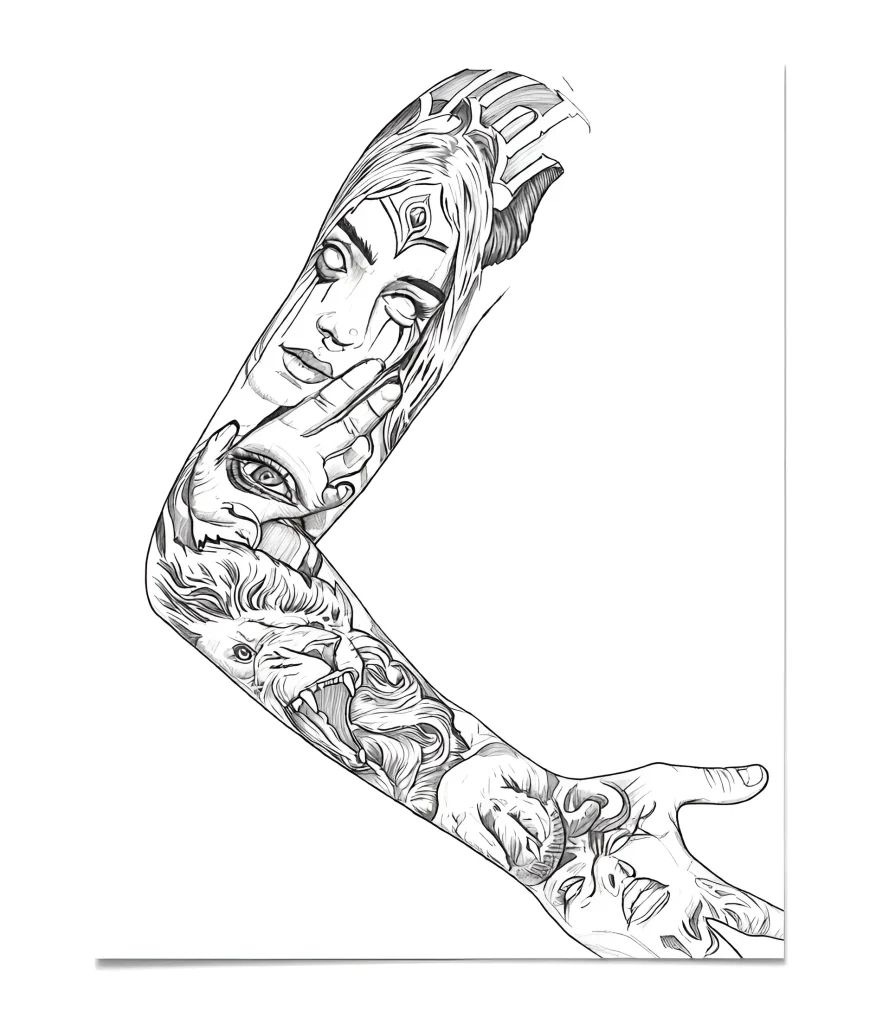
Mistake 1: Disrupting Visual Flow (“Flat” Design)
Problem: The design looks great on a flat sketch but appears “stuck on” the arm and doesn’t wrap around the form. Elements are not connected.
Solution: During the sketching phase, actively use photos of the client’s arm from different angles. Draw the design directly on a printed model of the arm. Ensure that background lines (waves, smoke, geometry) guide the eye around the arm, not just stop on the side.
Mistake 2: Uneven Coverage and “Patchiness”
Problem: After healing, some areas (especially on the elbow and outer shoulder) look paler or have “bald spots,” while other areas are oversaturated.
Solution: Always work with clean, well-stretched skin. In areas with thicker skin (outer shoulder), use a denser pigment “packing” technique. In areas with thinner skin (crease), work more lightly, avoiding excessive passes. Use only high-quality pigments with high concentration.
Mistake 3: Problems with Transitions Between Sessions
Problem: After the first segment heals, when starting the second, a clear, unsightly seam is visible between the old and new tattoo.
Solution: When finishing a session, always leave a “soft” edge. Finish not with a sharp line but with a soft gradient or light shading. This will allow you to easily “weave” the new design into the healed skin in the next session, making the transition seamless. Use the same shade of dilution or shadow that was used in the adjacent area.
Mistake 4: Improper Stencil Care
Problem: During long sessions, the stencil wears off, especially in areas of bending and friction. Restoring the stencil by hand can lead to distortion.
Solution: Use only the best transfer products. After application, let the stencil dry for 10–15 minutes. Start working on the areas most prone to wear (creases, inner side). If the stencil wears off, do not try to redraw it freehand. Use a surgical marker to restore key lines, but not the entire drawing.
Full Sleeve Tattoo Aftercare: Recommendations for Clients and Quality Control
Aftercare for a “sleeve” is a long and complex process for the client, and it’s your responsibility as an artist to provide the clearest and most detailed instructions possible. The quality of healing directly reflects your work.
Client Briefing: What to Know About “Sleeve” Healing
A large-scale tattoo requires more attention and a longer initial healing period (up to 2 weeks of active peeling).
- Initial Protection: Recommend using protective films (e.g., Suprasorb F, Dermalize) for the first 3–5 days. This is especially convenient for “sleeves” as it minimizes friction with clothing and the need for frequent washing.
- Washing and Moisturizing: Instruct the client to wash the entire area using unscented antibacterial soap. Apply moisturizing cream (a thin layer!) 3–5 times a day.
- Movement Restrictions: Explain that excessive bending of the elbow and wrist in the first few days can lead to cracking of the scabs and pigment loss. Sleeping on the tattooed arm is strictly prohibited.
- Sports and Sun: A ban on visiting gyms, saunas, and swimming pools for at least 2 weeks. Complete prohibition of tanning for at least 1–2 months.
Quality Control and the Need for Touch-ups
After the entire “sleeve” is completed and fully healed (at least 4–6 weeks after the last session), a mandatory inspection is necessary.
What to Look for During Inspection:
- Pigment Loss (Fading): Most often occurs on the elbow, shoulder, and wrist. These areas require additional pigment packing.
- Blowouts: Most often noticeable around the elbow crease and inner bicep. If this has occurred, you must honestly explain to the client that it was a depth error and discuss possible camouflage or correction options.
- Gradient Unevenness: Check how smoothly the shadows transition between areas done in different sessions.
Remember that touch-ups for large-scale work are a normal practice. Allocate 1–2 hours of free touch-up time into the overall project plan to guarantee a perfect result.
FAQ: Answers to Frequently Asked Questions About Full Sleeve Tattoos from Beginner Artists
1. Where is it best to start: from the top (shoulder) or the bottom (forearm)?
Answer: Most experienced artists prefer to start from the upper part (shoulder/bicep). Firstly, this allows for better stencil adhesion on a larger, less curved surface. Secondly, pain in the upper part is generally more tolerable, allowing the client to get accustomed to the process. Working from top to bottom also helps better control the design flow.
2. How to correctly calculate pigment for a “sleeve”?
Answer: Pigment consumption depends on the style. Dense Blackwork or realism will require significantly more black pigment and diluents. On average, a full, dense “sleeve” can use from 60 to 120 ml of black pigment. Always have a supply of basic colors (black, white, red) and use the same brands and series to avoid shade differences between sessions.
3. What to do if a client cannot endure a long session?
Answer: If a client cannot handle 5–6 hours, shorten sessions to 3–4 hours. It’s better to have more short sessions with high-quality work than one long one with trauma and loss of concentration. Include an additional session in the project cost if necessary.
4. Is it worth using numbing creams?
Answer: Numbing creams can be useful in very sensitive areas (elbow, armpit), but their use should be limited. They often change the skin’s structure, making it more rubbery and difficult to work with, which can negatively affect healing and pigment retention. It’s better to focus on client comfort and frequent breaks.
Interesting Facts and Trends in Full Sleeve Tattoos
The world of tattooing is constantly evolving, and “sleeves” are no exception. Knowing current trends will help you offer clients relevant and in-demand designs.
Current Trends in “Sleeve” Designs
- Deconstructed Sleeves: A departure from solid filling. The design consists of disparate but connected elements that leave a lot of “clean” skin. This gives the work a lightness and modern look.
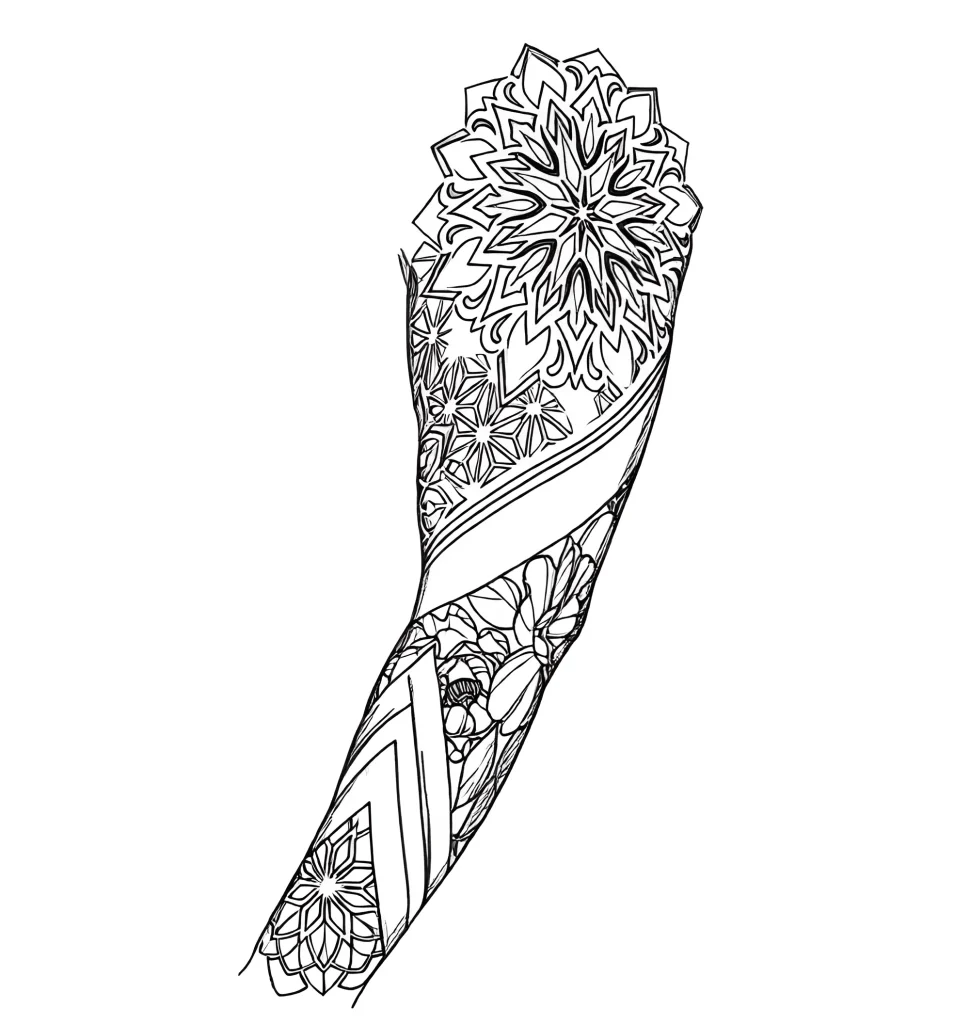
- Geometric or Dotwork Flow: The use of mandalas, ornaments, and lines that create an armor-like effect. Requires mathematical precision and perfect linework.
- Botanical Realism: Sleeves entirely dedicated to flora (flowers, leaves, branches). They adapt beautifully to the arm’s shape, using the spiral growth pattern of plants. Often done in Fine Line or soft Black & Grey.
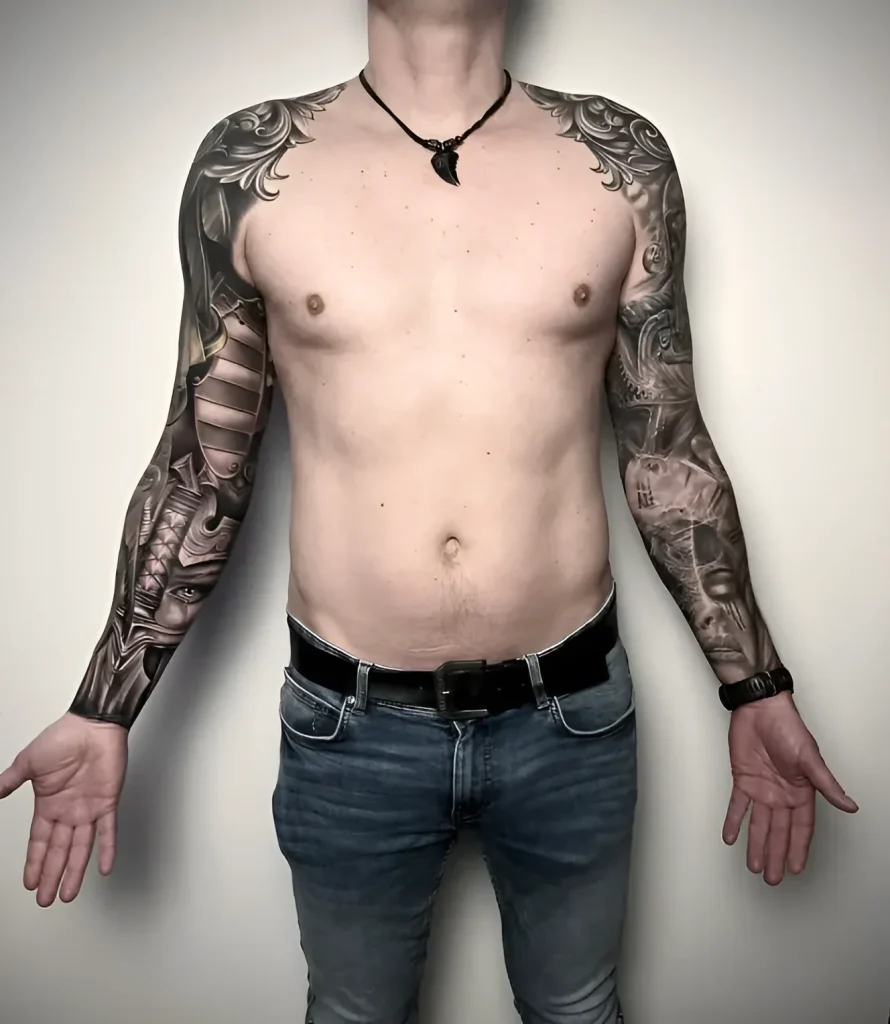
- “Symbiotic” Sleeves: Designs that seamlessly transition from the arm to the chest or back. This requires even more careful planning of anatomical transitions.
The Psychological Aspect of Working on a “Sleeve”
Working on a “sleeve” is not just a technical but also a psychological marathon. You become not just an artist for the client but a kind of therapist. Maintain a positive atmosphere, talk to the client, and most importantly, demonstrate confidence in your actions. Your calmness and professionalism are the keys to successfully completing this monumental project.
In conclusion, a “sleeve” is the pinnacle of artistry. Approach this work with respect for its scale, thorough planning, and a deep understanding of anatomy. Successfully completing your first “sleeve” will open the doors to the most complex and prestigious projects in the tattoo world.
Additional Images
Gallery of remaining images (click to view):


