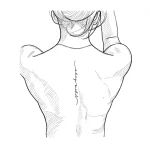
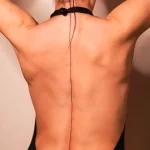
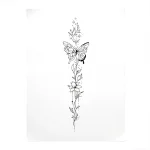
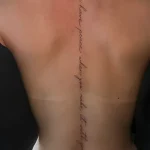
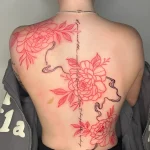
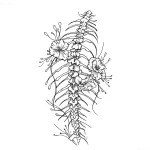
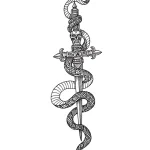
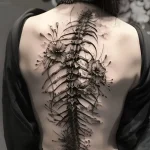
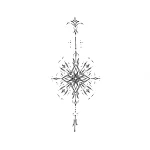
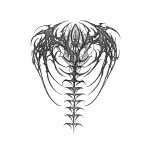
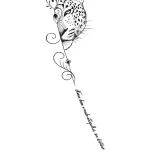
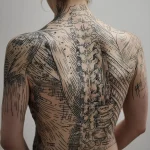
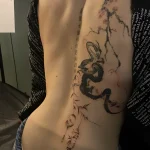
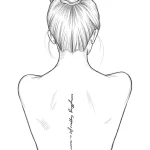
The spine area, known in professional circles as the “core” or “axis,” is one of the most complex, demanding, and at the same time, most striking zones for applying a large-scale tattoo. A tattoo along the entire spinal column is not just a design; it’s a monumental statement that requires the highest precision, a deep understanding of anatomy, and impeccable technical control from the artist. If you are an aspiring tattoo artist looking to master this prestigious yet treacherous area, this guide will be your indispensable navigator through all the nuances, from skin preparation to final healing.
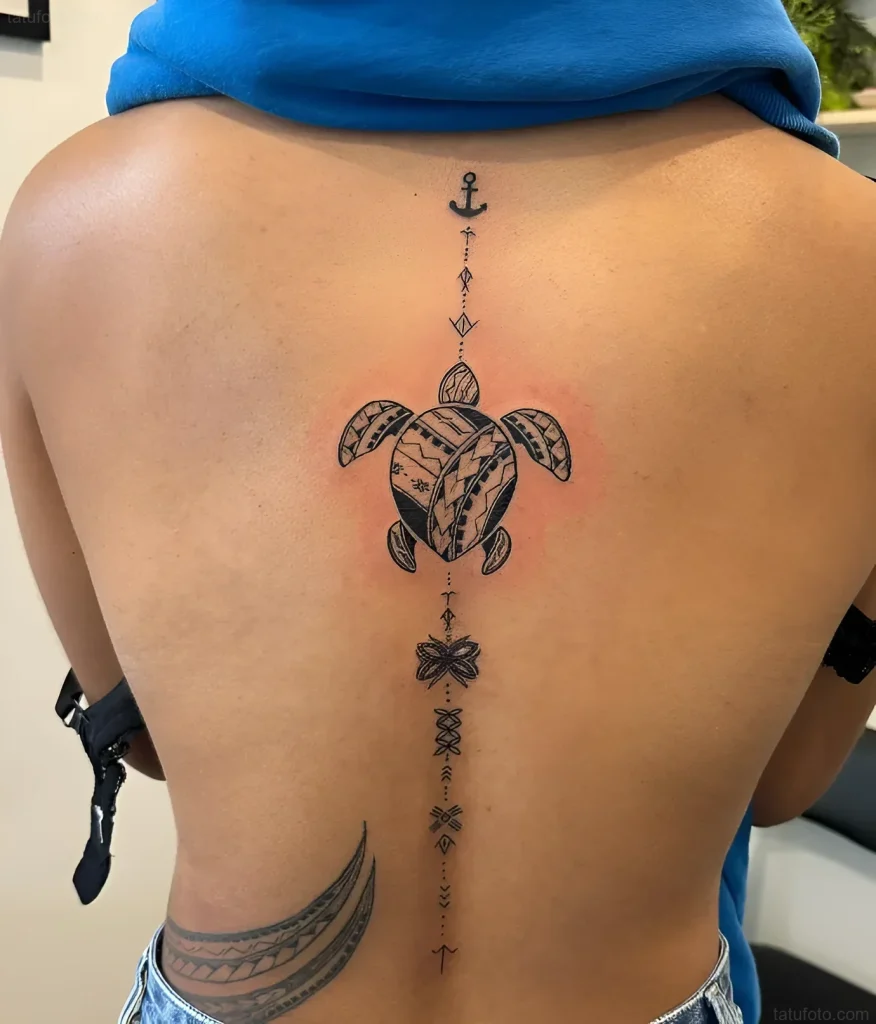
Spine Anatomy and Tattooing Specifics: What You Need to Know
For a tattoo artist, the spine is not just the central line of the back but a complex structure requiring a differentiated approach to each section. Understanding anatomical features is critically important for managing client pain, avoiding injuries, and ensuring even pigment implantation.
Proximity to Bone Tissue and Skin Reaction
The main difficulty of this area lies in the direct proximity of the spinous processes of the vertebrae to the skin surface, especially in the thoracic and lumbar regions. Unlike soft muscle areas where the fat layer and muscles act as a natural cushion, here the skin is thin and taut. This leads to several serious problems for an aspiring artist:
- Uneven Depth: If your hand is not soft enough or you use too much needle extension, you risk injuring the periosteum (too deep) or, conversely, working too superficially on the curves.
- Increased Vibration: Working directly over bone causes strong vibrations, which not only increase client discomfort but also make it difficult to draw perfectly straight lines.
- Rapid Pigment Rejection: Due to constant tension and thin skin, tattoos in the central line may “fall out” during healing, requiring frequent touch-ups.
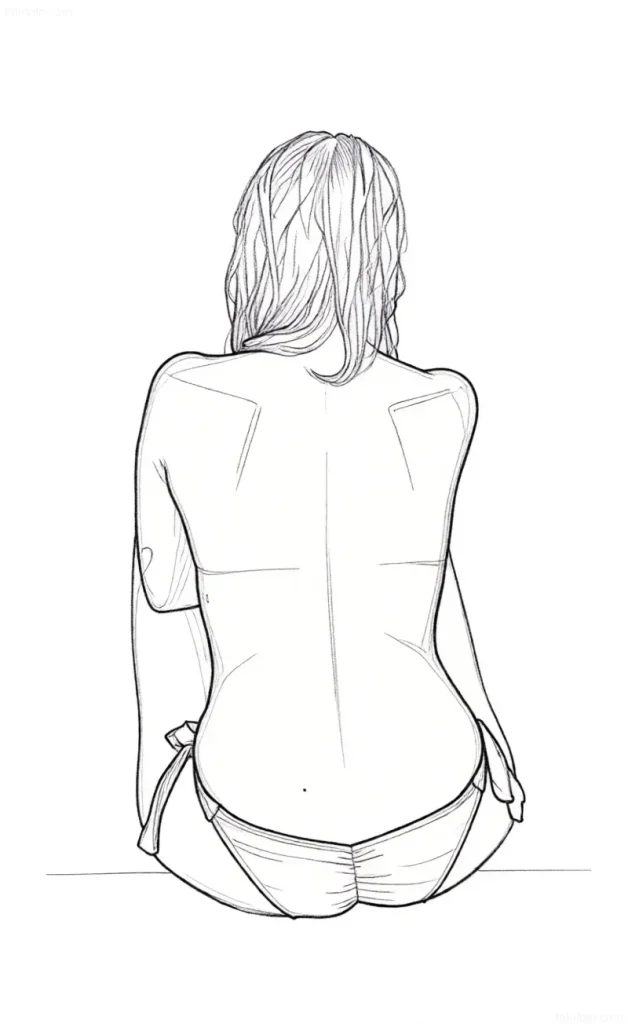
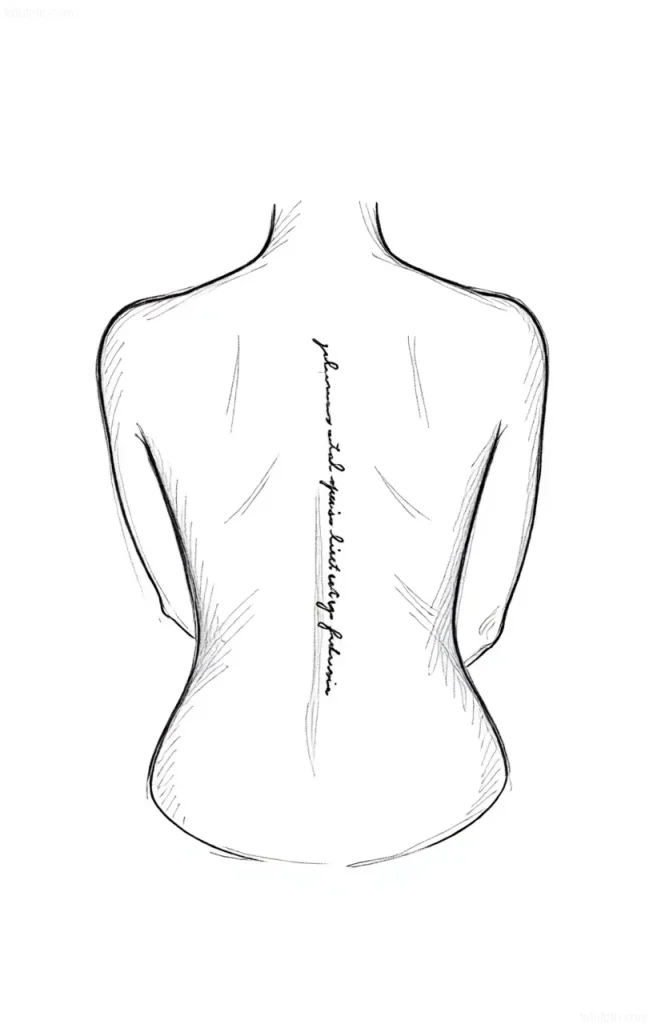
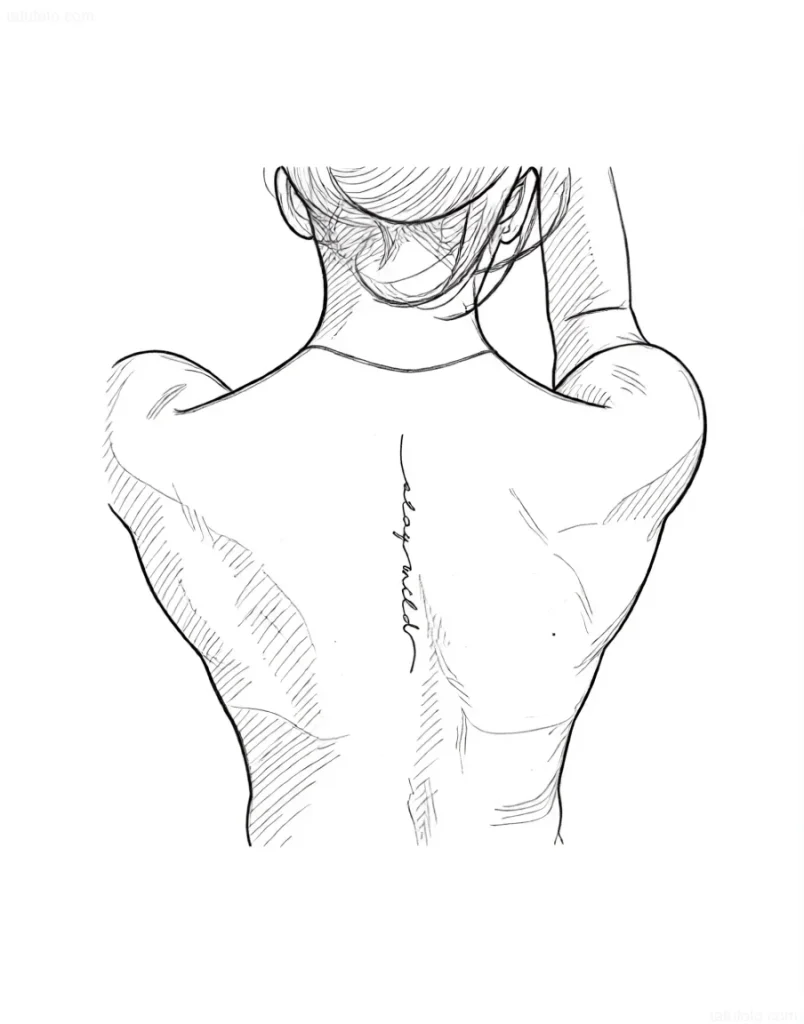
Regional Differences of the Spine
A tattoo running from the neck to the tailbone involves three key zones, each requiring adaptation of the technique:
- Cervical Spine: The base of the neck area. The skin here is relatively elastic, but the client’s head movements when turning can distort the design. Strict fixation of the client’s head is required.
- Thoracic Spine: The most challenging area. Here, the spinous processes are most prominent, and the skin is thinner. Artist’s tip: use cartridges with a long taper and work at a slightly reduced voltage to avoid excessive trauma.
- Lumbar & Sacral Spine: Here, the skin becomes denser and more muscular (especially in men), which facilitates working with the outline. However, there is also significant tension when sitting or bending, which is important to consider when planning the design.
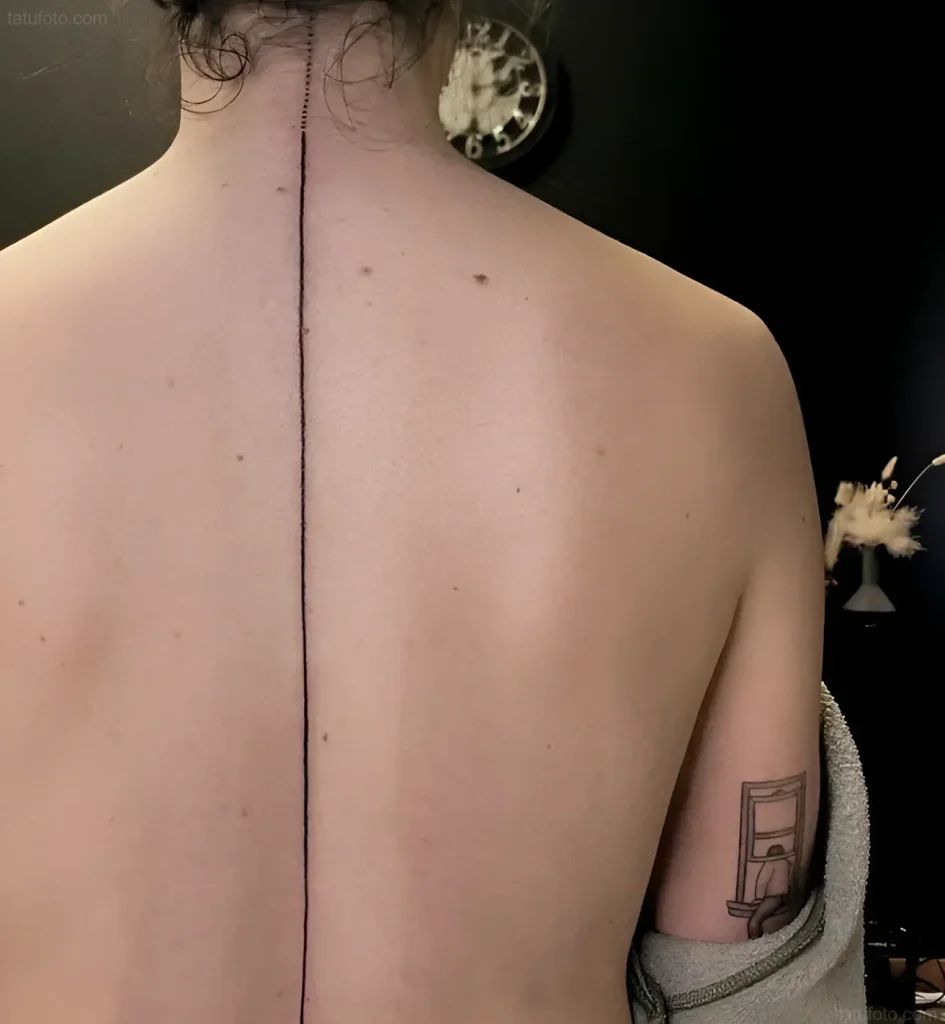
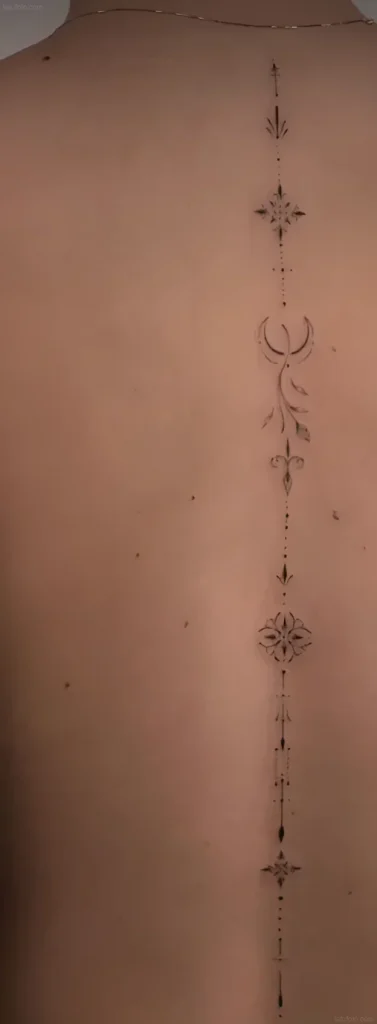
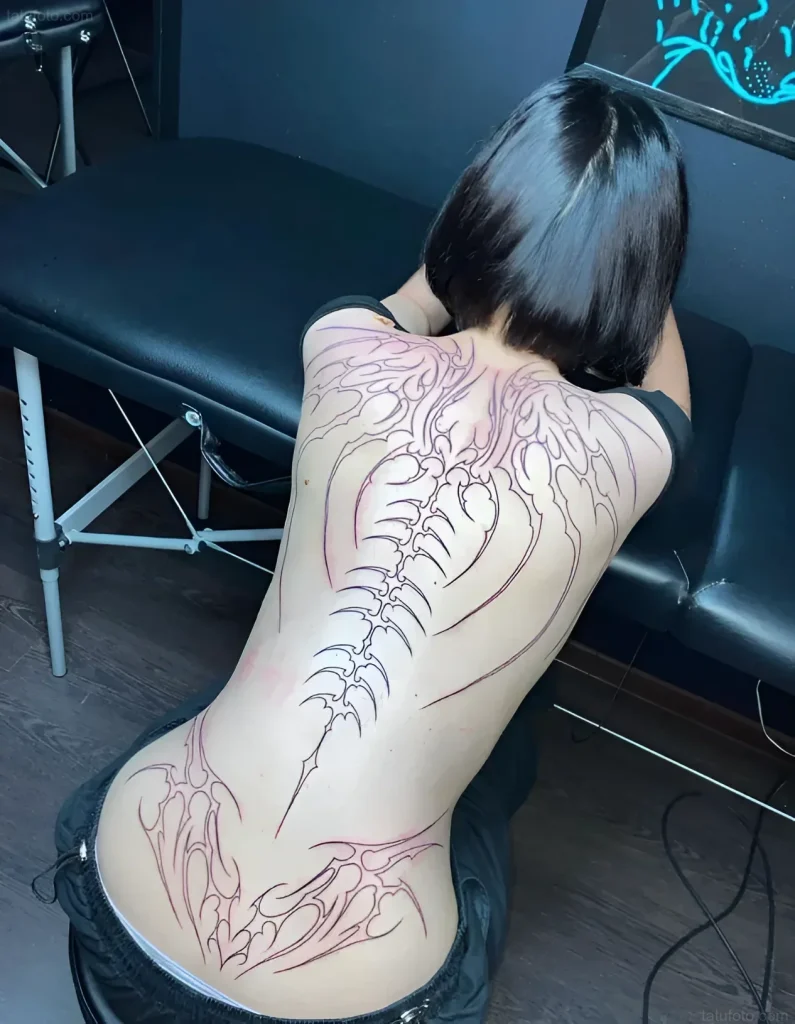
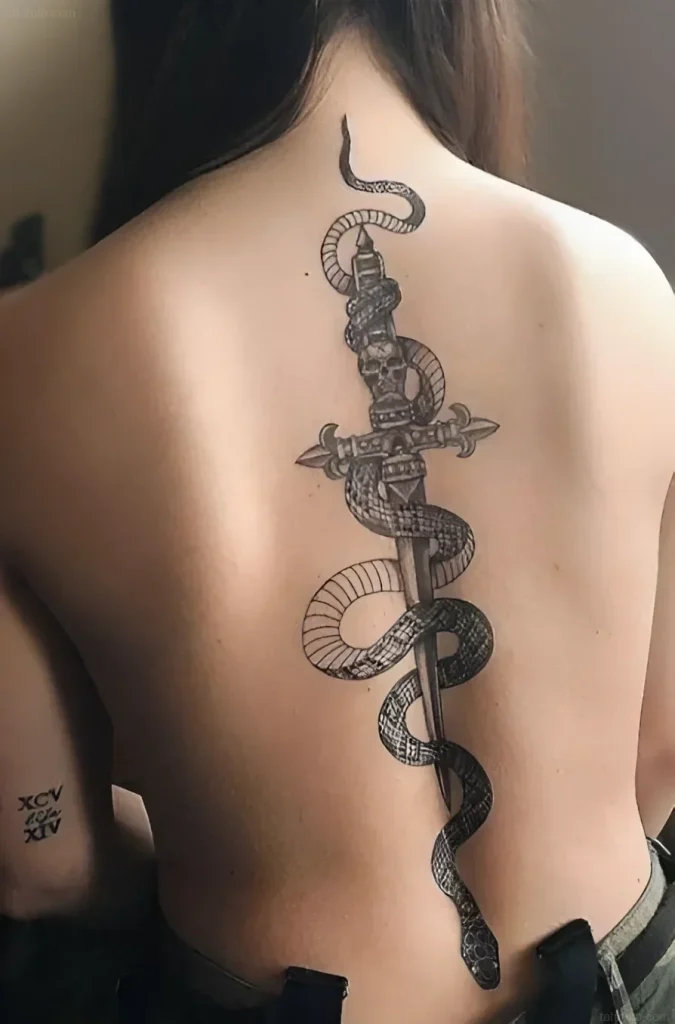
History of Spine Tattoos: From Ancient Rituals to Modern Fashion
The spine has always been viewed by various cultures as the axis of the world or the life force of a person. This placement is not accidental or purely aesthetic; it carries deep cultural and esoteric weight that you should understand to advise your clients.

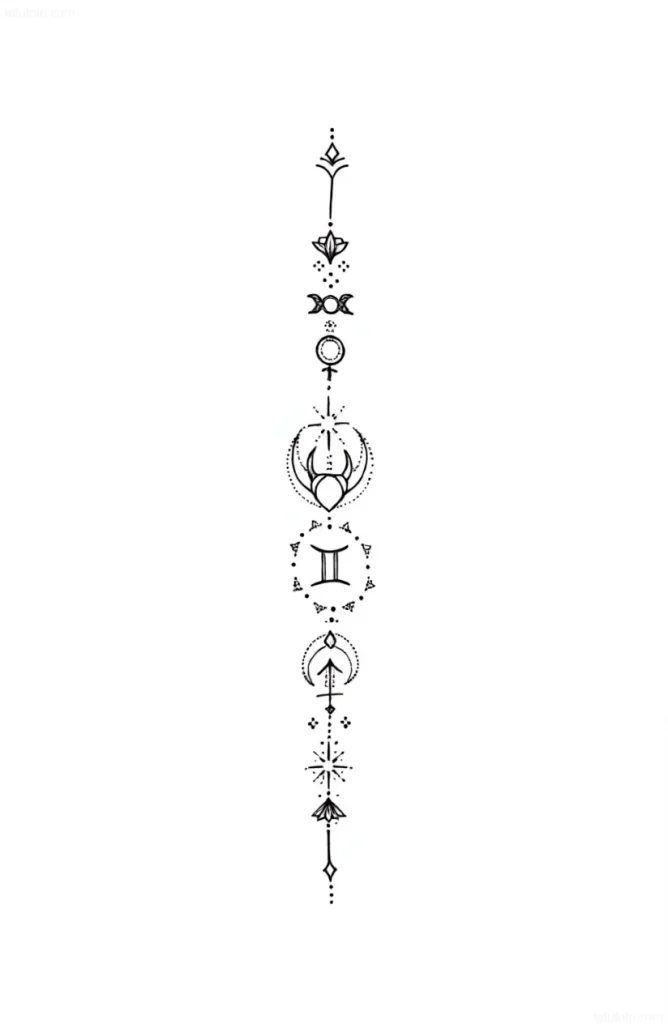
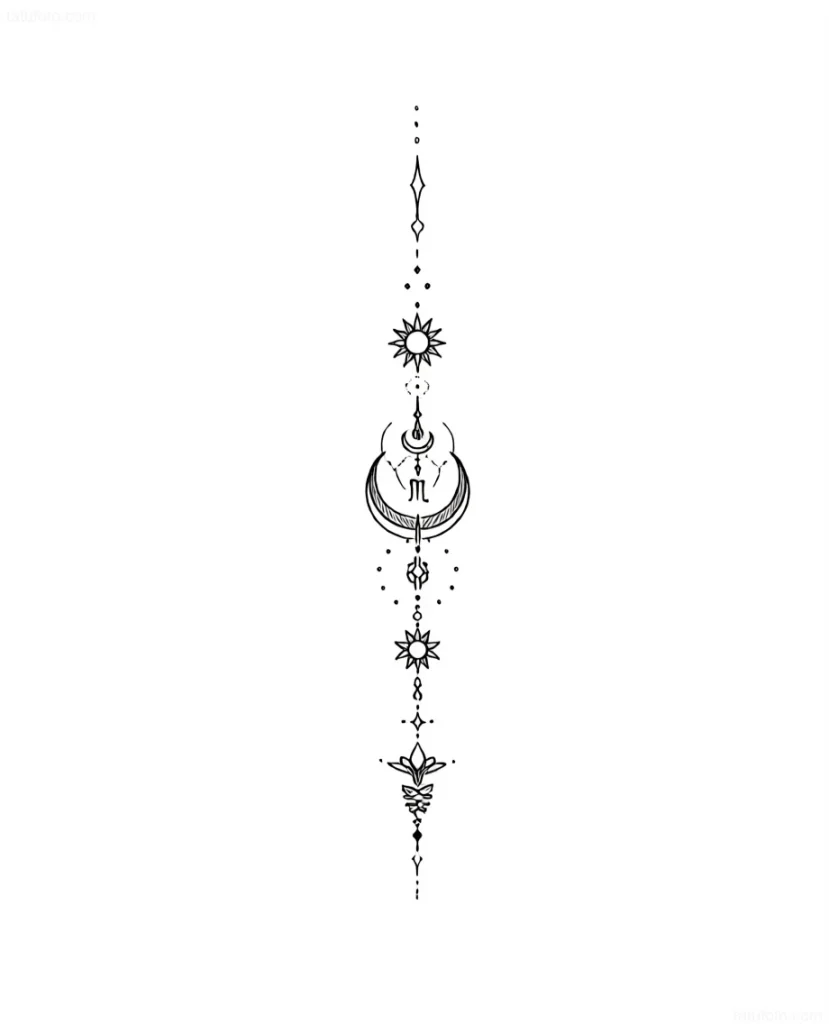
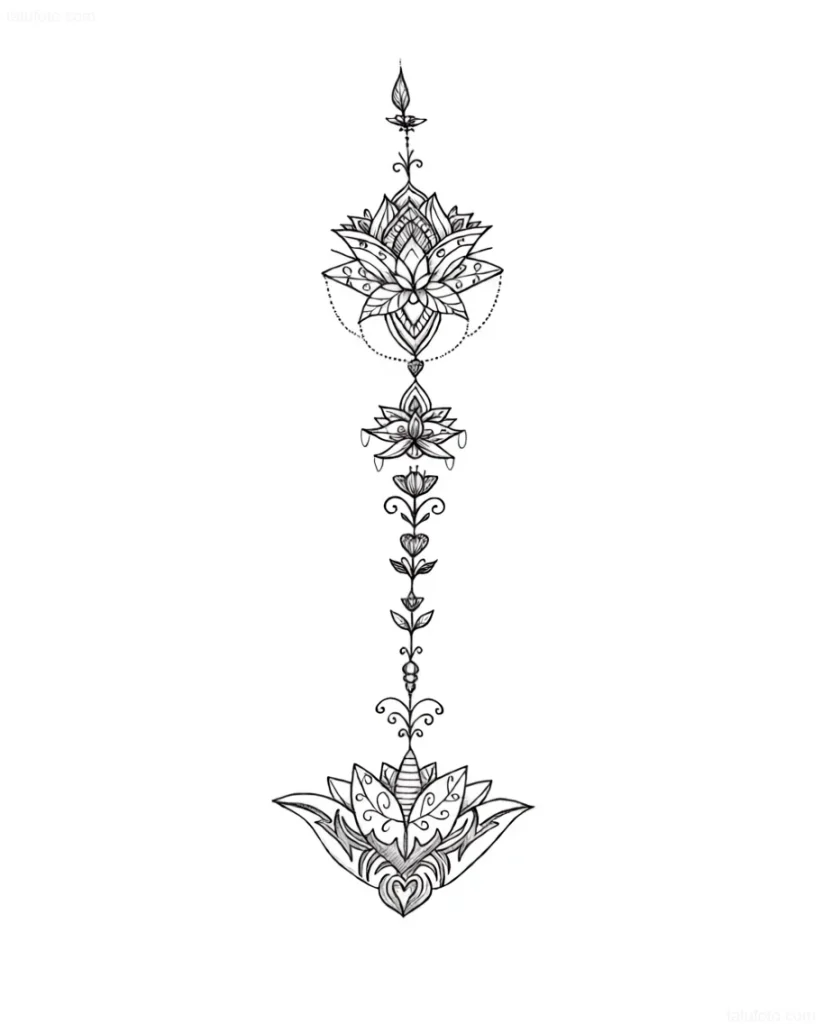
The Back as a Sacred Canvas
In ancient cultures of Southeast Asia (especially in the traditions of Sak Yant in Thailand and Cambodia), back tattoos, often running vertically, served as powerful protection and vessels of spiritual strength. The spinal line was ideally suited for placing mantras, sacred texts, or geometric patterns symbolizing the ascent of energy:
- Kundalini Symbolism: In Hindu and yogic philosophy, the spine is the channel for the flow of Kundalini energy. Tattoos running vertically often symbolize awakening, chakra balance, and spiritual ascension.
- Axis and Center: A tattoo along the spine emphasizes centrality, willpower, and steadfastness. It literally means “pillar of life.”
In modern tattoo culture, this area has become popular due to its ability to create a striking, symmetrical, and easily concealable design. Clients often choose this location for works they consider most personal, fundamental, or related to their inner growth.
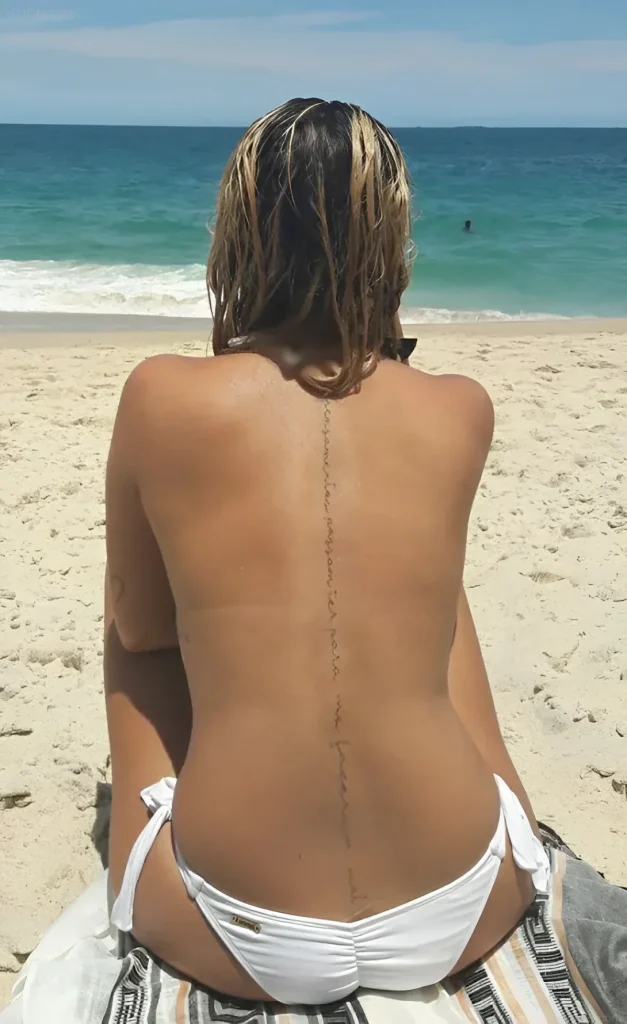
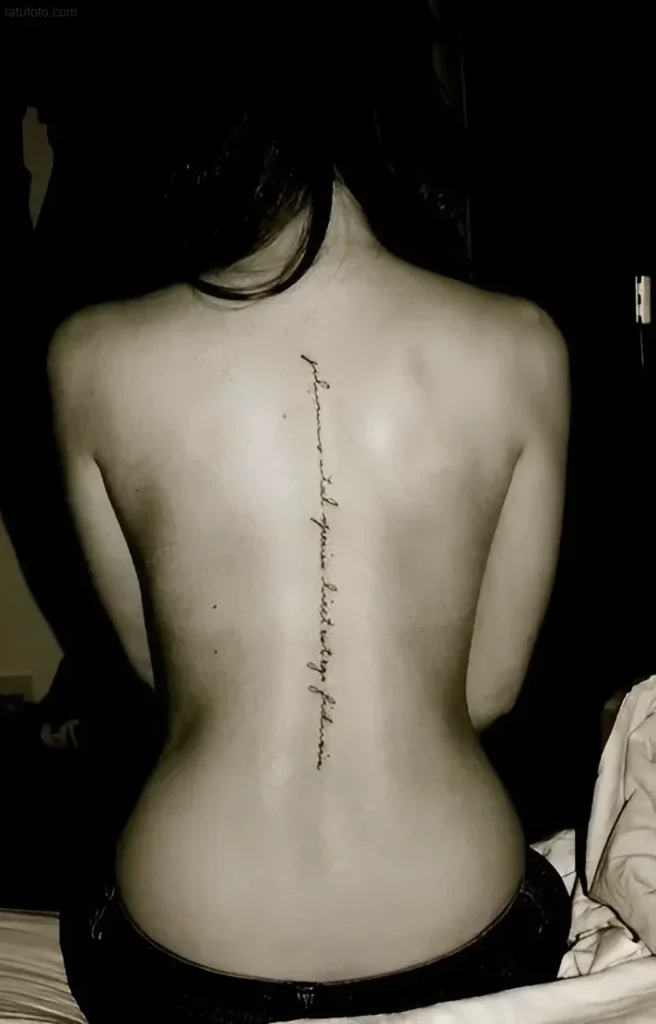
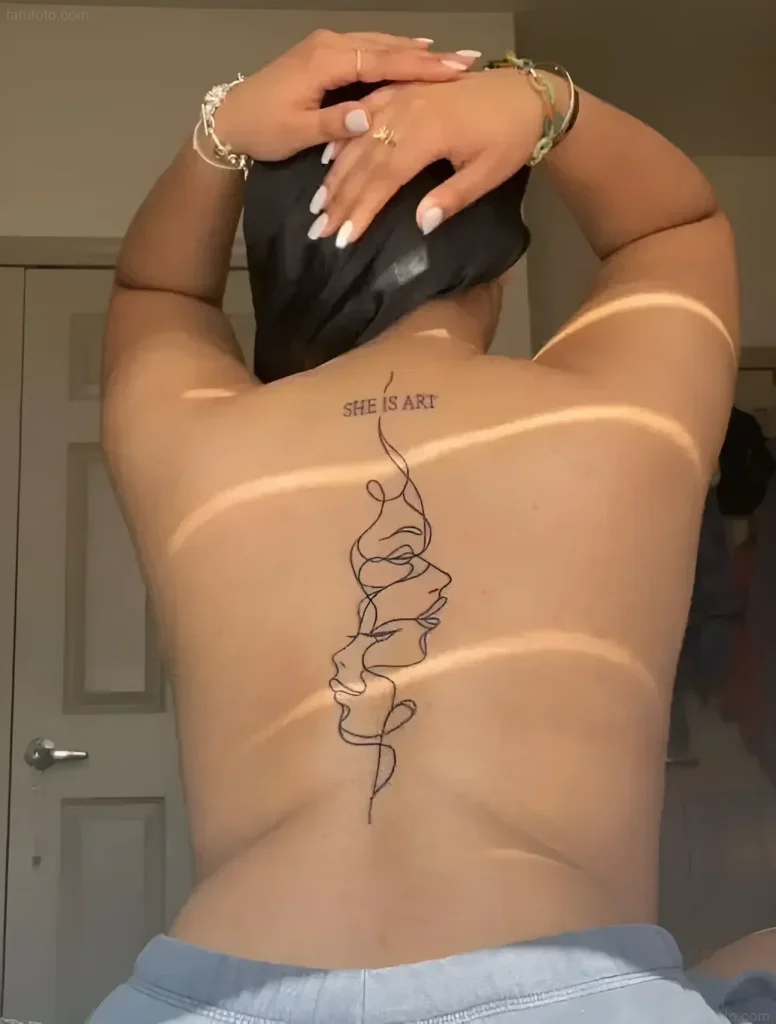
Meanings of Spine Tattoos: Symbolism and Interpretations
While the specific meaning depends on the chosen motif, the very placement of a tattoo along the spine gives it a general semantic load. For an aspiring artist, it’s important to be able to explain to the client how the placement enhances the meaning of the design.
Amplifying Key Concepts
Tattoos on the “axis” of the body typically carry meanings related to fundamental aspects of personality and life:
- Strength and Resilience: The spine is the body’s framework. Tattoos such as trees, columns, or architectural elements emphasize inner strength, the ability to withstand life’s difficulties, and unwavering spirit.
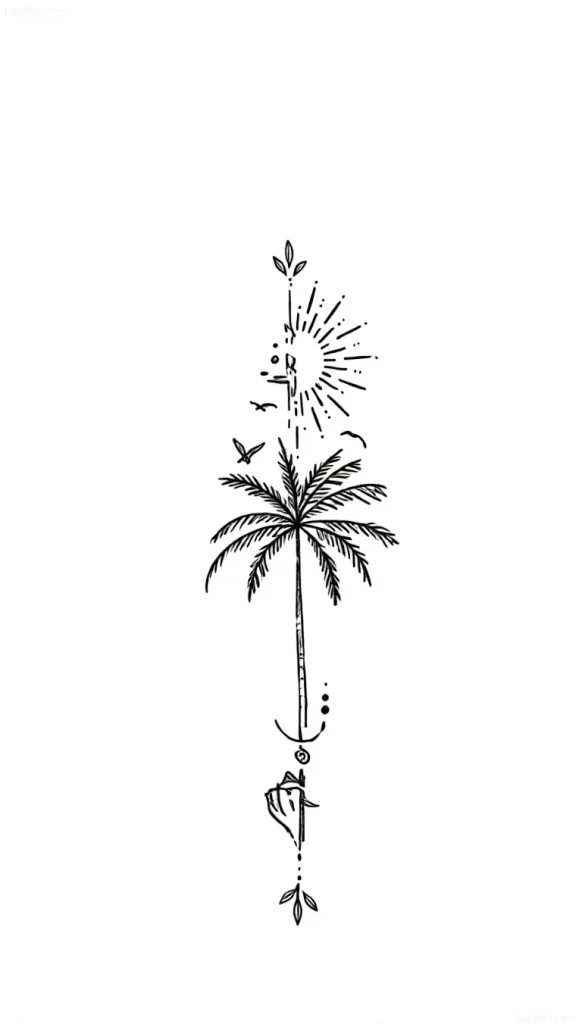
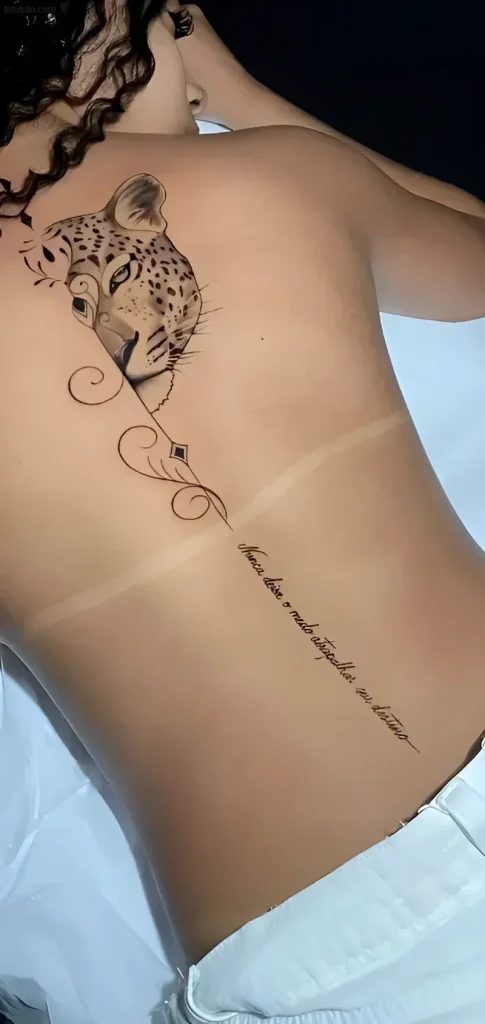
- Path and Direction: Long vertical lines, arrows, runes, or quotes stretched along the spine symbolize life’s journey, pursuing a goal, or adopting a specific direction in life.
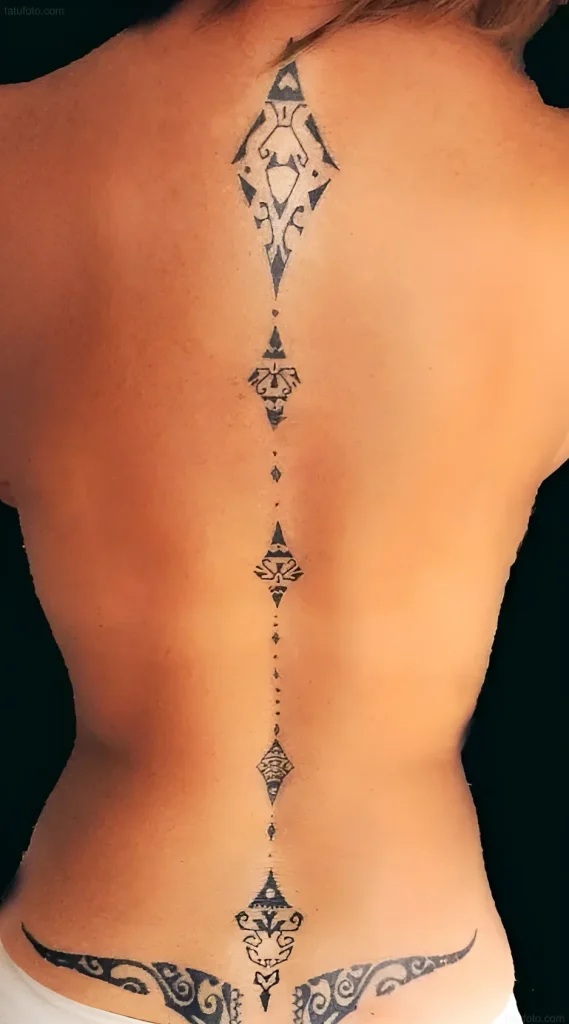
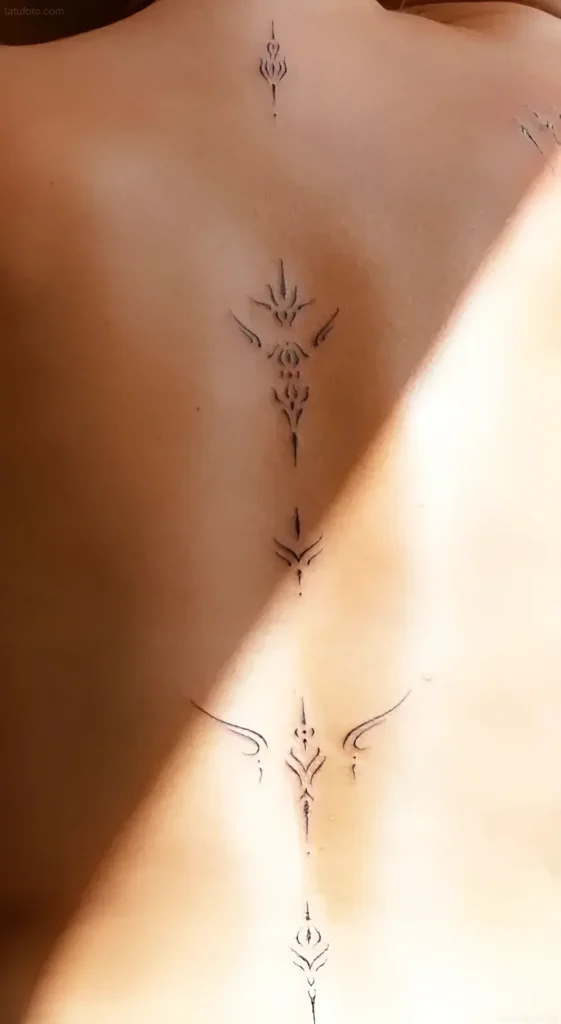
- Symmetry and Harmony: Mandalas, ornaments, or complex geometric patterns centered on the spine speak of the pursuit of balance, order, and inner harmony.
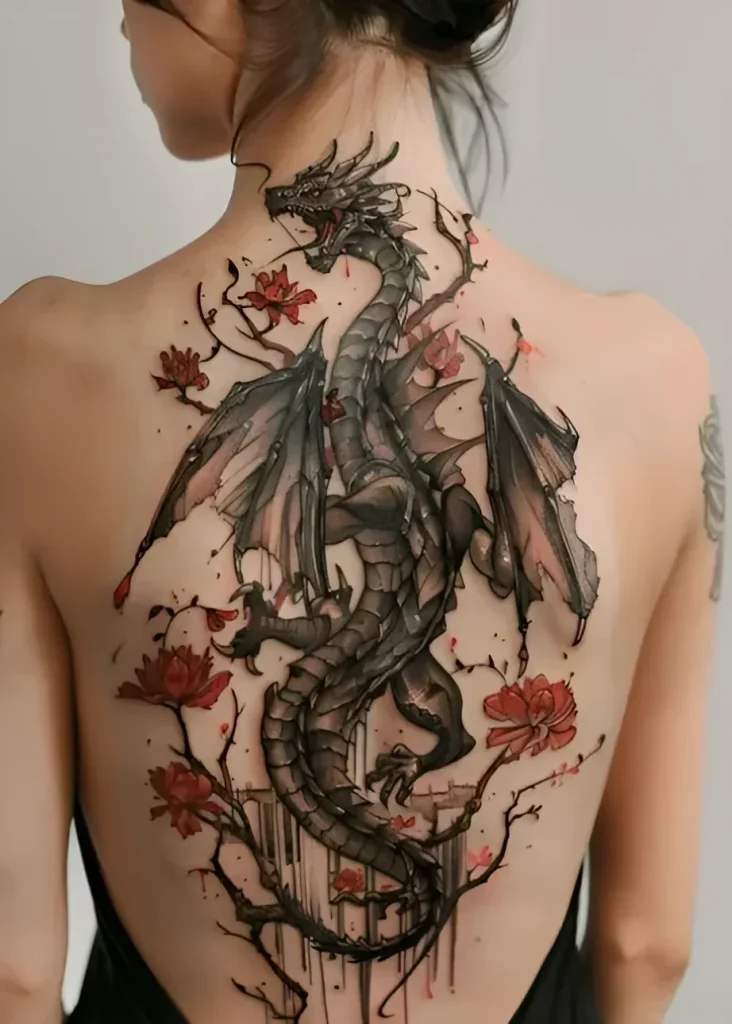
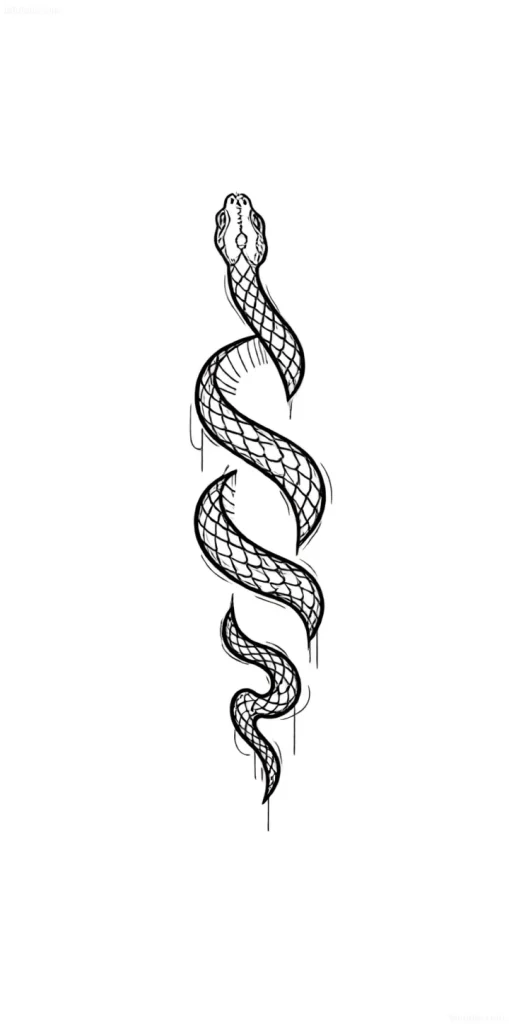
- Protection: Protective symbols (amulets, dragons, yantras) are often placed here, as the back is traditionally considered a vulnerable area that needs safeguarding.
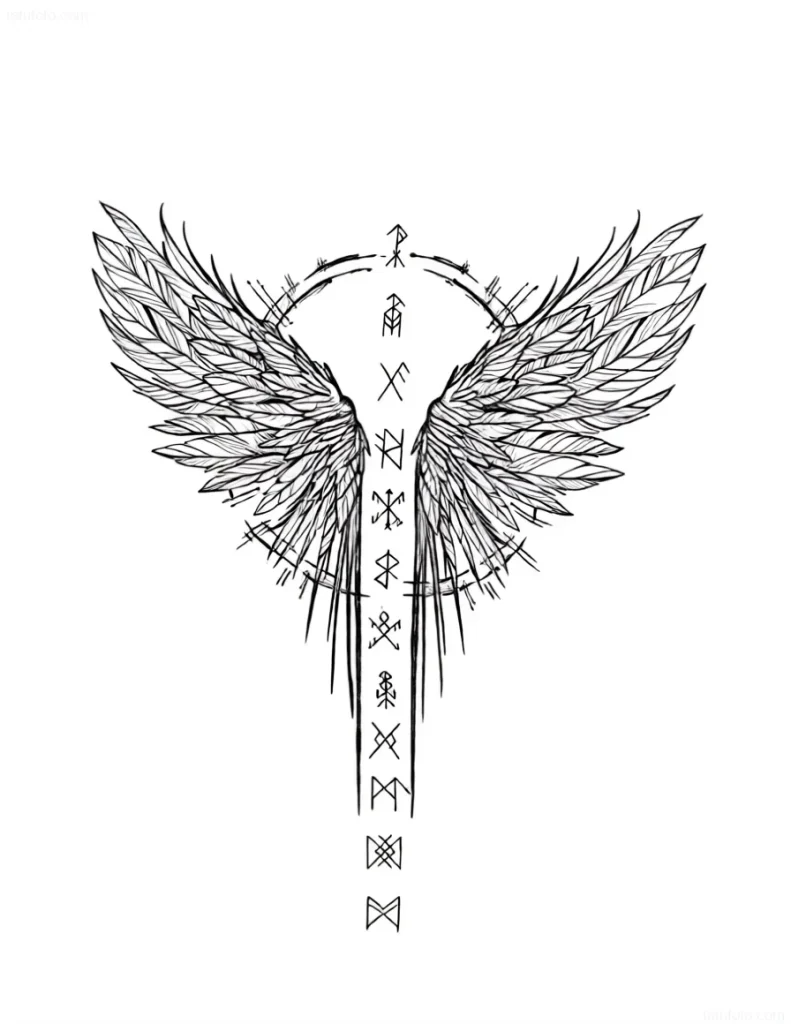
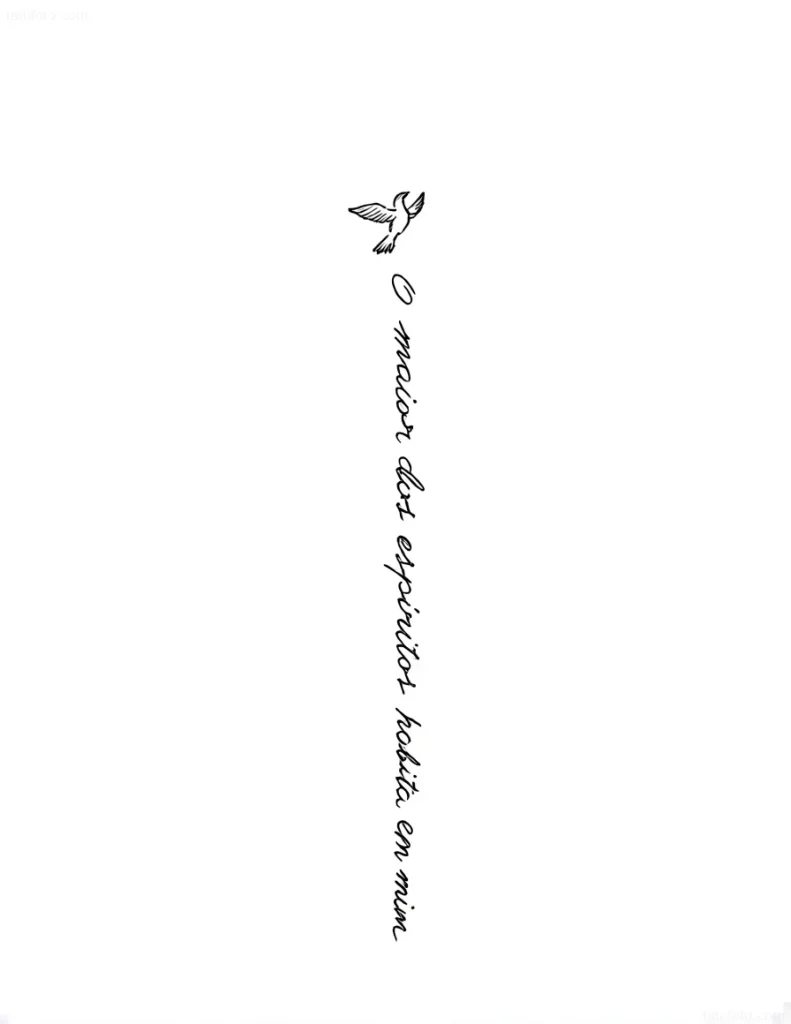
Examples of Motifs and Their Interpretation
| Motif | Symbolism of Placement | Explanation for the Client |
|---|---|---|
| Tree of Life (Yggdrasil) | Axis of the world, connection between heaven and earth. | Emphasizes roots, growth, development, and personal integrity. Starts from the sacrum (roots) and extends to the cervical spine (branches). |
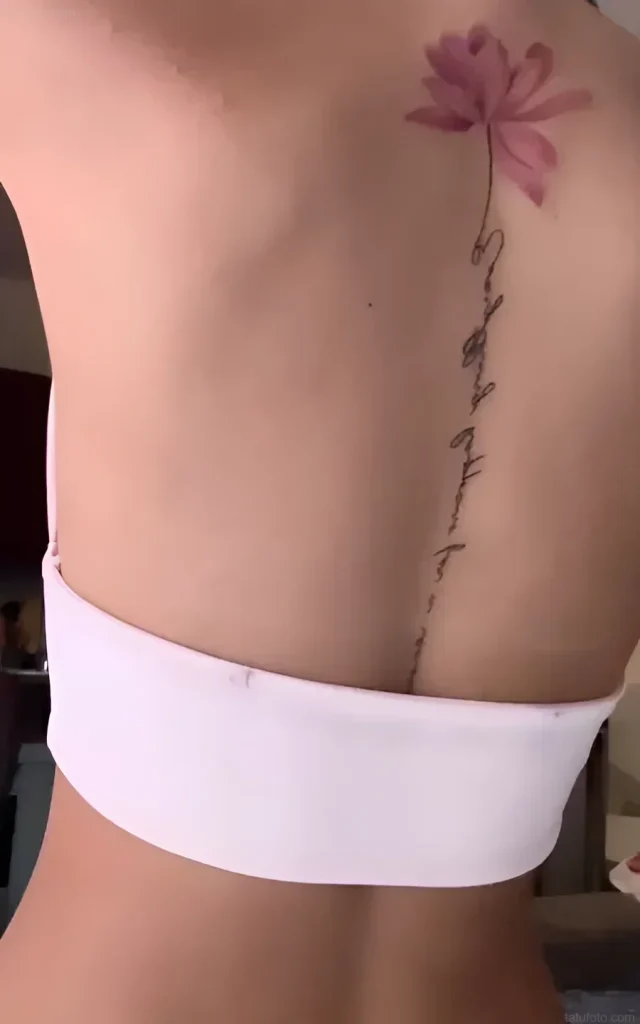
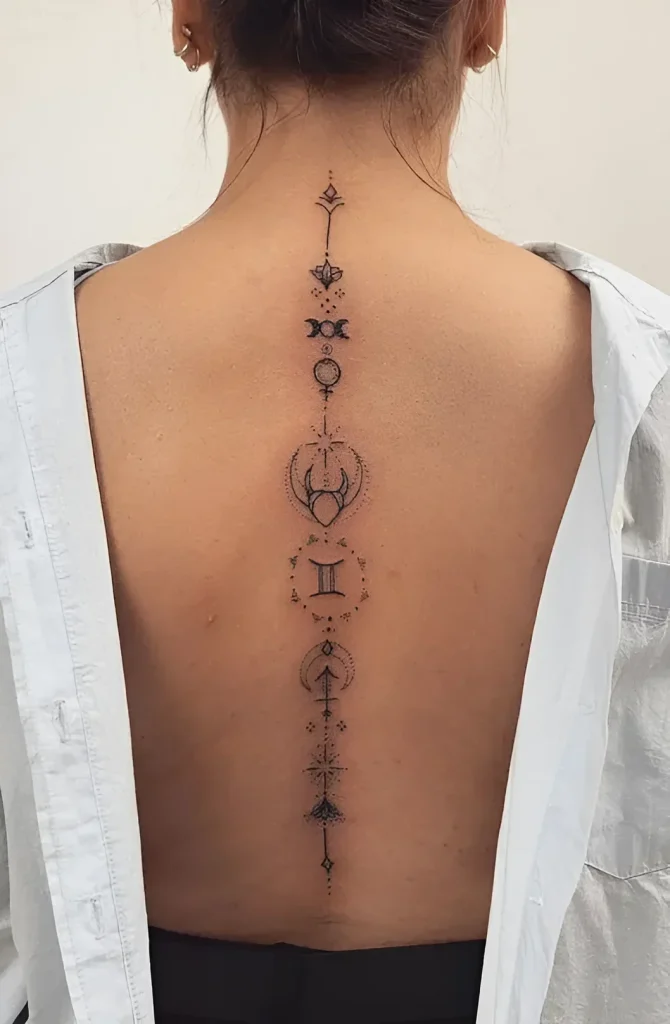
| Floral Ornament/Vine | Elegance, flexibility, growth. | Symbolizes grace, yet strength (vine). Often done in Fineline or Ornamental style. |
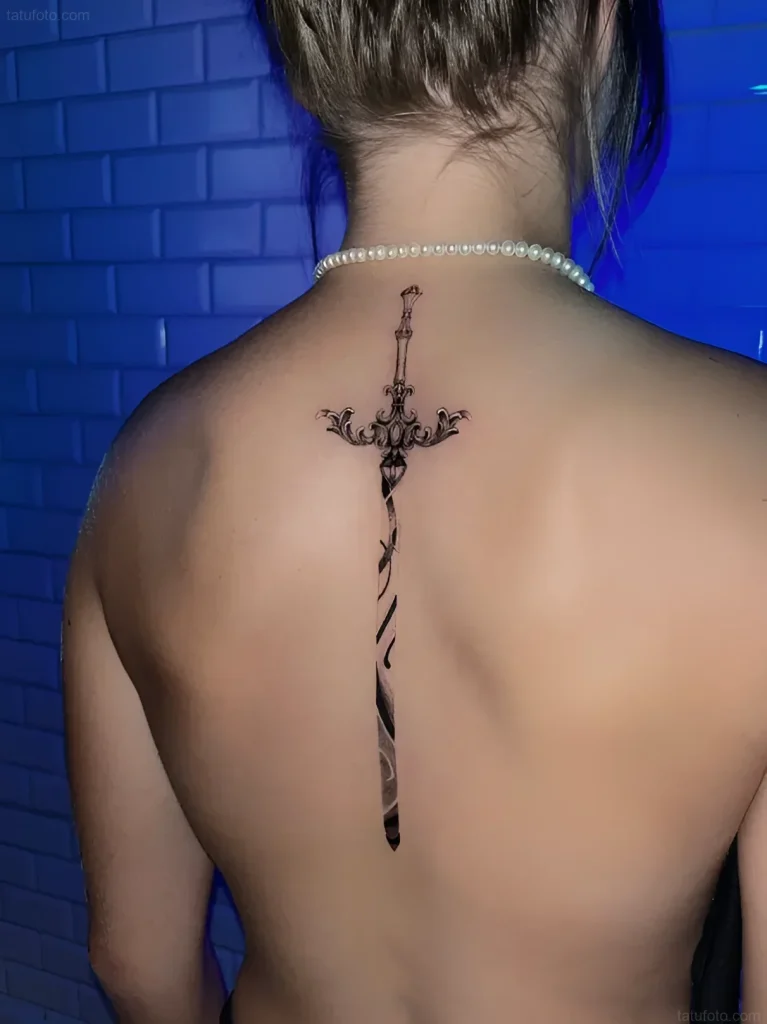
| Arrow or Sword | Focus, determination, protection. | A straight, directed design symbolizing clear forward movement and readiness for battle. |
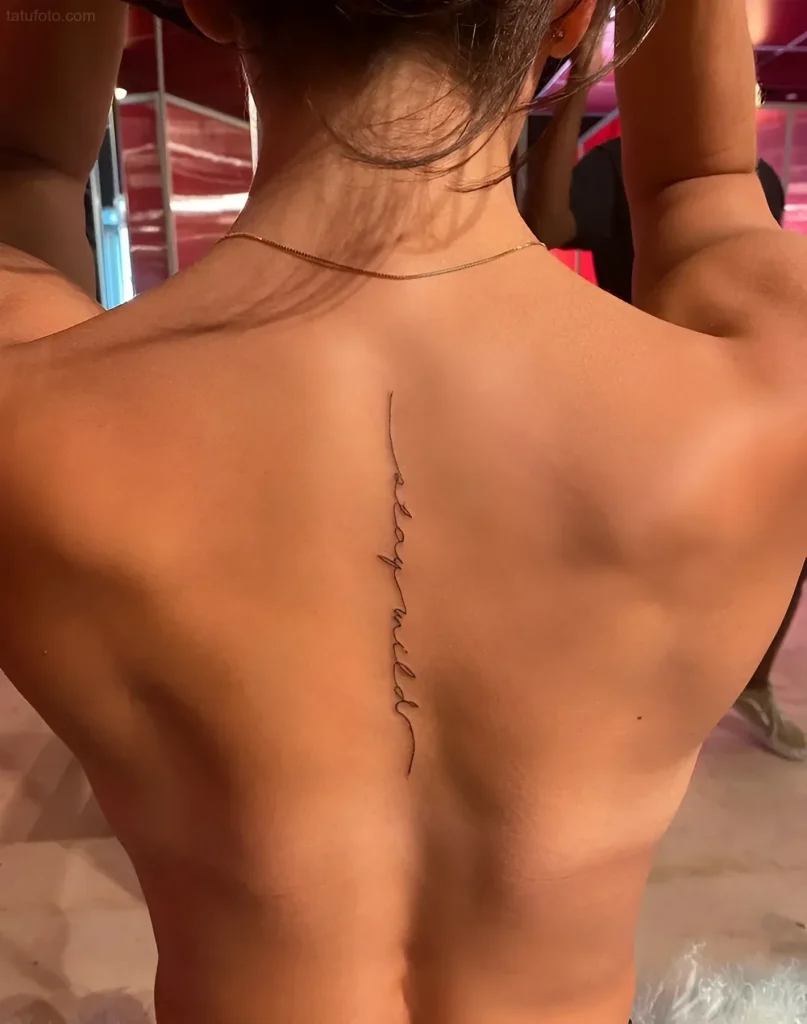
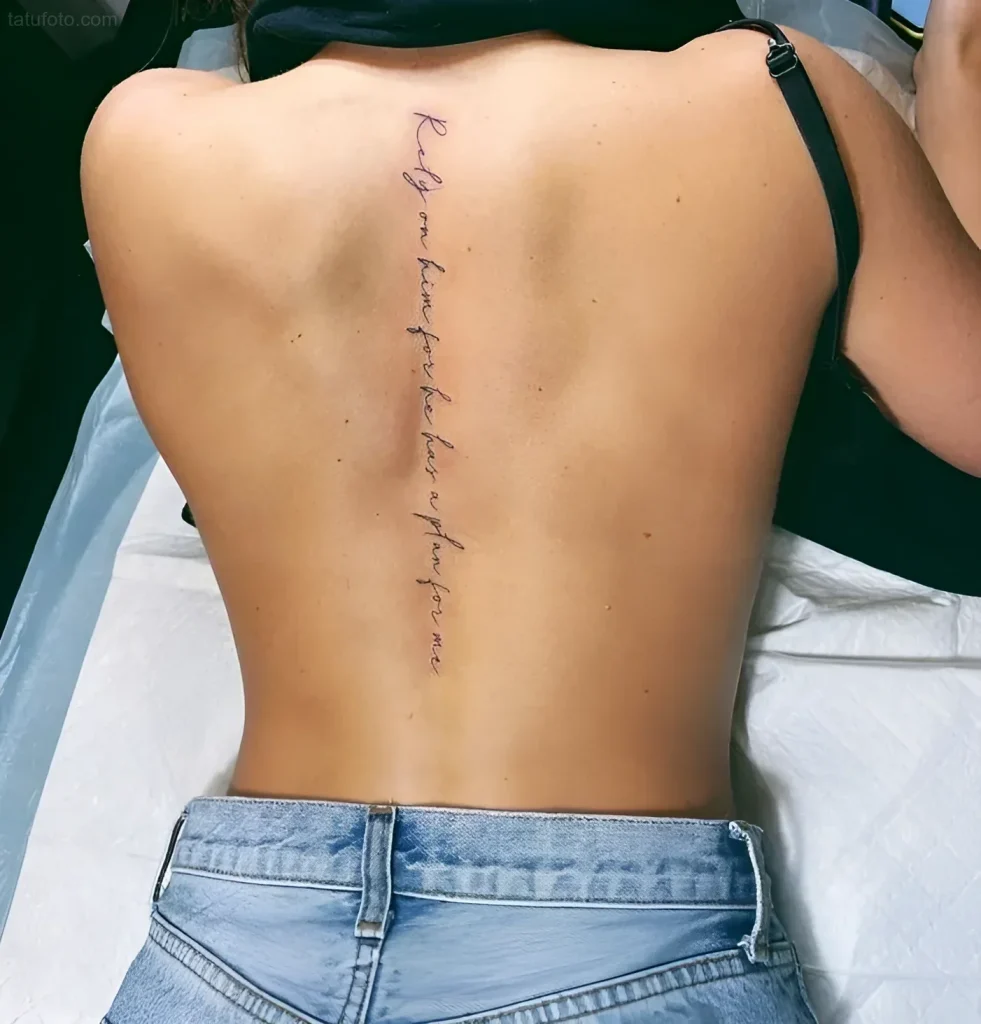
| Text/Quote | Life creed, fundamental principles. | Words that serve as support and guidance in life, literally inscribed into the “pillar” of a person. |
Spine Tattoo Styles: From Traditional to Modern
The choice of style is critical, as it must not only match the client’s aesthetic but also technically fit well on the curved and bony surface of the spine. Some styles requiring perfect symmetry place higher demands on artistry.
Ideal Styles for Axial Placement
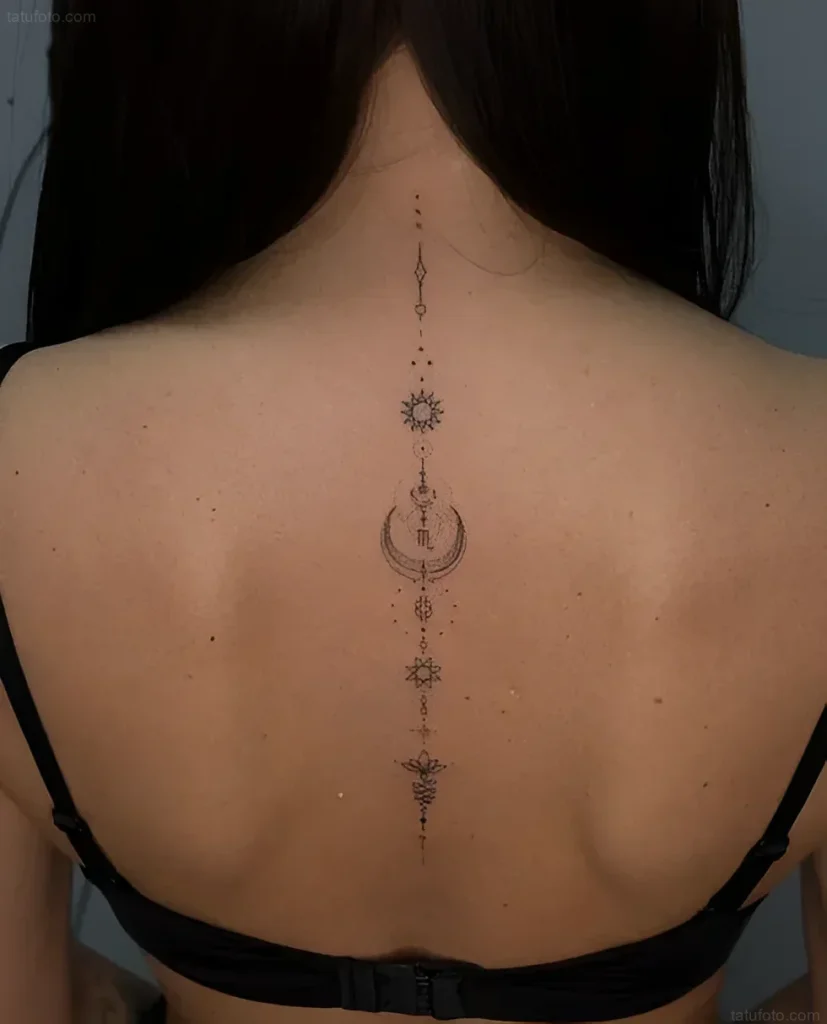
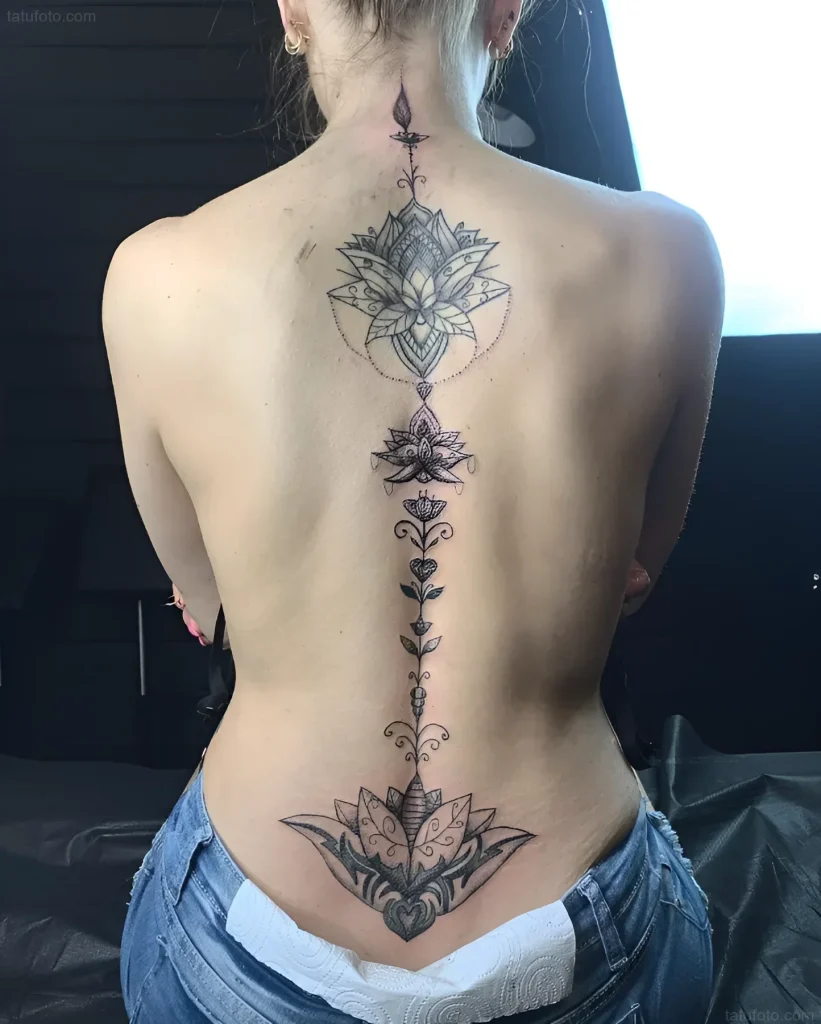
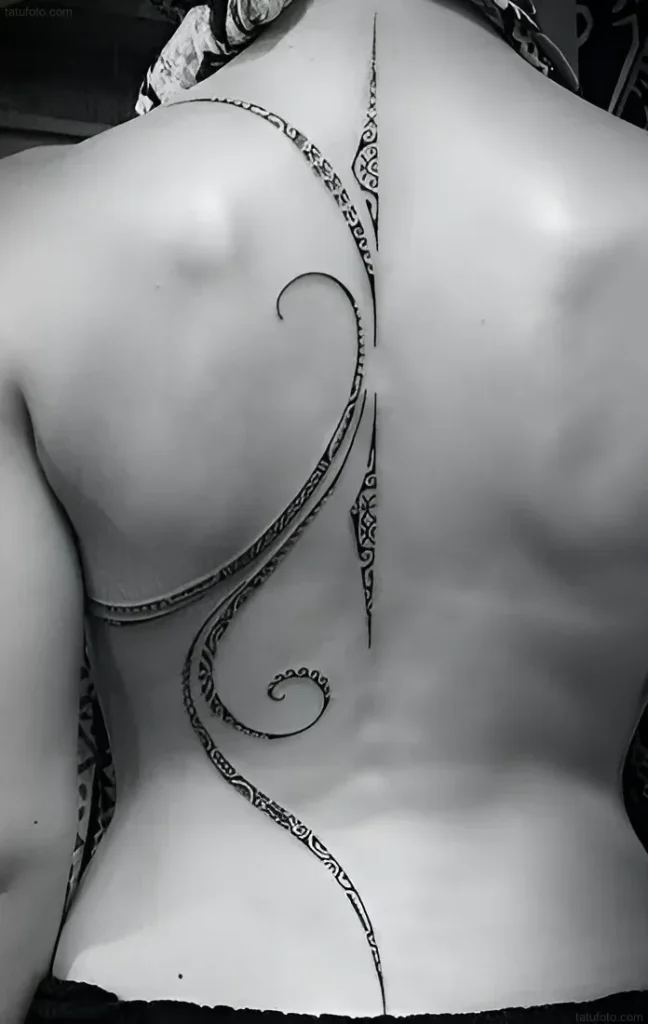
- 1. Ornamental Tattoo (Ornamental/Dotwork):
- Advantages: Ideal for symmetrical placement. Dotwork is less traumatic for the thin skin over bone than solid outlines. Allows for a “lace” or “armor” effect.
- Artist’s Nuance: Requires flawless symmetry. Any deviation of 1-2 mm will be noticeable along the entire length.
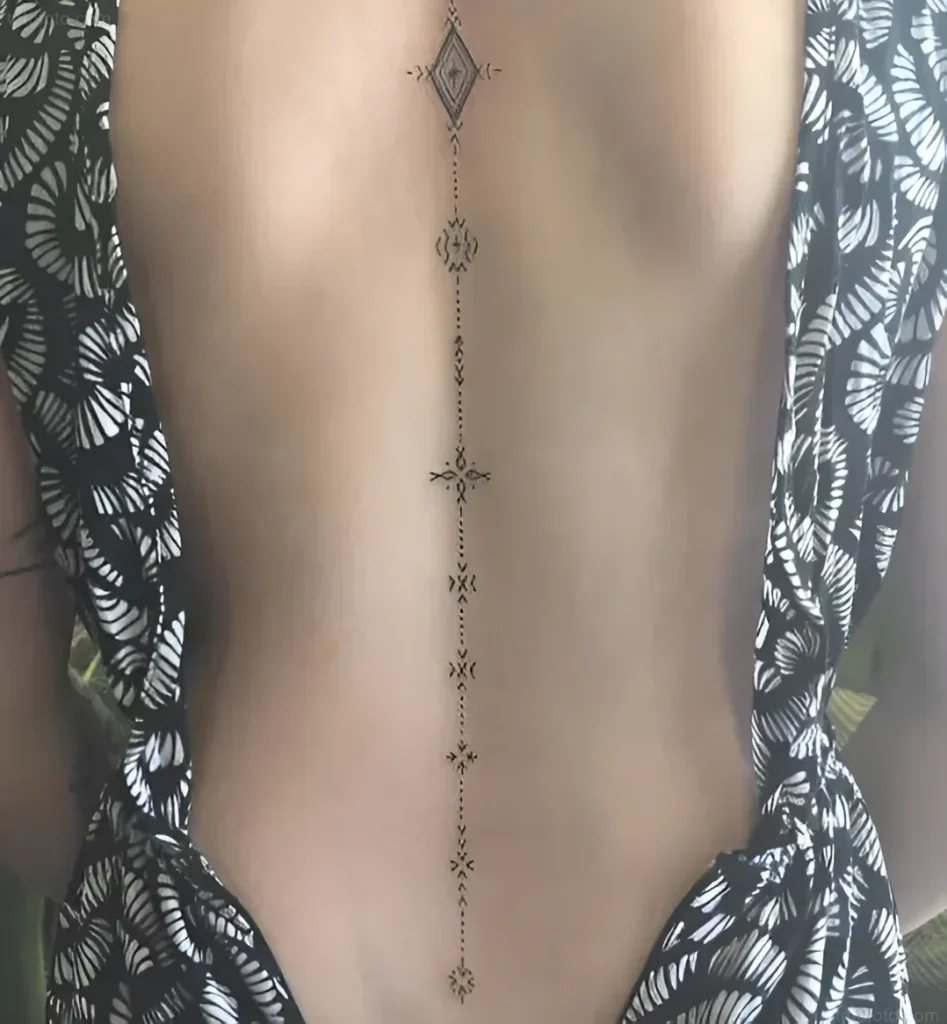
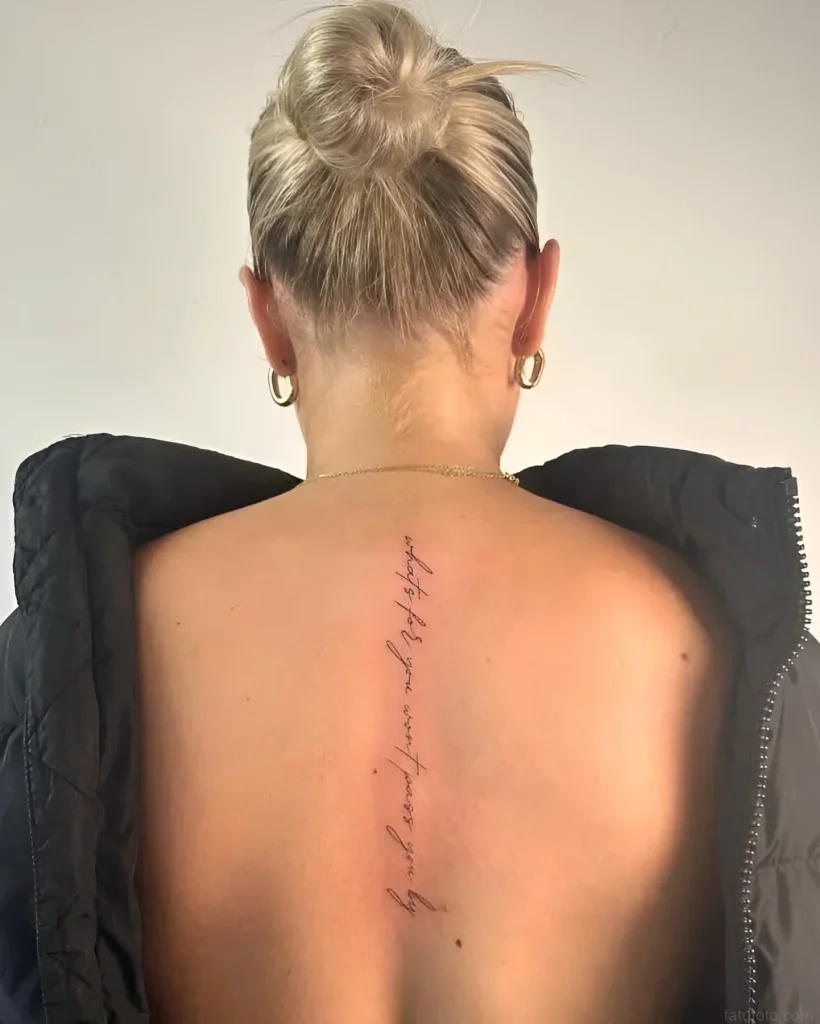
- 2. Fineline and Whipshading:
- Advantages: Elegant, thin lines and soft shading fit well on curves. Allows for long, graceful floral motifs or fine text.
- Artist’s Nuance: Requires the use of very thin needles (RL 1-3). The work must be clean from the first pass, as touch-ups on fineline work often make it look “dirty.”
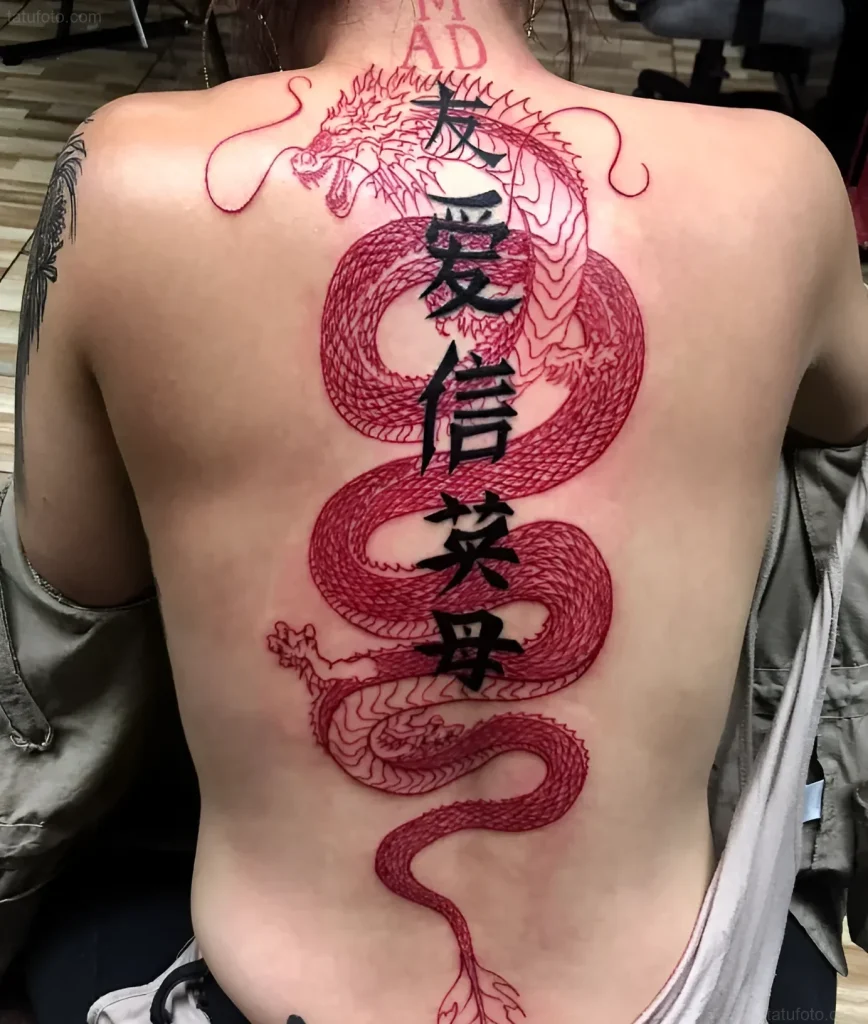
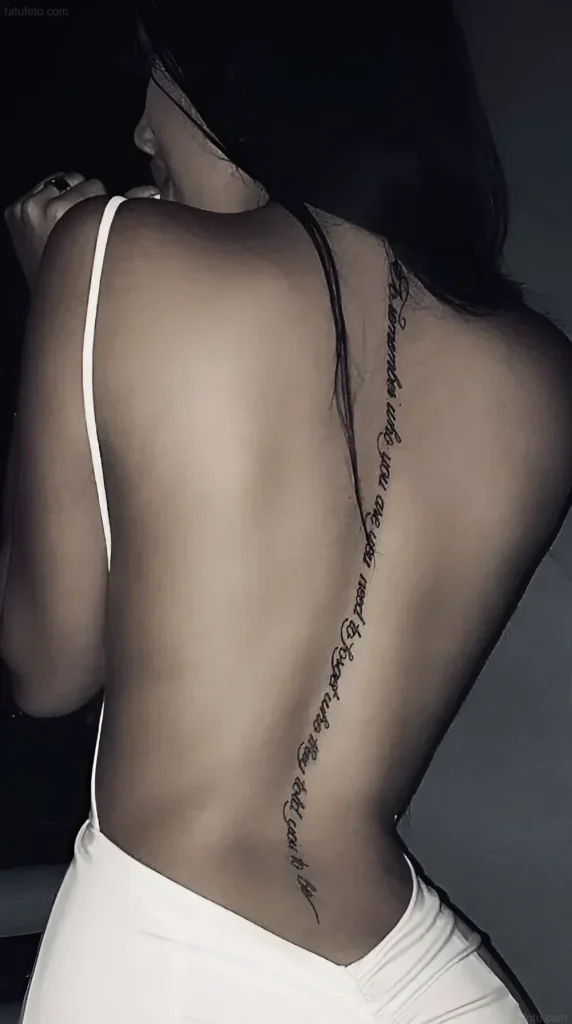
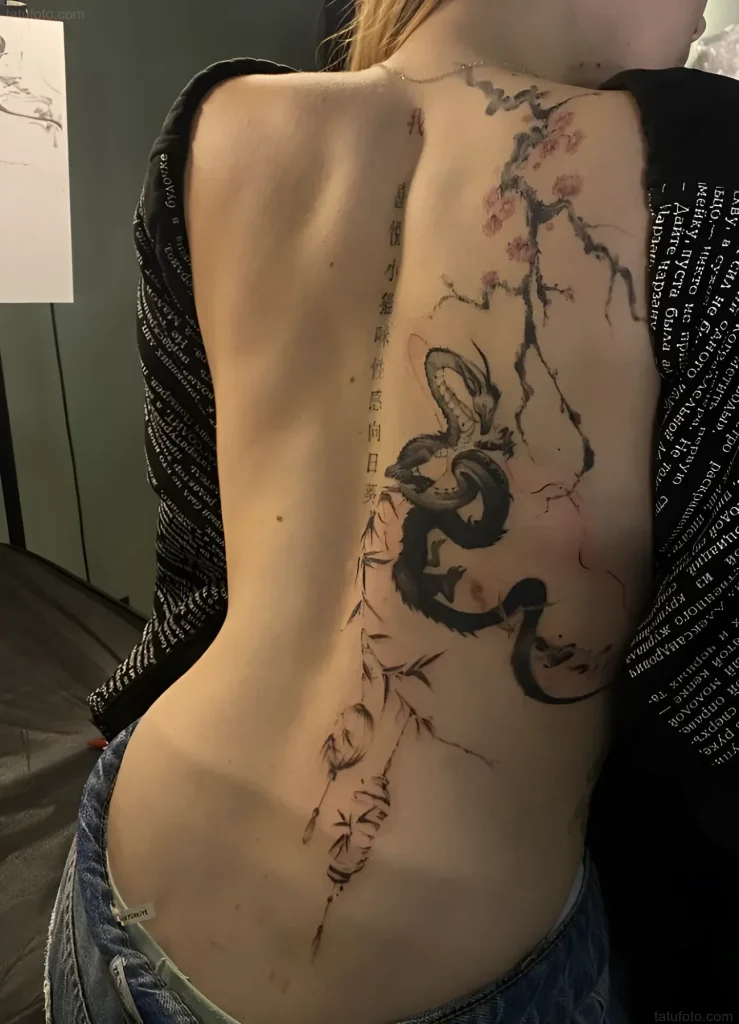
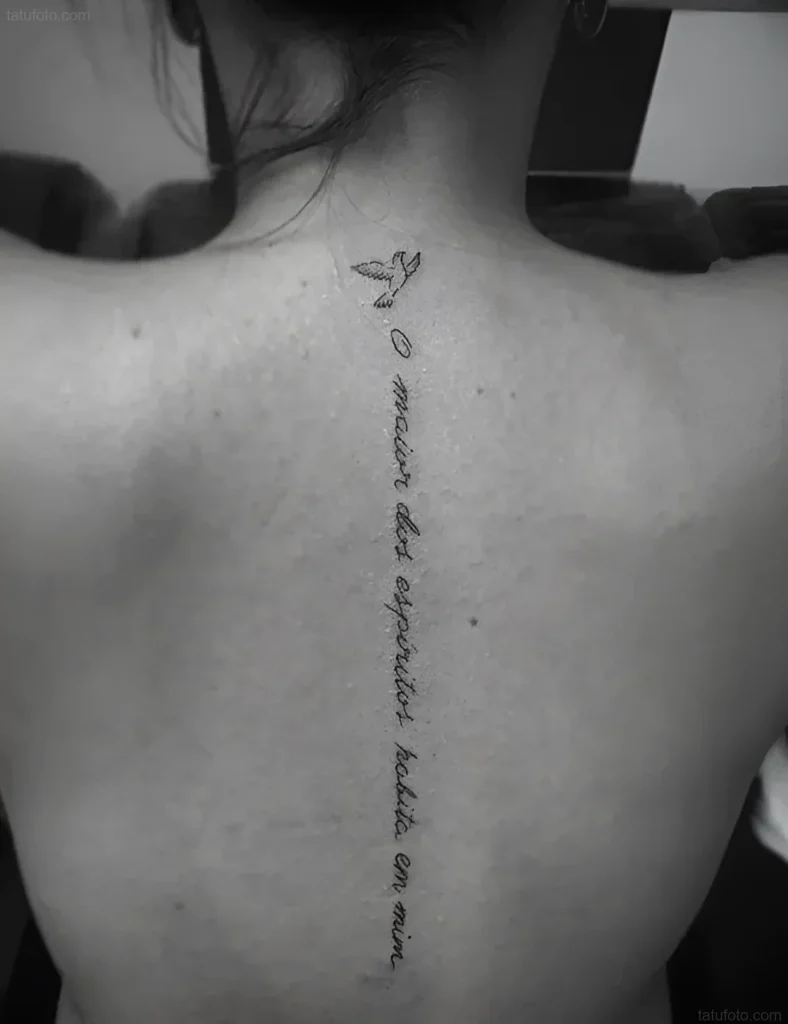
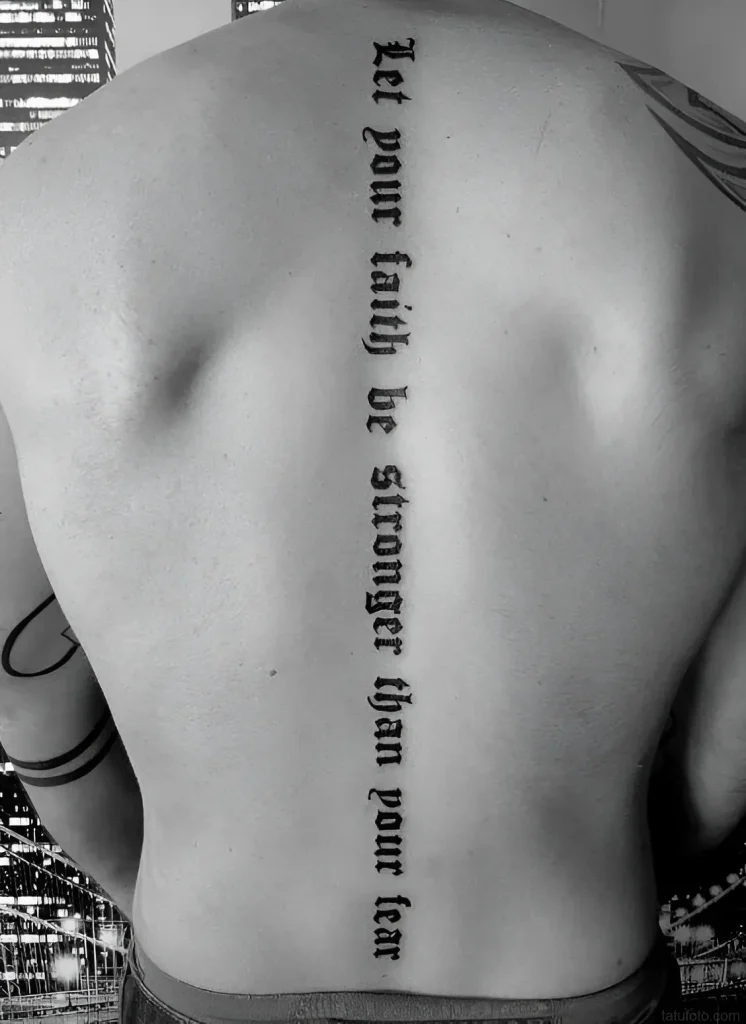
- 3. Lettering and Calligraphy:
- Advantages: Vertical text placement is natural for this area. Creates a “pillar” or “column” effect.
- Artist’s Nuance: Must account for skin stretching during movement. Text must be applied strictly vertically, without “tilting” sideways. Use a ruler and level when applying the transfer.
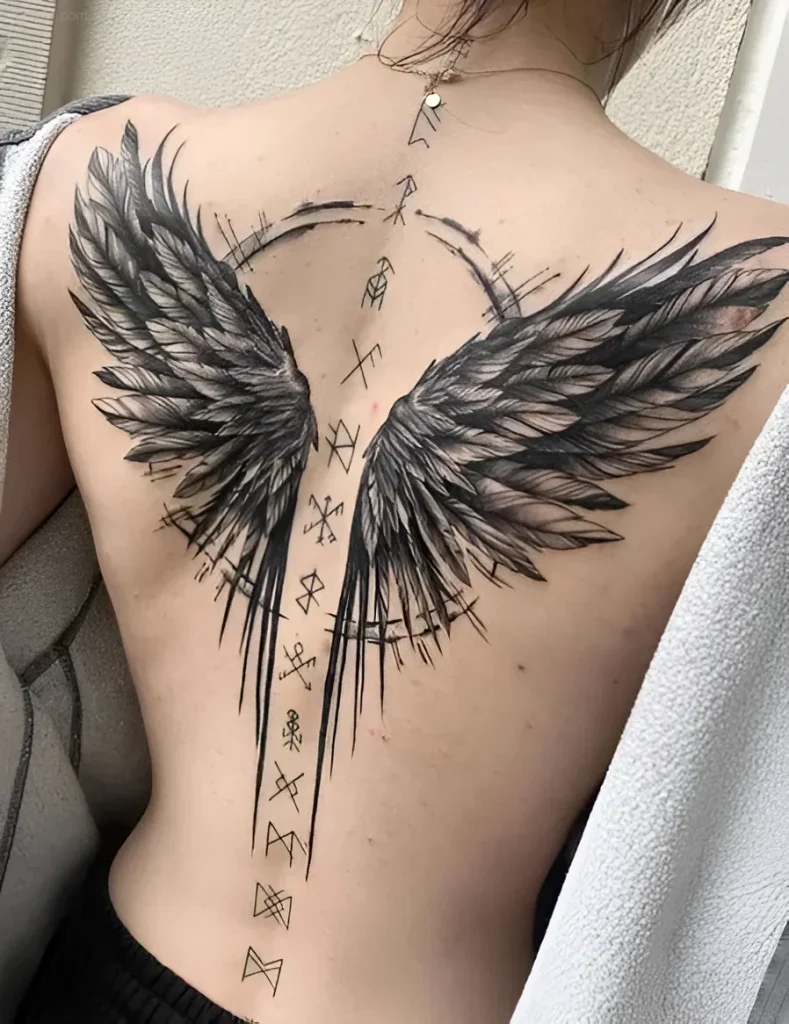
- 4. Blackwork and Geometry:
- Advantages: Powerful visual impact. Clear, bold lines hold pigment well.
- Artist’s Nuance: Solid black fill over bone is very painful and can cause significant swelling. Break the session into short stages and monitor depth.

Spine Tattoo Application Technique: Step-by-Step Guide and Tips
Working on the spine requires maximum preparation and methodology. For an aspiring artist, this can be a real test of patience and precision. Below are the key stages and professional tips.
1. Client Preparation and Positioning
Proper client positioning is 50% of success. The client should be as relaxed and stable as possible.
- Position: The most preferred position is lying on the stomach. Use a roll or pillow under the ankles to relieve tension in the lower back.
- Fixation: Ask the client to place their hands along their body or under their head. Explain that shoulder or hip movements are unacceptable.
- Tension Relief: Muscle tension in the back can distort the transfer and complicate the work. Ensure the client is not “tensing up” from pain, especially in the initial stages.
2. Transfer Application and Marking
Symmetry is the cornerstone of working on the spine. Use specialized tools.
- Centering: Use a laser level or a long ruler to find the perfect center. Do not rely solely on your eye.
- Landmarks: Mark anatomical landmarks (e.g., the seventh cervical vertebra C7, sacral dimples) and ensure the design is symmetrical relative to these points.
- Check: After applying the transfer, ask the client to stand up and walk a bit. Ensure the design looks correct both in a relaxed and slightly tensed state.
3. Needle Technique
An aspiring artist needs to master the “soft hand” technique and proper skin stretching.
- Skin Stretching: This is the most important part. Over bony areas, the skin is very mobile. You will need strong and even three-point stretching. If working alone, use medical tape to secure the edges of the design, or ask an assistant to help with stretching. Stretch the skin not only sideways but also slightly downwards from the bone.
- Depth: Work at the minimum working depth sufficient for pigment implantation. Over the spinous processes, the depth should be less than on the lateral muscle ridges.
- Machine Speed: It is often recommended to slightly reduce the machine speed (voltage) when working over bone to avoid excessive trauma and ensure better control.
- Outlining: Draw outlines with short, confident movements, without lingering in one spot. Always start with the central vertical line to fix the axis.
4. Pain Management and Sessions
The spine is one of the most painful areas. Sessions should be short and effective.
- Duration: Limit the first sessions to 3-4 hours. Client fatigue and pain lead to muscle tension, which degrades the quality of your work.
- Anesthesia: If the client insists, use secondary anesthesia after the outline has been applied. Primary anesthesia can alter skin texture.
Spine Tattoo Aftercare: Recommendations for Fast and Safe Healing
The healing process of a spine tattoo has its peculiarities due to constant friction and skin stretching. Your task as an artist is to give the client the clearest possible instructions to minimize risks.
Key Risk Factors During Healing
- Friction: Clothing, chair backs, backpack straps – all constantly come into contact with the tattoo.
- Stretching: Bending, twisting, and even deep breathing can stretch the skin, slowing regeneration.
- Sleep: Sleeping on your back inevitably puts pressure on a fresh tattoo.
Client Instructions
For aspiring tattoo artists, it is crucial to create a detailed list of recommendations adapted for this area:
- Use of Protective Film (Smart Film): Strongly recommend using a special healing film (e.g., Dermalize, Suprasorb F) for the first 5-7 days. The film minimizes friction with clothing and bedding, which is especially critical for the back.
- Sleeping Position: Advise the client to sleep on their stomach or side for the first 7-10 days. If this is not possible, use a soft pillow or roll to minimize direct pressure on the central spinal line.
- Clothing: Wear only loose, natural clothing that will not chafe. Avoid tight bras with horizontal straps that cross the tattoo.
- Physical Activity: Strictly prohibit any exercises involving twisting, stretching, or heavy back strain (yoga, deadlifts) for at least two weeks to avoid tearing the healing film and stretching the skin.
Frequently Asked Questions (FAQ) About Spine Tattoos
Aspiring artists should be prepared to answer standard but critically important client questions regarding this specific area.
1. How painful is a tattoo along the spine?
Artist’s Answer: This is one of the most painful areas on the body. The pain level is high, especially in the thoracic region where the skin is directly over the bone. We always warn the client that the pain will be intense, but it is manageable. Most clients describe it as a strong, sharp vibration.
2. How long does a full spine tattoo take?
Artist’s Answer: A tattoo from the neck to the tailbone, especially a detailed one (e.g., ornamental), requires significant time. On average, it’s 15 to 30 working hours, broken down into 3-6 sessions. We do not recommend sessions longer than 4-5 hours, considering the discomfort and the client’s difficulty maintaining stillness.
3. Does a tattoo affect the possibility of epidural anesthesia?
Artist’s Answer: This question causes much debate. Most anesthesiologists prefer not to insert a needle through a tattooed area, especially if it’s solid blackwork, due to the theoretical risk of pigment particles entering the cerebrospinal fluid. If the tattoo is done in a Fineline style or has gaps in the lumbar region, the risk is minimal. Always advise the client to consult a doctor. Your professional advice: if the client is planning a pregnancy, avoid dense coloring in the lower lumbar area.
4. How to ensure perfect symmetry?
Artist’s Answer: Perfect symmetry is achieved through several stages:
- The transfer is printed on special paper using a central line.
- A level and ruler are used on the client’s back to find the anatomical center.
- The central line of the tattoo is applied first and serves as the reference point for the entire design.
- Periodically check symmetry by asking the client to slightly lift their head or shoulders to see how the lines lay in motion.
5. Is a touch-up necessary?
Artist’s Answer: Touch-ups (retouching) are required more often for tattoos along the spine than on other areas. This is due to the thinness of the skin over bone and constant friction. We include one touch-up session in the work’s cost to guarantee a perfect result. Most often, lines running directly over the spinous processes require touch-ups.
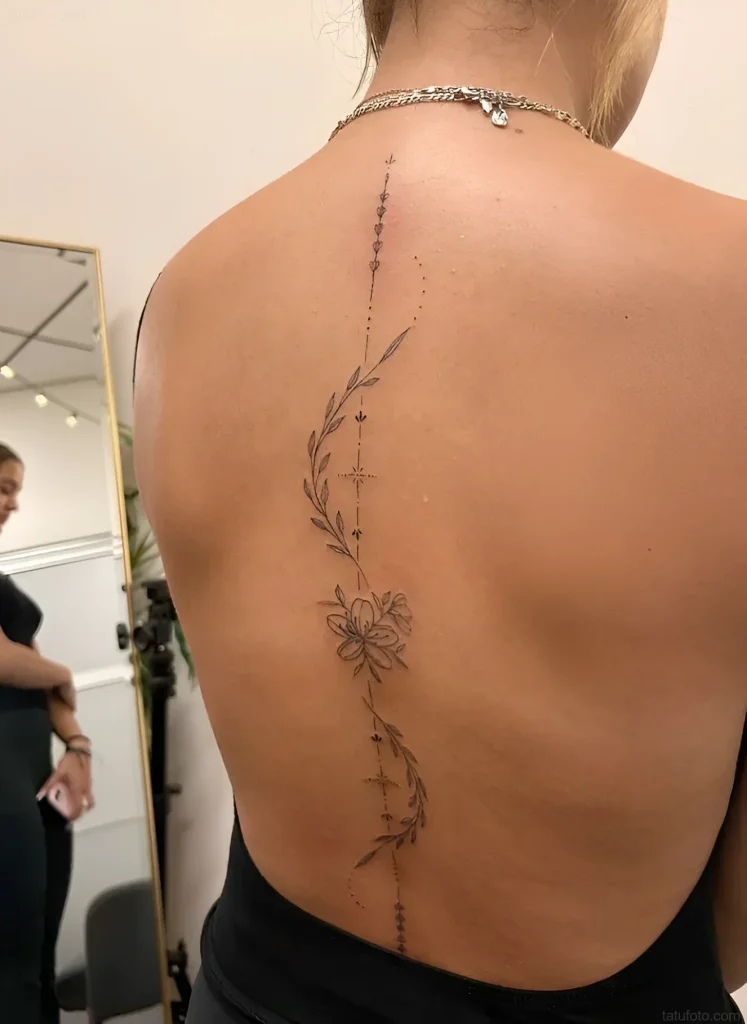
Mastery and Respect for the Body’s Axis
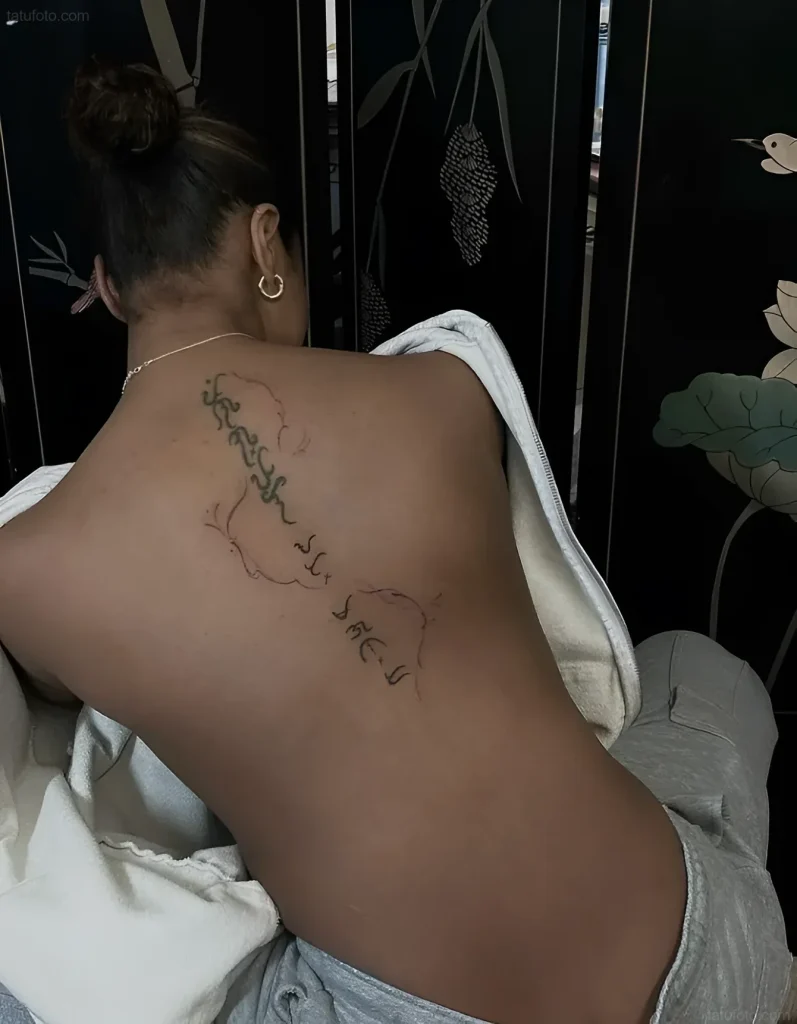
A tattoo along the spine is the pinnacle of symmetry, patience, and anatomical knowledge. For an aspiring artist, it can become a signature piece if approached with maximum responsibility. Remember that you are working not just with skin, but with your client’s axis, which carries immense symbolic weight. Pay special attention to skin stretching, choosing the right style that won’t “bleed” on curves, and, of course, detailed post-operative care. By treating this complex and beautiful area with respect, you will ensure not only a flawless result but also the trust of your clients for years to come.